


 这篇博客介绍了微信小程序中如何实现邮箱绑定和忘记密码的功能。用户在学生信息页点击邮箱进行绑定,相关代码展示包括输入邮箱、发送验证邮件、输入新密码和邮箱收到的验证码。同时,使用了countdown倒计时组件确保验证码在有效时间内输入。
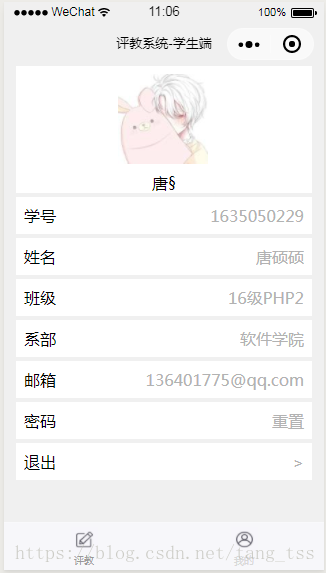
1.学生信息页
2.点击邮箱进行绑定页面
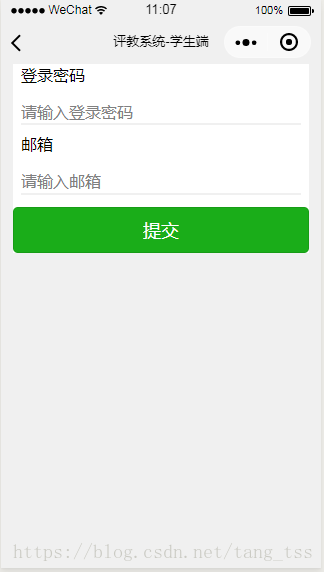
下面是绑定邮箱页面相关代码
<view class='container'>
  <view class='content'>
    <form class='login-from' bindsubmit="formSubmit">
      <view class='pwd'>
        <text class='text'>登录密码</text>
        <input class="inputText" name="pwd" password="true" placeholder='请输入登录密码'/>
      </view>
      <view class='email'>
        <text class='text'>邮箱</text>
        <input class="inputText" name="email" type='text' placeholder='请输入邮箱'/>
      </view>
      <view class='bottom'>
        <button type='primary' form-type="submit">提交</button>
      </view>
    </form>

  </view>
</view>
下面是js代码
将输入的邮箱存入学生信息中
Page({

  /**
   * 页面的初始数据
   */
  data: {

  },

  formSubmit: function (e) {
    var pwd = e.detail.value.pwd;
    var email = e.detail.value.email;
    var student = wx.getStorageSync('student');
    var no = student.no;
    // console.log(oldpwd);

    if (pwd == '') {
      wx.showToast({
        title: '请输入密码',
        icon: 'none',
        duration: 1000
      })
    } else if (email == '') {
      wx.showToast({
        ti
最低0.47元/天 解锁文章


 2650
2650

 被折叠的 条评论
为什么被折叠?
被折叠的 条评论
为什么被折叠?
 到【灌水乐园】发言


