1.在官网https://www.qcustomplot.com/index.php/download下载QCustomPlot.tar.gz
2.创建文件QCustomPlot.pro。
3.添加内容如下:
QT += core gui
greaterThan(QT_MAJOR_VERSION, 4): QT += widgets printsupport
TEMPLATE = lib
CONFIG += debug_and_release build_all shared
CONFIG(debug, debug|release) {
TARGET = $$join(TARGET,,,d) # if compiling in debug mode, append a "d" to the library name
}
DEFINES += QCUSTOMPLOT_COMPILE_LIBRARY
SOURCES += qcustomplot.cpp
HEADERS += qcustomplot.h
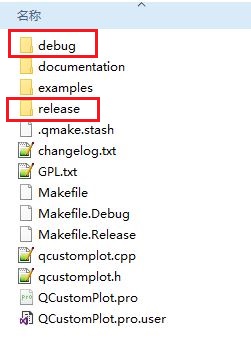
4.使用qtcreator打开QCustomPlot.pro,qtcreator选择release模式编译,生成动态库,包含release和debug版本,如下图
5.整理一下使用,创建文件夹QCustomPlot-install,在里面创建include、lib文件夹,分别将文件拷贝进去。

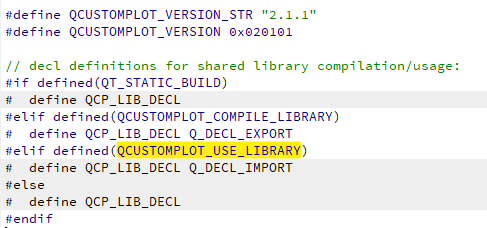
6.使用时需要在工程文件.pro中添加DEFINES += QCUSTOMPLOT_USE_LIBRARY,否则编译会报错。因为
qcustomplot.h源码开头有这么一段声明,QCUSTOMPLOT_USE_LIBRARY默认是不打开的,如下图:


 87
87

 被折叠的 条评论
为什么被折叠?
被折叠的 条评论
为什么被折叠?
 到【灌水乐园】发言


