


 本文详细介绍了如何在Ubuntu虚拟机中安装交叉编译工具,编译BusyBox以创建简单的根文件系统,然后配置和编译Linux内核以支持ARM64架构。同时,文章也讨论了系统调用如gettimeofday的工作原理,并展示了使用QEMU4.2.1版本进行ARM64内核的模拟运行。此外,还提供了VSCode的launch.json和tasks.json配置,用于GDB调试Linux内核。
环境配置
由于Ubuntu系统采用x86架构,我们需要在Ubuntu虚拟机下安装交叉编译器和GDB。
sudo apt-get install gcc-aarch64-linux-gnu
sudo apt-get install libncurses5-dev build-essential git bison flex libssl-dev
sudo apt install gdb-multiarch
下载并解压busybox以建立简易的根文件系统:
wget https://busybox.net/downloads/busybox-1.33.1.tar.bz
bzip2 -d FileName.bz2
tar -xvf busybox-1.33.1.tar
cd busybox-1.33.1
设置静态编译选项:
make menuconfig ARCH=arm64
# Settings --->
# [*] Build static binary (no shared libs)
然后编译busybox:
make
make install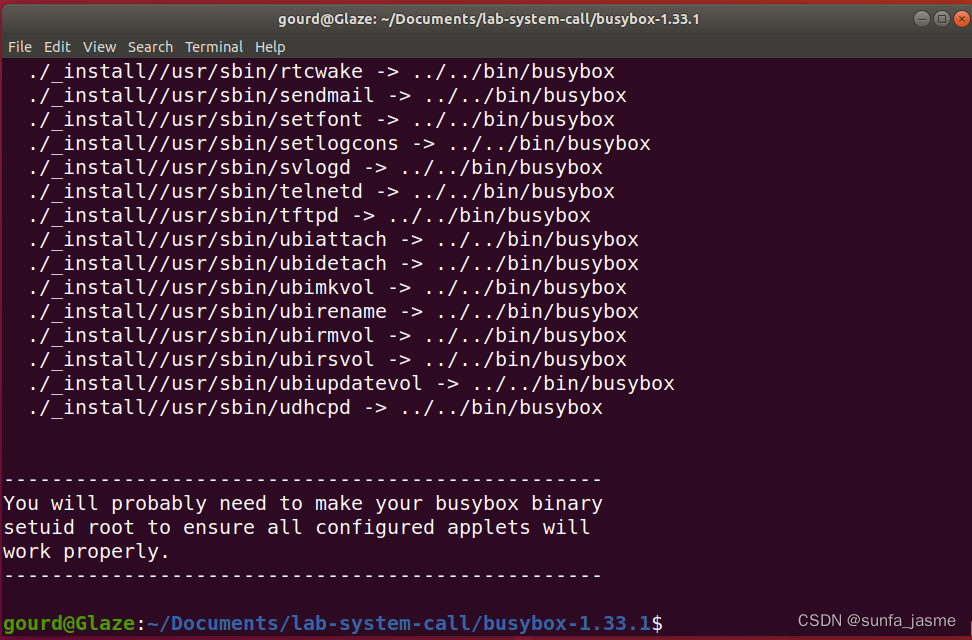
在编译完成的_install文件夹下进行一些配置。
cd _install
mkdir etc dev lib
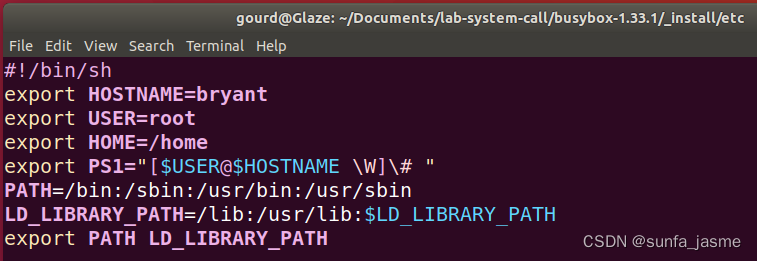
cd etc新建文件profile:设置环境变量和shell参数
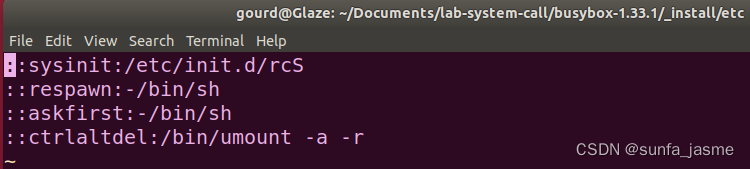
新建文件inittab:设置busybox执行的sysinit
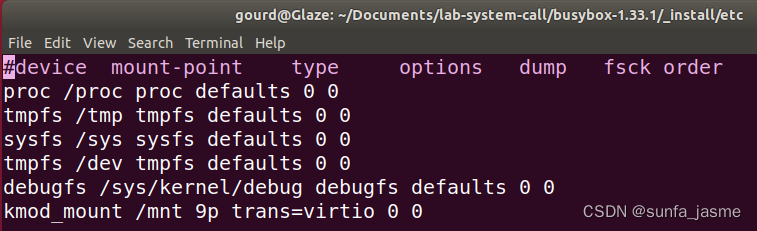
新建文件fstsb:设置文件系统挂载信息
新建文件init.d/rcS:查找并创建字符设备与块设
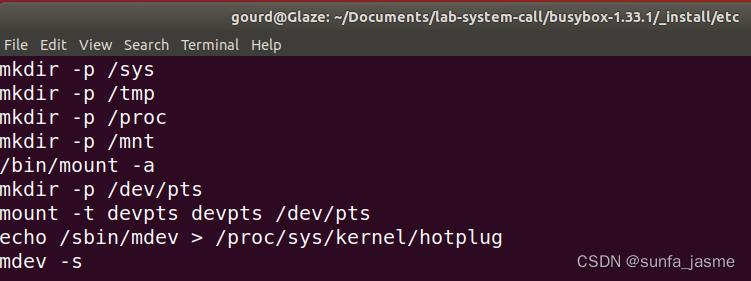
回到_install目录,在dev文件夹下新建console使得用户态的输出打印到串口上
cd ../dev
sudo mknod console c 5 1
将支持动态编译的相关程序拷贝到lib文件夹下:
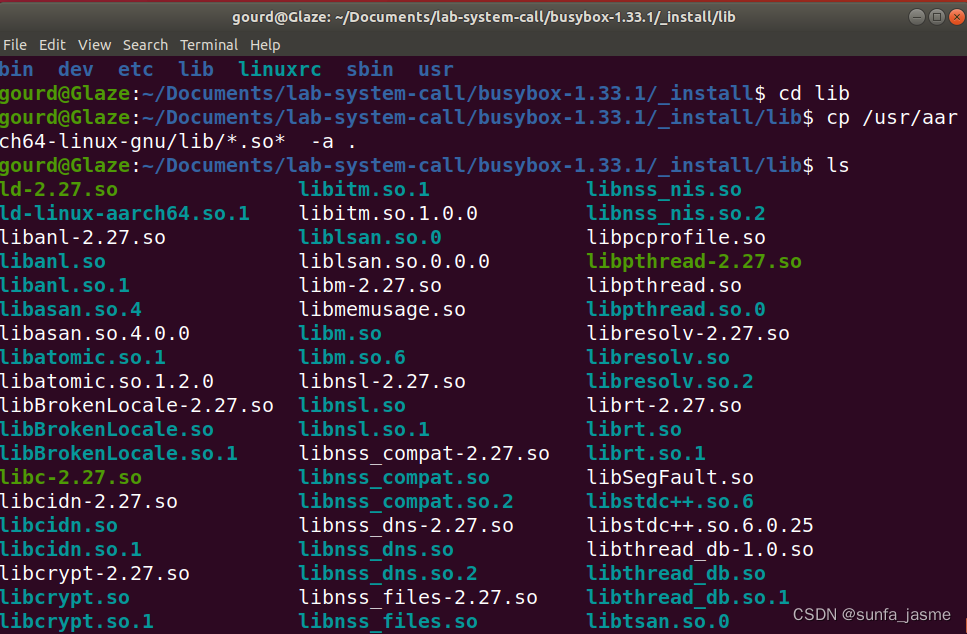
将_install文件夹整体放入linux编译后的文件夹中;在对linux源码编译前需
 最低0.47元/天 解锁文章


 278
278

 被折叠的 条评论
为什么被折叠?
被折叠的 条评论
为什么被折叠?
 到【灌水乐园】发言


