


文章目录
安装(虚拟环境方式)
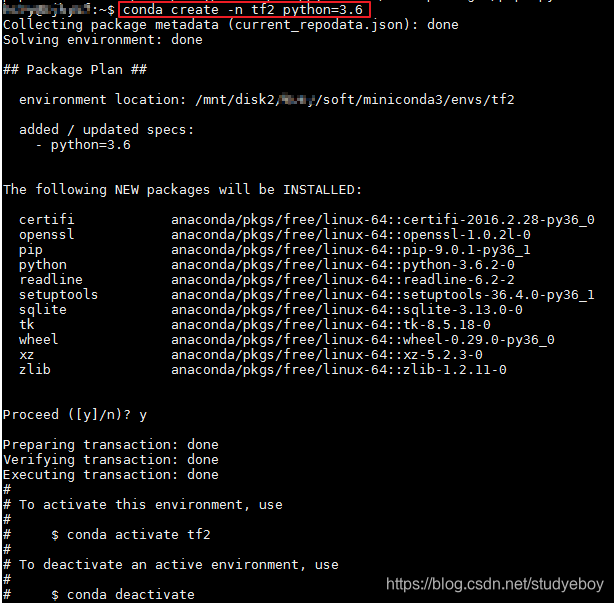
- 创建虚拟环境
conda create -n tf2 python=3.6
- 升级pip
pip install --upgrade pip

- 安装tensorflow
pip install tensorflow-gpu==2.0.0 -i https://pypi.tuna.tsinghua.edu.cn/simple

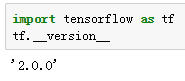
- 查看是否安装成功
python
import tensorflow as tf
tf.__version__
tf.__file__

pip方法安装的TensorFlow-gpu2.0使Conv2D卷积报错。
UnknownError: Failed to get convolution algorithm. This is probably because cuDNN failed to initialize, so try looking to see if a warning log message was printed above. [Op:Conv2D]
- 卸载后用conda安装
conda install tensorflow-gpu=2.0.0
- 在包导入后添加如下代码
from tensorflow.compat.v1 import ConfigProto
from tensorflow.compat.v1 import InteractiveSession
config = ConfigProto()
config.gpu_options.allow_growth = True
session = InteractiveSession(config=config)
- 该方法必须显式调用
InteractiveSession.close()来释放其他会话所拥有的资源。 - 解决TensorFlow-gpu2.0使Conv2D卷积报错方法二。
physical_devices = tf.config.experimental.list_physical_devices('GPU')
tf.config.experimental.set_memory_growth(physical_devices[0], True)
tf.config.experimental.set_memory_growth(physical_devices[1], True)
- 更简洁的方法
for gpu in tf.config.experimental.list_physical_devices('GPU'):
    tf.config.experimental.set_memory_growth(gpu, True)
jupyter notebook中添加虚拟环境内核
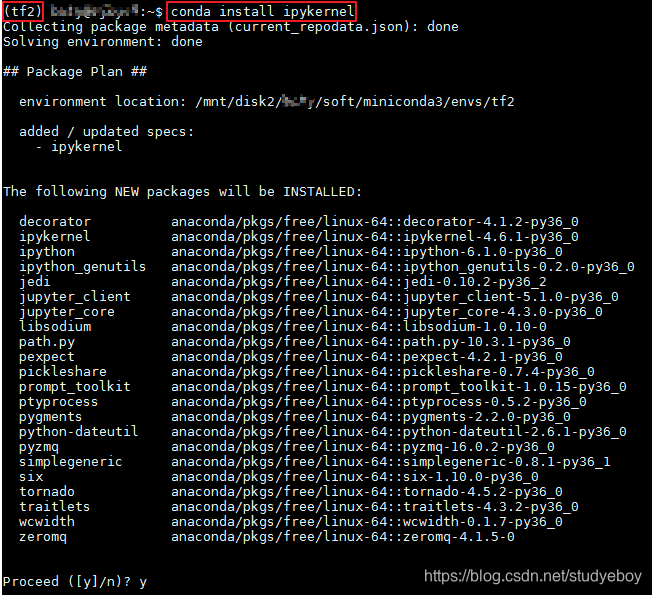
- 安装ipykernel
conda install ipykernel
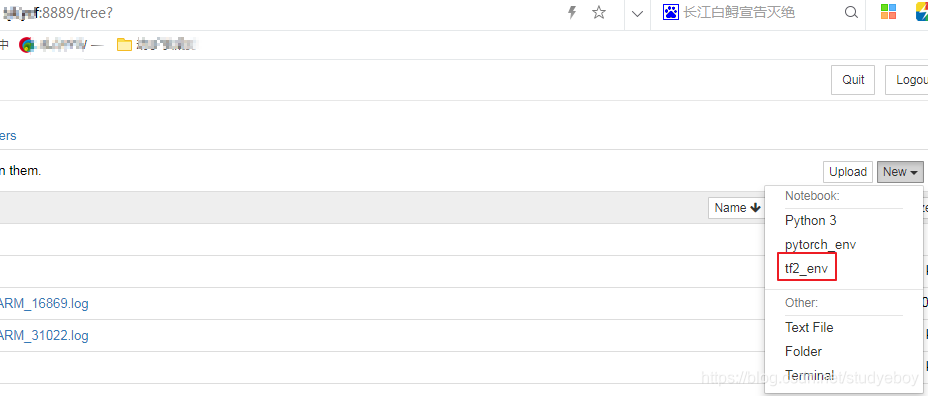
- 添加虚拟环境内核
python -m ipykernel install --user --name tf2 --display-name 'tf2_env'

- 检测是否安装成功
jupyter notebook
tensorflow-dataset安装
资料
github:TensorFlow Datasets
Google将公共研究数据集公开为tf.data.Dataset和NumPy数组。数据集包括音频类、图像类(celeb_a,coco2014,imagenet2012等)、结构化数据集、文本类、翻译类和视频类等29个流行的研究数据集。
安装
#使用conda命令安装出现各种错误
pip install tensorflow-datasets
使用
#注意安装和使用时中间连接符的形式
import tensorflow_datasets as tfds
使用过程中出现jupyter的错误需要安装ipywidgets
conda install -c conda-forge ipywidgets
参考资料
TensorFlow2.0正式版发布,极简安装TF2.0(CPU&GPU)教程
tensorflow2.0 用卷积层报错
ipywidgets install


 2178
2178

 被折叠的 条评论
为什么被折叠?
被折叠的 条评论
为什么被折叠?
 到【灌水乐园】发言


