


写在前面:昨天在解决电脑的数据库问题,焦头烂额,今天应该是没有问题了,又重新回到vue学习的轨道上了😁又因为实在是太想直接把东西写在项目里练练手,而且之前学的东西在coding的时候有一些凌乱,所以今天就直接新开了一个项目,㊗️开工大吉!coding顺利,嘻嘻😉
- 创建路由
在项目src目录下新建router文件夹存放路由文件,新建index.js文件,如下(这里注意一定要正确的import,不要遗漏,不然怎么样页面都不会有内容的🥹):
import {createRouter} from 'vue-router'
import {createWebHistory} from 'vue-router'

//存储路由
const routes = [
    {
        path:'/',
        //导入对应的组件
        component: () => import('../views/index.vue')
    },
    {
        path:'/content',
        component: () => import('../views/content.vue')
    }
]

const router = createRouter({
    history: createWebHistory(),
    routes
})

export default router
在项目的main.js文件中导入路由文件并注册,这样一来就可以通过路由访问到不同的页面啦!
import router from './router'
createApp(App).use(router).mount('#app')- 配置路径别名@
编辑vite.config.js
import { defineConfig } from 'vite'
import vue from '@vitejs/plugin-vue'
import path from 'path'

// https://vite.dev/config/
export default defineConfig({
  plugins: [vue()],
  resolve: {
    alias: { // 配置别名
      '@': path.resolve(__dirname, './src'),
    },
  },
})
想要在输入@后展示提示路径,那就还需要手动添加jsconfig.json文件,如下:
{
    "compilerOptions": {
        "baseUrl": ".",
        "paths": {
            "@/*": ["src/*"]
        }
    },
}
想要更快的完成页面的搭建,vue的生态十分丰富,这里我采用的是最常用的element-ui, 这里可以参考 https://element-plus.org/zh-CN/component/overview.html
- 安装
npm install element-plus --save- 按钮(在main.js中整体导入elementPlus插件并注册)
import ElementPlus from 'element-plus'
import 'element-plus/dist/index.css'

app.use(ElementPlus)
<div>
<el-button>Default</el-button>
<el-button type="primary">Primary</el-button>
<el-button type="success">Success</el-button>
<el-button type="info">Info</el-button>
<el-button type="warning">Warning</el-button>
<el-button type="danger">Danger</el-button>
</div>- 图标(同样,图标的使用需要在main.js中整体导入并注册)
// 引入element-plus的图标库
import * as ElementPlusIconsVue from '@element-plus/icons-vue'
//注册element-plus的图标库
for (const [key, value] of Object.entries(ElementPlusIconsVue)) {
    app.component(key, value)
    }
 <div>
    <el-button type="primary">
        <el-icon><Search/></el-icon>
        <span>搜索</span>
    </el-button>
     <el-button type="primary">
        <el-icon><Search/></el-icon>
    </el-button>
  </div>
  <div>
    <el-button-group>
      <el-button type="primary">
        <el-icon><Plus/></el-icon>
      </el-button>
      <el-button type="primary">
        <el-icon><Edit/></el-icon>
      </el-button>
      <el-button type="primary">
        <el-icon><Delete/></el-icon>
      </el-button>
    </el-button-group>
</div>- 提示框


<script setup>
import {ElMessage,ElMessageBox,ElNotification} from 'element-plus'
//消息提示
const showMsg = () => {
ElMessage({
message: '这是一条消息提示',
type: 'success'
});
}
//确认框
const openConfirm = () => {
ElMessageBox.confirm('此操作将永久删除该文件, 是否继续?', '提示', {
confirmButtonText: '确定',
cancelButtonText: '取消',
type: 'warning'
}).then(() => {
ElMessage({
type: 'success',
message: '删除成功!'
});
}).catch(() => {
ElMessage({
type: 'info',
message: '已取消删除'
});
});
}
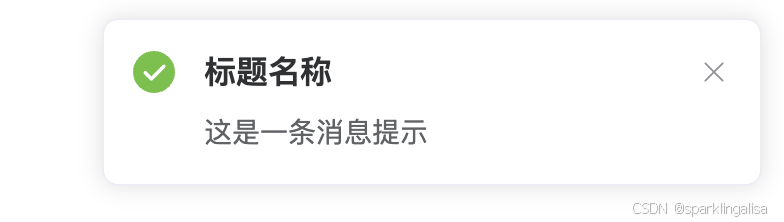
//通知
const openNotification = () => {
ElNotification({
title: '标题名称',
message: '这是一条消息提示',
type: 'success'
});
}
</script>
<template>
<div>
<el-button @click="showMsg">显示消息提示</el-button>
<el-button @click="openConfirm">显示确认框</el-button>
<el-button @click="openNotification">显示通知</el-button>
</div>
</template>- 导航、面包屑、下拉菜单

<script setup>
import{ ref,reactive } from 'vue'
//默认选中
const selectedIndex = ref("2-2")
const selected=(index,indexPath)=>{
    console.log('index',index,'indexPath',indexPath)
}
const useCommand=(command)=>{
    console.log('command',command)
}
</script>

<template>
  <div>
    <el-menu mode="horizontal" @select="selected" :default-active="selectedIndex"
      background-color="#545c64" text-color="#fff" active-text-color="#ffd04b">
      <el-menu-item index="1">处理中心</el-menu-item>
      <el-sub-menu index="2">
        <template #title>我的工作台</template>
        <el-menu-item index="2-1">选项1</el-menu-item>
        <el-menu-item index="2-2">选项2</el-menu-item>
        <el-menu-item index="2-3">选项3</el-menu-item>
      </el-sub-menu>
      <el-menu-item index="3">订单管理</el-menu-item>
    </el-menu>
    <div>面包屑</div>
    <el-breadcrumb separator="/">
      <el-breadcrumb-item :to="{ path: '/' }">首页</el-breadcrumb-item>
      <el-breadcrumb-item>活动管理</el-breadcrumb-item>
      <el-breadcrumb-item>活动列表</el-breadcrumb-item>
      <el-breadcrumb-item>活动详情</el-breadcrumb-item>
    </el-breadcrumb>
    <hr>
    <div>下拉菜单</div>
    <el-dropdown @command="useCommand">
      <span class="el-dropdown-link">
        个人中心<el-icon><User/></el-icon>
      </span>
    <template #dropdown>
      <el-dropdown-menu>
        <el-dropdown-item command='order' >订单</el-dropdown-item>
        <el-dropdown-item command='logout'>退出</el-dropdown-item>
      </el-dropdown-menu>
    </template>
    </el-dropdown>
  </div>
</template>- 标签页
<script setup>
import{ ref,reactive } from 'vue'
//默认选中标签
const selectedIndex = ref("2")
//选中标签触发回调
const tabClick = (tab, event) => {
console.log(tab, event)
}
const tab = reactive({
arr: [
{ label: "用户管理", name: "1" },
{ label: "配置管理", name: "2" },
{ label: "角色管理", name: "3" },
{ label: "定时任务", name: "4" },
],
})
//添加标签
const tabAdd = () => {
let index = tab.arr.length
index++
tab.arr.push({
name:index,
name: `选项卡`+index,
label:"内容"+index,
})
}
//删除标签
const tabRemove = (targetName) => {
console.log("删除标签", targetName)
const index = tab.arr.findIndex((item) => item.name === targetName)
tab.arr.splice(index, 1) //删除标签
}
</script>
<template>
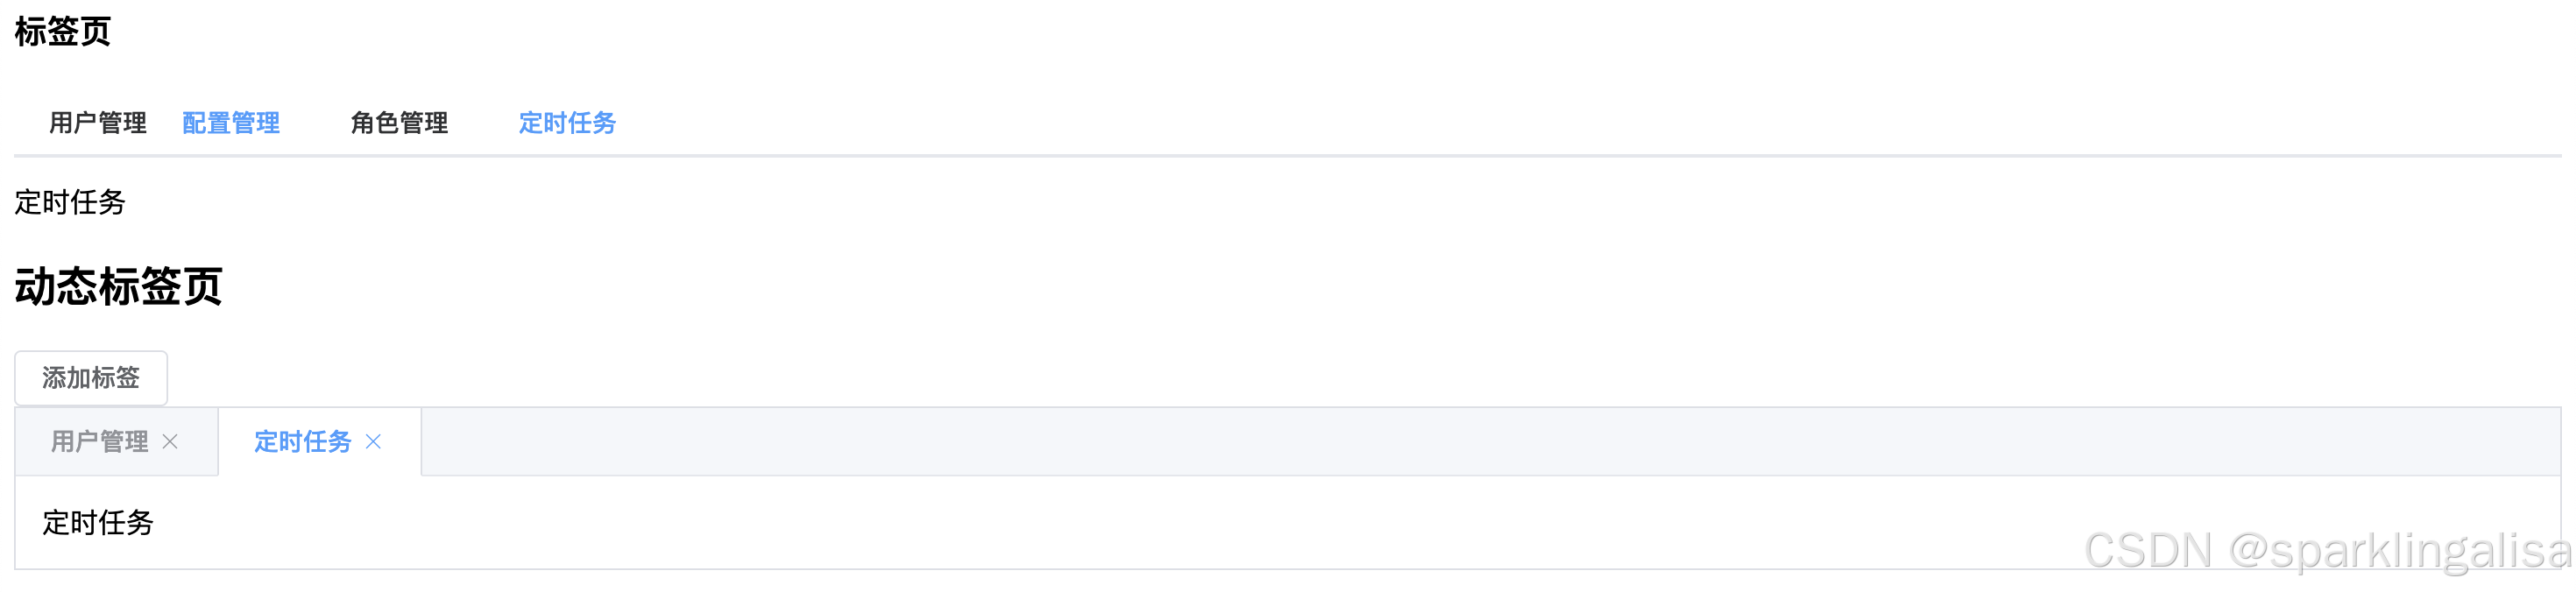
<div>
<h3>标签页</h3>
<el-tabs v-model="selectedIndex" @tab-click="tabClick" type="board-card">
<el-tab-pane label="用户管理" name="1">用户管理</el-tab-pane>
<el-tab-pane label="配置管理" name="2">配置管理</el-tab-pane>
<el-tab-pane label="角色管理" name="3">角色管理</el-tab-pane>
<el-tab-pane label="定时任务" name="4">定时任务</el-tab-pane>
</el-tabs>
<h2>动态标签页</h2>
<el-button @click="tabAdd">添加标签</el-button>
<el-tabs v-model="selectedIndex" @tab-remove="tabRemove" closable type="border-card">
<el-tab-pane v-for="item in tab.arr" :label="item.label" :name="item.name" :key="item.name">
{
{ item.label }}
</el-tab-pane>
</el-tabs>
</div>
</template>今天整理的内容就到这里了,晚一些还需要补充的内容就连着明日一起发啦☺️
参考资料:【2024新版】40分钟学会ElementPlus UI框架,Vue3前端视频教程,web快速入门实战课程
老师讲得真的非常好!十分全面!建议跟着课程手动coding一遍,明天我也会上传剩余的我敲的代码,新手的话学习成本应该不止40分钟! fighting!🤪💻


 340
340

 被折叠的 条评论
为什么被折叠?
被折叠的 条评论
为什么被折叠?
 到【灌水乐园】发言


