


 本文详细介绍如何搭建CentOS6的实验模板机,包括准备工作、系统部署、优化配置及克隆主机等步骤,旨在快速部署基础系统以进行应用实验。
CentOS6实验模板机搭建
在学习和实验过程中,我们很多情况下需要能迅速部署CentOS6的基础系统来运行其他的应用。针对这常态化的功能,本博客详细记录了搭建CentOS6的模板机详细过程,方便日常的工作学习和实验。
一、准备工作
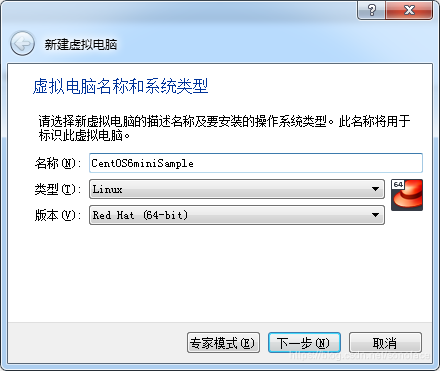
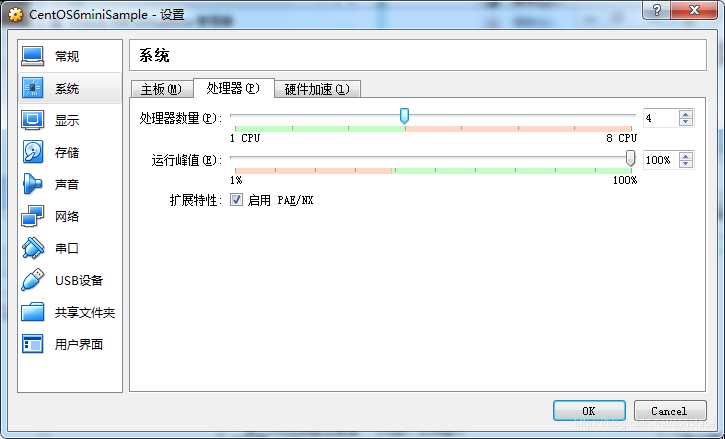
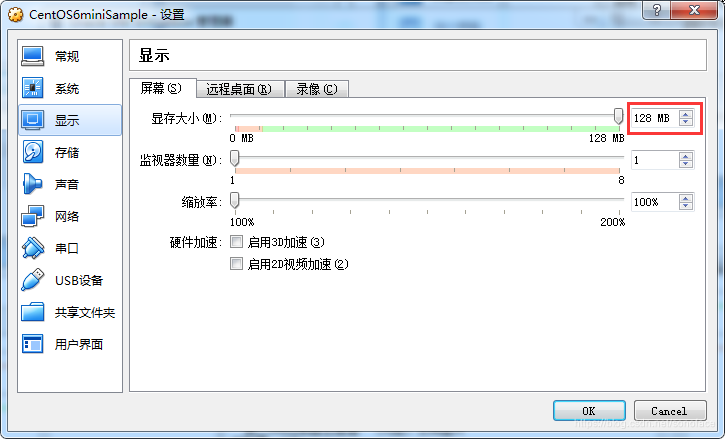
主机: Windows 7 + Virtualbox 5.2.30
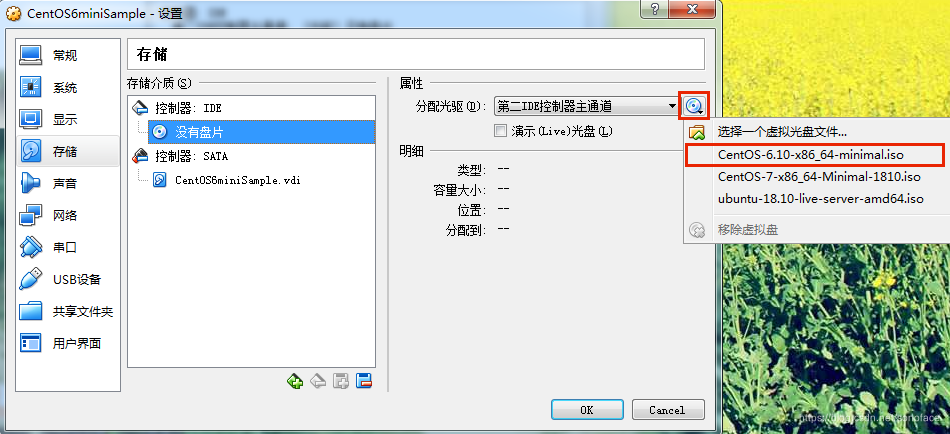
ISO镜像: CentOS-6.10-x86_64-minimal.iso
CentOS-6.10-x86_64-minimal.iso 该镜像可以从centos官网下载,当然最快速的方法就是去国内的镜像网站上下载。
附: 阿里云 - CentOS-6.10-x86_64-minimal.iso 点击下载
附: SSH工具 点击下载
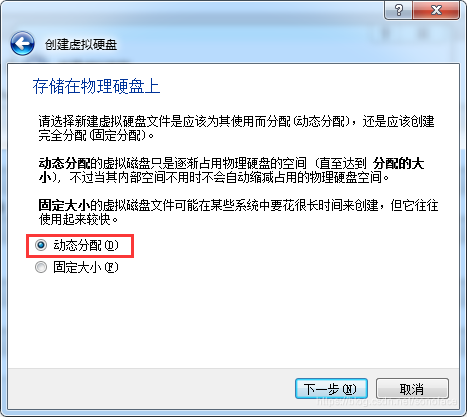
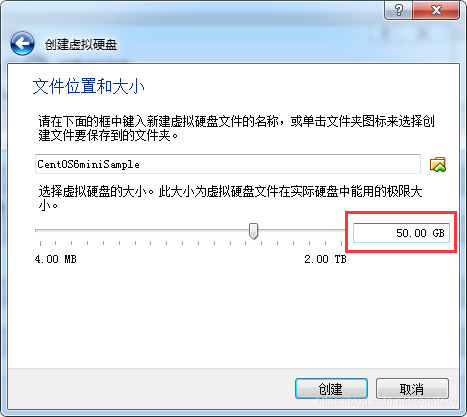
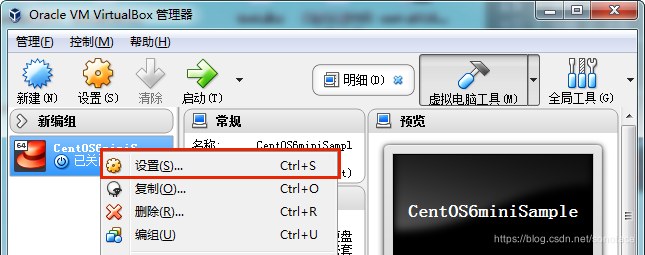
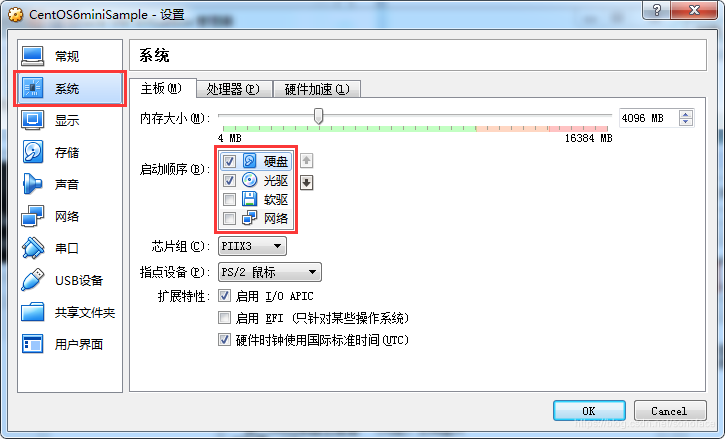
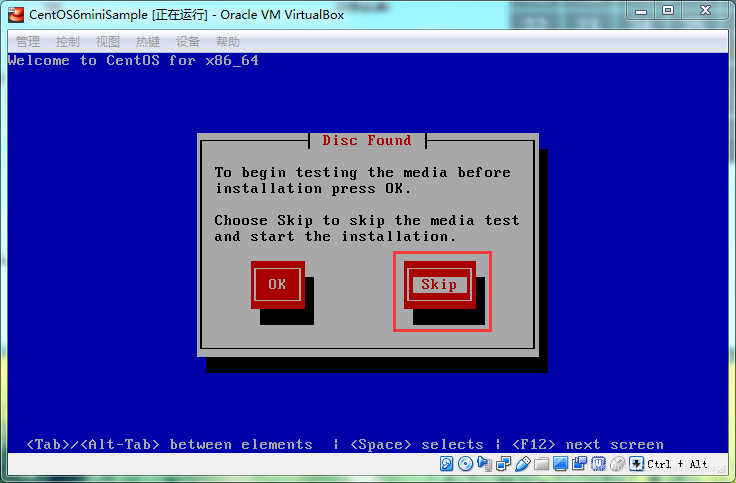
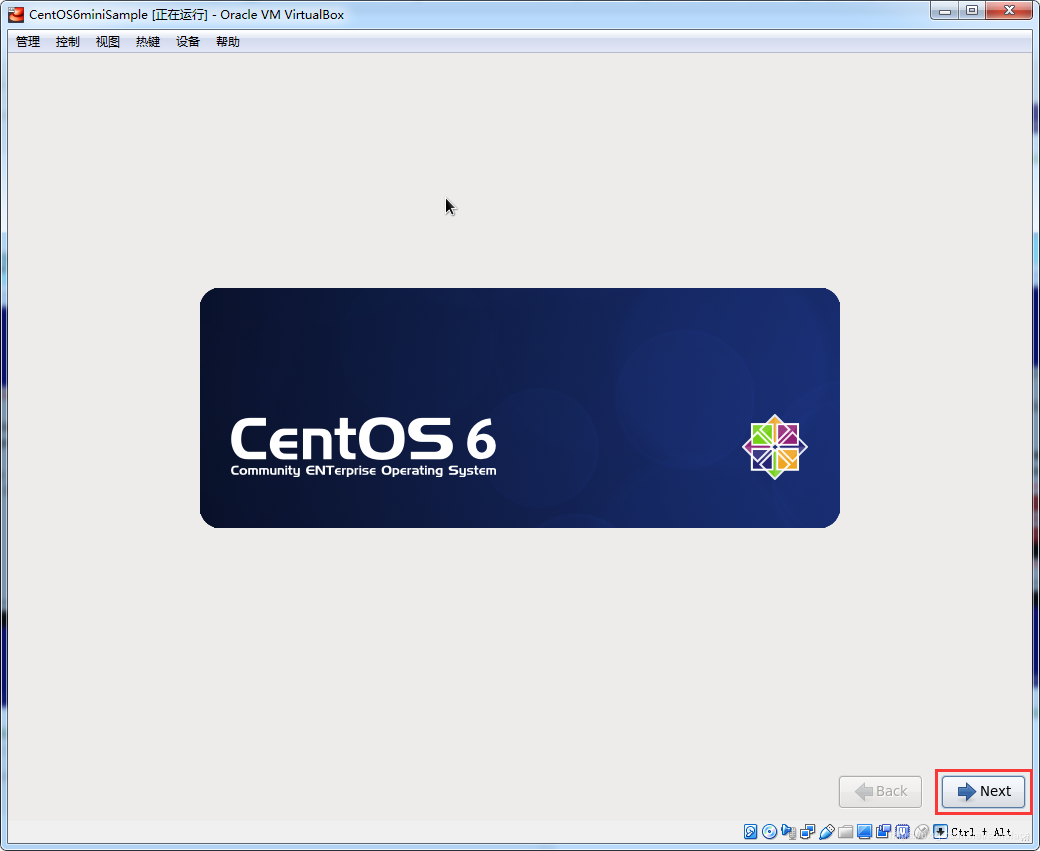
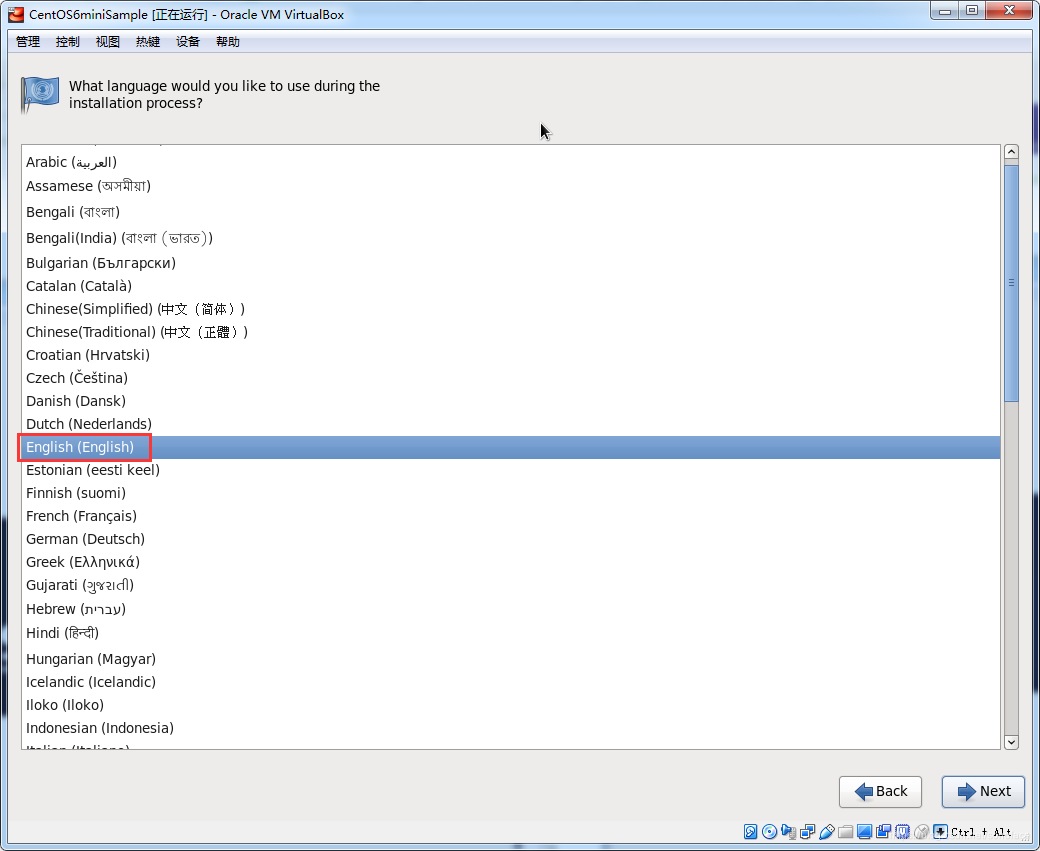
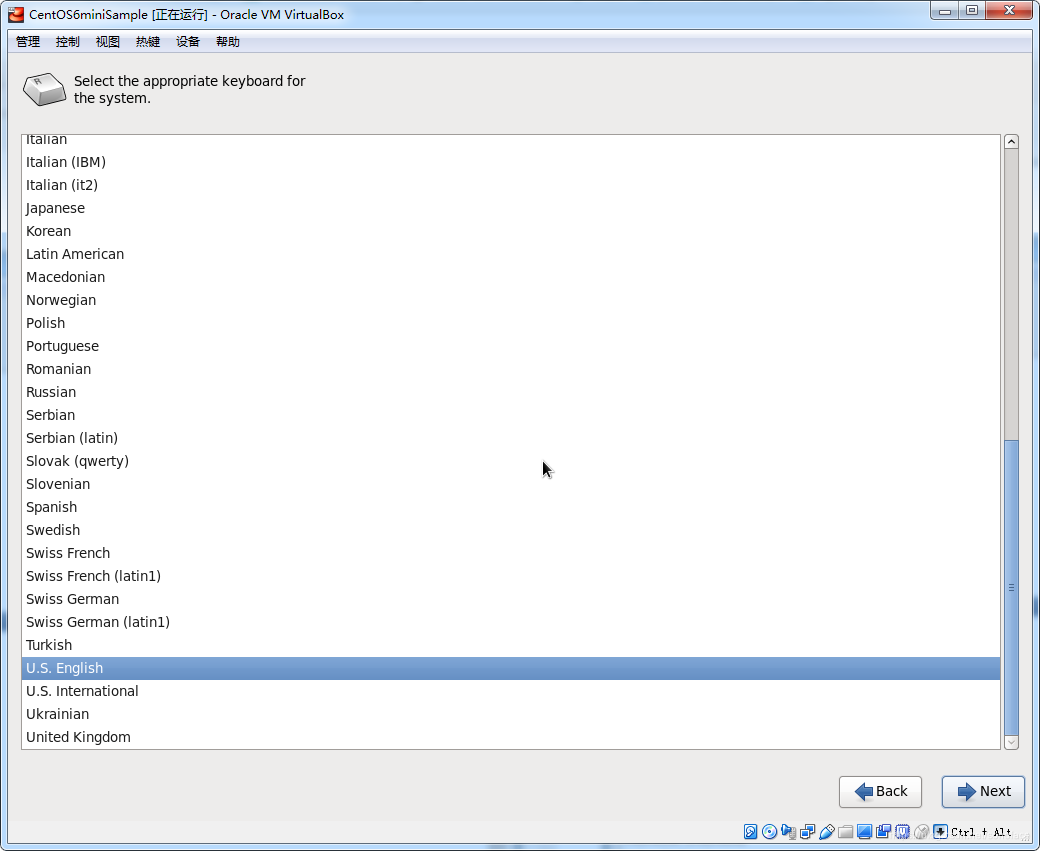
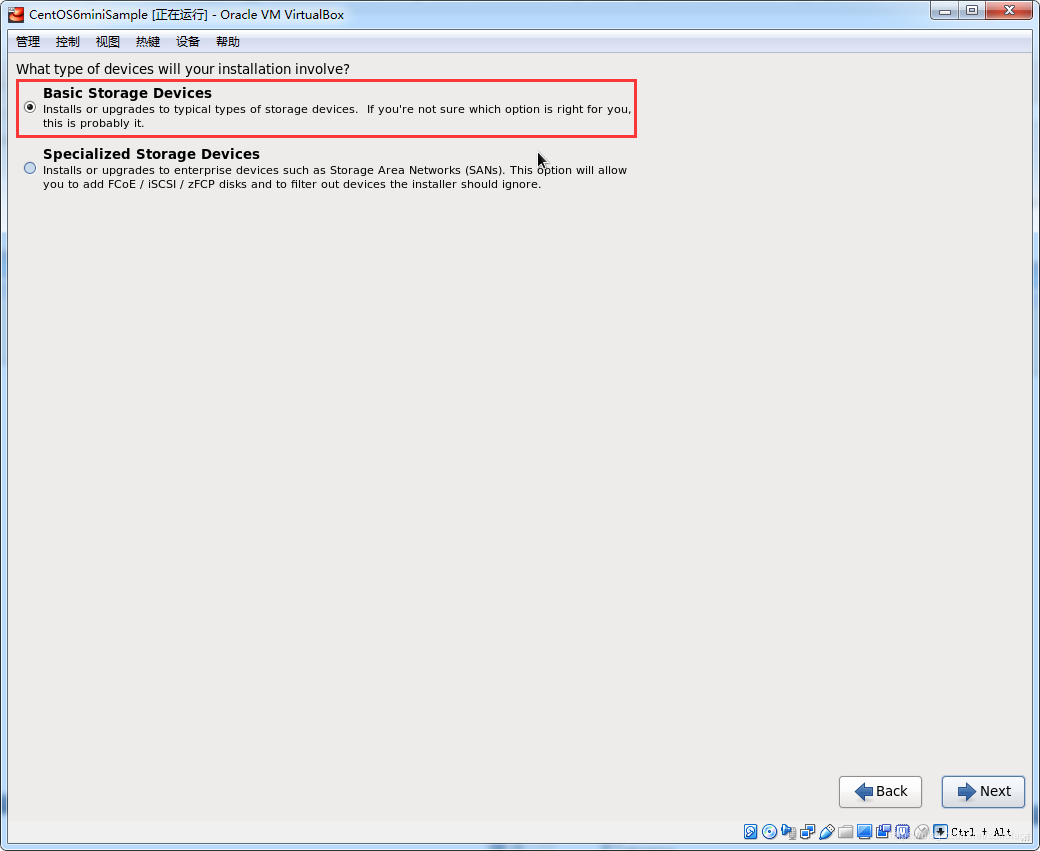
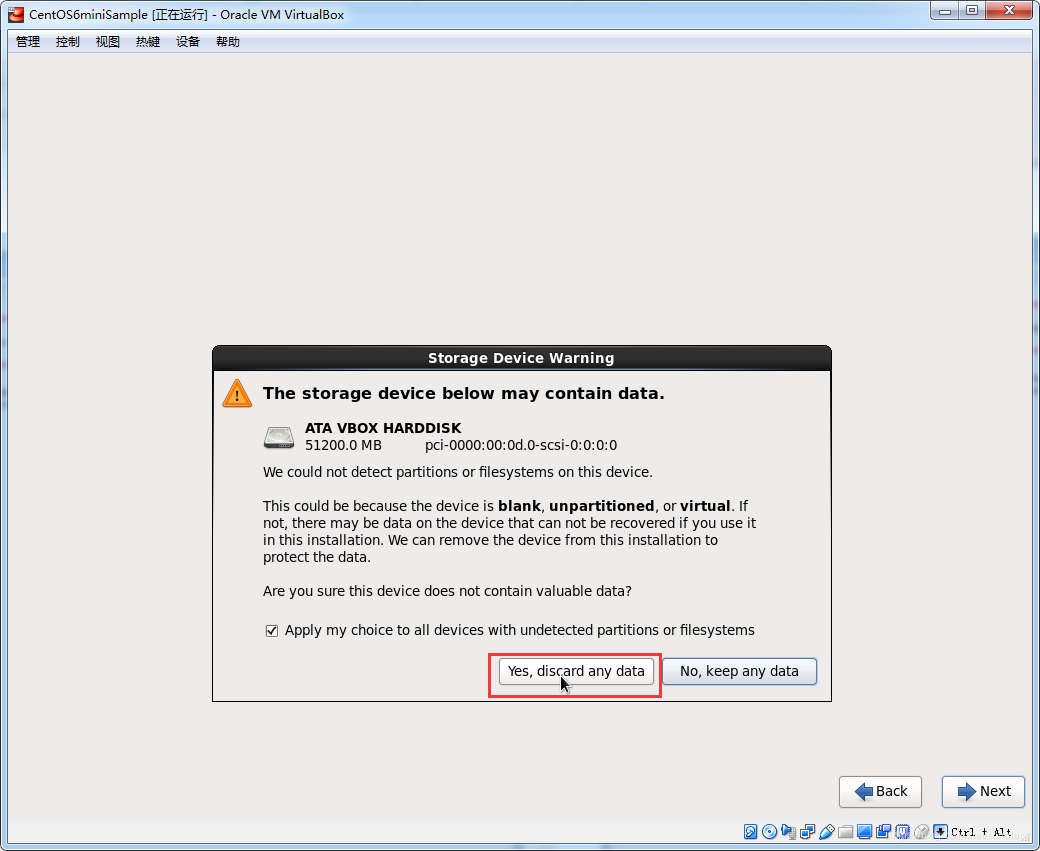
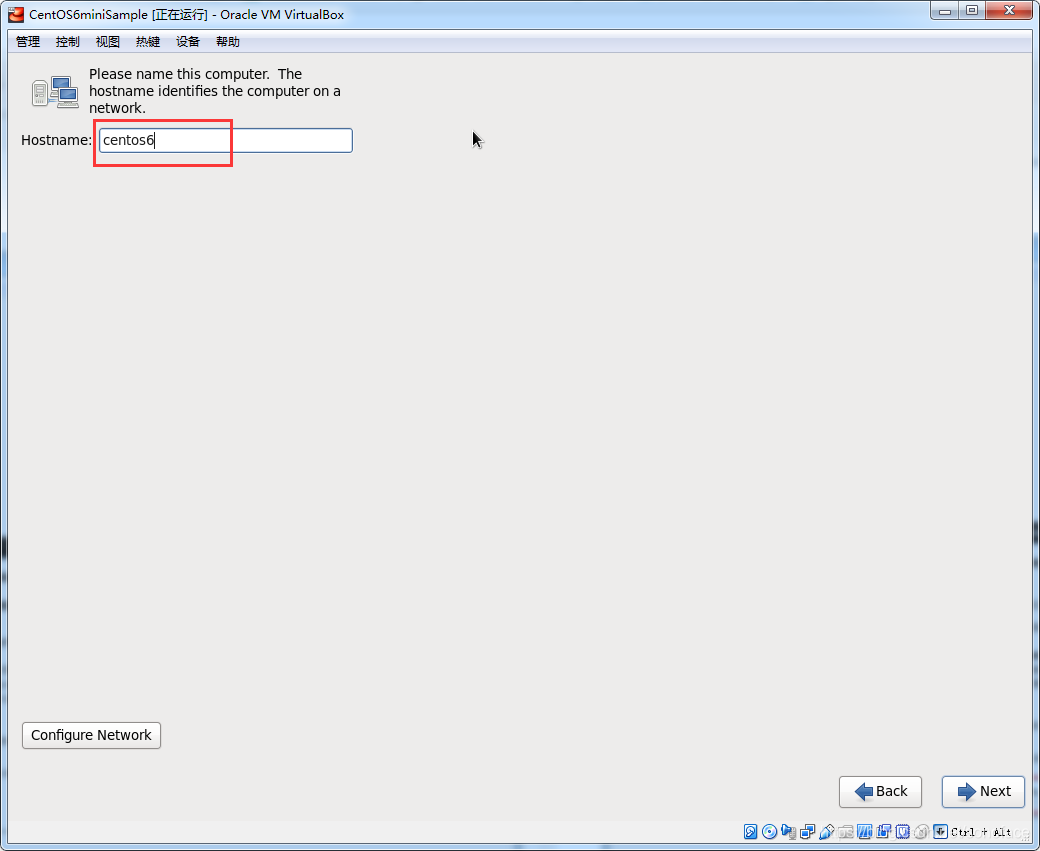
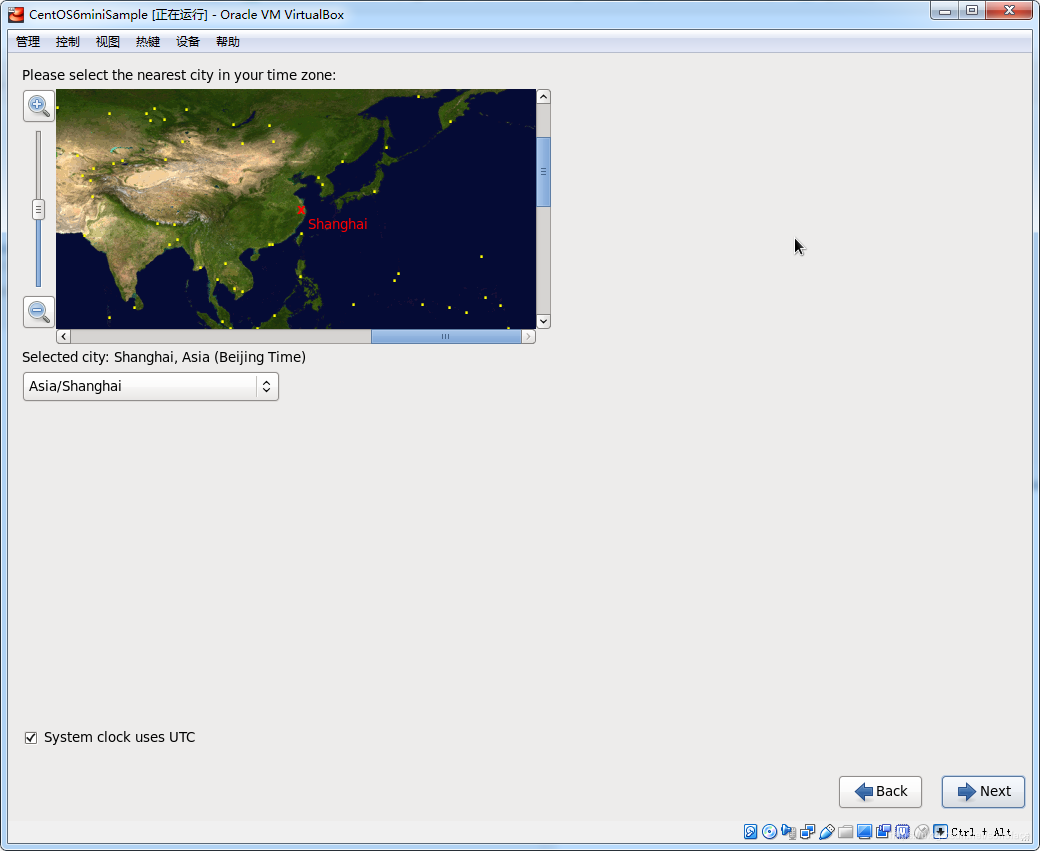
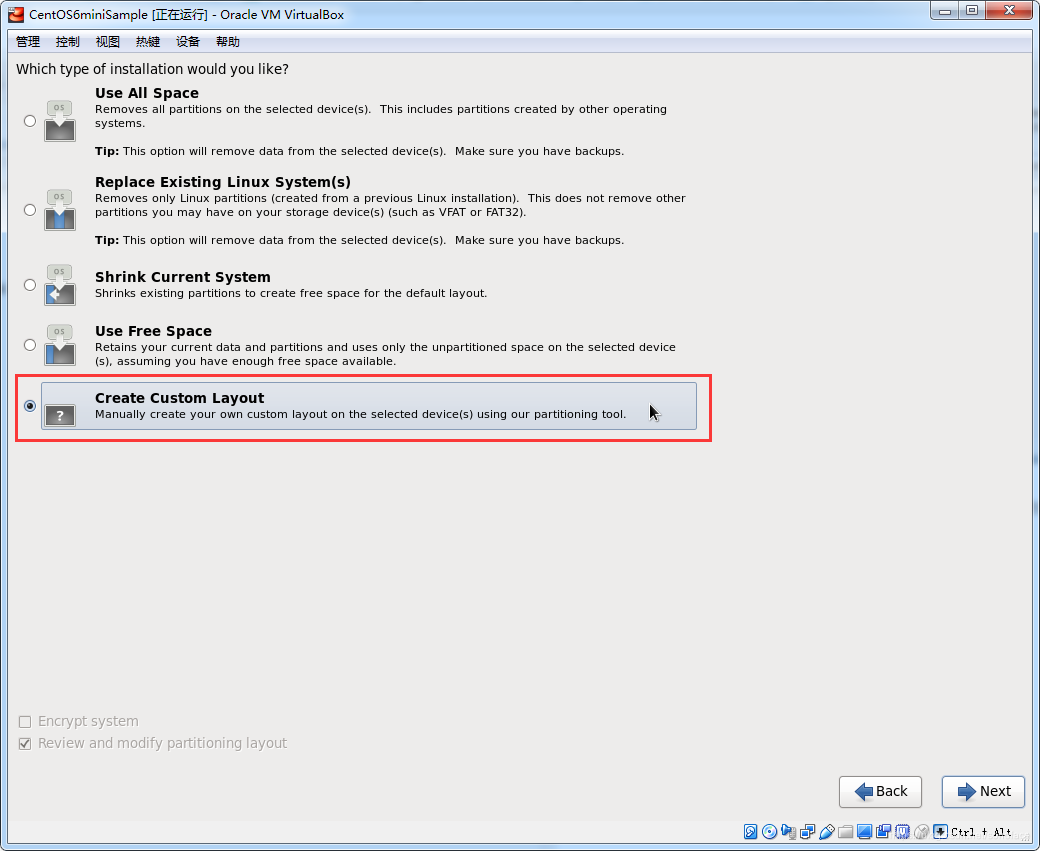
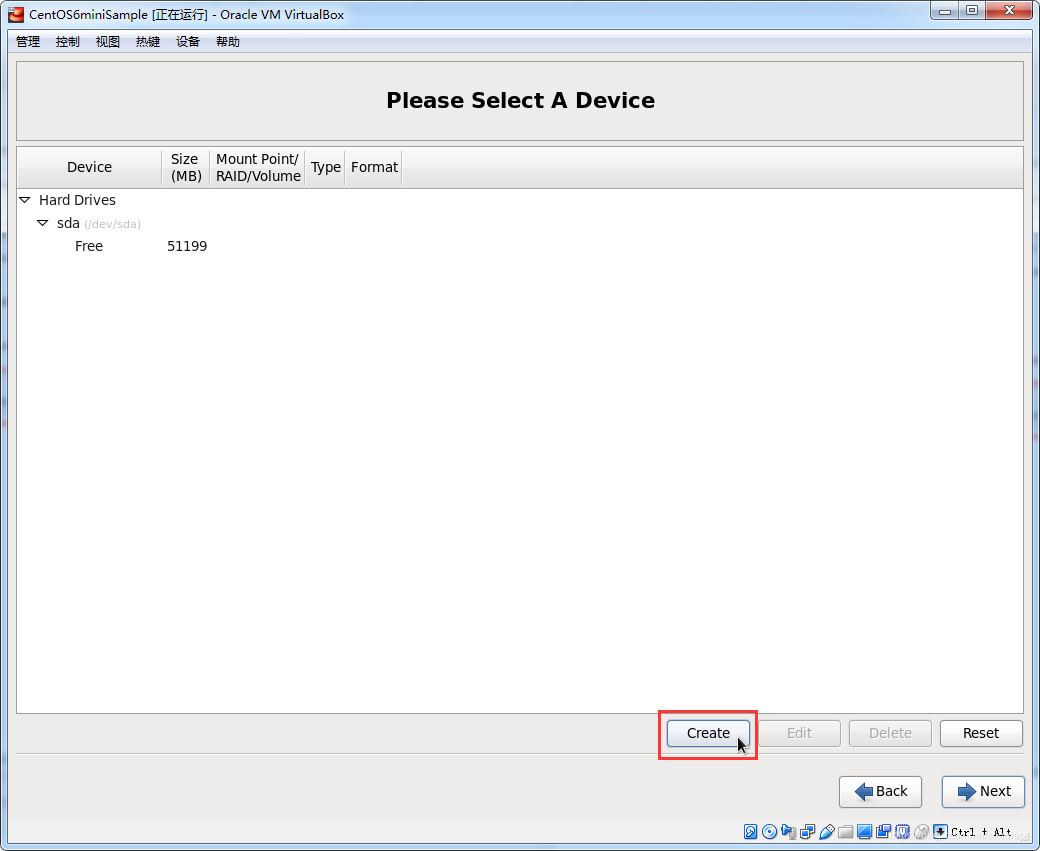
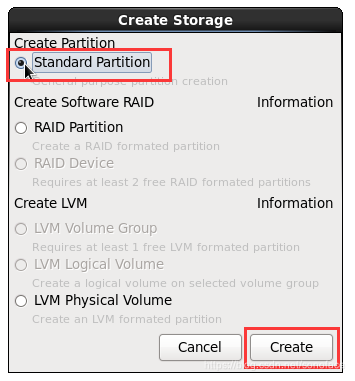
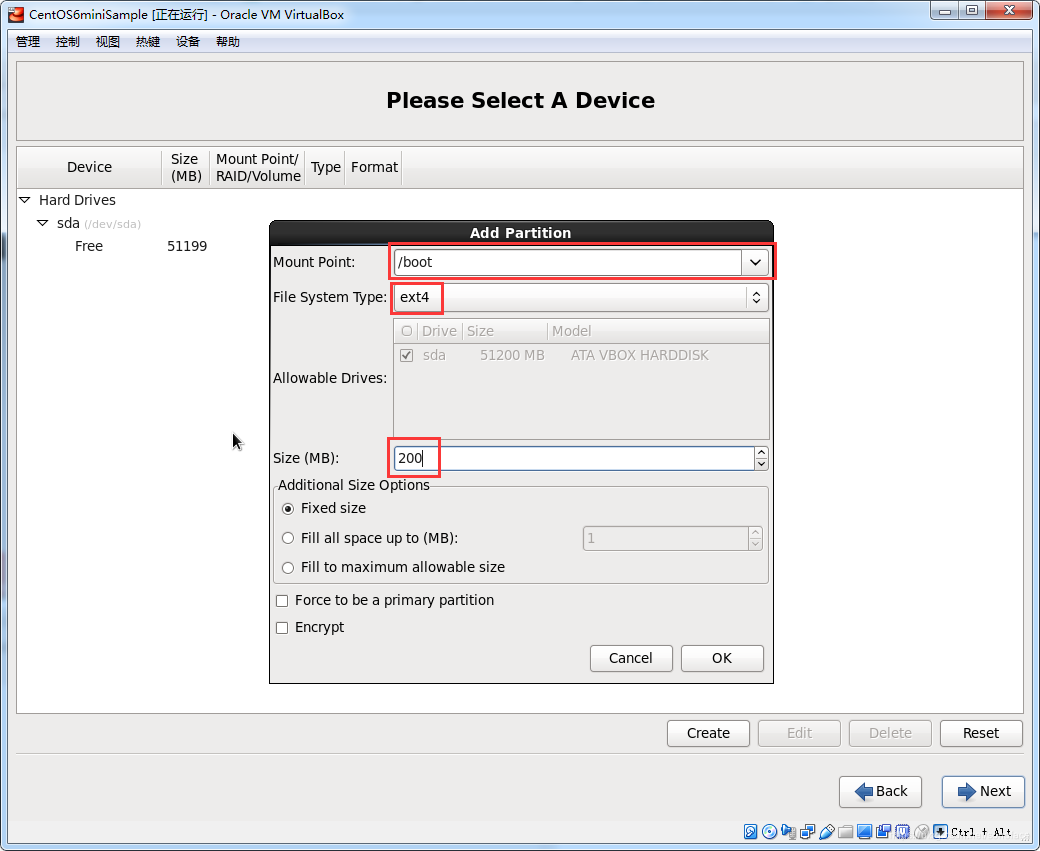
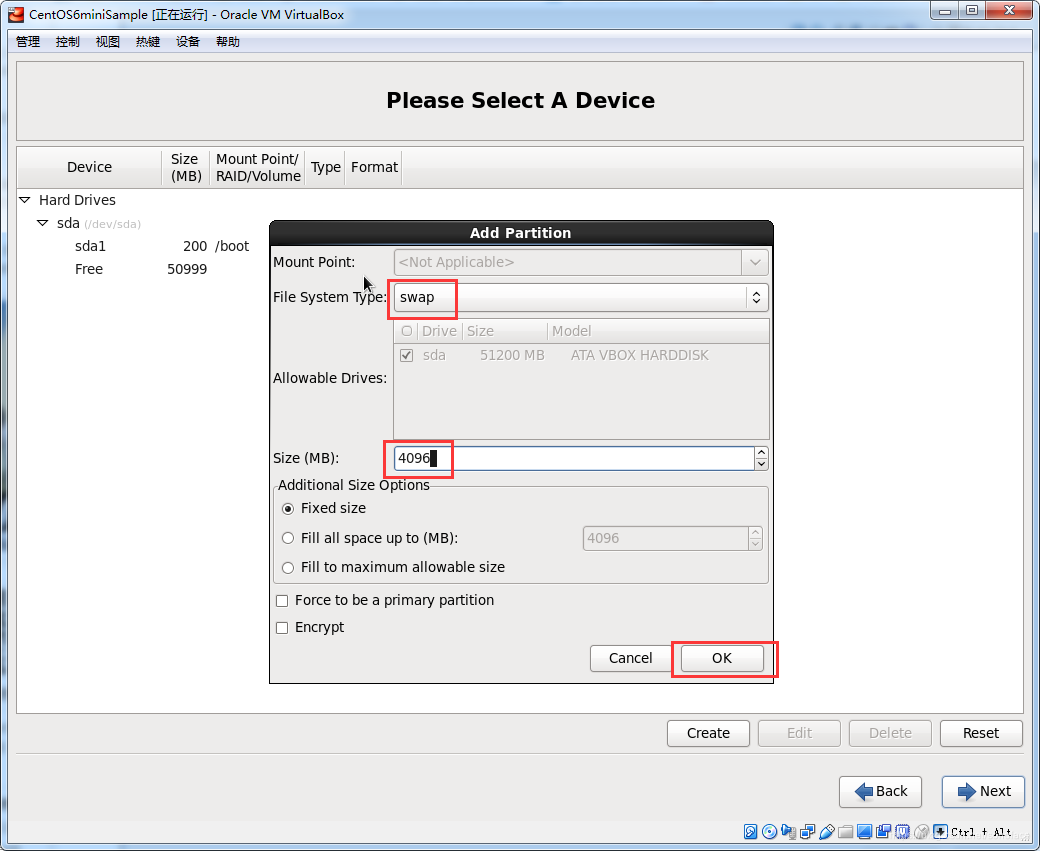
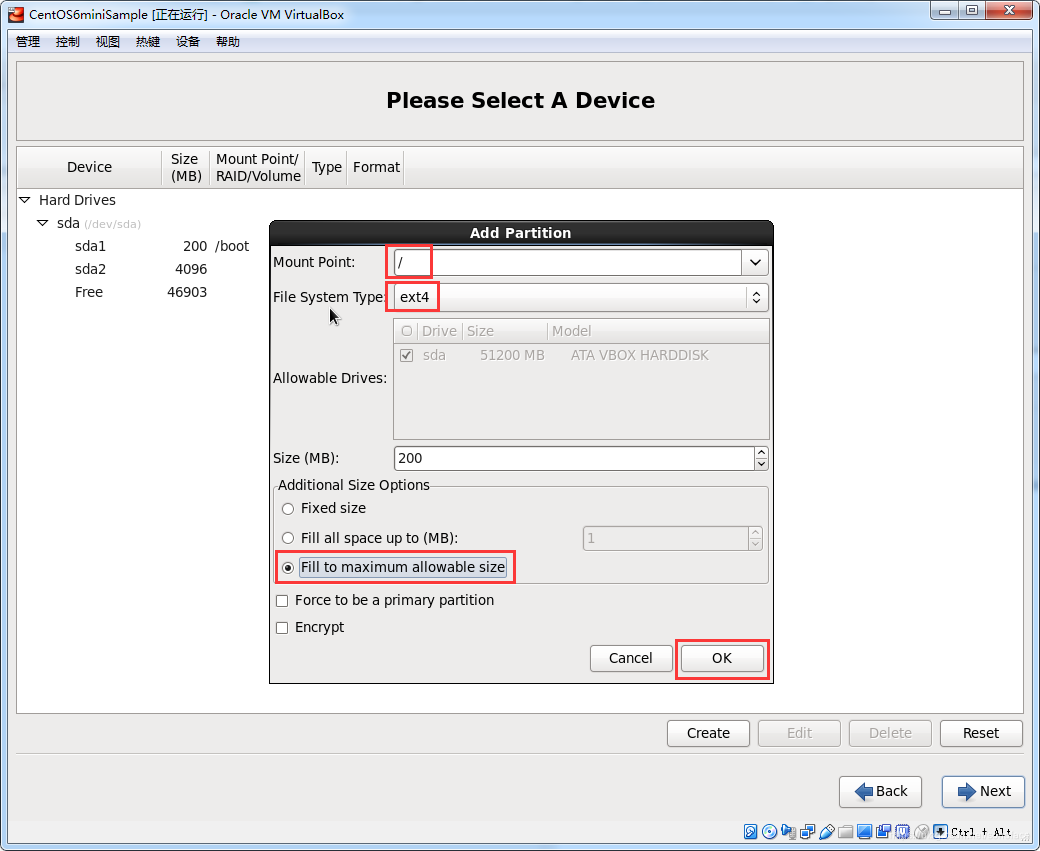
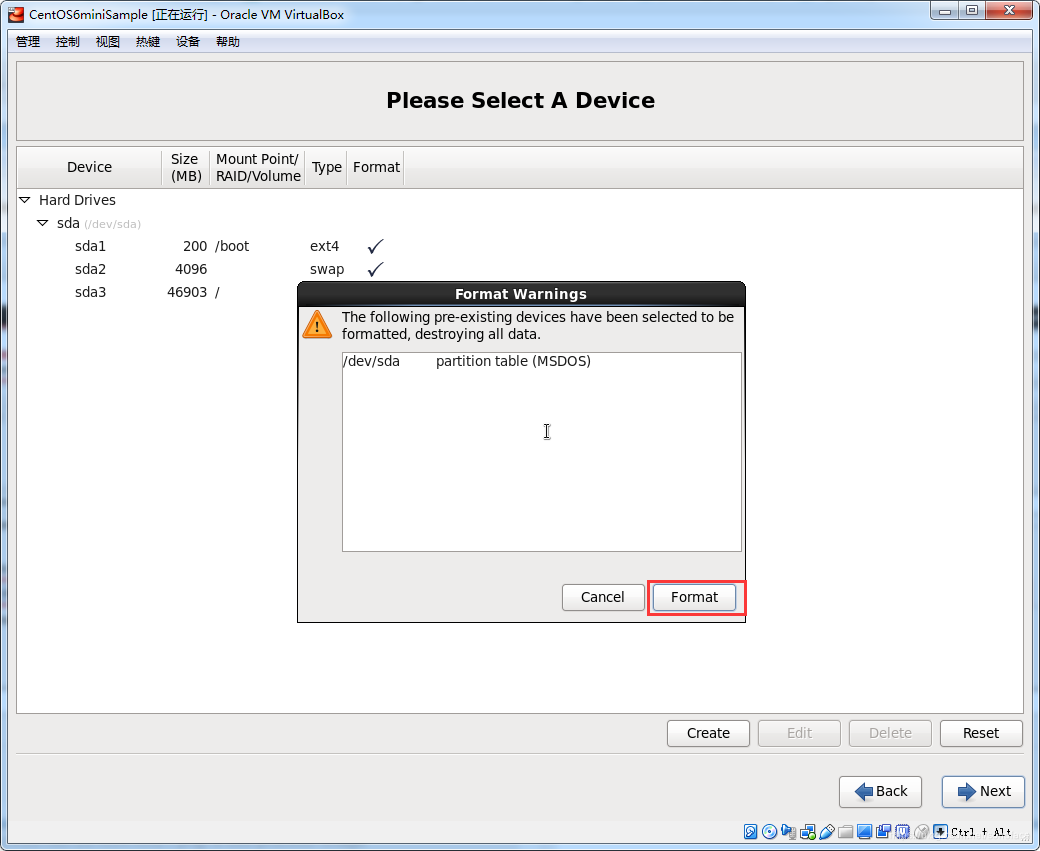
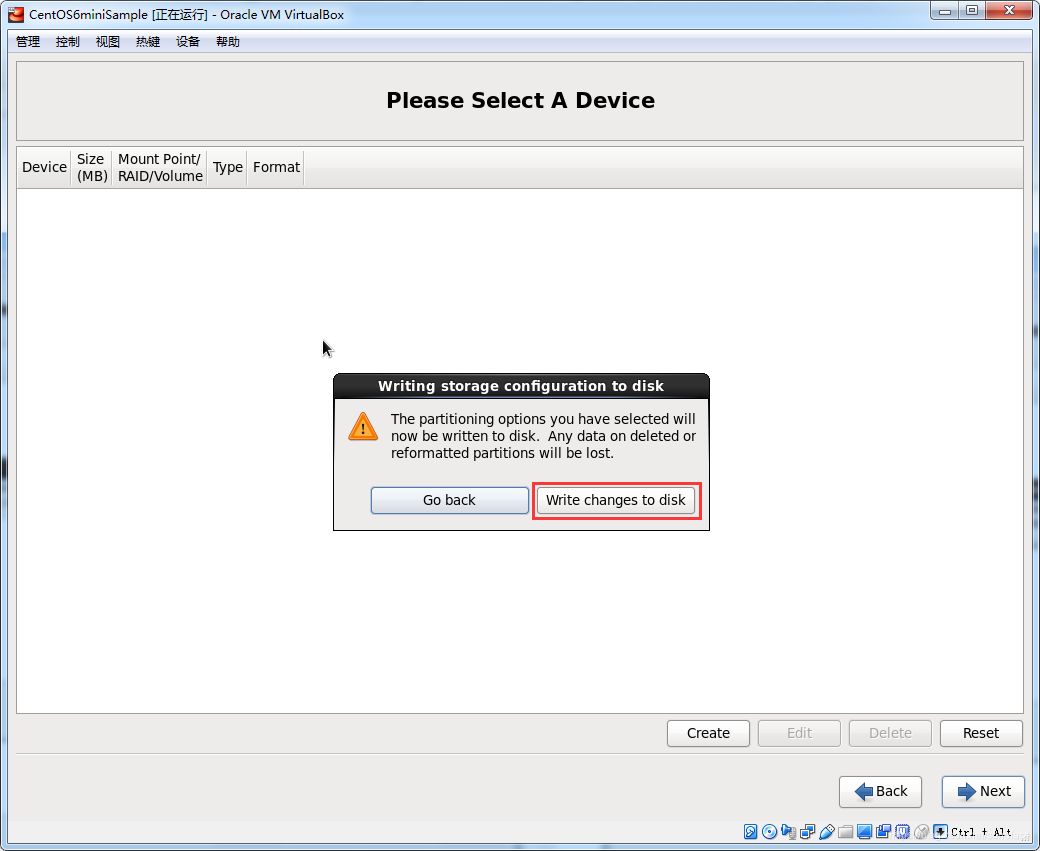
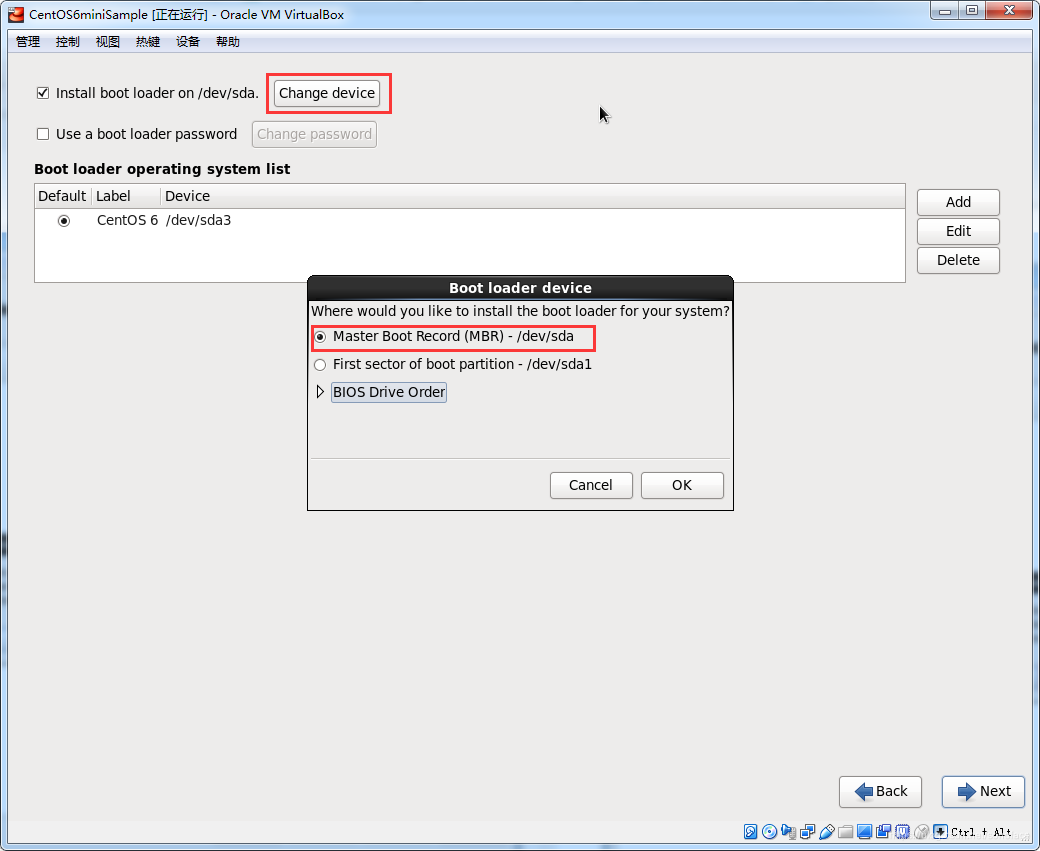
二、开始部署


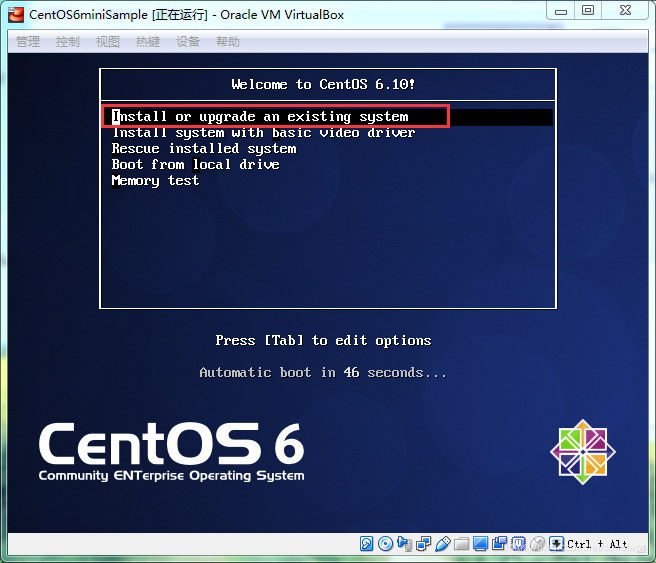
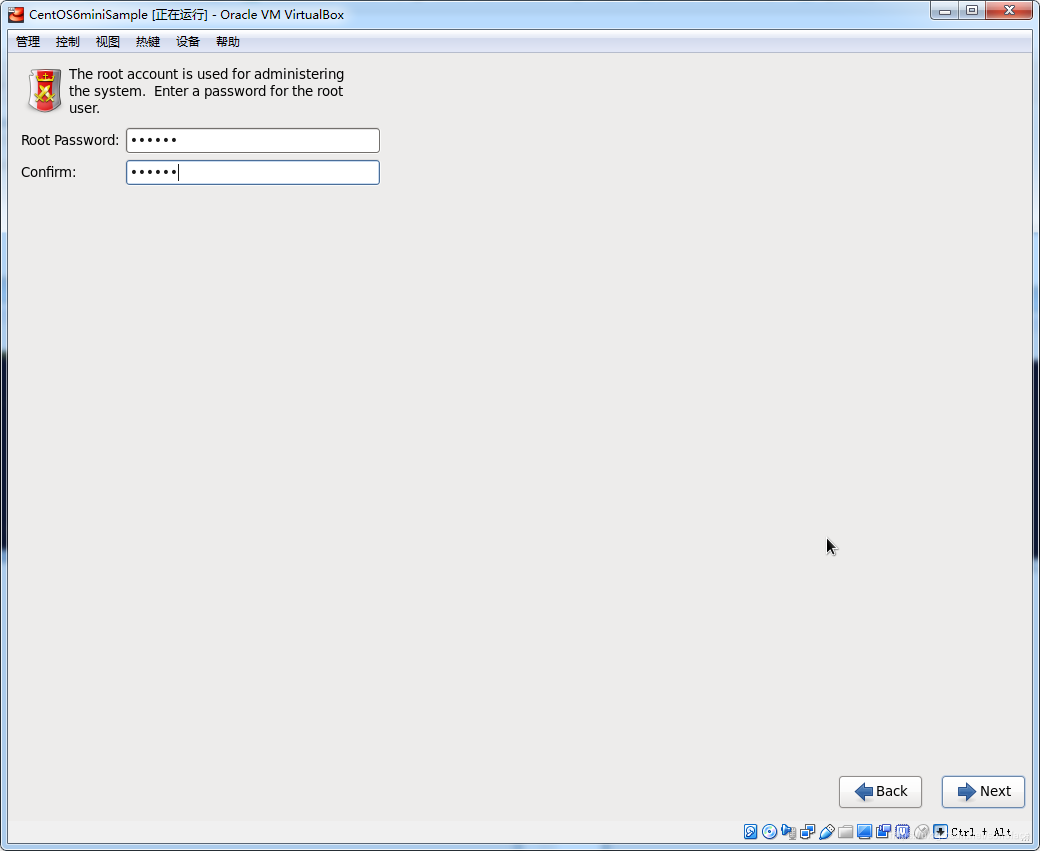
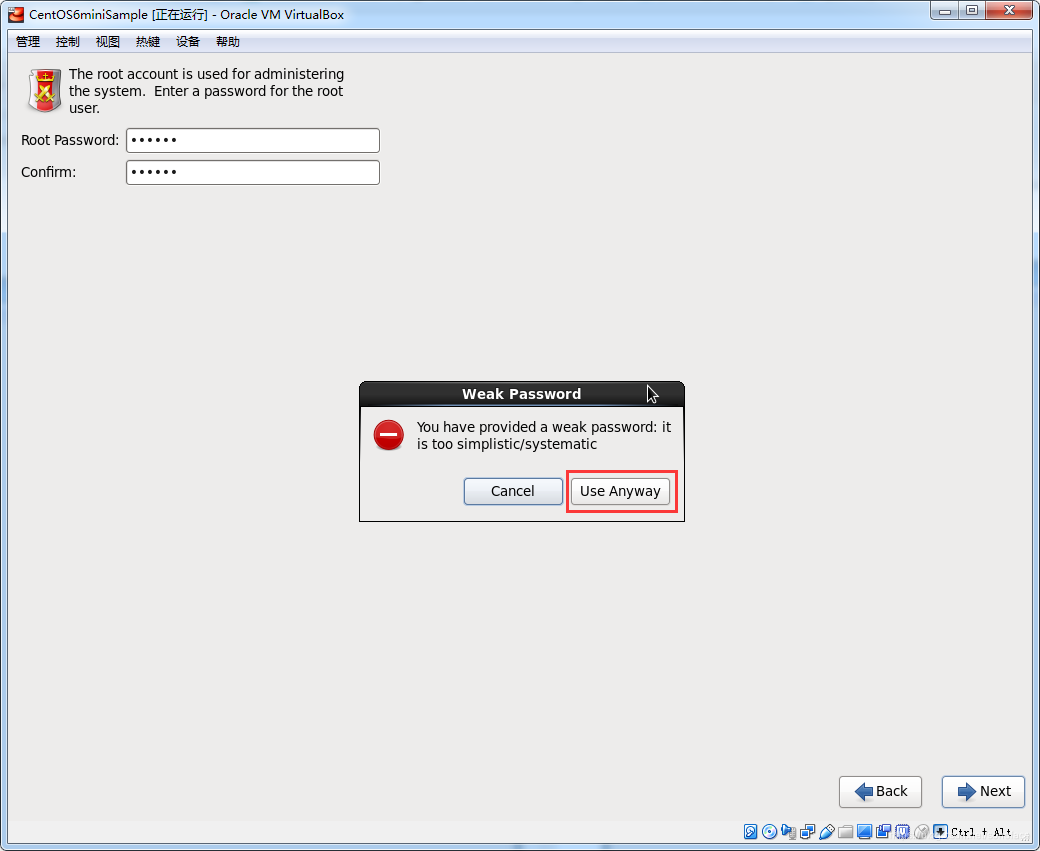
如果输入的root密码比较简单的话,会弹出"Weak Pasword"的会话框,选择"Use Anyway"。
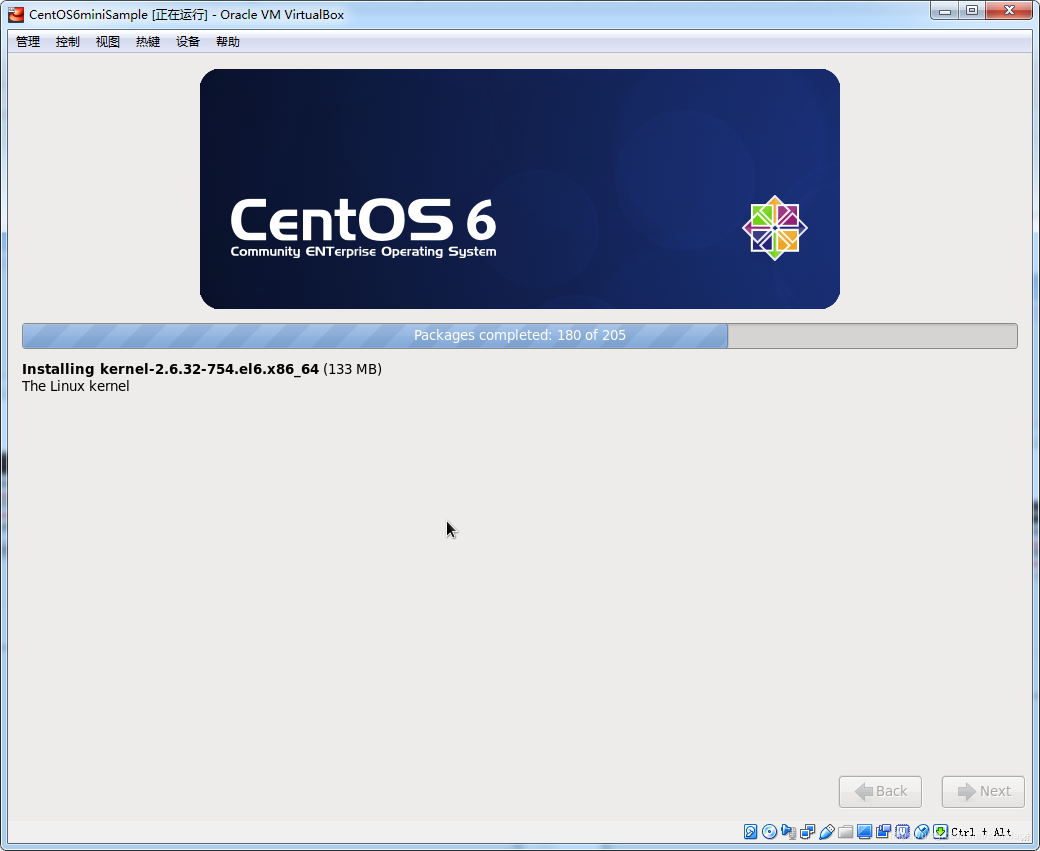
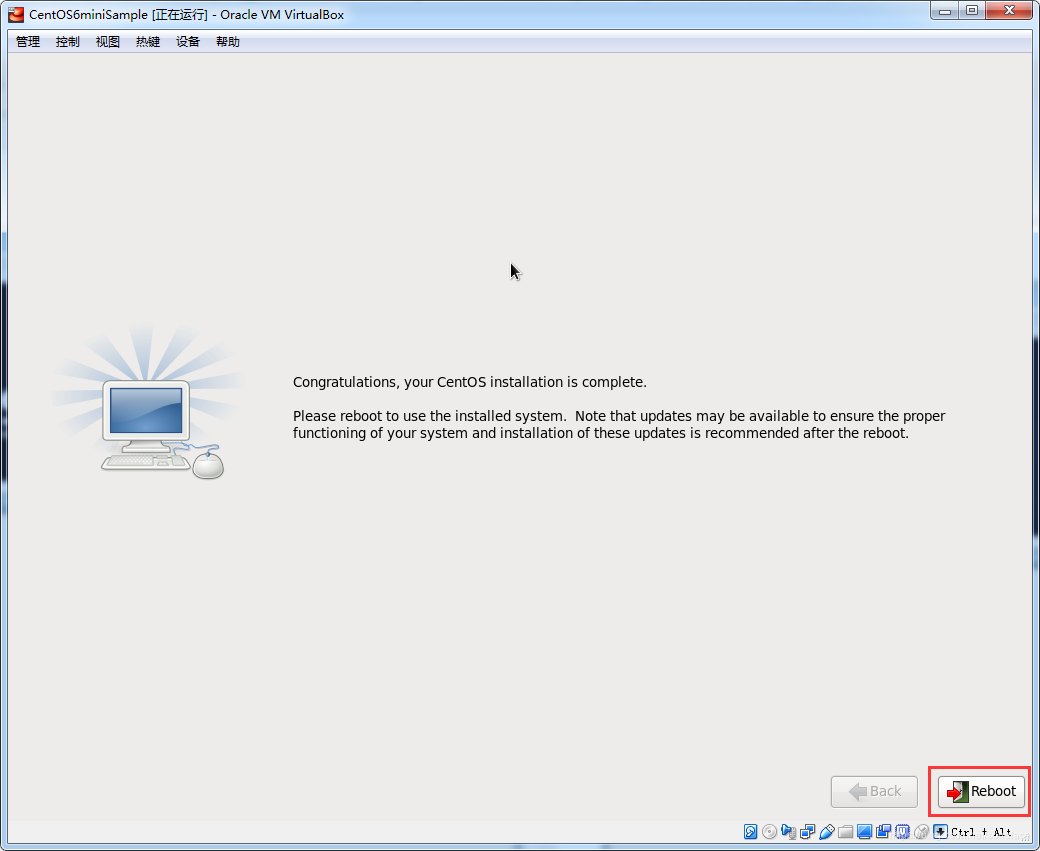
至此,CentOS6系统已经安装完毕,下一步开始优化该系统!
三、简单优化
- 输入账号和密码,登录CentOS6系统
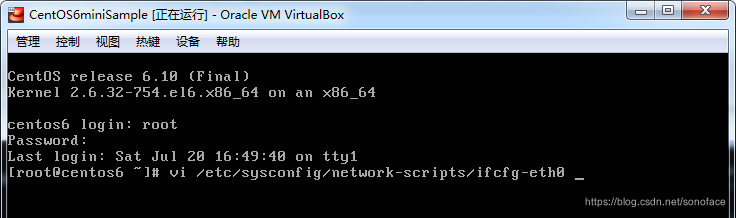
- 配置网卡信息,便于用SSH连接工具连接
# 配置网卡信息,IP地址根据自己的实际网络情况配置
cat >/etc/sysconfig/network-scripts/ifcfg-eth0<<EOF
DEVICE=eth0
TYPE=Ethernet
ONBOOT=yes
BOOTPROTO=static
IPADDR=192.168.2.4
NETMASK=255.255.255.0
GATEWAY=192.168.2.1
DNS1=223.5.5.5
DNS2=8.8.8.8
EOF

# 重启网卡
/etc/init.d/network restart
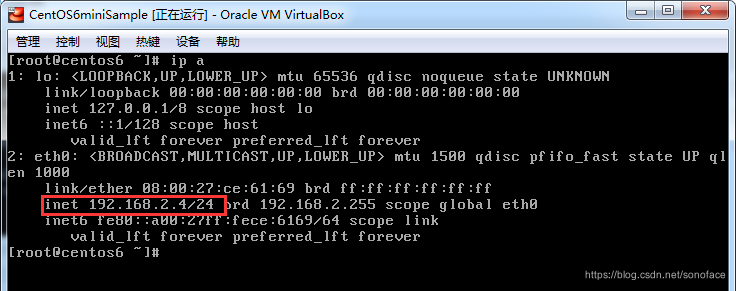
- 再通过
ip a命令查看主机的ip地址
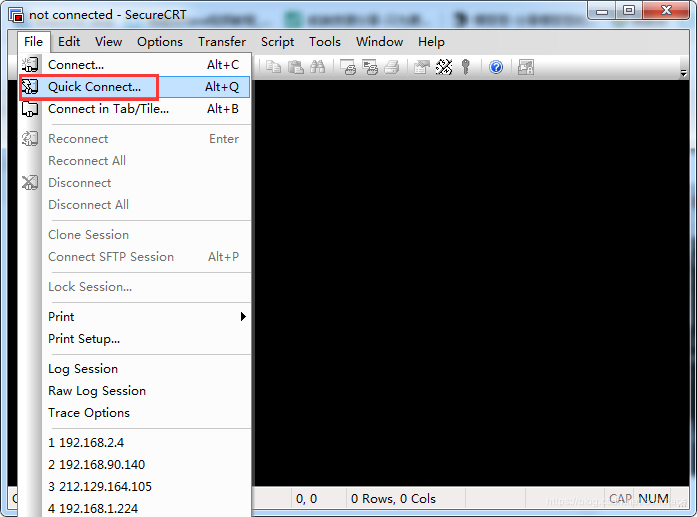
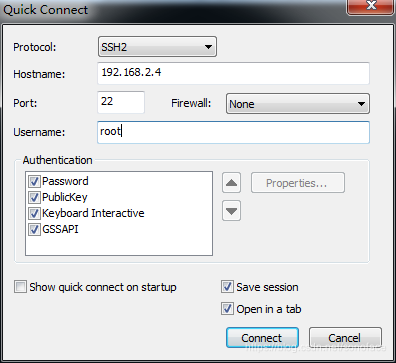
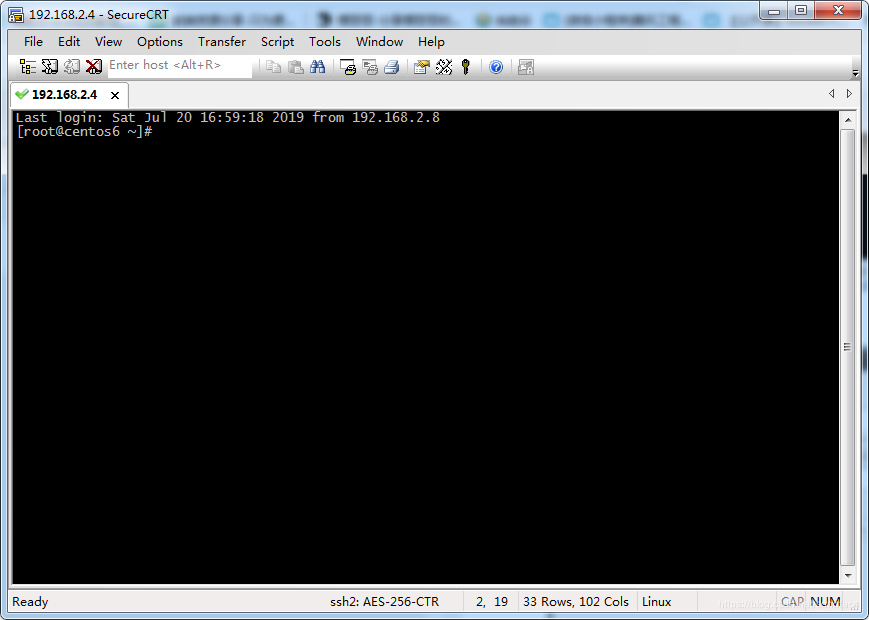
- 使用SSH工具连接主机
- 主机名和/etc/hosts文件配置
HOSTNAME=centos6
hostname $HOSTNAME
echo "$(grep -E '127|::1' /etc/hosts)">/etc/hosts
echo "$(ifconfig eth0|grep inet|awk -F'[ :]' '{print $13}') $(hostname)">>/etc/hosts
sed -i "s/^HOSTNAME.*$/HOSTNAME=$HOSTNAME/g" /etc/sysconfig/network
ping -c 3 $(hostname)
- 关闭防火墙和selinux
sed -i 's/^\tkernel.*$/& selinux=0/g' /boot/grub/grub.conf
sed -i 's/SELINUX=enforcing/SELINUX=disabled/g' /etc/selinux/config
chkconfig iptables off
- 配置阿里云yum源
yum install -y wget
wget -O /etc/yum.repos.d/CentOS-Base.repo http://mirrors.aliyun.com/repo/Centos-6.repo
# 下载阿里云的yum源配置文件
yum clean all
yum makecache
# 这样本地yum源和网络yum源就配置成功了
- 优化关闭开机启动项
chkconfig blk-availability off
chkconfig ip6tables off
chkconfig lvm2-monitor off
chkconfig netfs off
chkconfig postfix off
chkconfig mdmonitor off
chkconfig kdump off
chkconfig NetworkManager off
chkconfig abrt-ccpp off
chkconfig abrtd off
chkconfig acpid off
chkconfig certmonger off
chkconfig cpuspeed off
chkconfig cups off
chkconfig nfslock off
chkconfig portreserve off
chkconfig rpcbind off
chkconfig rpcgssd off
chkconfig rpcidmapd off
- sshd服务优化
# 优化加速sshd的连接速度
echo 'UseDNS no'>>/etc/ssh/sshd_config
sed -i 's/^GSSAPIAuthentication yes$/GSSAPIAuthentication no/g' /etc/ssh/sshd_config
/etc/init.d/sshd restart
- 设置自动任务校准时间
yum -y install ntpdate
ntpdate -u ntp1.aliyun.com
# 使用阿里云的ntp服务器做时间校准
echo '/usr/sbin/ntpdate -u ntp1.aliyun.com'>>/etc/rc.local
crontab -l>/tmp/crontab.tmp
echo '#OS Time Sync'>>/tmp/crontab.tmp
echo '0 * * * * /usr/sbin/ntpdate -u ntp1.aliyun.com>>/root/ntpdate.log 2>&1;/sbin/hwclock -w'>>/tmp/crontab.tmp
cat /tmp/crontab.tmp |crontab
rm -rf /tmp/crontab.tmp
# 设置开机启动时间校准和自动任务时间校准
cp -av /usr/share/zoneinfo/Asia/Shanghai /etc/localtime
- 部署dstat脚本监控
#安装dstat
cd /tmp
rpm -ivh dstat-0.7.2-1.el6.rfx.noarch.rpm
rm -rf dstat-0.7.2-1.el6.rfx.noarch.rpm

#修改脚本,输出主机名
sed -i 's/plugin title/Hostname/g' /usr/share/dstat/dstat_helloworld.py
sed -i 's/counter/------------/g' /usr/share/dstat/dstat_helloworld.py
sed -i "s/'Hello world\!'/os.popen('hostname').readlines()[0].split()/g" \
/usr/share/dstat/dstat_helloworld.py
dstat --helloworld 1 3

#创建检测脚本并启动
mkdir -p /root/checkOS
cd /root/checkOS
cat >/root/checkOS/checkOS.sh<<EOF
#!/bin/bash
export DSTAT_TIMEFMT='%Y-%m-%d %H:%M:%S'
#kill dstat
for i in \$(ps -ef|grep '/usr/bin/dstat --helloworld'|grep -v grep|awk '{print \$2}');do kill -9 \$i;done
#start dstat
/usr/bin/dstat --helloworld -tlcp \\
--proc-count -y \\
--top-cpu-adv \\
--top-cputime-avg \\
--top-latency-avg \\
--top-bio-adv \\
--top-io-adv \\
--top-mem \\
--top-childwait \\
-mgsn --net-packets --tcp --udp \\
--fs --lock \\
-dr --aio --disk-tps --disk-util \\
--freespace  --noheaders 10 8640 >>/root/checkOS/checkOS.info_\$(date +%F_%H_%M_%S) &
/usr/bin/find /root/checkOS/checkOS.info_* -mtime +30 -exec rm -rf {} \;
EOF
chmod 700 /root/checkOS/checkOS.sh
#/root/checkOS/checkOS.sh &
echo '/root/checkOS/checkOS.sh &'>>/etc/rc.local

#设置自动任务每日启动监控脚本
crontab -l>/tmp/crontab.tmp
echo -e '\n#OS Check Dstat'>>/tmp/crontab.tmp
echo '0 0 * * * /bin/bash /root/checkOS/checkOS.sh'>>/tmp/crontab.tmp
cat /tmp/crontab.tmp |crontab
rm -rf /tmp/crontab.tmp

#生成脚本,输出昨日系统基本信息
cat >/root/checkOS/checkYesterday.sh<<EOF
head -1 /root/checkOS/checkOS.info_\$(date '+%F' -d '1 day ago')*|\\
awk 'BEGIN{OFS="|"}/system/{print "|"\$1,\$2,\$3,\$4,\$5,\$6,\$15,\$16,\$17,\$18,\$24"|"}'>/root/checkOS/result.txt
cat /root/checkOS/checkOS.info_\$(date '+%F' -d '1 day ago')*|grep -v '\----system----'|\\
awk 'BEGIN{FS="|";OFS="|"} !/system/ {print "|"\$1,\$2,\$3,\$4,\$5,\$6,\$15,\$16,\$17,\$18,\$24"|"}'>>/root/checkOS/result.txt
head -2 result.txt ;grep -v '|-' result.txt |sort -t'|' -nrk4|head -30
EOF
chmod +x checkYesterday.sh

#生成脚本,输出今日系统基本信息
cat >/root/checkOS/checkToday.sh<<EOF
head -1 /root/checkOS/checkOS.info_\$(date '+%F')*|\\
awk 'BEGIN{OFS="|"}/system/{print "|"\$1,\$2,\$3,\$4,\$5,\$6,\$15,\$16,\$17,\$18,\$24"|"}'>/root/checkOS/result.txt
cat /root/checkOS/checkOS.info_\$(date '+%F')*|grep -v '\----system----'|\\
awk 'BEGIN{FS="|";OFS="|"} !/system/ {print "|"\$1,\$2,\$3,\$4,\$5,\$6,\$15,\$16,\$17,\$18,\$24"|"}'>>/root/checkOS/result.txt
head -2 result.txt ;grep -v '|-' result.txt |sort -t'|' -nrk4|head -30
EOF
chmod +x checkToday.sh
chattr +i *.sh
- 安装常用的软件,系统升级,关机
yum install -y vim tree lrzsz
yum update -y
shutdown -h now
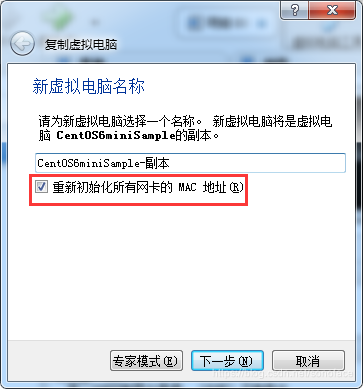
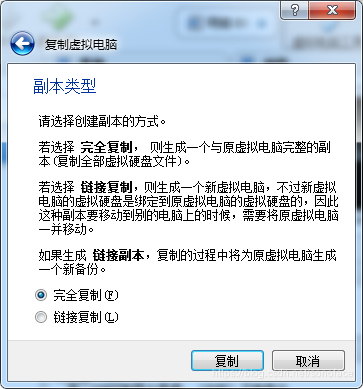
四、克隆CentOS6主机
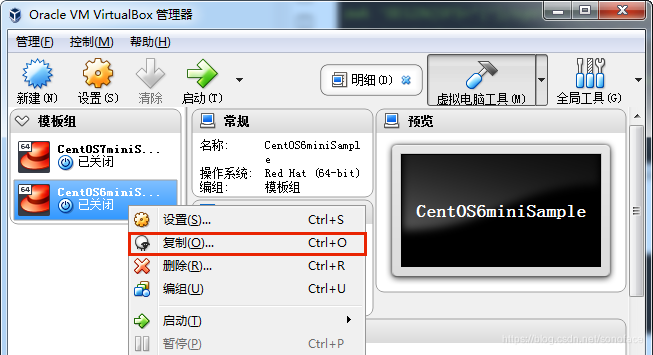
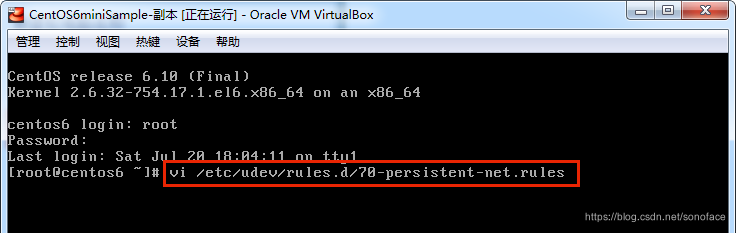
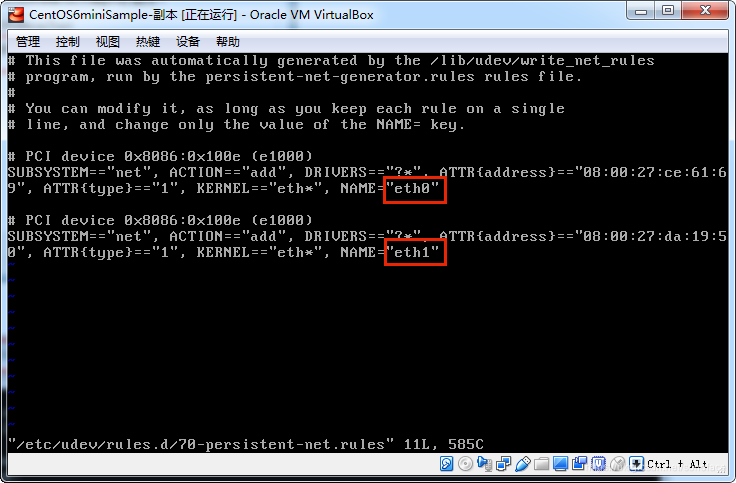
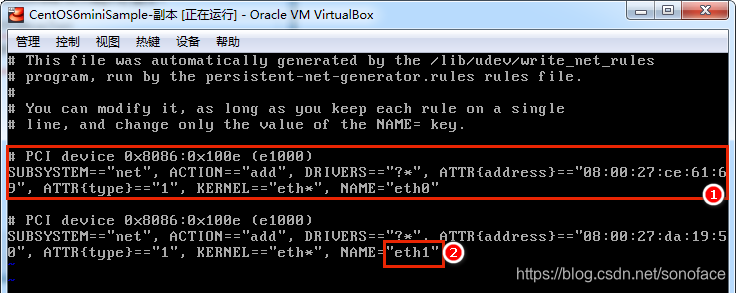
上图中,把1中的两行删除,再把"2"中的"eth1"改成"eth0",保存退出,重启主机。
至此,CentOS6试验模板机搭建结束。


 580
580

 被折叠的 条评论
为什么被折叠?
被折叠的 条评论
为什么被折叠?
 到【灌水乐园】发言


