


参考
卸载 mariadb
yum remove -y mariadb-libs-5.5.68
下载mysql8.4
https://dev.mysql.com/downloads/mysql/
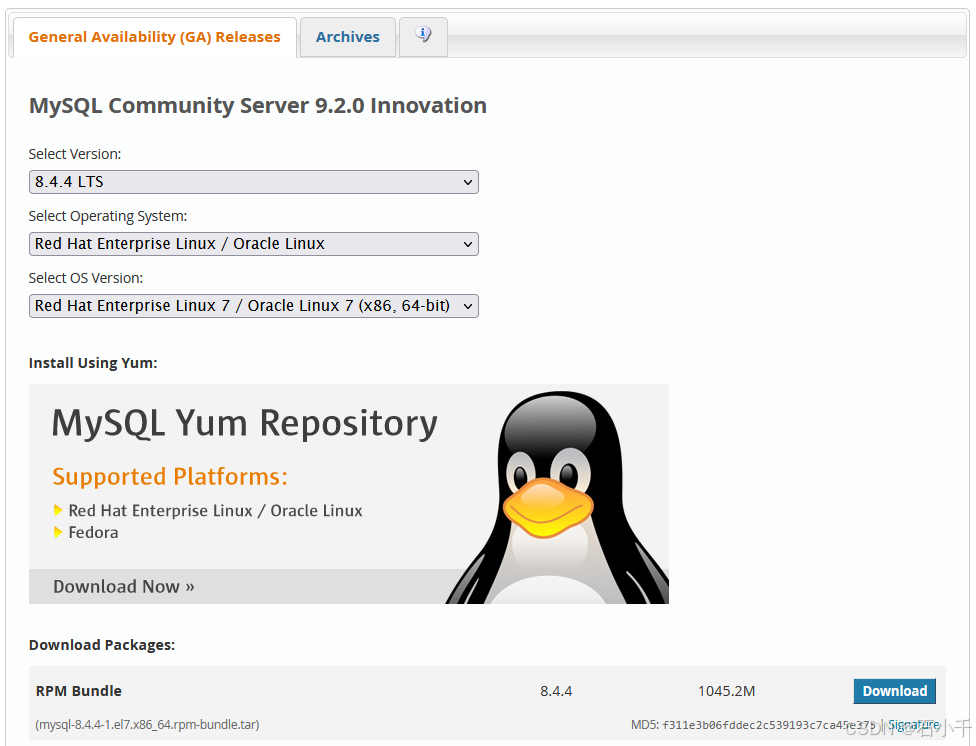
下载RPM包
wget https://cdn.mysql.com//Downloads/MySQL-8.4/mysql-8.4.4-1.el7.x86_64.rpm-bundle.tar
创建解压目录
mkdir -p mysql8.4.4
tar -xvf mysql-8.4.4-1.el7.x86_64.rpm-bundle.tar -C mysql8.4.4

安装mysql-server
rpm -ivh mysql-community-{server,client,client-plugins,icu-data-files,common,libs}-*
修改基础配置文件
- 需要先修改配置文件,用于初始化,否则后期修改配置文件中参数与mysql默认参数冲突时,数据库会无法启动。
vim /etc/my.cnf
# cache in MySQL. Start at 70% of total RAM for dedicated server, else 10%.
# innodb_buffer_pool_size = 128M
#
# Remove leading # to turn on a very important data integrity option: logging
# changes to the binary log between backups.
# log_bin
#
# Remove leading # to set options mainly useful for reporting servers.
# The server defaults are faster for transactions and fast SELECTs.
# Adjust sizes as needed, experiment to find the optimal values.
# join_buffer_size = 128M
# sort_buffer_size = 2M
# read_rnd_buffer_size = 2M
datadir=/var/lib/mysql
socket=/var/lib/mysql/mysql.sock

# Disabling symbolic-links is recommended to prevent assorted security risks
symbolic-links=0

log-error=/var/log/mysqld.log
pid-file=/var/run/mysqld/mysqld.pid

#慢日志
slow_query_log=ON
long_query_time=5
slow_query_log_file=/var/log/mysql-slow.log

##设置缓冲池实例为8个
innodb_buffer_pool_instances=8
#为所有线程打开的表的数量
table_open_cache=65536

#### Threads ###
innodb_purge_threads=4
innodb_page_cleaners=8
innodb_read_io_threads=16
innodb_write_io_threads=16

#### Buffer Cache ###
##### Global ###
##设置缓冲池大小为
innodb_buffer_pool_size=24G
innodb_buffer_pool_chunk_size=128M
innodb_change_buffering=ALL
innodb_change_buffer_max_size=25

#### Connections ###
back_log=1500
max_connections=10000
max_connect_errors=100000
open_files_limit=65535
table_definition_cache=10000
thread_cache_size=1000
#connect_timeout=30
#interactive_timeout=3600
#wait_timeout=3600
#net_read_timeout=86400
#net_write_timeout=86400


### InnoDB Engine ###
###事务隔离级别,默认为可重复读,mysql默认可重复读级别(此级别下可能参数很多间隙锁,影响性能)
transaction_isolation=READ-COMMITTED

# 服务端使用的字符集默认为UTF8
character-set-server=utf8mb4

# 不区分表名大小写
lower_case_table_names=1

# 默认使用“mysql_native_password”插件认证
mysql_native_password=ON
#MySQL 8.4 以上版本
authentication_policy=mysql_native_password
#MySQL 8.0-8.3 版本
#default_authentication_plugin=mysql_native_password

# 关闭DNS解析
skip_name_resolve=ON

# 单个数据包(网络传输或 SQL 语句)的最大值,不建议超过1G,默认值64M
max_allowed_packet=960M

##########################################
sql_mode=STRICT_TRANS_TABLES,NO_ZERO_IN_DATE,NO_ZERO_DATE,ERROR_FOR_DIVISION_BY_ZERO,NO_ENGINE_SUBSTITUTION

# 全文检索
innodb_ft_total_cache_size=1600M
innodb_ft_cache_size=80M
innodb_ft_min_token_size=2
ft_min_word_len=2
ngram_token_size=2

[mysql]
# 设置mysql客户端默认字符集
default-character-set=utf8mb4
- 创建慢日志文件
sudo -u mysql echo "" > /var/log/mysql-slow.log
启动mysqld
systemctl start mysqld
获取默认root密码
grep ‘temporary password’ /var/log/mysqld.log

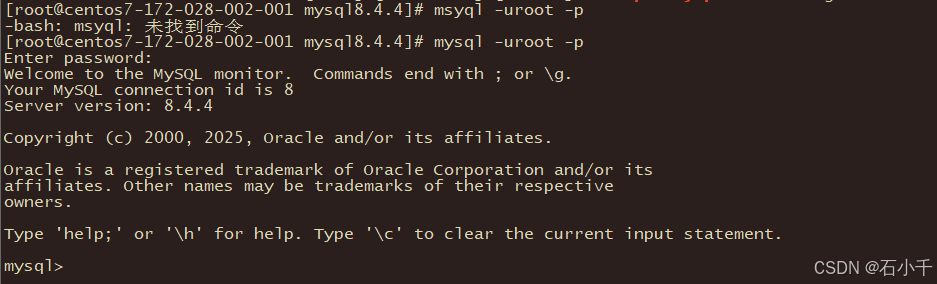
登录修改密码
mysql -uroot -p
mysql> ALTER USER 'root'@'localhost' IDENTIFIED BY 'MyNewPass4!';
修改root@localhost,允许远程连接
mysql> use mysql;
mysql> UPDATE user SET host='%' WHERE user='root';
mysql> FLUSH PRIVILEGES;
mysql> exit
重启服务
systemctl restart mysqld

netstat -nltp

数据库重新初始化
- 如果修改配置文件后,数据库无法启动时,请检查日志文件,错误例如:
Different lower_case_table_names settings for server ('1') and data dictionary ('0')
造成原因是,使用默认配置文件初始化数据库,后期又修改配置文件中的lower_case_table_names参数,造成配置冲突。
- 此时需要重新初始化数据库
- 还原默认配置文件,并启动数据库
- 登录数据库后,查询 'datadir’路径;
Welcome to the MySQL monitor.  Commands end with ; or \g.
Your MySQL connection id is 10
Server version: 8.4.4 MySQL Community Server - GPL

Copyright (c) 2000, 2025, Oracle and/or its affiliates.

Oracle is a registered trademark of Oracle Corporation and/or its
affiliates. Other names may be trademarks of their respective
owners.

Type 'help;' or '\h' for help. Type '\c' to clear the current input statement.

mysql> SHOW VARIABLES LIKE 'datadir';
+---------------+-----------------+
| Variable_name | Value           |
+---------------+-----------------+
| datadir       | /var/lib/mysql/ |
+---------------+-----------------+
1 row in set (0.01 sec)

mysql>
- 删除数据存储目录下的所有文件;
rm -rf /var/lib/mysql/*
- 初始化数据库;
mysqld --defaults-file=/etc/my.cnf --user=mysql --initialize --console
- 查看新密码
[root@centos7-172-028-002-001 log]# grep 'temporary password' /var/log/mysqld.log
2025-03-18T14:03:20.458408Z 6 [Note] [MY-010454] [Server] A temporary password is generated for root@localhost: wrV2G*jwLbjy


 216
216

 被折叠的 条评论
为什么被折叠?
被折叠的 条评论
为什么被折叠?
 到【灌水乐园】发言


