


 文章详细介绍了如何在Ubuntu22.04上编译静态FFmpeg库,并强调需开启静态编译配置。接着,它阐述了如何在Android工程中创建native项目,将编译出的静态库和头文件导入,并提供了两种在CMakeLists.txt中添加静态库引用的方法。文章还提醒注意静态库的链接顺序和依赖库的链接,以及在不同Android版本中可能的差异。
一、编译静态FFmpeg库
关于ffmpeg库的编译,这里就不在赘述,不了解如何编译的参考之前的文章 (Android FFMPEG编解码实践(一):Ubuntu 22.04 NDK编译FFMPEG+libx264-优快云博客)。
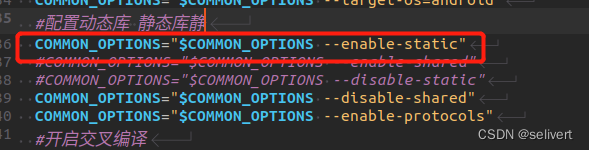
这里主要强调一下,编译静态库一定要开启静态编译的配置,否则等他编译完发现没有静态库就浪费时间了。
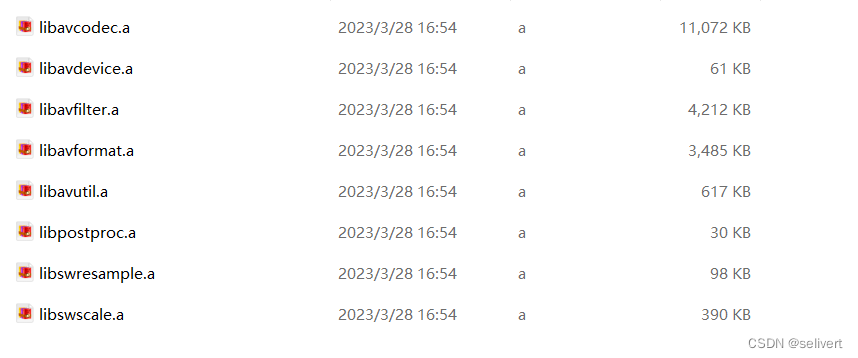
等待编译完成之后,在输出文件夹中就可以看到产出的八个静态库了。
二、Android 集成静态库
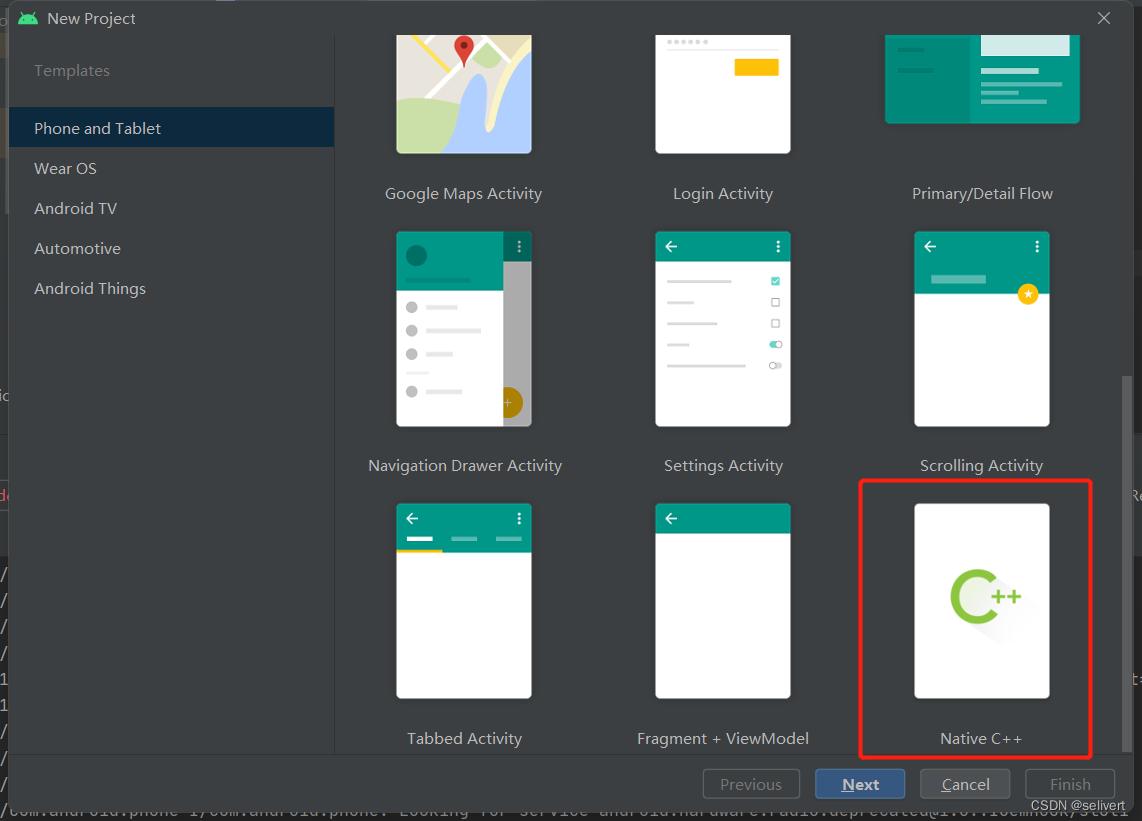
创建一个android native工程:
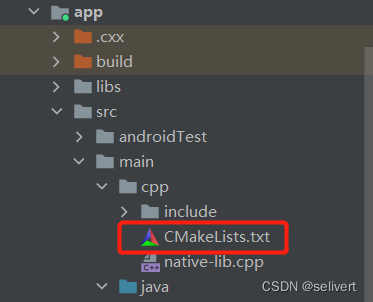
创建完成之后,将之前编译出来的8个静态库文件拷贝到工程的libs文件夹下,头文件也拷贝过来
![]()
笔者的目录结构如上图,这个目录后续还需要用到。
打开 应用的 build.gadle,添加如下内容(由于笔者的测试机是arm32位的 所以仅添加了32位的filter,如果有arm64位或者x86的芯片,添加对应名称即可)。

打开CMakeLists.txt文件:
添加ffmpeg静态库引用,此处有两种方式,一种是按文件添加,另一种是按目录添加。
先看按文件添加的,其实就是把每个静态库都声明一下,:
cmake_minimum_required(VERSION 3.10.2)

project("testapplication")

add_library( # Sets the name of the library.
             native-lib

             # Sets the library as a shared library.
             SHARED

             # Provides a relative path to your source file(s).
             native-lib.cpp )


find_library( # Sets the name of the path variable.
              log-lib

              # Specifies the name of the NDK library that
              # you want CMake to locate.
              log )


set(distribution_DIR ${CMAKE_SOURCE_DIR}/../../../libs)

# 引入头文件
include_directories(../../../libs/ffmpeg/${ANDROID_ABI}/include/)

add_library( avcodec
        STATIC
        IMPORTED)
set_target_properties( avcodec
        PROPERTIES IMPORTED_LOCATION
        ${distribution_DIR}/ffmpeg/${ANDROID_ABI}/libavcodec.a)

add_library( avdevice
        STATIC
        IMPORTED)
set_target_properties( avdevice
        PROPERTIES IMPORTED_LOCATION
        ${distribution_DIR}/ffmpeg/${ANDROID_ABI}/libavdevice.a)

add_library( avfilter
        STATIC
        IMPORTED)
set_target_properties( avfilter
        PROPERTIES IMPORTED_LOCATION
        ${distribution_DIR}/ffmpeg/${ANDROID_ABI}/libavfilter.a)

add_library( avformat
        STATIC
        IMPORTED)
set_target_properties( avformat
        PROPERTIES IMPORTED_LOCATION
        ${distribution_DIR}/ffmpeg/${ANDROID_ABI}/libavformat.a)

add_library( avutil
        STATIC
        IMPORTED)
set_target_properties( avutil
        PROPERTIES IMPORTED_LOCATION
        ${distribution_DIR}/ffmpeg/${ANDROID_ABI}/libavutil.a)

add_library( postproc
        STATIC
        IMPORTED)
set_target_properties( postproc
        PROPERTIES IMPORTED_LOCATION
        ${distribution_DIR}/ffmpeg/${ANDROID_ABI}/libpostproc.a)

add_library( swresample
        STATIC
        IMPORTED)
set_target_properties( swresample
        PROPERTIES IMPORTED_LOCATION
        ${distribution_DIR}/ffmpeg/${ANDROID_ABI}/libswresample.a)

add_library( swscale
        STATIC
        IMPORTED)
set_target_properties( swscale
        PROPERTIES IMPORTED_LOCATION
        ${distribution_DIR}/ffmpeg/${ANDROID_ABI}/libswscale.a)


target_link_libraries( # Specifies the target library.
                       native-lib
                       avformat
                       avcodec
                       avdevice
                       avfilter
                       avutil
                       postproc
                       swresample
                       swscale
                       # Links the target library to the log library
                       # included in the NDK.
                       ${log-lib}
                       android
                       z )
再看下按目录添加的
cmake_minimum_required(VERSION 3.10.2)

project("p4wtestapplication")

add_library( # Sets the name of the library.
             native-lib

             # Sets the library as a shared library.
             SHARED

             # Provides a relative path to your source file(s).
             native-lib.cpp )

find_library( # Sets the name of the path variable.
              log-lib

              # Specifies the name of the NDK library that
              # you want CMake to locate.
              log )

set(distribution_DIR ${CMAKE_SOURCE_DIR}/../../../libs)

# 引入头文件
include_directories(../../../libs/ffmpeg/${ANDROID_ABI}/include/)


set(CMAKE_CXX_FLAGS "${CMAKE_CXX_FLAGS} -L${distribution_DIR}/ffmpeg/${ANDROID_ABI}")

target_link_libraries( # Specifies the target library.
                       native-lib
                       avformat
                       avcodec
                       avdevice
                       avfilter
                       avutil
                       postproc
                       swresample
                       swscale
                       # Links the target library to the log library
                       # included in the NDK.
                       ${log-lib}
                       android
                       z )
PS:注意静态库的链接顺序,顺序不对的话编译不过,会提示找不到函数实体,然后Z库一定要引用,不然也编译不过。至于android库,笔者使用4.4.2的静态库不引用不报错,但是使用最新的6.0的静态库则必须引用。
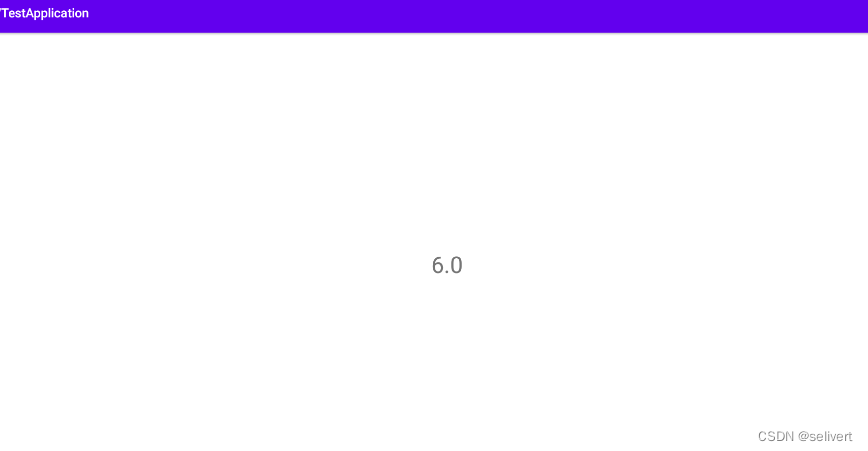
接下来验证ffmpeg能否正常运行。
打开自动生成的native-lib.cpp文件,里面有个测试函数:
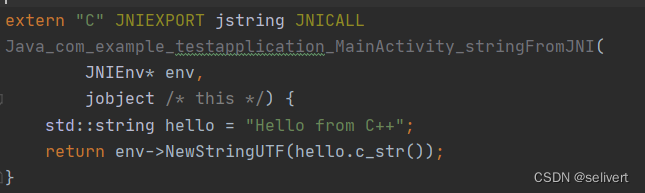
做如下修改:

然后运行程序,查看结果:
总结:引入ffmpeg静态库其实和引入其它第三方的静态库流程一致,主要是因为ffmpeg库文件个数比较多,链接的时候一定要注意顺序,否则编译报错。还有就是静态库依赖的库,最好链接的时候也加上(报错再加上吧,不然谁知道需要声明哪个呢)。


 2064
2064

 被折叠的 条评论
为什么被折叠?
被折叠的 条评论
为什么被折叠?
 到【灌水乐园】发言


