


1、本次项目中使用的是html2canvas和jspdf
2、安装下载打印插件
//1、安装jspdf:
npm install jspdf --save
//2、安装html2Canvas:
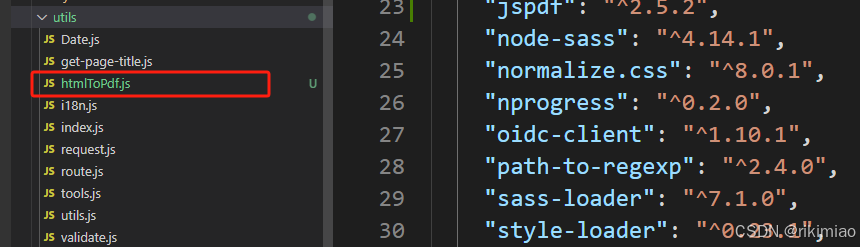
npm install --save html2canvas3、在项目utils文件夹下创建一个js文件,我这边命名的是htmlToPdf.js
4、htmlToPdf.js内容为
import html2Canvas from 'html2canvas'
import JsPDF from 'jspdf'
export default {
  install (Vue) {
    /**
     *
     * @param {*} reportName 下载时候的标题
     * @param {*} isDownload  是否下载默认为下载,传false不下载
     */
    Vue.prototype.getPdf = function (
      reportName,
      isDownload = true,
      id = 'exportPdf',
      lateral = false,
      amplification
    ) {
      //     var target = document.getElementsByClassName("right-aside")[0];
      // target.style.background = "#FFFFFF";
      return new Promise((resolve) => {
        var title = reportName
        let canvas = document.createElement('canvas')
        let context = canvas.getContext('2d')
        let _articleHtml = document.querySelector(`#${id}`)
        let _w = _articleHtml.clientWidth
        let _h = _articleHtml.clientHeight
        console.log(_articleHtml, _articleHtml.clientWidth, _articleHtml.clientHeight)

        // -----这里解决生成的pdf不清晰的问题 先放大3倍----后面再缩小3倍
        let scale = !amplification ? 3 : 1
        canvas.width = _w * scale
        canvas.height = _h * scale
        context.scale(scale, scale)

        let opts = {
          scale: 1,
          width: _w,
          height: _h,
          canvas: canvas,
          useCORS: true
        }
        html2Canvas(_articleHtml, opts).then((canvas) => {
          let contentWidth = canvas.width / scale
          let contentHeight = canvas.height / (!amplification ? 3 : 1)
          // 一页pdf显示html页面生成的canvas高度;
          let pageHeight
          if (lateral) {
            pageHeight = (contentWidth / 841.89) * 592.28
          } else {
            pageHeight = (contentWidth / 592.28) * 841.89
          }
          // 未生成pdf的html页面高度
          let leftHeight = contentHeight
          // 页面偏移
          let position = 0
          // a4纸的尺寸[595.28,841.89],html页面生成的canvas在pdf中图片的宽高

          let imgWidth
          let imgHeight
          if (lateral) {
            imgWidth = 841.89
            imgHeight = (841.89 / contentWidth) * contentHeight
          } else {
            imgWidth = 595.28
            imgHeight = (592.28 / contentWidth) * contentHeight
          }
          let pageData = canvas.toDataURL('image/jpeg', 1.0)
          let PDF
          if (lateral) {
            PDF = new JsPDF('l', 'pt', 'a4')
          } else {
            PDF = new JsPDF('', 'pt', 'a4')
          }
          // 有两个高度需要区分,一个是html页面的实际高度,和生成pdf的页面高度(841.89)
          // 当内容未超过pdf一页显示的范围,无需分页
          if (leftHeight < pageHeight) {
            PDF.addImage(pageData, 'JPEG', 0, 0, imgWidth, imgHeight)
          } else {
            while (leftHeight > 0) {
              PDF.addImage(pageData, 'JPEG', 0, position, imgWidth, imgHeight)
              leftHeight -= pageHeight
              position -= 841.89
              // 避免添加空白页
              if (leftHeight > 0) {
                PDF.addPage()
              }
            }
          }
          if (isDownload) {
            PDF.save(title + '.pdf')
          }
          // 删除本地存储的base64字段
          var pdfData = PDF.output('datauristring') // 获取base64Pdf
          resolve(pdfData)
        })
      })
    }
  }
}
将打印函数设置成全局,在main.js中设置

5.在组件中使用
toGetPdf(data) {
const val = true;
const download = true;
/**
* val 决定走不走上传接口,默认为不上传给后端
* download 默认是下载
* /
/* */
this.$nextTick(() => {
setTimeout(() => {
window.scrollTo(0, 0); //这行代码很重要,它让页面的滚动条跳到了最上方如果点击打印按钮的时候,滚动条没有在最上方,打印内容会是不完整的,体验也会差
let title = data;
this.getPdf(title, download, 'exportPdf', false, true) //download:false为不下载,这里调用了刚刚引用的全局函数,.then得到的值是base64位的pdf文件
.then((res) => {
if (val) {
console.log('准备上传');
this.UploadPdf(res);
} else {
console.log('不上传');
}
});
}, 1000);
});
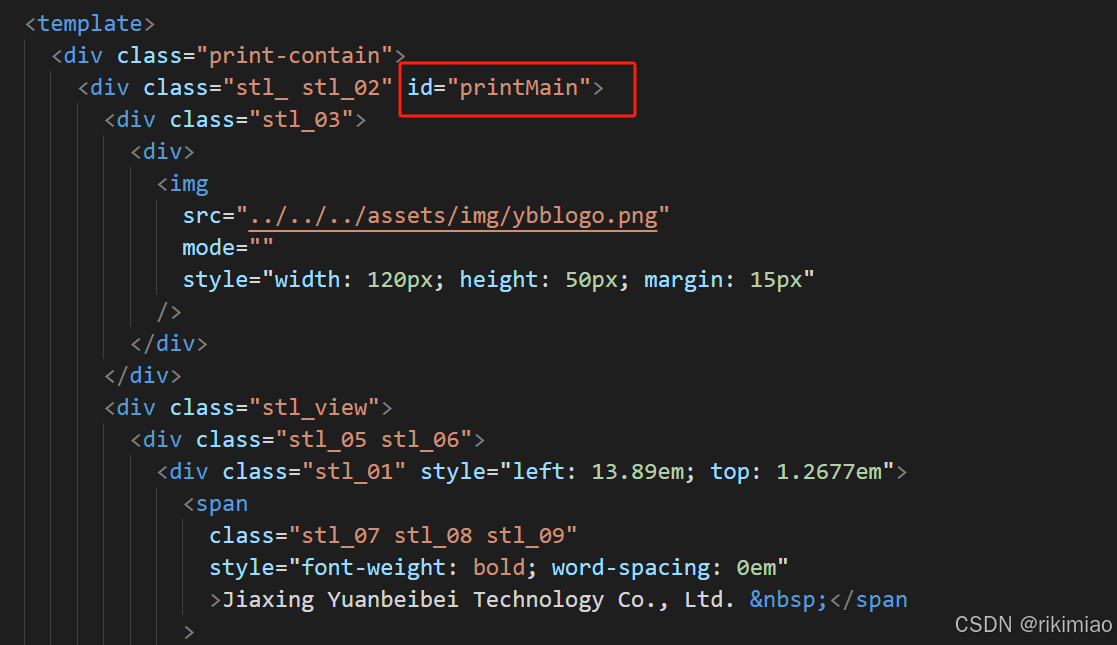
},6.打印功能可以使用浏览器自带的打印功能
先将电子版的pdf使用工具转换成html,我使用的是

转换好之后将html写入到组件中,调整好样式
7.打印
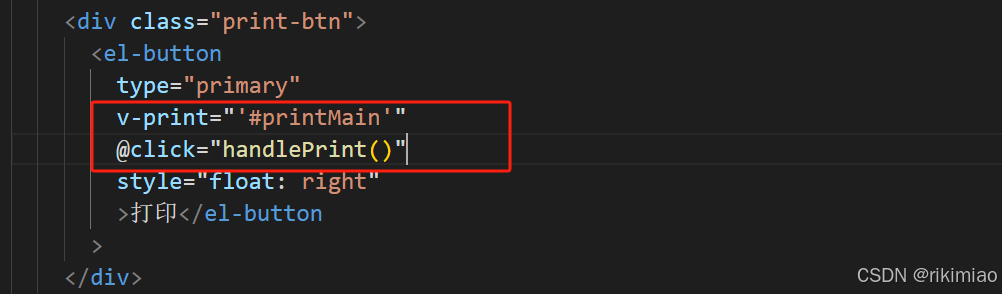
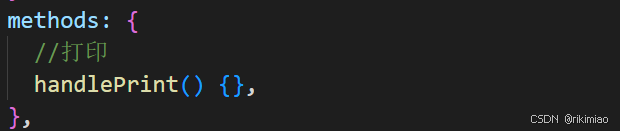
这样就可以直接打印了


 213
213

 被折叠的 条评论
为什么被折叠?
被折叠的 条评论
为什么被折叠?
 到【灌水乐园】发言


