


我们上一章节中创建 StudentMapper.xml 来完成SQL语句的映射,如果我们使用注解的话,那么我们就不需要XML文件了。我们可以直接在 StudentMapper.java 接口类的抽象方法上面使用注解(@Select,@Insert, @Update, @Delete)来完成不同类型的SQL语句。
接下来,我们创建 “SpringBootMyBatisAnnotationDemo” 工程来演示如何使用注解来使用MyBatis。
然后我们修改编码格式以及Maven仓库地址,我们省略这个过程了。
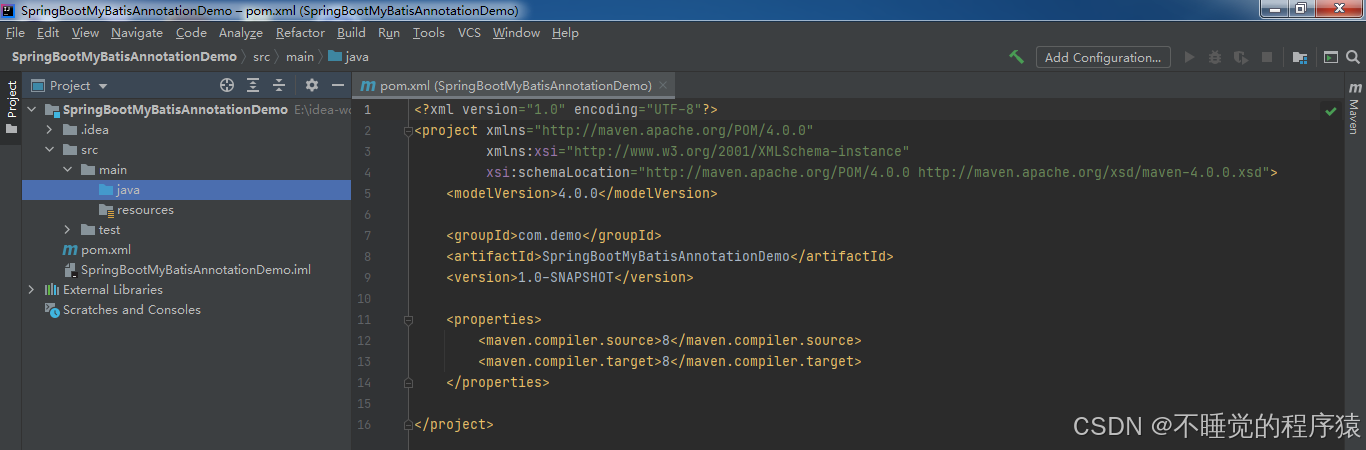
接下来,我们修改 “pom.xml” 文件,增加web和MyBatis依赖,
<?xml version="1.0" encoding="UTF-8"?>
<project xmlns="http://maven.apache.org/POM/4.0.0"
xmlns:xsi="http://www.w3.org/2001/XMLSchema-instance"
xsi:schemaLocation="http://maven.apache.org/POM/4.0.0 http://maven.apache.org/xsd/maven-4.0.0.xsd">
<modelVersion>4.0.0</modelVersion>
<groupId>com.demo</groupId>
<artifactId>SpringBootMyBatisAnnotationDemo</artifactId>
<version>1.0-SNAPSHOT</version>
<properties>
<maven.compiler.source>8</maven.compiler.source>
<maven.compiler.target>8</maven.compiler.target>
</properties>
<parent>
<groupId>org.springframework.boot</groupId>
<artifactId>spring-boot-starter-parent</artifactId>
<version>2.6.13</version>
<relativePath/>
</parent>
<dependencies>
<dependency>
<groupId>org.springframework.boot</groupId>
<artifactId>spring-boot-starter-web</artifactId>
</dependency>
<dependency>
<groupId>org.springframework.boot</groupId>
<artifactId>spring-boot-starter-thymeleaf</artifactId>
</dependency>
<dependency>
<groupId>org.mybatis.spring.boot</groupId>
<artifactId>mybatis-spring-boot-starter</artifactId>
<version>2.3.2</version>
</dependency>
<dependency>
<groupId>mysql</groupId>
<artifactId>mysql-connector-java</artifactId>
<version>5.1.49</version>
</dependency>
<dependency>
<groupId>com.alibaba</groupId>
<artifactId>druid-spring-boot-starter</artifactId>
<version>1.2.8</version>
</dependency>
</dependencies>
<build>
<plugins>
<plugin>
<groupId>org.springframework.boot</groupId>
<artifactId>spring-boot-maven-plugin</artifactId>
<version>2.7.18</version>
</plugin>
</plugins>
</build>
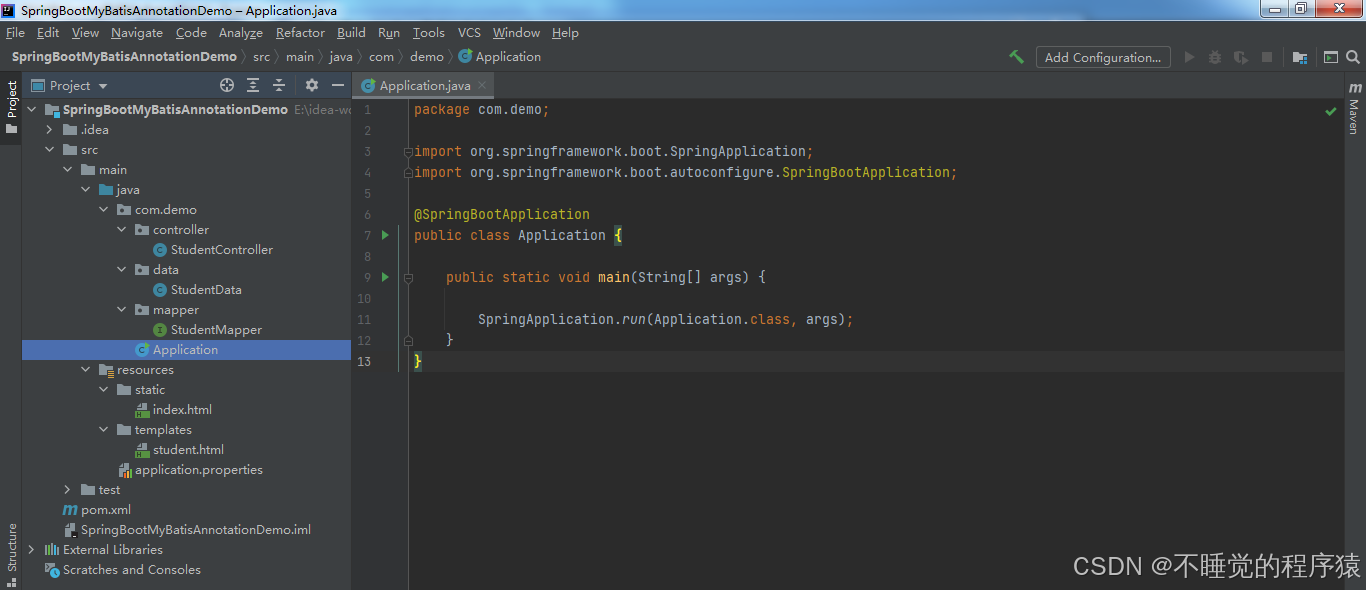
</project>接下来,我们创建 Appliaction 入口类文件
package com.demo;

import org.springframework.boot.SpringApplication;
import org.springframework.boot.autoconfigure.SpringBootApplication;

@SpringBootApplication
public class Application {

    public static void main(String[] args) {

        SpringApplication.run(Application.class, args);
    }
}
接下来,我们要创建 application.properties 中配置数据源和MyBatis
spring.datasource.type = com.alibaba.druid.pool.DruidDataSource
spring.datasource.driver-class-name = com.mysql.jdbc.Driver
spring.datasource.url = jdbc:mysql://localhost:3306/student?useUnicode=true&characterEncoding=utf-8&useSSL=false&autoReconnect=true
spring.datasource.username = root
spring.datasource.password = 123456

mybatis.configuration.log-impl=org.apache.ibatis.logging.stdout.StdOutImpl关于“student”数据库的内容请参考:第04章 SQL语句-优快云博客
因为我们不需要xml文件了,所以不需要配置了。
mybatis.mapper-locations = classpath:/mapper/*.xml首先,创建学生数据类 StudentData
package com.demo.data;

public class StudentData {

    private int stuId;
    private int classId;
    private String stuName;
    private int stuAge;
    private int stuSex;
    private String addTime;

    // 省略get/set方法
}
接下来,我们先创建 StudentMapper 接口类,请注意,它是一个Java接口而已。
package com.demo.mapper;

import com.demo.data.StudentData;
import org.apache.ibatis.annotations.Mapper;
import org.apache.ibatis.annotations.Result;
import org.apache.ibatis.annotations.Results;
import org.apache.ibatis.annotations.Select;

import java.util.List;

@Mapper
public interface StudentMapper {

    @Results(id="StudentDataResultMap",	value = {
        @Result(property = "stuId",		column = "stu_id",		id = true),
        @Result(property = "classId",	column = "class_id"),
        @Result(property = "stuName",	column = "stu_name"),
        @Result(property = "stuAge",	column = "stu_age"),
        @Result(property = "stuSex",	column = "stu_sex"),
        @Result(property = "addTime",	column = "add_time")
    })
    @Select("SELECT * FROM `student_info` ORDER BY `stu_id` ASC")
    List<StudentData> queryStudentList();

}
上面的代码应该不需要太多解释了。注解@select用户查询SQL语句,注解@Results用于表字段和类属性映射。 接下来,我们创建 StudentController 控制器来使用 StudentMapper 执行查询操作
package com.demo.controller;

import com.demo.data.StudentData;
import com.demo.mapper.StudentMapper;
import org.springframework.beans.factory.annotation.Autowired;
import org.springframework.web.bind.annotation.RequestMapping;
import org.springframework.stereotype.Controller;

import java.util.List;
import java.util.Map;

@Controller
public class StudentController {

    @Autowired
    private StudentMapper studentMapper;

    @RequestMapping("/student")
    public String student(Map<String, Object> map){

        List<StudentData> list = studentMapper.queryStudentList();
        map.put("list", list);
        return "student";
    }

}
接下来,我们创建 “resources\static\index.html” 和 “resources\templates\student.html” 视图文件
<!doctype html>
<html lang="zh-CN">
<head>
    <meta charset="utf-8" />
    <meta http-equiv="X-UA-Compatible" content="IE=edge" />
    <meta name="viewport" content="width=device-width, initial-scale=1" />
    <title>index</title>
</head>
<body>

<a href="/student">student</a>

</body>
</html>
<!doctype html>
<html lang="zh-CN" xmlns:th="http://www.thymeleaf.org">
<head>
<meta charset="utf-8" />
<meta http-equiv="X-UA-Compatible" content="IE=edge" />
<meta name="viewport" content="width=device-width, initial-scale=1" />
<title>student</title>
</head>
<body>
<div th:each="item:${list}">
<span th:text="${item.stuName}"></span>
</div>
</body>
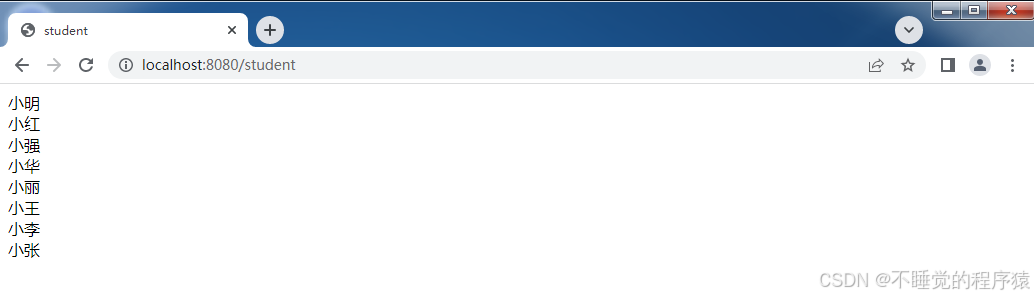
</html>这里我们使用 “thymeleaf” 模版来展示控制器传递过来的学生列表信息。
我们整体工程的结构如下
我们运行一下,查看结果

接下来,我们增加根据id查询学生信息的逻辑,只需要修改 “StudentMapper.java” 文件即可。
package com.demo.mapper;

import com.demo.data.StudentData;
import org.apache.ibatis.annotations.*;

import java.util.List;

@Mapper
public interface StudentMapper {

    @Results(id="StudentDataResultMap",	value = {
        @Result(property = "stuId",		column = "stu_id",		id = true),
        @Result(property = "classId",	column = "class_id"),
        @Result(property = "stuName",	column = "stu_name"),
        @Result(property = "stuAge",	column = "stu_age"),
        @Result(property = "stuSex",	column = "stu_sex"),
        @Result(property = "addTime",	column = "add_time")
    })
    @Select("SELECT * FROM `student_info` ORDER BY `stu_id` ASC")
    List<StudentData> queryStudentList();

    @ResultMap("StudentDataResultMap")
    @Select("SELECT * FROM `student_info` WHERE `stu_id` = #{id}")
    StudentData queryStudentById(Integer id);

}
由于我们之前已经做了表字段和类属性的映射,所以这里只需要使用注解 @ResultMap 引用一起即可,注解里面的字符值就是上面注解@Results的ID值。
接下来,我们在 “StudentController” 中补全调用
    @RequestMapping("/studentinfo")
    public String studentinfo(Integer id, Map<String, Object> map){

        StudentData info = studentMapper.queryStudentById(id);
        map.put("info", info);
        return "student";
    }
接下来继续补全 “index.html” 和 "student.html" 中内容
<a href="/student">student</a>
<br />
<a href="/studentinfo?id=1">studentinfo?id=1</a>
<div th:if ="${info}">
<span th:text="${info.stuId}"></span>
<span th:text="${info.stuName}"></span>
</div>这里我们使用 “th:if” 做一个判空的操作。
我们重新运行,测试一下


接下来,我们完成一个稍微复杂的查询,代码如下
    @Select("<script>"
            + "select * from student_info "
            + "<where>"
            + "<if test='name != \"\"'> and stu_name = #{name} </if>"
            + "<if test='age > 0'> and stu_age = #{age} </if>"
            + "</where>"
            + "order by stu_id asc limit 0,1"
            + "</script>")
    @ResultMap("StudentDataResultMap")
    StudentData queryStudentCondition(Map map);
我们的搜索条件放入到一个Map里面,其中有“name”和“age”两项。
接下来,我们在 “StudentController” 中补全调用
    @RequestMapping("/search")
    public String search(Map<String, Object> map){

        Map condition = new HashMap();
        condition.put("name", "小明");
        condition.put("age", 15);
        StudentData info = studentMapper.queryStudentCondition(condition);
        map.put("info", info);
        return "student";
    }
接下来继续补全 “index.html” 和 "student.html" 中内容
<a href="/student">student</a>
<br />
<a href="/studentinfo?id=1">studentinfo?id=1</a>
<br />
<a href="/search">search</a>
由于我们传递给 "student.html" 就是 “StudentData” 对象,因此不需要修改 "student.html" 了。
我们重新运行,测试一下


我们还可以去控制台查看日志

接下来,我们增加“insert”,“update”,“delete”三项操作
    @Insert("insert into student_info(stu_name, stu_age, add_time) values (#{stuName}, #{stuAge}, #{addTime})")
    @Options(useGeneratedKeys=true, keyProperty="stuId")
    int insertStudentData(StudentData info);

    @Update("update student_info set stu_name = #{stuName}, stu_age = #{stuAge} WHERE stu_id = #{stuId}")
    int updateStudentData(StudentData info);

    @Delete("delete from student_info where stu_id = #{id}")
    int delStudentData(int id);
接下来,我们在 “StudentController” 中补全调用
    @RequestMapping("/add")
    public String add(Map<String, Object> map){

        StudentData data = new StudentData();
        data.setStuName("阿华");
        data.setStuAge(20);
        data.setAddTime("2011-03-01 09:00:00");
        int res = studentMapper.insertStudentData(data);
        System.out.println("res=" + res);
        map.put("info", data);
        return "student";
    }

    @RequestMapping("/edit")
    public String edit(Map<String, Object> map){

        StudentData data = new StudentData();
        data.setStuId(9);
        data.setStuName("张三");
        data.setStuAge(25);
        data.setAddTime("2022-02-01 09:00:00");
        int res = studentMapper.updateStudentData(data);
        System.out.println("res=" + res);
        map.put("info", data);
        return "student";
    }

    @RequestMapping("/del")
    public String del(Map<String, Object> map){

        int res = studentMapper.delStudentData(9);
        System.out.println("res=" + res);
        map.put("info", null);
        return "student";
    }
接下来继续补全 “index.html” 和 "student.html" 中内容
<a href="/student">student</a>
<br />
<a href="/studentinfo?id=1">studentinfo?id=1</a>
<br />
<a href="/search">search</a>
<br />
<a href="/add">add</a>
<br />
<a href="/edit">edit</a>
<br />
<a href="/del">del</a>
大家可以自己测试一下。
完整 “SpringBootMyBatisAnnotationDemo” 工程下载地址: https://download.youkuaiyun.com/download/richieandndsc/89888986


 被折叠的 条评论
为什么被折叠?
被折叠的 条评论
为什么被折叠?
 到【灌水乐园】发言


