背景需求:
最近做主题墙和自然角,需要各种A4彩色打印
今天做的是自然角,需要打印
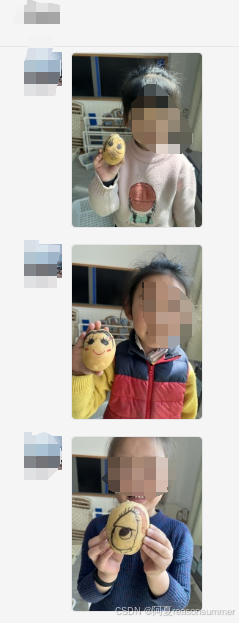
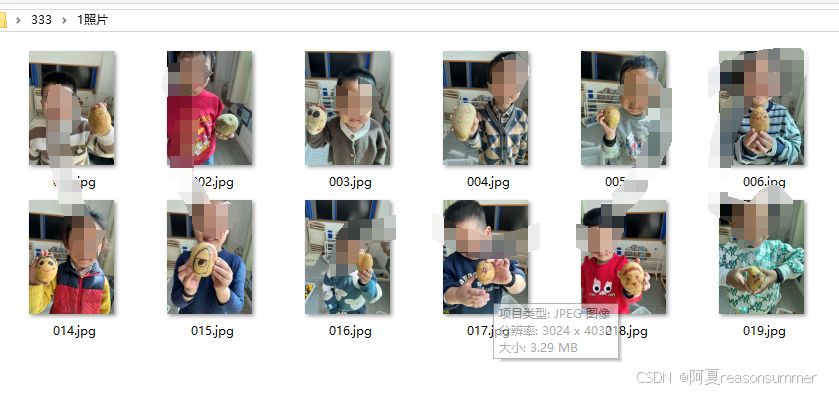
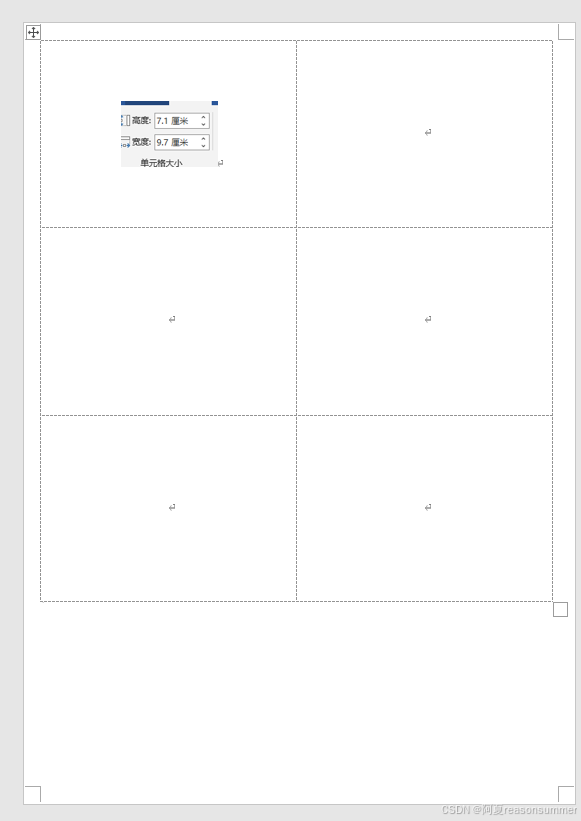
1、每位幼儿与自己种植的土豆的合影。A4一页2*3=6张
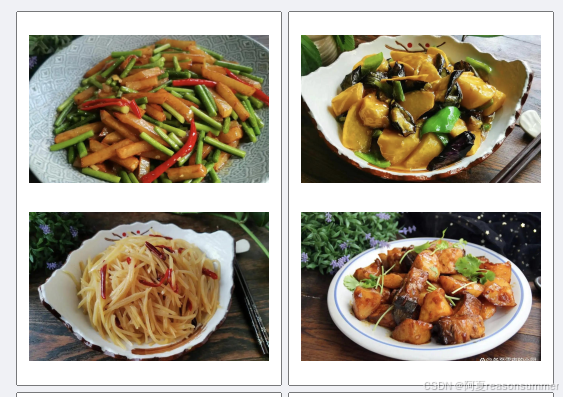
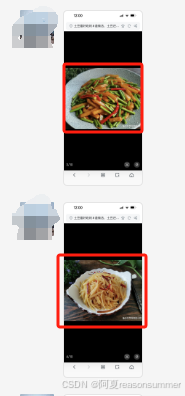
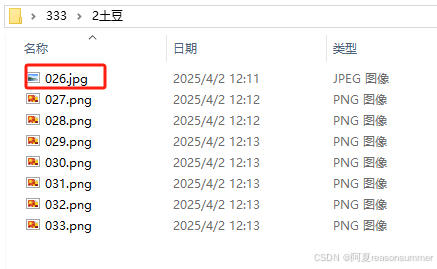
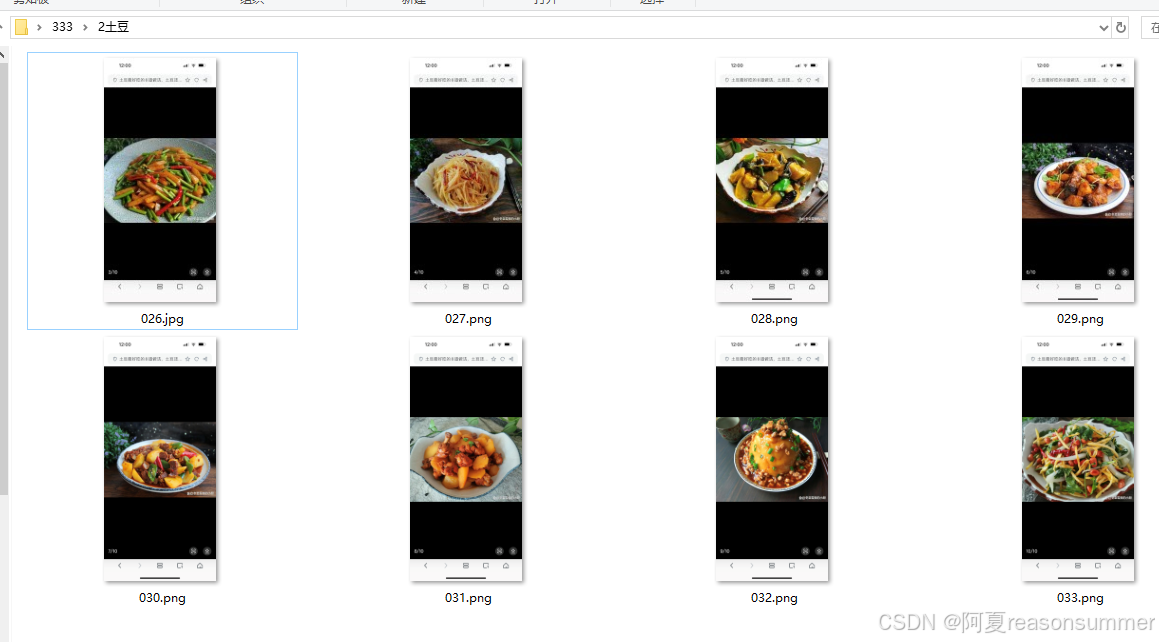
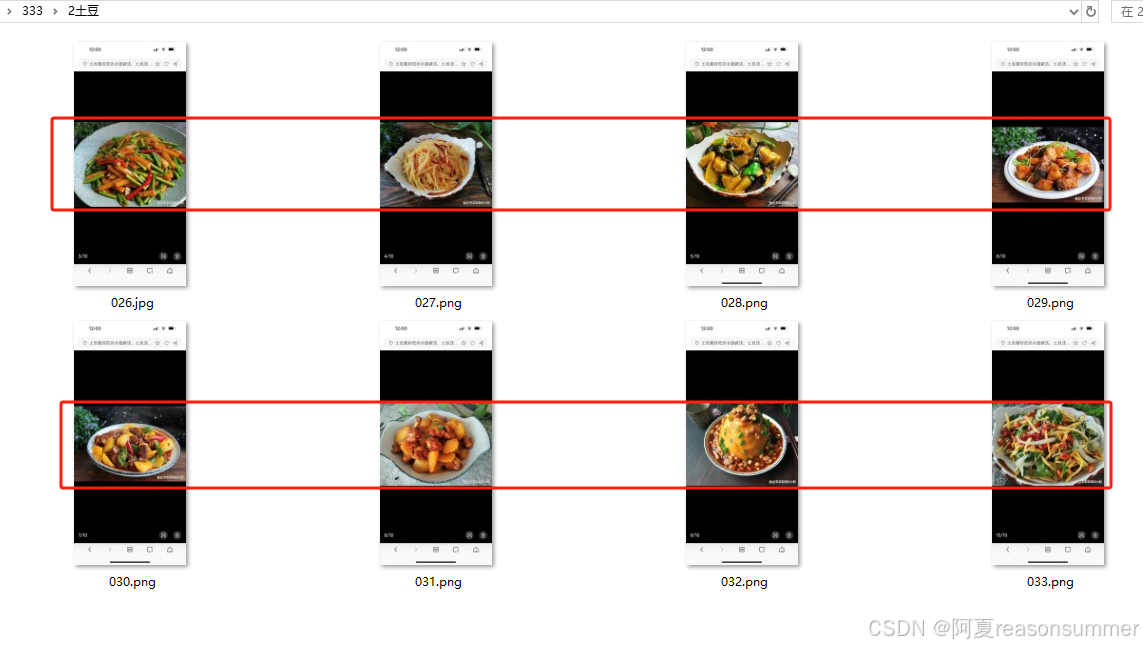
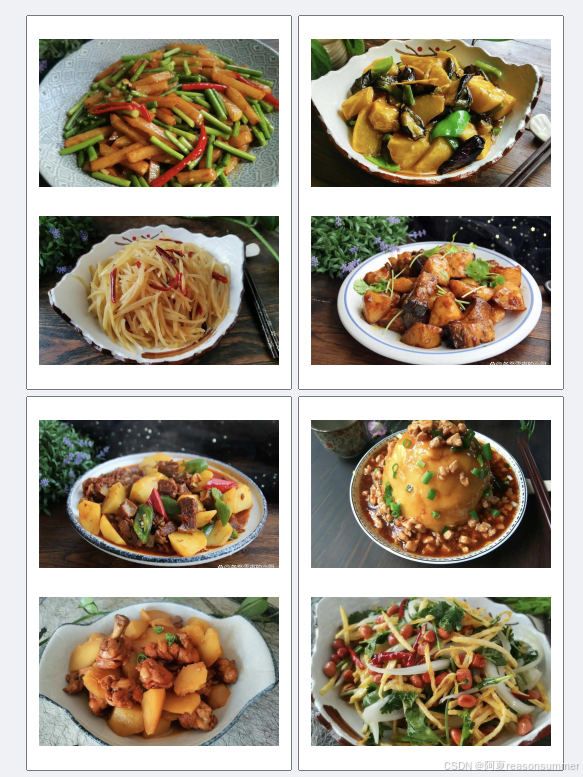
2、土豆菜肴图片(截屏有黑边),一页2张
思考:
前几天做主题墙,我都是做了WORD模版,然后把图片一张张插入,手动一张张复制黏贴大小尺寸。手工比较繁琐,
所以今天我就用代码来做模版,统一图片尺寸。
第1步:
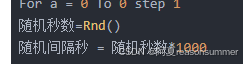
先用UIBOT把搭档发我的图片一张张下载下来,大约25张后,微信自动关闭了(因为UIBOT下载的间隔时间相同,被检测到自动程序,所以UIBOT也要改一下随机间隔秒数)
Dim sRet,temp,sPath,sText,bRet,objPoint,dRet
Rem 找到第一张图片并点击打开

Rem 另存一次指定路径

Rem 右箭头换下一张,准备下载

Rem 预估张数,宁多不要少
name=Dialog.InputBox("文件夹名称","Laiye Automation","",false)
File.CreateFolder('''C:\Users\jg2yXRZ\OneDrive\桌面\'''&name)
sPath = File.ParentPath('''C:\Users\jg2yXRZ\OneDrive\桌面\'''&name)
TracePrint(sPath+'\\'+name)
路径 = sPath+'\\'+name


For a = 0 To 0 step 1
随机秒数=Rnd()
随机间隔秒 = 随机秒数*1000
Mouse.Move(954, 519, false,{"iDelayAfter": 100, "iDelayBefore": 100})
Mouse.Click("right", "click", [],{"iDelayAfter": 100, "iDelayBefore": 100})

Mouse.Move(1000, 569, false,{"iDelayAfter": 100, "iDelayBefore": 100})
Mouse.Click("left", "click", [],{"iDelayAfter": 100, "iDelayBefore": 100})


Mouse.Action(@ui"框线项目_21","left","click",10000,{"bContinueOnError": false, "iDelayAfter": 100, "iDelayBefore": 100, "bSetForeground": true, "sCursorPosition": "Center", "iCursorOffsetX": 0, "iCursorOffsetY": 0, "sKeyModifiers": [],"sSimulate": "simulate", "bMoveSmoothly": false})
Delay(随机间隔秒)

Mouse.Move(782, 215, false,{"iDelayAfter": 100, "iDelayBefore": 100})
Mouse.Click("left", "click", [],{"iDelayAfter": 100, "iDelayBefore": 100})
Keyboard.Input(路径,{"iDelayAfter": 100, "iDelayBefore": 100, "sSimulate": "message"})

Keyboard.Press("Enter", "press", [],{"iDelayAfter": 300, "iDelayBefore": 200, "sSimulate": "simulate"})
Delay(随机间隔秒)

Keyboard.InputText(@ui"窗口_微信图片_20240518195628.jpg","001",true,20,10000,{"bContinueOnError": false, "iDelayAfter": 300, "iDelayBefore": 500, "bSetForeground": true, "sSimulate": "message", "bValidate": false, "bClickBeforeInput": false})
Delay(随机间隔秒)
Mouse.Action(@ui"窗口_保存(S)2","left","click",10000,{"bContinueOnError": false, "iDelayAfter": 100, "iDelayBefore": 100, "bSetForeground": true, "sCursorPosition": "Center", "iCursorOffsetX": 0, "iCursorOffsetY": 0, "sKeyModifiers": [],"sSimulate": "simulate", "bMoveSmoothly": false})

Keyboard.Press("Right", "press", [],{"iDelayAfter": 100, "iDelayBefore": 100, "sSimulate": "simulate"})
Next
For i = 2 To 100 step 1
// objPoint = LocalOCR.Find(@ui"窗口_桌面1", {"x":0,"y":0,"width":0,"height":0},"", "instr", 1, 10000, {"bContinueOnError":false,"iDelayAfter":300,"iDelayBefore":200,"bSetForeground":true})
// bRet = Text.Exists(@ui"窗格2","已是最后一张","instr",1,10000,{"bContinueOnError":false,"iDelayAfter":300,"iDelayBefore":200,"bSetForeground":true})
// If bRet=1
// Break

// ElseIf bRet=1


// End If


Mouse.Move(954, 519, false,{"iDelayAfter": 100, "iDelayBefore": 100})

Mouse.Click("right", "click", [],{"iDelayAfter": 100, "iDelayBefore": 100})
Mouse.Move(1000, 569, false,{"iDelayAfter": 100, "iDelayBefore": 100})


Mouse.Click("left", "click", [],{"iDelayAfter": 100, "iDelayBefore": 100})
Delay(3000)
Keyboard.Input(Format("%03d",i),{"iDelayAfter": 300, "iDelayBefore": 200, "sSimulate": "message"})
Delay(随机间隔秒)
Mouse.Action(@ui"窗口_保存(S)2","left","click",10000,{"bContinueOnError": false, "iDelayAfter": 100, "iDelayBefore": 100, "bSetForeground": true, "sCursorPosition": "Center", "iCursorOffsetX": 0, "iCursorOffsetY": 0, "sKeyModifiers": [],"sSimulate": "simulate", "bMoveSmoothly": false})

Keyboard.Press("Right", "press", [],{"iDelayAfter": 100, "iDelayBefore": 100, "sSimulate": "simulate"})
Next
下次还是用Python写一个自动下载图片的代码
第2步:图片分类
第3步,制作一页6图幼儿与土豆照片
'''
植物角-幼儿与土豆合影,一页6张(手机竖拍,所以图片是逆时针90度的)
星火讯飞、阿夏
20250402
'''
import os
import time
import shutil
from docx import Document
from docx.shared import Cm, Pt, Inches, RGBColor
from docx.enum.text import WD_PARAGRAPH_ALIGNMENT
from docx.oxml.ns import qn
from PyPDF2 import PdfFileMerger, PdfFileReader
from docxtpl import DocxTemplate
import pandas as pd
from PIL import Image
print('----------第1步:提取所有的幼儿照片的路径------------')
# 读取123文件夹下的所有图片
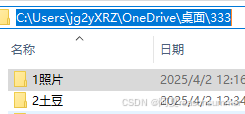
path = r'C:\Users\jg2yXRZ\OneDrive\桌面\333'
image_folder =path+r'\1照片'
image_files = [f for f in os.listdir(image_folder) if f.endswith('.jpg') or f.endswith('.png')]
# 将图片拆成6个一组
grouped_files = [image_files[i:i + 6] for i in range(0, len(image_files), 6)]
print(len(grouped_files))
# 创建临时文件夹
new_folder = path+r'\零时文件夹'
os.makedirs(new_folder, exist_ok=True)
# 处理每一组图片
for group_index, group in enumerate(grouped_files):
# 创建新的Word文档
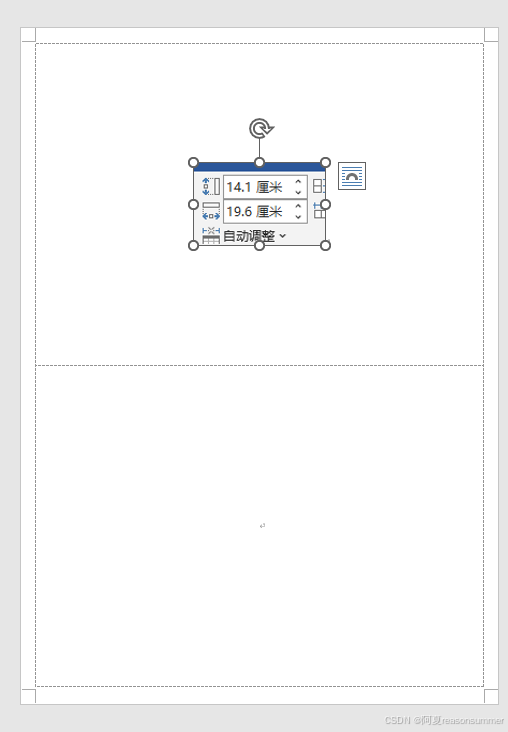
doc = Document(path+r'\一页六张.docx')
# print(group)
# 遍历每个单元格,并插入图片
for cell_index, image_file in enumerate(group):
# 计算图片长宽(单位:厘米)
# 插入图片到单元格
table = doc.tables[0]
cell = table.cell(int(cell_index / 2), cell_index % 2)
# 如果第一行有4个格子,两个数字都写4
cell_paragraph = cell.paragraphs[0]
cell_paragraph.clear()
run = cell_paragraph.add_run()
run.add_picture(os.path.join(image_folder, image_file), width=Cm(9.1), height=Cm(7.1))
# 保存Word文档
doc.save(os.path.join(new_folder, f'{group_index + 1:03d}.docx'))
# 将10个docx转为PDF
import os
from docx2pdf import convert
from PyPDF2 import PdfFileMerger
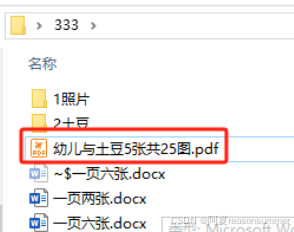
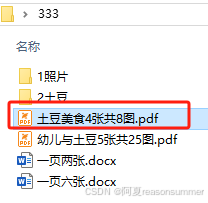
pdf_output_path = path+fr'\\幼儿与土豆{int(len(grouped_files))}张共{len(image_files)}图.pdf'
# 将所有DOCX文件转换为PDF
for docx_file in os.listdir(new_folder):
if docx_file.endswith('.docx'):
docx_path = os.path.join(new_folder, docx_file)
convert(docx_path, docx_path.replace('.docx', '.pdf'))
# 合并零时文件里所有PDF文件
merger = PdfFileMerger()
for pdf_file in os.listdir(new_folder):
if pdf_file.endswith('.pdf'):
pdf_path = os.path.join(new_folder, pdf_file)
merger.append(pdf_path)
time.sleep(2)
# 保存合并后的PDF文件
merger.write(pdf_output_path)
merger.close()
# 删除输出文件夹
shutil.rmtree(new_folder)
# shutil.rmtree(new)
time.sleep(2)
因为拍摄时是竖版拍摄,所以插入图片后图片都是横的。我暂时解决不了,只能把模版改成纵向2列3行
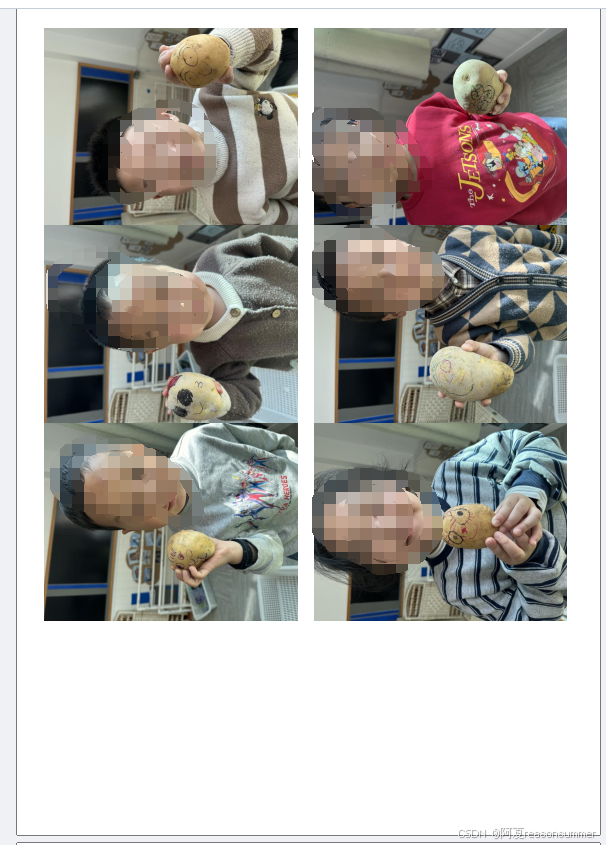
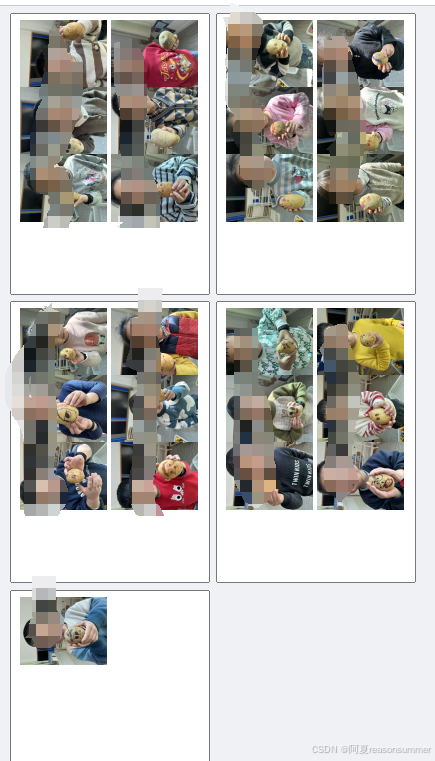
打印后横版摆放,用裁纸机切割
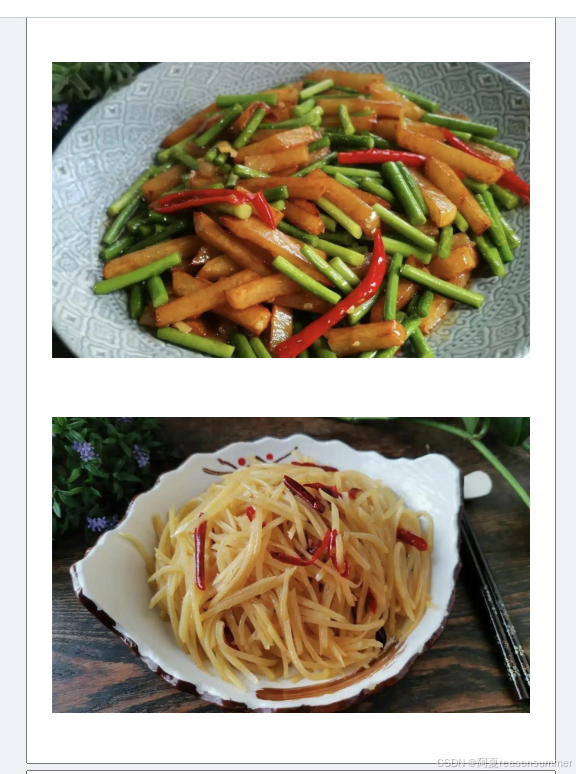
第4步,制作土豆菜肴图片(一页二图)
上下黑边不要,只要中间的土豆菜肴的图片(裁剪边缘)
'''
植物角-土豆美食(去掉上下黑色部分),一页2张
星火讯飞、阿夏
20250402
'''
import os
import time
import shutil
from docx import Document
from docx.shared import Cm, Pt, Inches, RGBColor
from docx.enum.text import WD_PARAGRAPH_ALIGNMENT
from docx.oxml.ns import qn
from PyPDF2 import PdfFileMerger, PdfFileReader
from docxtpl import DocxTemplate
import pandas as pd
from PIL import Image
# 设置源文件夹和目标文件夹路径
path = r'C:\Users\jg2yXRZ\OneDrive\桌面\333'
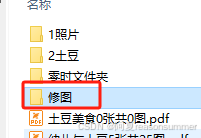
image_folder = path + r'\2土豆'
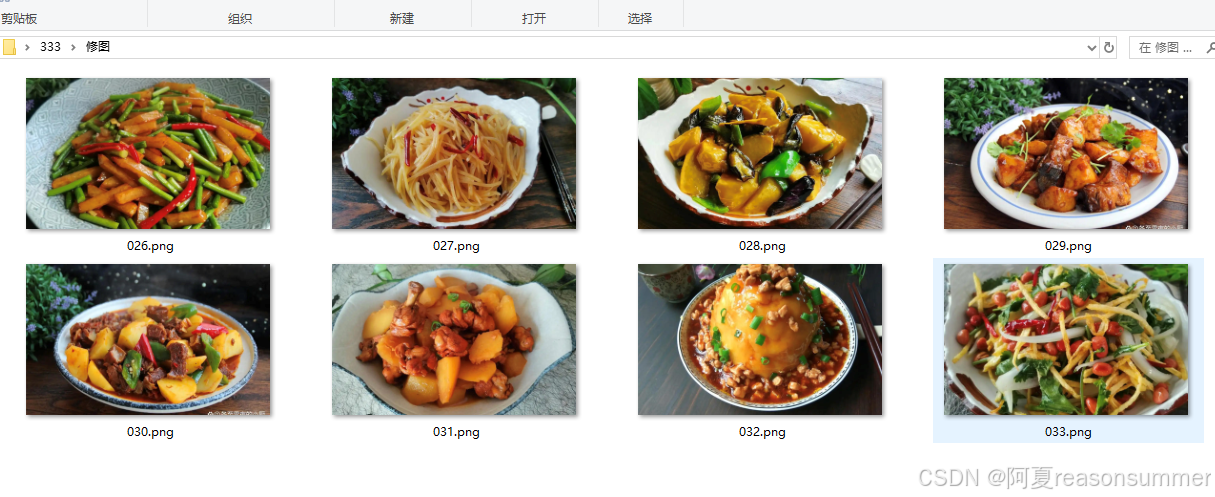
dest_folder = path + r'\修图'
# 确保目标文件夹存在
os.makedirs(dest_folder, exist_ok=True)
# 手机截屏,去掉上下黑色部分
# 遍历源文件夹中的所有图片文件(把png和JPG的图片都保存为png)
for filename in os.listdir(image_folder):
if filename.lower().endswith(('png', 'jpg', 'jpeg')): # 仅处理PNG、JPG、JPEG格式的图片
file_path = os.path.join(image_folder, filename)
try:
# 打开图片文件
with Image.open(file_path) as img:
width, height = img.size
print(f"Original size: {width}x{height}")
# 1290x2796
# 定义要裁剪的区域
left = 0 # 左边界
top = 1000 # 上边界
right = width # 右边界
bottom = height - 1000 # 下边界
# 检查裁剪区域是否有效
if left >= right or top >= bottom:
print(f"Invalid crop area for {filename}: ({left}, {top}, {right}, {bottom})")
continue
# 裁剪图片(获取0,1000到1290,1800,中间范围内的图片)
cropped_image = img.crop((left, top, right, bottom))
# 构建目标文件路径,并确保保存为PNG格式
dest_path = os.path.join(dest_folder, os.path.splitext(filename)[0] + '.png')
# 保存裁剪后的图片为PNG格式
cropped_image.save(dest_path, format='PNG')
print(f"Cropped image saved to {dest_path}")
except Exception as e:
print(f"Error processing {filename}: {e}")
print("所有操作完成!")
# 读取123文件夹下的所有图片
image_files = [f for f in os.listdir(dest_folder) if f.endswith('.jpg') or f.endswith('.png')]
print(image_files)
# 将图片拆成6个一组
grouped_files = [image_files[i:i + 2] for i in range(0, len(image_files), 2)]
print(len(grouped_files))
# 创建临时文件夹
new_folder = path+r'\零时文件夹'
os.makedirs(new_folder, exist_ok=True)
# 处理每一组图片
for group_index, group in enumerate(grouped_files):
# 创建新的Word文档
doc = Document(path+r'\一页两张.docx')
# print(group)
# 遍历每个单元格,并插入图片
for cell_index, image_file in enumerate(group):
# 计算图片长宽(单位:厘米)
# 插入图片到单元格
table = doc.tables[0]
cell = table.cell(int(cell_index / 1), cell_index % 1)
# 如果第一行有4个格子,两个数字都写4
cell_paragraph = cell.paragraphs[0]
cell_paragraph.clear()
run = cell_paragraph.add_run()
run.add_picture(os.path.join(dest_folder, image_file), width=Cm(19))
# height=Cm(7.1))
# 保存Word文档
doc.save(os.path.join(new_folder, f'{group_index + 1:03d}.docx'))
# 将10个docx转为PDF
import os
from docx2pdf import convert
from PyPDF2 import PdfFileMerger
pdf_output_path = path+fr'\\土豆美食{int(len(grouped_files))}张共{len(image_files)}图.pdf'
# 将所有DOCX文件转换为PDF
for docx_file in os.listdir(new_folder):
if docx_file.endswith('.docx'):
docx_path = os.path.join(new_folder, docx_file)
convert(docx_path, docx_path.replace('.docx', '.pdf'))
# 合并零时文件里所有PDF文件
merger = PdfFileMerger()
for pdf_file in os.listdir(new_folder):
if pdf_file.endswith('.pdf'):
pdf_path = os.path.join(new_folder, pdf_file)
merger.append(pdf_path)
time.sleep(2)
# 保存合并后的PDF文件
merger.write(pdf_output_path)
merger.close()
# 删除输出文件夹
shutil.rmtree(new_folder)
shutil.rmtree(dest_folder)
time.sleep(2)
后续再写一下
1、UIBOT:自动下载微信图片(随机秒数)
2、Python:自动下载微信图片(随机秒数def)
3、竖版人像插入WORD,确保图片没有逆时针90度


 1713
1713

 被折叠的 条评论
为什么被折叠?
被折叠的 条评论
为什么被折叠?
 到【灌水乐园】发言


