


1.在server1的/srv/salt目录下,建立keepalived目录,进到目录里边编辑安装keepalived的sls推送文件
[root@server1 salt]# mkdir keepalived
[root@server1 salt]# cd keepalived/
[root@server1 keepalived]# mkdir files
[root@server1 keepalived]# vim install.sls
[root@server1 keepalived]# cat install.sls
kp-install:
  pkg.installed:
    - pkgs:
      - keepalived
  file.managed:
    - name: /etc/keepalived/keepalived.conf
    - source: salt://keepalived/files/keepalived.conf
    - template: jinja
      {% if grains['fqdn'] == 'server2' %}        # server1是master
      STATE: MASTER
      VRID: 51
      PRIORITY: 100
      {% elif grains['fqdn'] == 'server3' %}      # server2是backup
      STATE: BACKUP
      VRID: 51
      PRIORITY: 50
      {% endif %}

  service.running:
    - name: keepalived
    - reload: True
    - watch:
      - file: kp-install
2.编辑 keepalived的脚本,配置文件远程发送到到sevrer1中/srv/salt/keepalived/files
[root@server4 keepalived]# scp keepalived.conf server1:/srv/salt/keepalived/files

[root@server1 files]# cat keepalived.conf
! Configuration File for keepalived

global_defs {
   notification_email {
	root@localhost
   }
   notification_email_from keepalived@localhost
   smtp_server 127.0.0.1
   smtp_connect_timeout 30
   router_id LVS_DEVEL
}

vrrp_instance VI_1 {
    state {{ STATE }}
    interface eth0
    virtual_router_id {{ VRID }}
    priority {{ PRIORITY }}
    advert_int 1
    authentication {
        auth_type PASS
        auth_pass 1111
    }
    virtual_ipaddress {
        172.25.26.100
    }
}
3.安装mailx,用于接受推送消息
[root@server4 keepalived]# yum install -y mailx
[root@server1 keepalived]# yum install -y mailx
4.在/srv/salt下编辑全部节点的推送的top.sls文件
[root@server1 salt]# cat top.sls
base:
  'server2':
    - keepalived.install
    - apache.service
  'server3':
    - keepalived.install
    - nginx.service
5.执行top.sls文件,向所有节点安装以及部署服务
[root@server1 salt]# salt '*' state.highstate
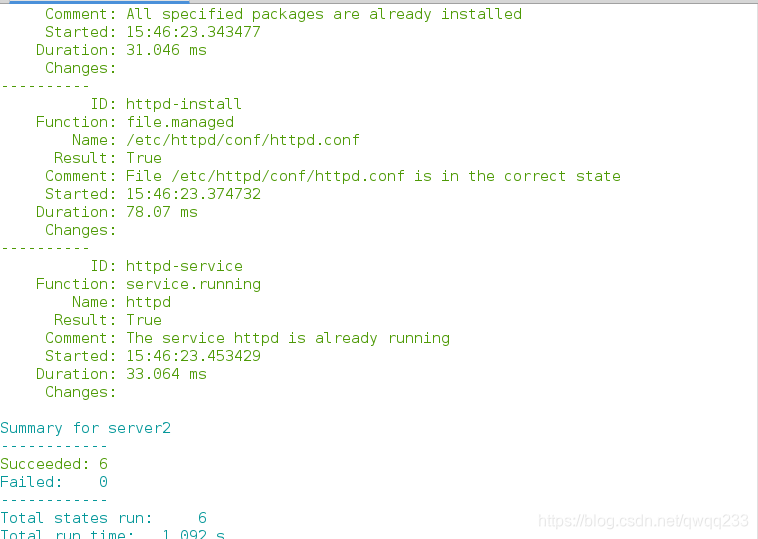
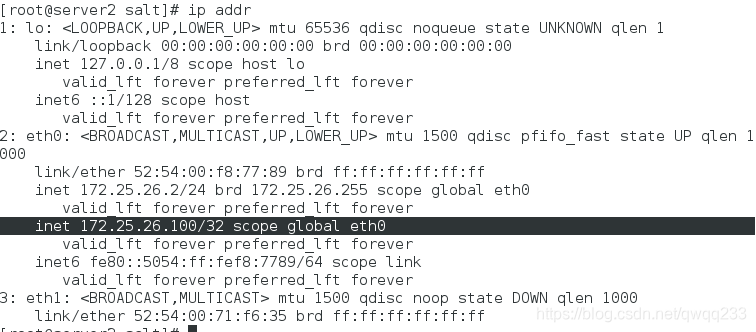
6.在server2上查看
[root@server2 salt]# ip addr
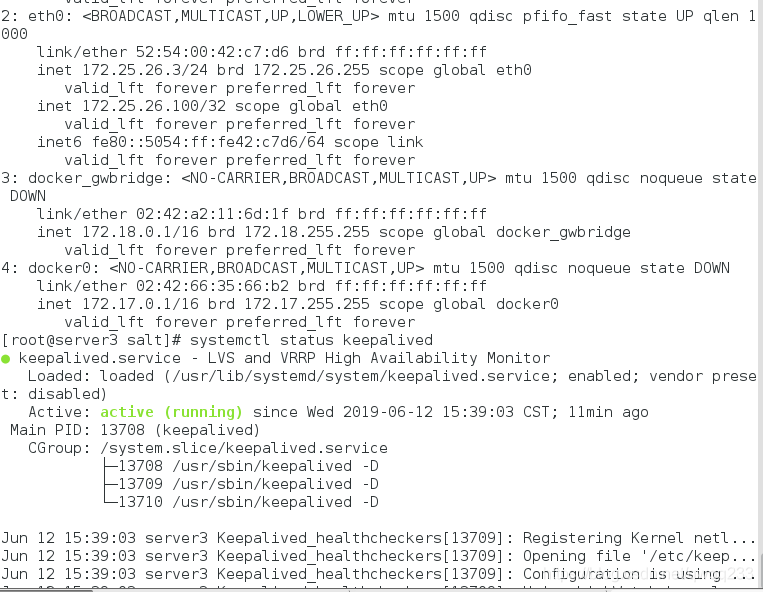
停掉server2的keepalived
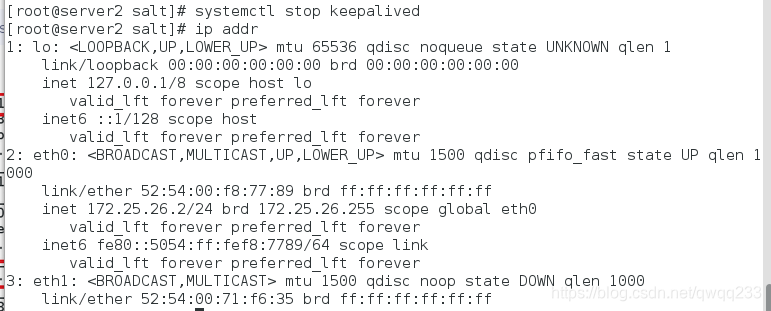
vip漂移到了server3上


 被折叠的 条评论
为什么被折叠?
被折叠的 条评论
为什么被折叠?
 到【灌水乐园】发言


