


 本文介绍了如何在Linux环境中使用haproxy进行负载均衡、动静分离、读写分离、认证刷新和黑名单及重定向操作。haproxy作为一款全7层的反向代理负载均衡器,通过配置不同参数,可以实现多种功能,包括在多个服务器间分配流量,实现实时状态监控,以及提供安全控制策略。
haproxy
1.简介
haproxy是一款非常的专业的全7层的反向代理负载均衡器,采用的是epoll机制,可以实现4层和7层的负载均衡,4层使用的是tcp模式可以模拟lvs,7层使用的是http模式可以模拟nginx,nginx和haproxy的处理速度都远不及lvs,因为他们是工作在用户空间的,而lvs是工作在内核空间的
在四层(tcp)实现负载均衡的软件:
lvs---------->重量级
nginx-------->轻量级,带缓存功能,正则表达式较灵活
haproxy------>模拟四层转发,较灵活
在七层(http)实现反向代理的软件:
haproxy------>天生技能,全面支持七层代理,会话保持,标记,路径转移;
nginx-------->只在http协议和mail协议上功能比较好,性能与haproxy差不多;
apache------->功能较差
2.负载均衡
(1)环境配置
server1:172.25.26.1作为haproxy服务器
haproxy的安装
tar zxf haproxy-1.7.3.tar.gz
yum install -y rpm-build gcc
yum install -y pcre-devel
rpmbuild -tb haproxy-1.7.3.tar.gz
cd rpmbuild/RPMS/x86_64
rpm -ivh haproxy-1.7.3-1.x86_64.rpm
cd ~/haproxy-1.8.3/examples/
cp content-sw-sample.cfg /etc/haproxy/haproxy.cfg
配置默认文件
vim /etc/haproxy/haproxy.cfg
global
        maxconn         10000
        stats socket    /var/run/haproxy.stat mode 600 level admin
        log             127.0.0.1 local0	##日志输出配置,所有日志都记录在本机 ,通过local0输出
        uid             200
        gid             200
        chroot          /var/empty
        daemon		##以后台形式运行haproxy

defaults
        mode            http				##默认模式 tcp是4层,http是七层
        log             global
        option          httplog				##日志级别
        option          dontlognull			##不记录健康检查日志信息
        monitor-uri     /monitoruri
        maxconn         8000
        timeout client  30s
        option prefer-last-server
        retries         2
        option redispatch
        timeout connect 5s
        timeout server  5s

        stats uri       /admin/stats			##监视窗口


# The public 'www' address in the DMZ
frontend public
        bind            *:80 name clear			##默认端口
        #bind            192.168.1.10:443 ssl crt /etc/haproxy/haproxy.pem
        #use_backend     static if { hdr_beg(host) -i img }
        #use_backend     static if { path_beg /img /css   }

        default_backend dynamic					##默认访问后端

#the application servers go here
backend dynamic
        balance         roundrobin				##轮询
        server          web1 172.25.26.2:80  check inter 1000
        server          web2 172.25.26.3:80  check inter 1000
        #两个后台的主机,check inter 1000 检测心跳频率
开启服务
/etc/init.d/haproxy start
如果server1的80端口被httpd占用的话,可能不能正常开启
 vim /etc/httpd/conf/httpd.conf
 136 Listen 8080
更改后重新开启
(3)测试查看
server2和server3开启httpd服务,主机测试curl 172.25.41.1查看是否有负载均衡

主机浏览:
http://172.25.41.1/admin/stats
http://172.25.41.1/monitoruri

刷新


3.认证/刷新
vim /etc/haproxy/haproxy.cfg
global
maxconn 10000
stats socket /var/run/haproxy.stat mode 600 level admin
log 127.0.0.1 local0 ##日志输出配置,所有日志都记录在本机 ,通过local0输出
uid 200
gid 200
chroot /var/empty
daemon ##以后台形式运行haproxy
defaults
mode http ##默认模式 tcp是4层,http是七层
log global
option httplog ##日志级别
option dontlognull ##不记录健康检查日志信息
monitor-uri /monitoruri
maxconn 8000
timeout client 30s
option prefer-last-server
retries 2
option redispatch
timeout connect 5s
timeout server 5s
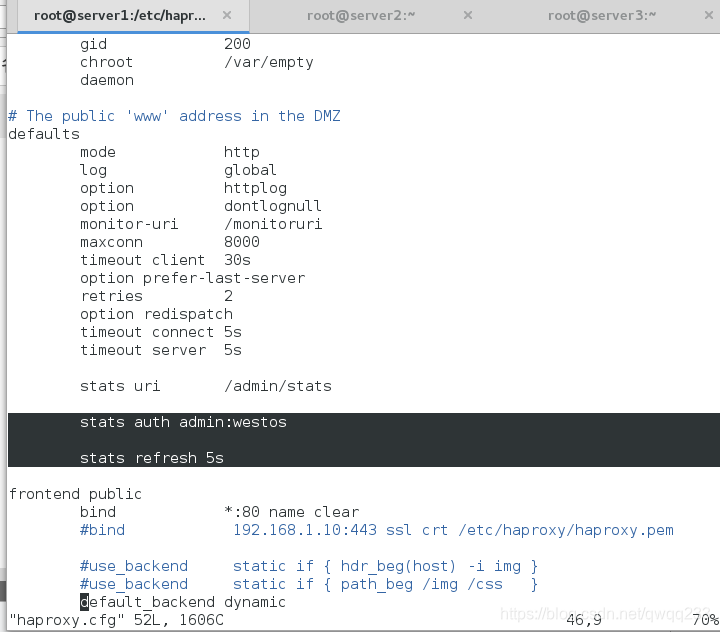
stats uri /admin/stats ##监视窗口
stats auth admin:westos ##认证
stats refresh 5s ##自动刷新时间
# The public 'www' address in the DMZ
frontend public
bind *:80 name clear
#bind 192.168.1.10:443 ssl crt /etc/haproxy/haproxy.pem
#use_backend static if { hdr_beg(host) -i img }
#use_backend static if { path_beg /img /css }
default_backend dynamic ##默认端
# the application servers go here
backend dynamic
balance roundrobin
server web1 172.25.26.2:80 check inter 1000
server web2 172.25.26.3:80 check inter 1000
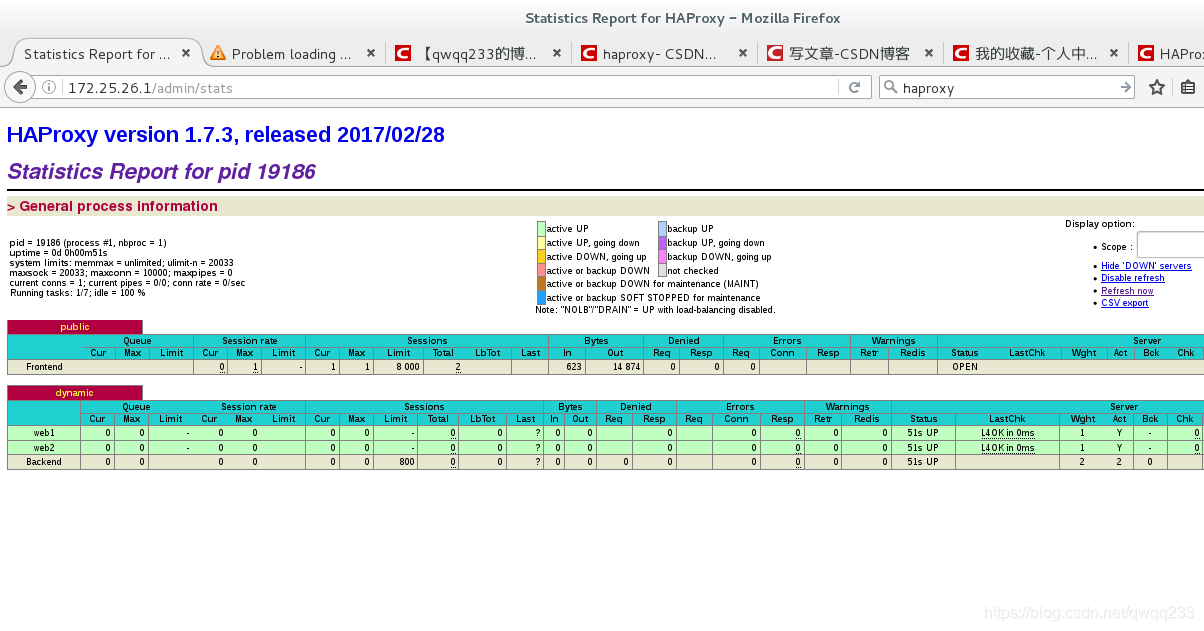
(2)效果查看
(1)主机浏览器查看:
浏览器登录http://172.25.41.1/admin/stats
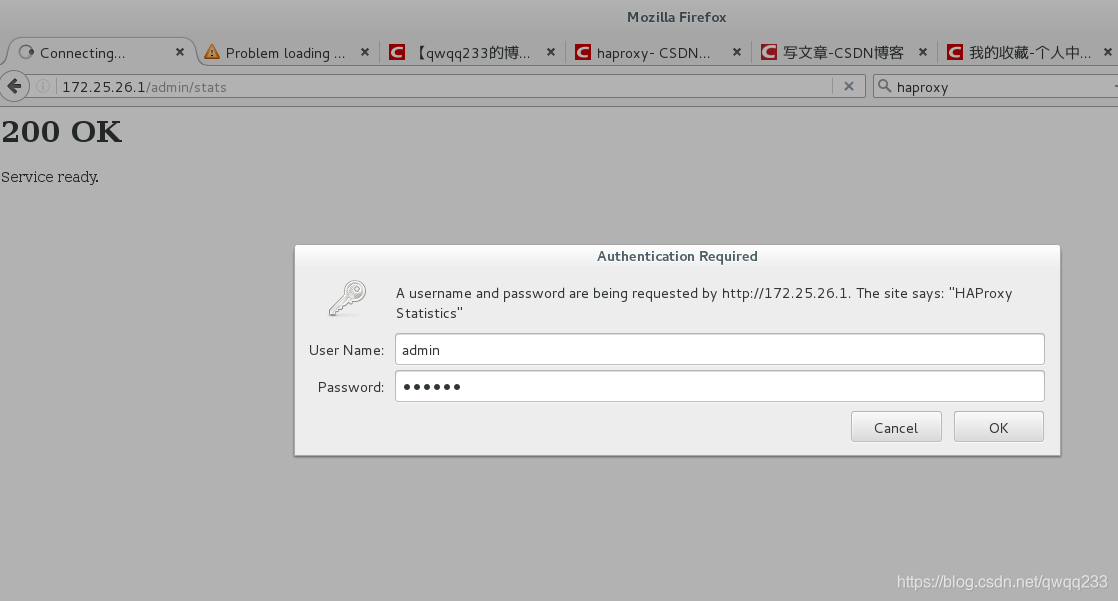
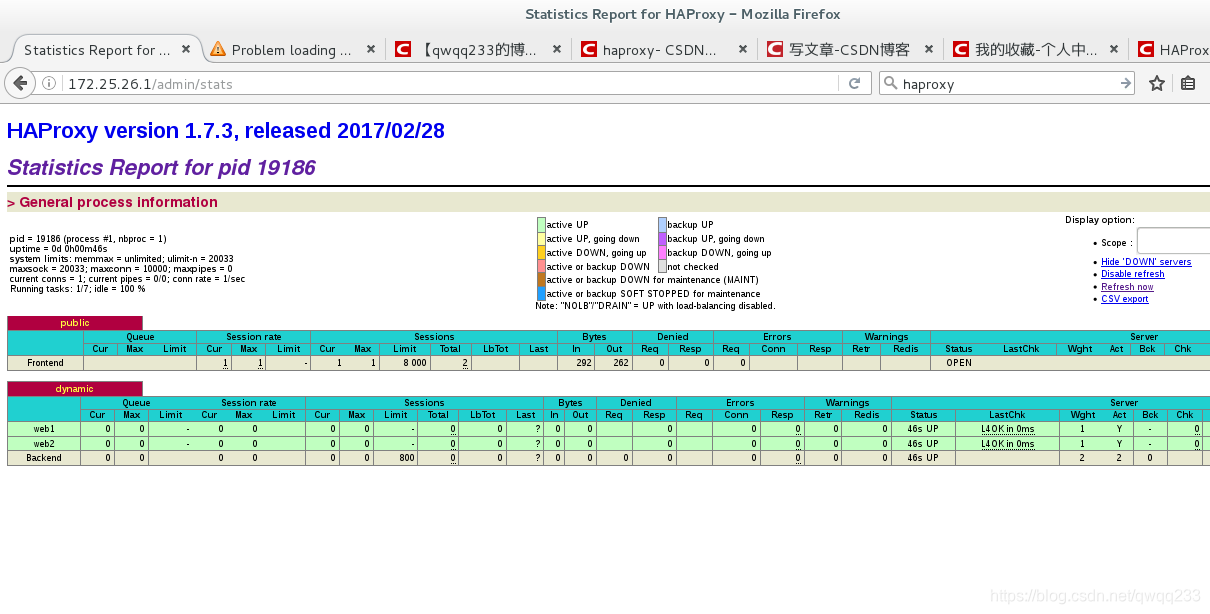
等待5秒左右
(2)利用日志查看
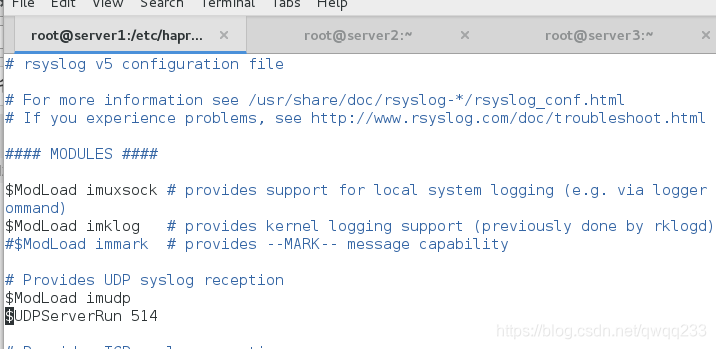
vim /etc/rsyslog.conf
12 # Provides UDP syslog reception
13 $ModLoad imudp
14 $UDPServerRun 514
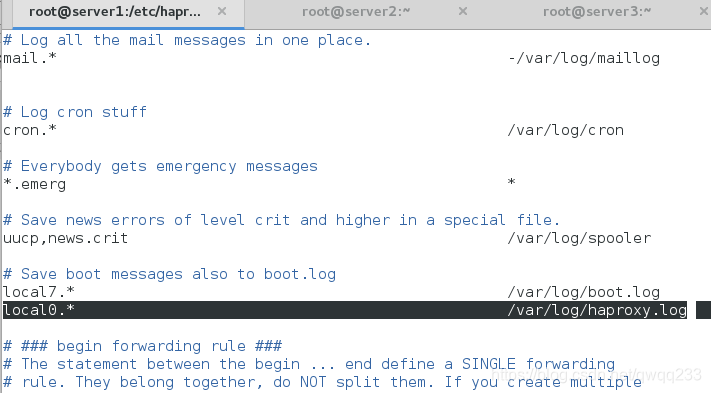
63 local0.* /var/log/haproxy.log
/etc/init.d/haproxy restart
/etc/init.d/rsyslog restart
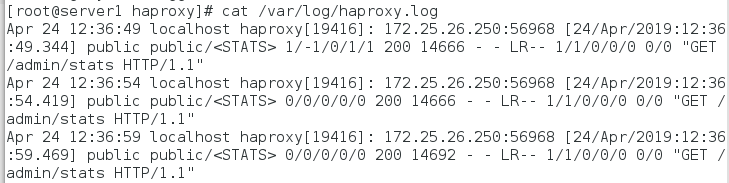
cat /var/log/haproxy.log
4.黑白名单+错误重定向
vim /etc/haproxy/haproxy.cfg
global
maxconn 10000
stats socket /var/run/haproxy.stat mode 600 level admin
log 127.0.0.1 local0 ##日志输出配置,所有日志都记录在本机 ,通过local0输出
uid 200
gid 200
chroot /var/empty
daemon ##以后台形式运行haproxy
defaults
mode http ##默认模式 tcp是4层,http是七层
log global
option httplog ##日志级别
option dontlognull ##不记录健康检查日志信息
monitor-uri /monitoruri
maxconn 8000
timeout client 30s
option prefer-last-server
retries 2
option redispatch
timeout connect 5s
timeout server 5s
stats uri /admin/stats ##监视窗口
stats auth admin:westos ##认证
stats refresh 5s ##自动刷新时间
# The public 'www' address in the DMZ
frontend public
bind *:80 name clear
#bind 192.168.1.10:443 ssl crt /etc/haproxy/haproxy.pem
#use_backend static if { hdr_beg(host) -i img }
#use_backend static if { path_beg /img /css }
acl blacklist src 172.25.26.250 ##设置访问列表
http-request deny if blacklist ##将访问列表拒绝访问,以实现黑名单
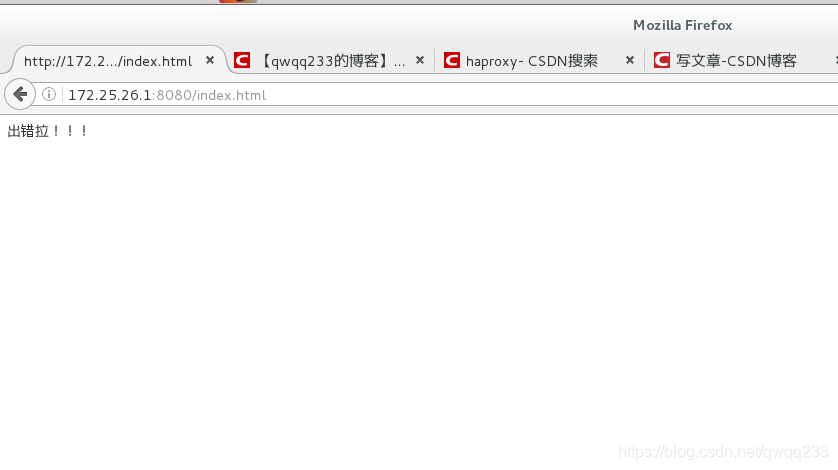
errorloc 403 http://172.25.26.1:8080/index.html if blacklist ##重定向
default_backend dynamic ##默认端
# the application servers go here
backend dynamic
balance roundrobin
server web1 172.25.26.2:80 check inter 1000
server web2 172.25.26.3:80 check inter 1000
/etc/init.d/haproxy restart
server1配置httpd默认页面
vim /var/www/html/index.html
出错拉!!!
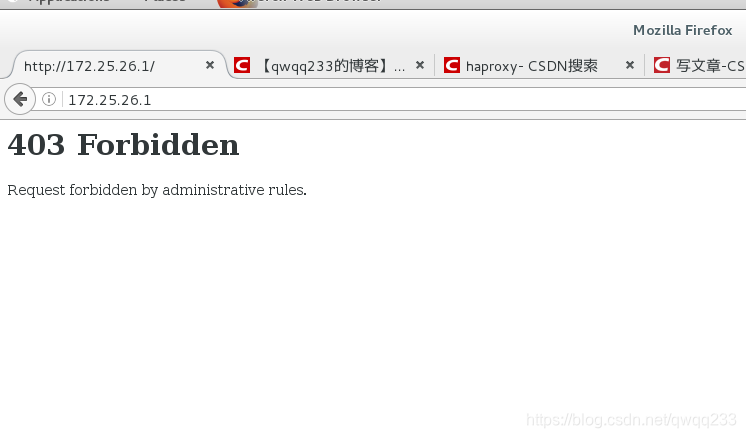
(2)效果查看
主机浏览器访问:
172.25.26.1(此效果不能用curl命令看出效果)
黑名单效果查询(注释掉重定向那一行)
#errorloc 403 http://172.25.26.1:8080/index.html if blacklist ##重定向
加上重定向查看效果
5.动静分离
vim /etc/haproxy/haproxy.cfg
global
maxconn 10000
stats socket /var/run/haproxy.stat mode 600 level admin
log 127.0.0.1 local0
uid 200
gid 200
chroot /var/empty
daemon
defaults
mode http
log global
option httplog
option dontlognull
monitor-uri /monitoruri
maxconn 8000
timeout client 30s
option prefer-last-server
retries 2
option redispatch
timeout connect 5s
timeout server 5s
stats uri /admin/stats
stats auth admin:westos ##认证
stats refresh 5s ##自动刷新时间
# The public 'www' address in the DMZ
frontend public
bind *:80 name clear
#bind 192.168.1.10:443 ssl crt /etc/haproxy/haproxy.pem
#use_backend static if { hdr_beg(host) -i img }
#use_backend static if { path_beg /img /css }
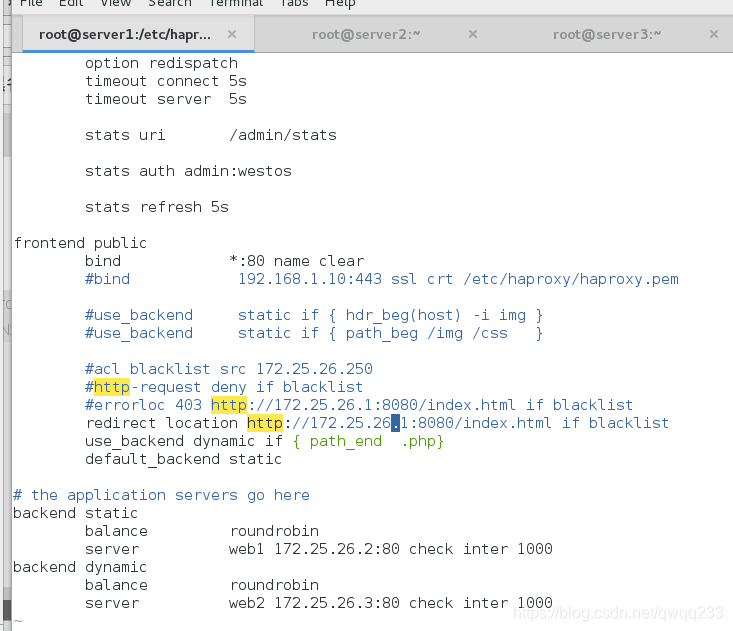
acl blacklist src 172.25.26.5
#http-request deny if blacklist
#errorloc 403 http://172.25.26.1:8080/index.html if blacklist
redirect location http://172.25.26.1:8080/index.html if blacklist
use_backend dynamic if { path_end .php } ##通过访问页面的结尾名区分动静
default_backend static
# the application servers go here
backend static ##静态页面
balance roundrobin
server web1 172.25.26.2:80 check inter 1000
backend dynamic ##动态页面
balance roundrobin
server web2 172.25.26.3:80 check inter 1000
/etc/init.d/harproxy restart
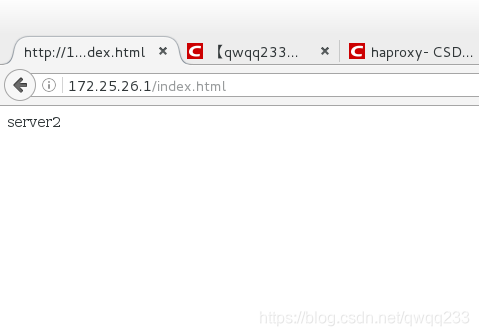
server2配置index.html文件
vim /var/www/html/index.html
server2
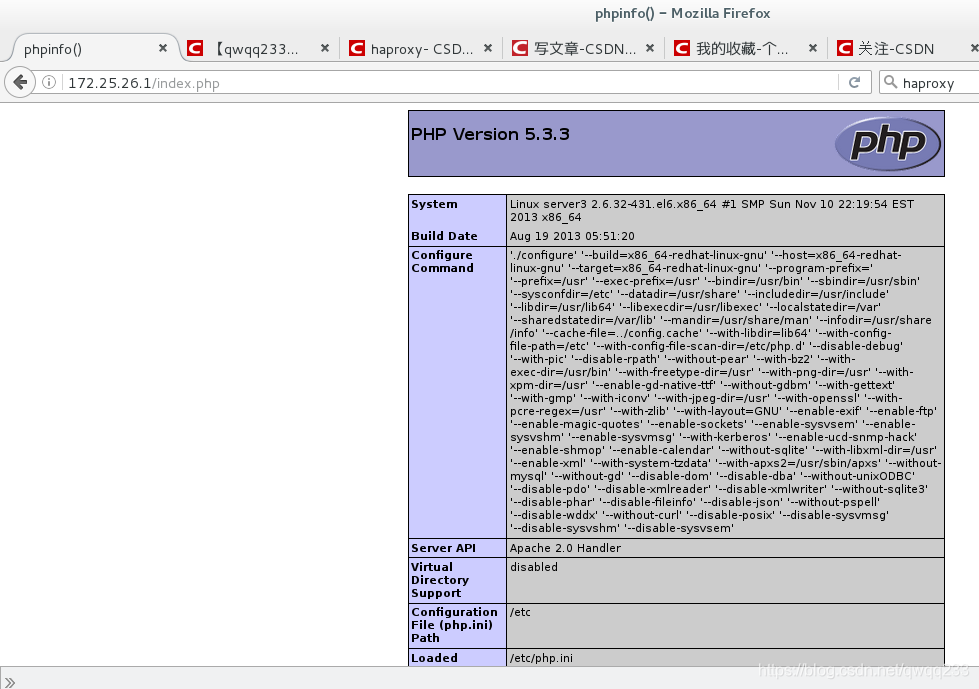
server3配置index.php文件
yum install -y php
vim /var/www/html/index.php
<?php
phpinfo()
?>
/etc/init.d/httpd restart
(2)测试访问
172.25.41.1/index.html
172.25.41.1/index.php
6.读写分离
vim /etc/haproxy/haproxy.cfg
global
        maxconn         10000
        stats socket    /var/run/haproxy.stat mode 600 level admin
        log             127.0.0.1 local0
        uid             200
        gid             200
        chroot          /var/empty
        daemon

defaults
        mode            http
        log             global
        option          httplog
        option          dontlognull
        monitor-uri     /monitoruri
        maxconn         8000
        timeout client  30s
        option prefer-last-server
        retries         2
        option redispatch
        timeout connect 5s
        timeout server  5s

	stats uri 	/admin/stats

	stats auth	admin:westos	##认证

	stats refresh	5s		##自动刷新时间


# The public 'www' address in the DMZ
frontend public
	acl write method POST
	acl write method PUT
	acl read method HEAD
	acl read method GET				##添加规则
        bind            *:80 name clear
        #bind            192.168.1.10:443 ssl crt /etc/haproxy/haproxy.pem
        #use_backend     static if { hdr_beg(host) -i img }
        #use_backend     static if { path_beg /img /css   }

	acl blacklist src 172.25.26.5

	#http-request deny if blacklist

	#errorloc 403 http://172.25.26.1:8080/index.html if blacklist
	redirect location http://172.25.26.1:8080/index.html if blacklist

	use_backend static if write				##写是在server2上
	use_backend dynamic if read				##读是在server3上

	default_backend static

# the application servers go here
backend static
        balance         roundrobin
        server          web1 172.25.26.2:80  check inter 1000
backend dynamic
        balance         roundrobin
        server          web2 172.25.26.3:80  check inter 1000
/etc/init.d/haproxy restart
给server2和server3创建文件和文件夹并更改权限
server2:
yum install -y php
vim /var/html/www/upload_file.php
<?php
if ((($_FILES["file"]["type"] == "image/gif")
|| ($_FILES["file"]["type"] == "image/jpeg")
|| ($_FILES["file"]["type"] == "image/pjpeg"))
&& ($_FILES["file"]["size"] < 20000000))
{
if ($_FILES["file"]["error"] > 0)
{
echo "Return Code: " . $_FILES["file"]["error"] . "<br />";
}
else
{
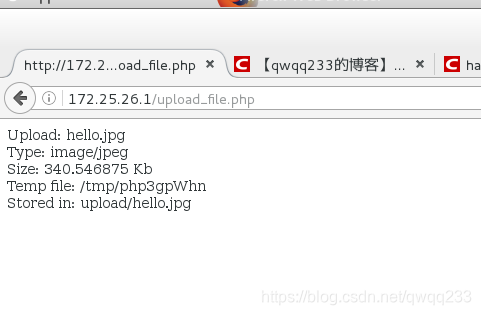
echo "Upload: " . $_FILES["file"]["name"] . "<br />";
echo "Type: " . $_FILES["file"]["type"] . "<br />";
echo "Size: " . ($_FILES["file"]["size"] / 1024) . " Kb<br />";
echo "Temp file: " . $_FILES["file"]["tmp_name"] . "<br />";
if (file_exists("upload/" . $_FILES["file"]["name"]))
{
echo $_FILES["file"]["name"] . " already exists. ";
}
else
{
move_uploaded_file($_FILES["file"]["tmp_name"],
"upload/" . $_FILES["file"]["name"]);
echo "Stored in: " . "upload/" . $_FILES["file"]["name"];
}
}
}
else
{
echo "Invalid file";
}
?>
vim /var/www/html/index.php
<html>
<body>
<form action="upload_file.php" method="post"
enctype="multipart/form-data">
<label for="file">Filename:</label>
<input type="file" name="file" id="file" />
<br />
<input type="submit" name="submit" value="server2222--->Submit" />
</form>
</body>
</html>
mkdir /var/www/html/upload
chmod 755 /var/html/www/upload_file.php
chmod 755 /var/html/www/index.php
chmod 777 /var/html/www/upload
/etc/init.d/httpd restart
server3:
yum install -y php

vim /var/html/www/upload_file.php
<?php
if ((($_FILES["file"]["type"] == "image/gif")
|| ($_FILES["file"]["type"] == "image/jpeg")
|| ($_FILES["file"]["type"] == "image/pjpeg"))
&& ($_FILES["file"]["size"] < 20000000))
  {
  if ($_FILES["file"]["error"] > 0)
    {
    echo "Return Code: " . $_FILES["file"]["error"] . "<br />";
    }
  else
    {
    echo "Upload: " . $_FILES["file"]["name"] . "<br />";
    echo "Type: " . $_FILES["file"]["type"] . "<br />";
    echo "Size: " . ($_FILES["file"]["size"] / 1024) . " Kb<br />";
    echo "Temp file: " . $_FILES["file"]["tmp_name"] . "<br />";

    if (file_exists("upload/" . $_FILES["file"]["name"]))
      {
      echo $_FILES["file"]["name"] . " already exists. ";
      }
    else
      {
      move_uploaded_file($_FILES["file"]["tmp_name"],
      "upload/" . $_FILES["file"]["name"]);
      echo "Stored in: " . "upload/" . $_FILES["file"]["name"];
      }
    }
  }
else
  {
  echo "Invalid file";
  }
?>


vim /var/www/html/index.php
<html>
<body>

<form action="upload_file.php" method="post"
enctype="multipart/form-data">
<label for="file">Filename:</label>
<input type="file" name="file" id="file" />
<br />
<input type="submit" name="submit" value="server3333--->Submit" />
</form>

</body>
</html>


mkdir /var/www/html/upload
chmod 755 /var/html/www/upload_file.php
chmod 755 /var/html/www/index.php
chmod 777 /var/html/www/upload
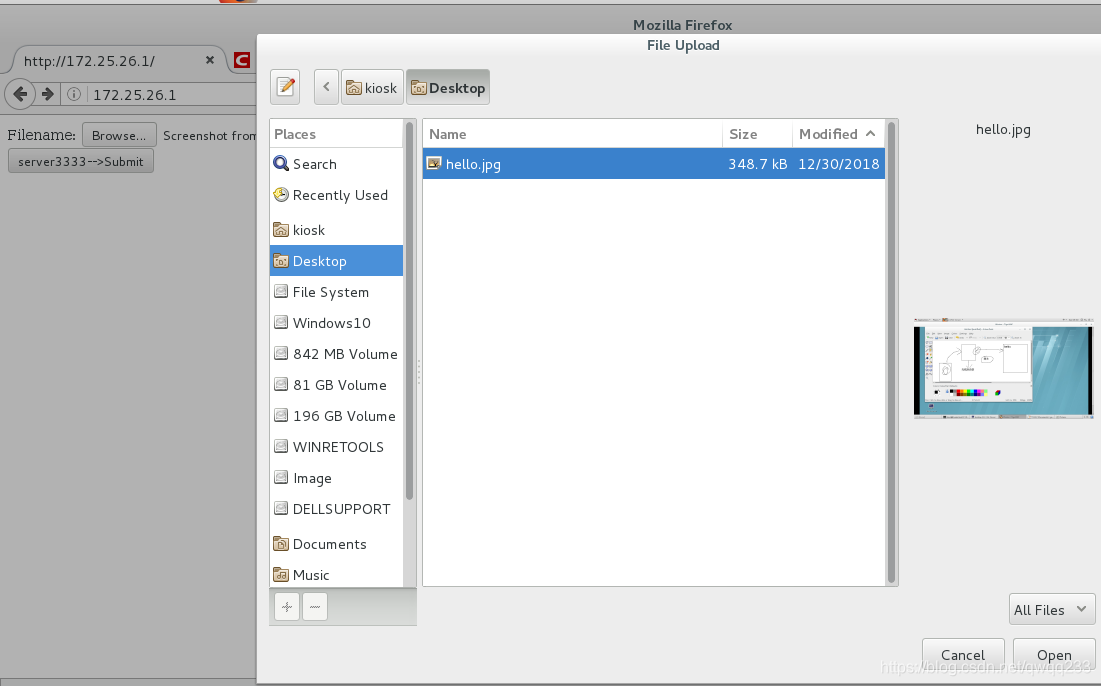
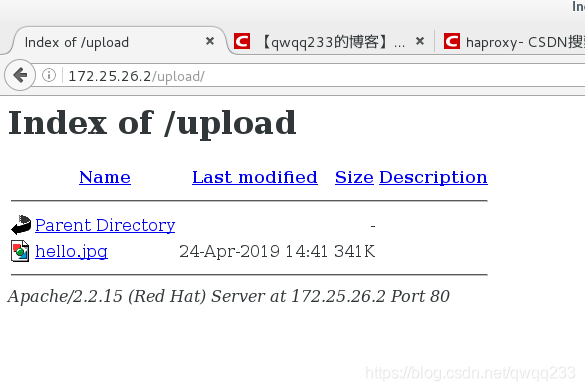
测试查看
读是在server3上
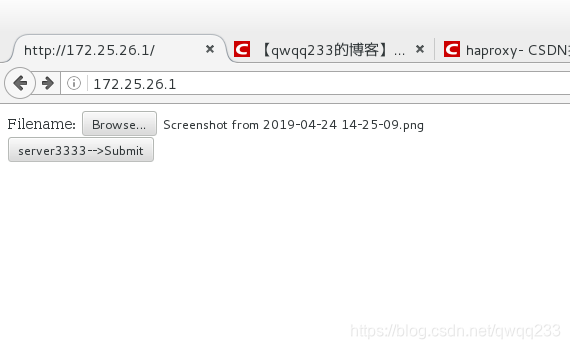
写是在server2上(这里由于设置问题,只能上传jpg格式的图片文件)


 829
829

 被折叠的 条评论
为什么被折叠?
被折叠的 条评论
为什么被折叠?
 到【灌水乐园】发言


