


 本文介绍了如何使用PHPStudy安装和配置PHP环境,包括设置Apache服务、调整端口号,并与HBuilderX内置浏览器配合使用。通过创建一个简单的AJAX项目,展示了在HBuilderX中运行PHP项目的流程。文章详细讲解了每个步骤,适合初学者参考。
phpstudy 配置php环境
安装php环境
官网下载安装phpstudy.一路next即可(注意不要安装到中文路径)
点击启动apache服务
apache配置以及和hbuilderx内置浏览器组合使用
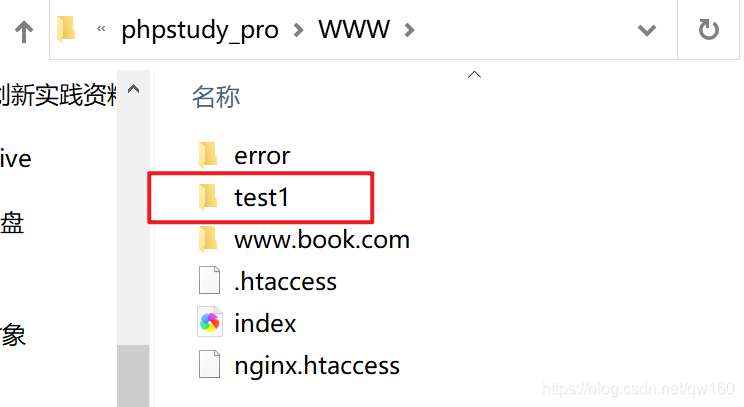
网站的根目录:D:/phpstudy_pro/WWW/(不知道啥作用)
apache网站目录:“D:/phpstudy_pro/WWW”
启动端口:8848
hbuilder内置浏览器的端口号是8848
将phpstudy的端口号也改成8848即可
新建一个项目
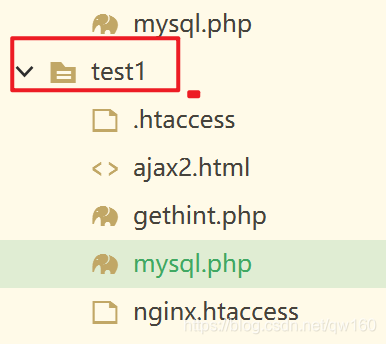
在phpstudy的www文件夹中新建一个文件夹
使用hbuilderx打开这个文件夹
代码
ajax2.html
<!DOCTYPE html>
<html>
<head>
<meta charset="utf-8">
<script>
function showHint(str)
{
  var xmlhttp;
  if (str.length==0)
  {
    document.getElementById("txtHint").innerHTML="";
    return;
  }
  if (window.XMLHttpRequest)
  {
    // IE7+, Firefox, Chrome, Opera, Safari 浏览器执行代码
    xmlhttp=new XMLHttpRequest();
  }
  else
  {
    // IE6, IE5 浏览器执行代码
    xmlhttp=new ActiveXObject("Microsoft.XMLHTTP");
  }
  xmlhttp.onreadystatechange=function()
  {
    if (xmlhttp.readyState==4 && xmlhttp.status==200)
    {
      document.getElementById("txtHint").innerHTML=xmlhttp.responseText;
    }
  }
  xmlhttp.open("GET","gethint.php?q="+str,true);
  xmlhttp.send();
}
</script>
</head>
<body>

<h3>在输入框中尝试输入姓名 a:</h3>
<form action="">
输入姓名: <input type="text" id="txt1" onkeyup="showHint(this.value)" />
</form>
<p>提示信息: <span id="txtHint"></span></p>

</body>
</html>
getthint.php
<?php
// Fill up array with names

$a[]="liruodi";
$a[]="lihan";
$a[]="lichenjie";
$a[]="lishimiao";

//get the q parameter from URL
$q=$_GET["q"];

//lookup all hints from array if length of q>0
if (strlen($q) > 0)
{
  $hint="";
  for($i=0; $i<count($a); $i++)
  {
    if (strtolower($q)==strtolower(substr($a[$i],0,strlen($q))))
    {
      if ($hint=="")
      {
        $hint=$a[$i];
      }
      else
      {
        $hint=$hint." , ".$a[$i];
      }
    }
  }
}

// Set output to "no suggestion" if no hint were found
// or to the correct values
if ($hint == "")
{
  $response="no suggestion";
}
else
{
  $response=$hint;
}

//output the response
echo $response;
?>
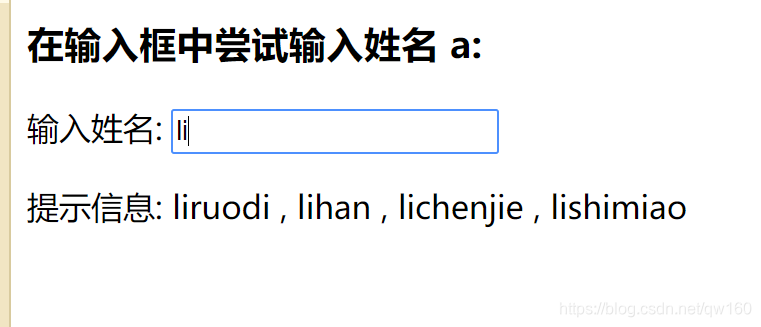
运行
在hbuilderx的内置浏览器中运行html文件


 173
173

 被折叠的 条评论
为什么被折叠?
被折叠的 条评论
为什么被折叠?
 到【灌水乐园】发言


