


目录
4、最后,将PDF上传到Overleaf中,并在正文中通过如下格式进行图片的插入
具体操作方式如下:
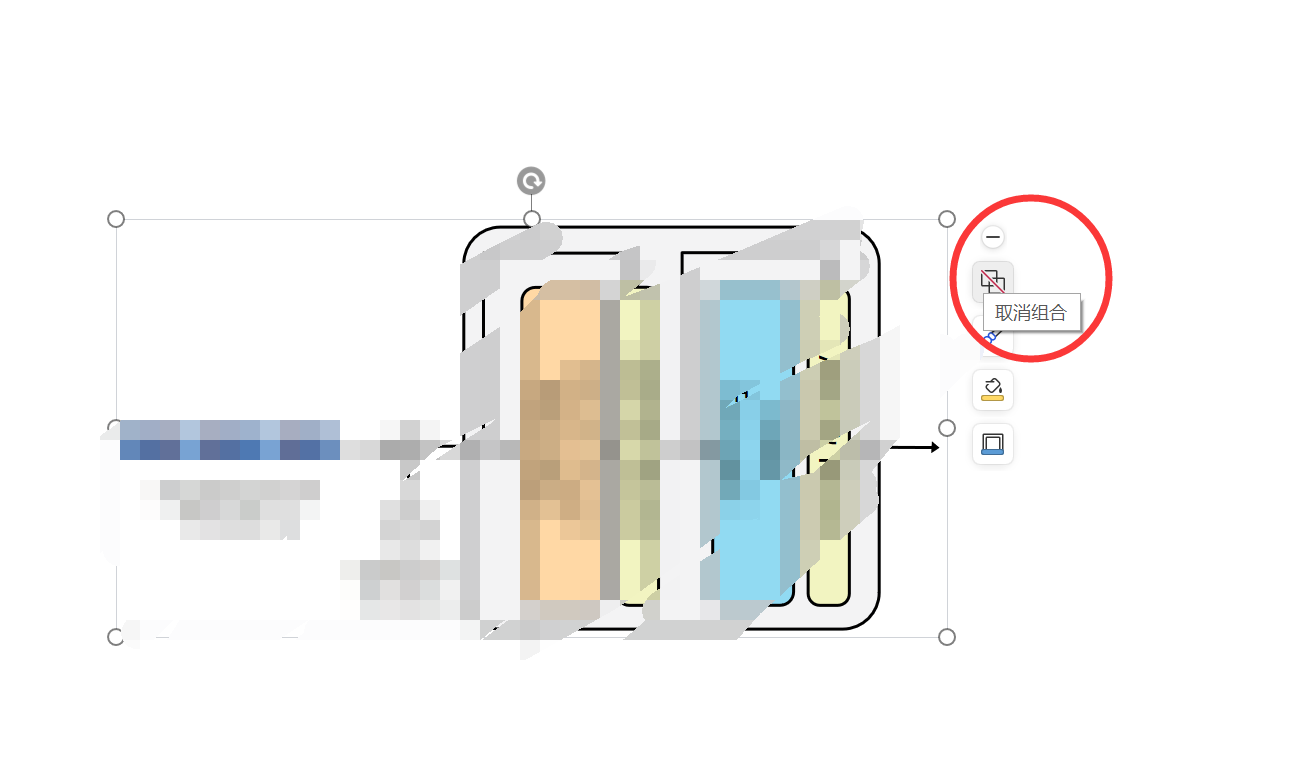
1、首先,在PPT中组合图片
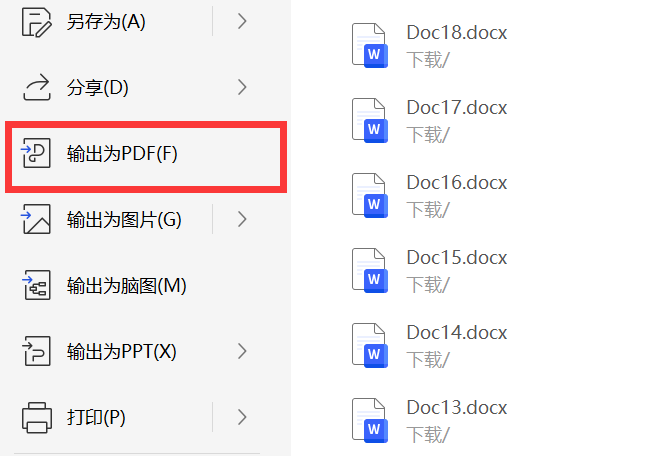
2、然后,将此PPT导出为PDF
3、接着,对PDF进行裁剪

4、最后,将PDF上传到Overleaf中,并在正文中通过如下格式进行图片的插入
\begin{figure}[ht]
  \centering
  \includegraphics[width=0.5\linewidth]{Figure/transformer block.pdf}  % 图片的路径
  \caption{Transformer}
  \label{fig:transformer_block}
\end{figure}
在overleaf中引用图片的时,使用如下代码来引用:
/ref{fig:transformer_block}5、为什么使用PDF而不是PNG格式?
这是因为PDF是矢量图更清晰,而PNG不支持矢量图可能会模糊。
6、Latex中插入图片常见格式
在Overleaf中插入图片主要有以下几种常用方法,每种方式适用于不同场景:
6.1. 基础浮动体插入(推荐方式)
\begin{figure}[ht]
  \centering
  \includegraphics[width=0.8\textwidth]{images/sample.png}
  \caption{示例图片标题}
  \label{fig:sample}
\end{figure}
- 特点:自动处理图片位置,支持跨页浮动
- 参数说明:
[ht]:位置参数组合(h=此处,t=页顶)width:建议使用相对单位(如\textwidth)\label:实现交叉引用
6.2. 精确位置插入
\begin{figure}[H]
  \centering
  \includegraphics[scale=0.6]{diagrams/flowchart.pdf}
  \caption{流程图示例}
  \label{fig:flow}
\end{figure}
- 需要引入
float包:\usepackage{float} [H]:强制固定位置(不推荐大量使用)
6.3. 多图排列
\begin{figure}[ht]
  \centering
  \begin{subfigure}[b]{0.45\textwidth}
    \includegraphics[width=\textwidth]{plots/data1.png}
    \caption{数据集A}
  \end{subfigure}
  \hfill
  \begin{subfigure}[b]{0.45\textwidth}
    \includegraphics[width=\textwidth]{plots/data2.png}
    \caption{数据集B}
  \end{subfigure}
  \caption{对比实验结果}
\end{figure}
- 需要
subcaption包:\usepackage{subcaption}
6.4. 直接插入(非浮动体)
\noindent
\includegraphics[width=0.3\linewidth]{icons/logo.png}
- 特点:不生成浮动体,适合小图标插入
- 注意:无法添加自动编号的标题
通用建议:
- 推荐使用矢量图格式(PDF/EPS)
- 路径建议:
- 项目根目录创建
images/目录 - 使用相对路径引用
- 项目根目录创建
- 常用参数组合:
\includegraphics[width=0.5\textwidth, angle=90, trim=10 20 30 40]{...}angle:旋转角度trim:裁剪边距(左 下 右 上)
调试技巧:
- 文件路径错误时,Overleaf会显示黄色警告框
- 使用
draft模式可加快编译速度:\usepackage[draft]{graphicx}


 2万+
2万+


 到【灌水乐园】发言


