


这里写目录标题
一、Exchange(交换机)的作用
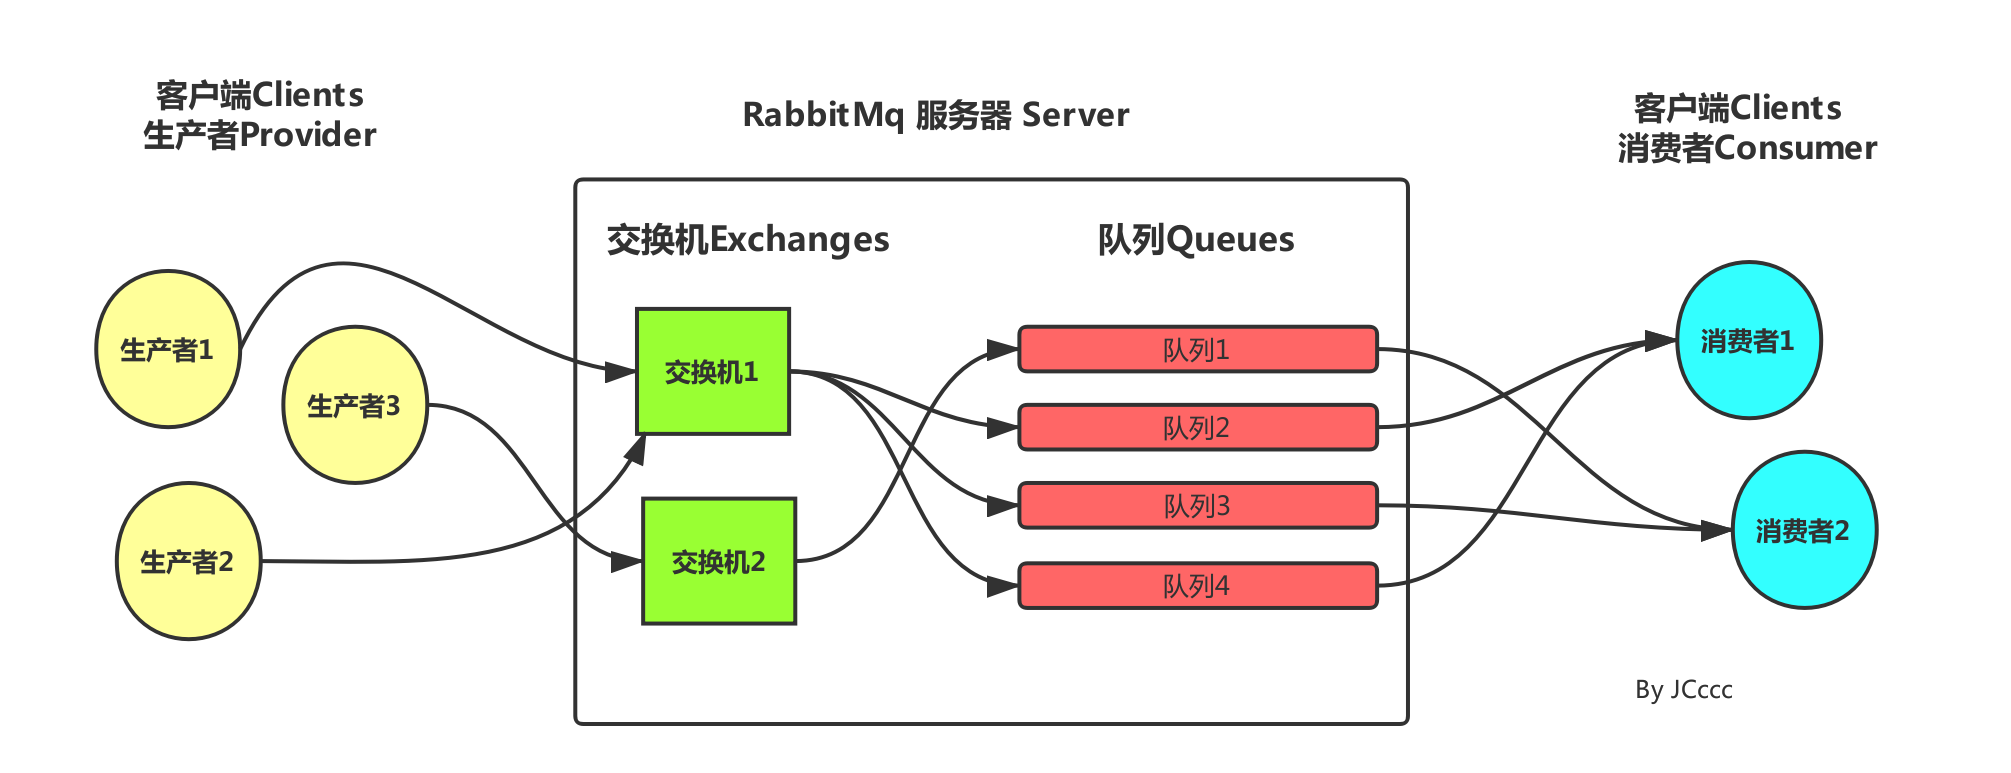
在RabbitMQ中,生产者发送消息不会直接将消息投递到队列中,而是先将消息投递到交换机中,在由交换机转发到具体的队列,
队列再将消息以推送或者拉取方式给消费者进行消费
创建消息 路由键 pull/push
生产者------------>交换机------------>队列------------>消费者
二、Exchange(交换机)的类型
2.1 直连交换机:Direct Exchange
直连交换机是一种带路由功能的交换机,一个队列会和一个交换机绑定,除此之外再绑定一个routing_key,当消息被发送的时候,需要指定一个binding_key,这个消息被送达交换机的时候,就会被这个交换机送到指定的队列里面去。同样的一个binding_key也是支持应用到多个队列中的。
 这样当一个交换机绑定多个队列,就会被送到对应的队列去处理。


 注1:什么是路由键
      每个消息都有一个称为路由键(routing key)的属性,它其实就是一个简单的字符串

 注2:直连交换机适用场景
      有优先级的任务,根据任务的优先级把消息发送到对应的队列,这样可以指派更多的资源去处理高优先级的队列。
2.2 主题交换机:Topic Exchange
直连交换机的缺点!
直连交换机的routing_key方案非常简单,如果我们希望一条消息发送给多个队列,那么这个交换机需要绑定上非常多的routing_key,
假设每个交换机上都绑定一堆的routing_key连接到各个队列上。那么消息的管理就会异常地困难。
 所以RabbitMQ提供了一种主题交换机,发送到主题交换机上的消息需要携带指定规则的routing_key,
 主题交换机会根据这个规则将数据发送到对应的(多个)队列上。

 主题交换机的routing_key需要有一定的规则,交换机和队列的binding_key需要采用*.#.*.....的格式,每个部分用.分开,其中
 *表示一个单词
 #表示任意数量(零个或多个)单词。

 示例:
 队列Q1绑定键为 *.TT.*
 队列Q2绑定键为TT.#

 如果一条消息携带的路由键为 A.TT.B,那么队列Q1将会收到
 如果一条消息携带的路由键为TT.AA.BB,那么队列Q2将会收到
2.3 扇形交换机:Fanout Exchange
扇形交换机是最基本的交换机类型,它所能做的事情非常简单———广播消息。
扇形交换机会把能接收到的消息全部发送给绑定在自己身上的队列。因为广播不需要“思考”,
所以扇形交换机处理消息的速度也是所有的交换机类型里面最快的。
这个交换机没有路由键概念,就算你绑了路由键也是无视的。
其他交换机
首部交换机:Headers exchange
默认交换机
实际上是一个由RabbitMQ预先声明好的名字为空字符串的直连交换机(direct exchange)。它有一个特殊的属性使得它对于
简单应用特别有用处:那就是每个新建队列(queue)都会自动绑定到默认交换机上,绑定的路由键(routing key)名称与队列名称相同。
 如:当你声明了一个名为”hello”的队列,RabbitMQ会自动将其绑定到默认交换机上,绑定(binding)的路由键名称也是为”hello”。
 因此,当携带着名为”hello”的路由键的消息被发送到默认交换机的时候,此消息会被默认交换机路由至名为”hello”的队列中

 类似amq.*的名称的交换机:
 这些是RabbitMQ默认创建的交换机。这些队列名称被预留做RabbitMQ内部使用,不能被应用使用,否则抛出403 (ACCESS_REFUSED)错误
Dead Letter Exchange(死信交换机)
在默认情况,如果消息在投递到交换机时,交换机发现此消息没有匹配的队列,则这个消息将被悄悄丢弃。
为了解决这个问题,RabbitMQ中有一种交换机叫死信交换机。当消费者不能处理接收到的消息时,将这个消息重新发布到另外一个队列中,
等待重试或者人工干预。这个过程中的exchange和queue就是所谓的”Dead Letter Exchange 和 Queue
三、交换机的属性
除交换机类型外,在声明交换机时还可以附带许多其他的属性,其中最重要的几个分别是:
Name:交换机名称
Durability:是否持久化。如果持久性,则RabbitMQ重启后,交换机还存在
Auto-delete:当所有与之绑定的消息队列都完成了对此交换机的使用后,删掉它
Arguments:扩展参数
四、交换机的使用
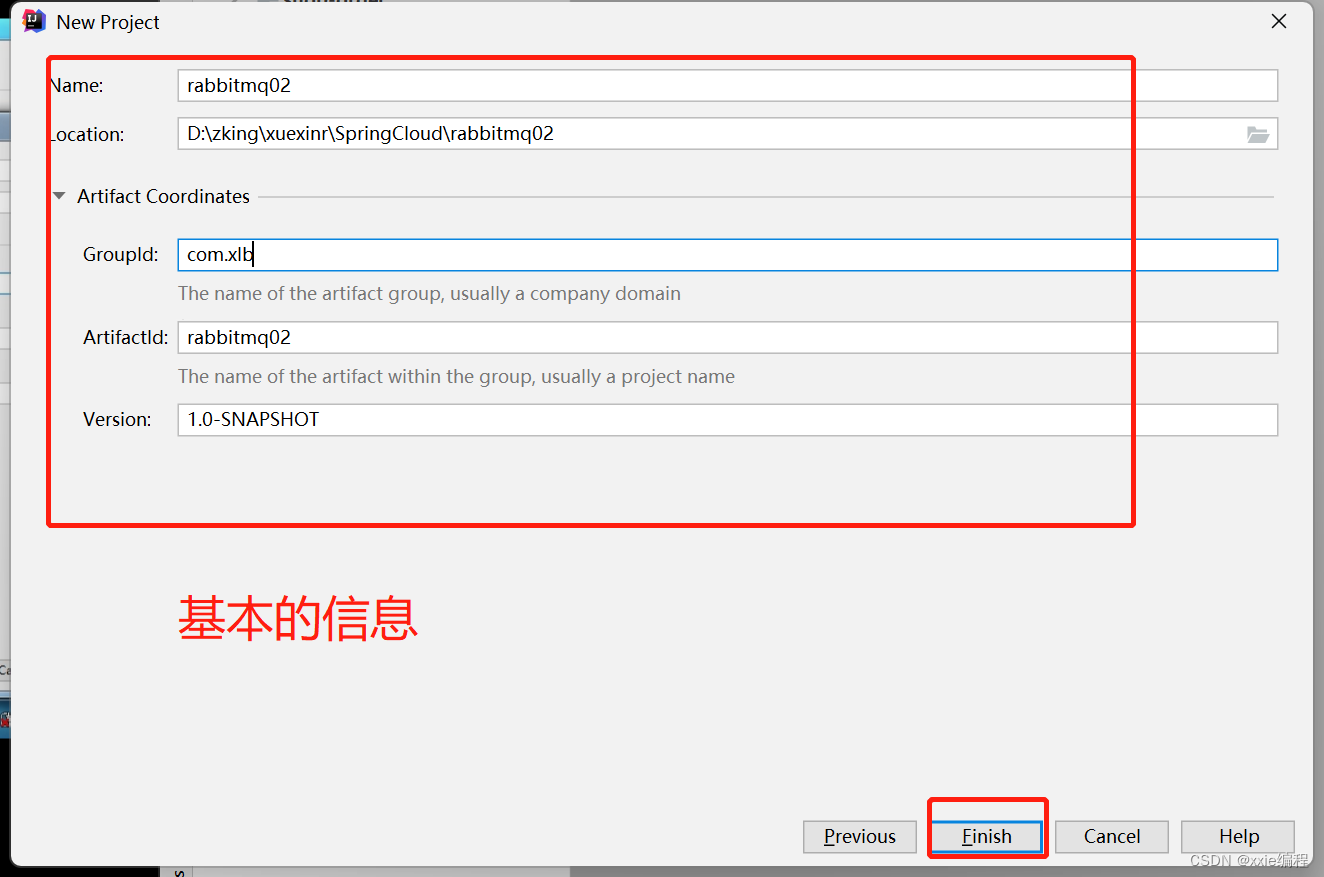
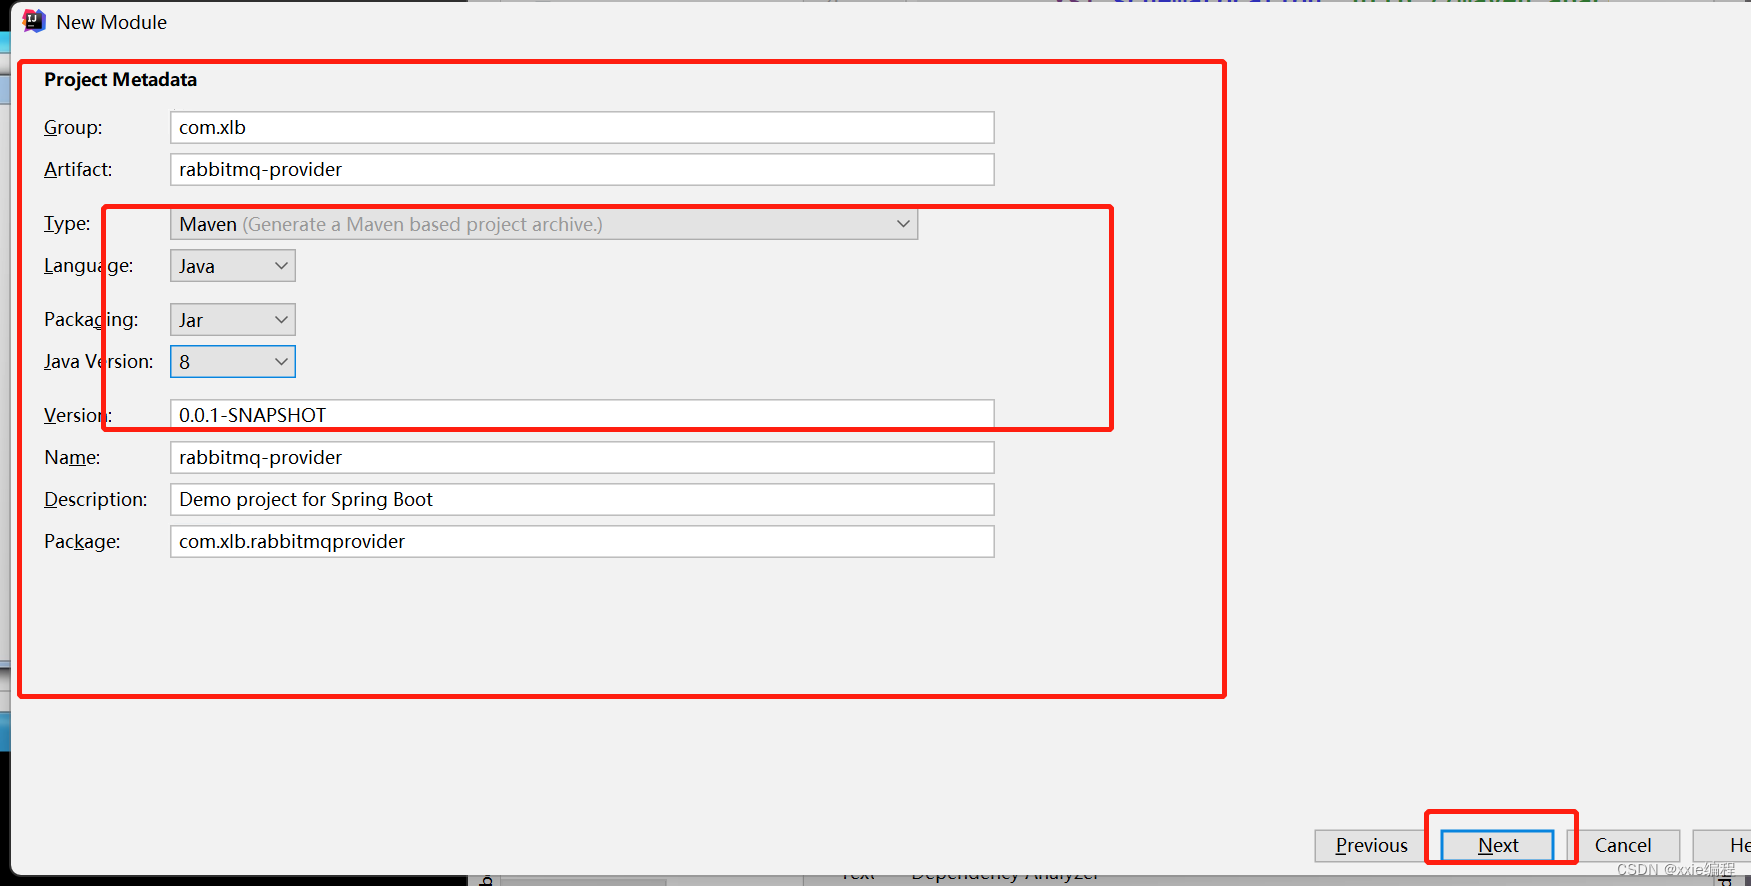
rabbitmq02 #主模块
rabbitmq-provider #生产者
rabbitmq-consumer #消费者
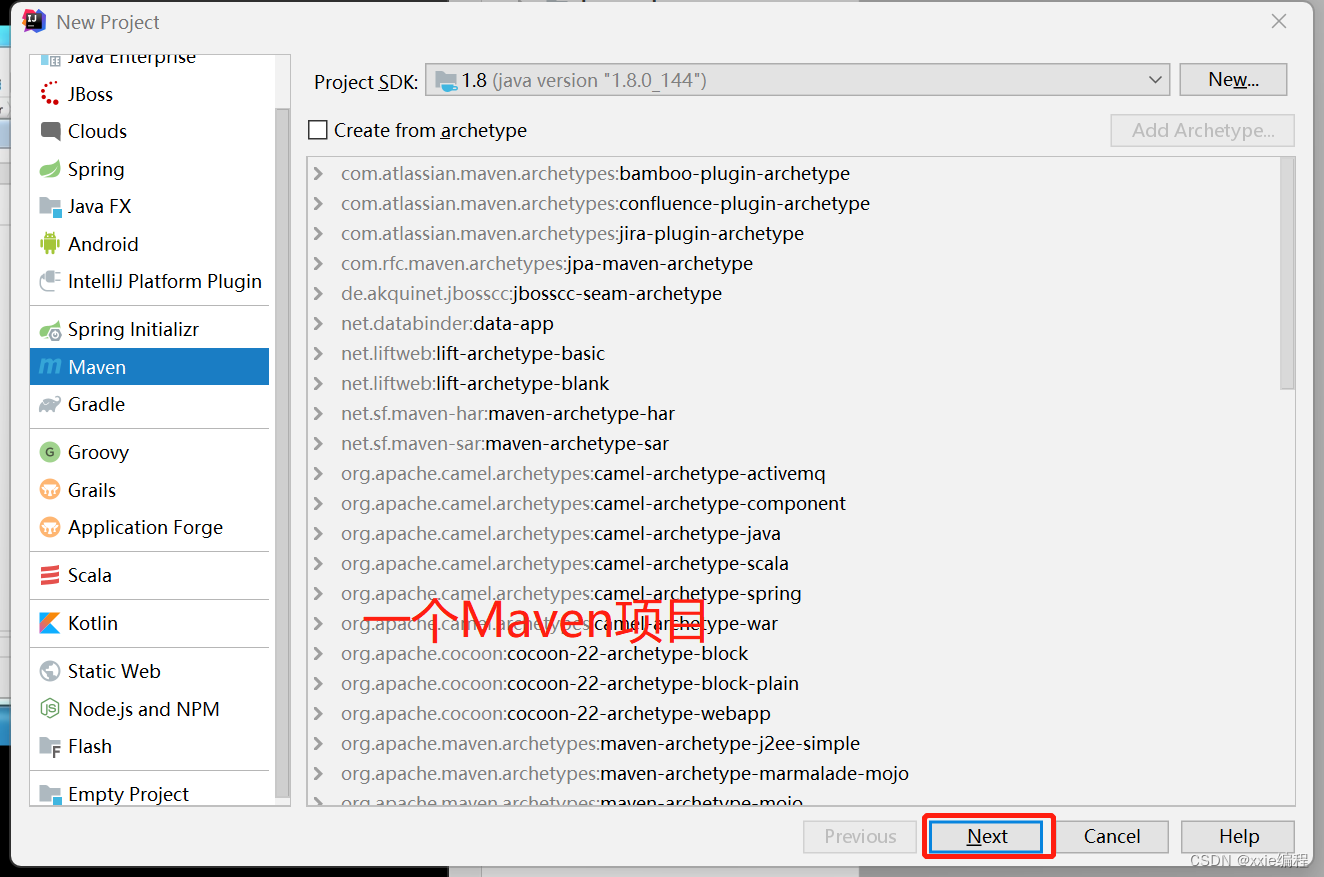
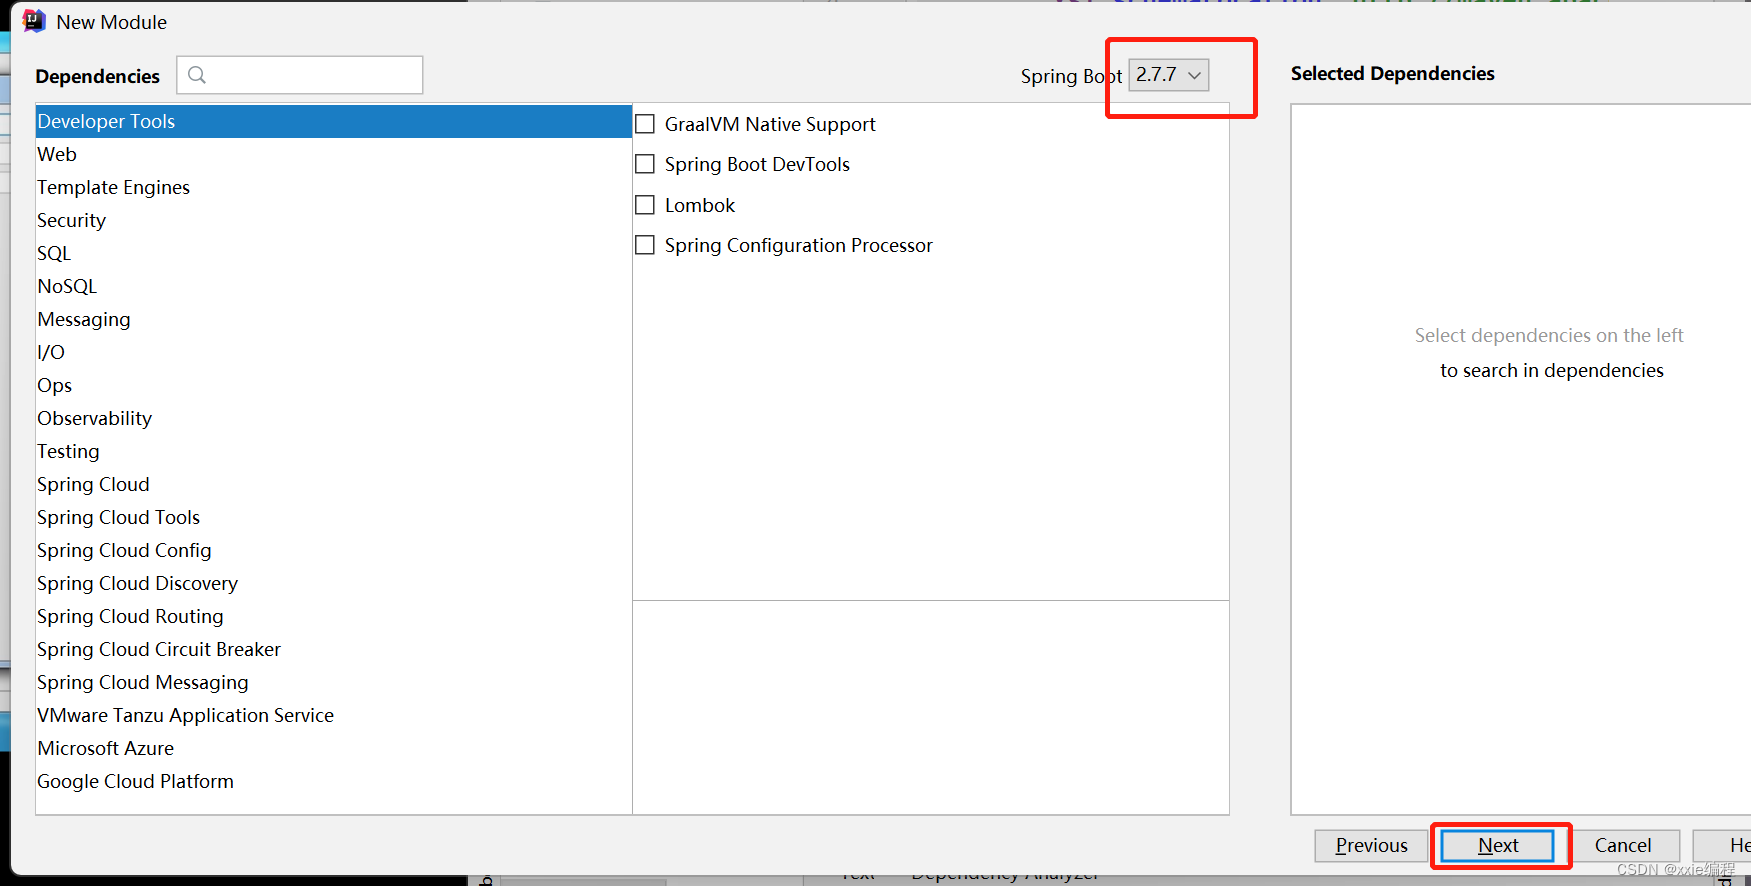
首先构建一个主模块
如果新的工作区间就需要修改仓库地址
然后构建子模块
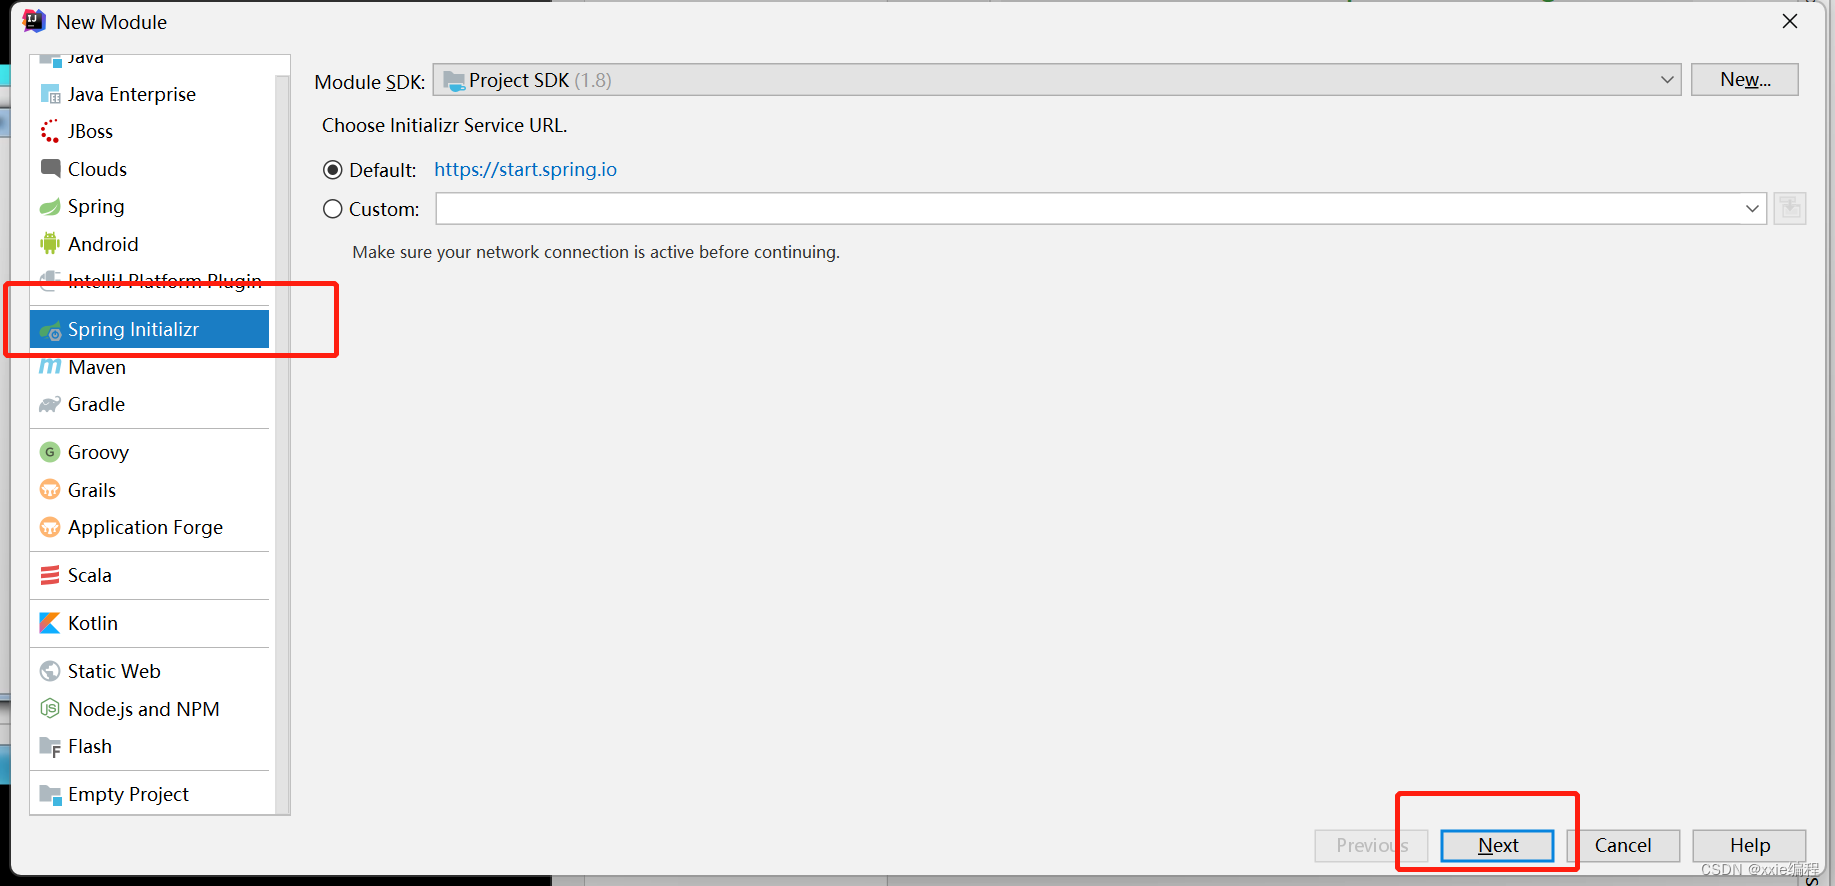
然后构建消费者
因为步骤跟生产者一样所以就不重复
在子模块里面添加Jra包依赖
<dependency>
       <groupId>org.springframework.boot</groupId>
       <artifactId>spring-boot-starter-amqp</artifactId>
     </dependency>
     <dependency>
       <groupId>org.springframework.boot</groupId>
       <artifactId>spring-boot-starter-web</artifactId>
     </dependency>
     <dependency>
       <groupId>org.projectlombok</groupId>
       <artifactId>lombok</artifactId>
       <optional>true</optional>
     </dependency>
直连交换机
在生产者里面创建配置类RabbitmqDirectConfig
package com.xlb.rabbitmqprovider.conf;

import org.springframework.amqp.core.Binding;
import org.springframework.amqp.core.BindingBuilder;
import org.springframework.amqp.core.DirectExchange;
import org.springframework.amqp.core.Queue;
import org.springframework.context.annotation.Bean;
import org.springframework.context.annotation.Configuration;

/**
 * @author 波哥
 * @QQ 2212371722
 * @company 波哥集团
 * @create  2022-12-27 16:30
 */
@Configuration
public class RabbitmqDirectConfig {

    //直连交换机对应的队列
    @Bean
    public Queue directQueue(){
        return new Queue("xlb-direct-Queue");
    }

    //直连交换机
    @Bean
    public DirectExchange directExchange(){
        return new DirectExchange("xlb-direct-exchange");
    }

    //直连交换机与队列的绑定关系
    @Bean
    public Binding directBinding(){
        return BindingBuilder.bind(directQueue())
                .to(directExchange())
                .with("dorect_routing_key");
    }

}
编写测试代码
package com.xlb.rabbitmqprovider.controller;
import org.springframework.amqp.rabbit.core.RabbitTemplate;
import org.springframework.beans.factory.annotation.Autowired;
import org.springframework.web.bind.annotation.RequestMapping;
import org.springframework.web.bind.annotation.RestController;
import java.time.LocalDateTime;
import java.time.format.DateTimeFormatter;
import java.util.HashMap;
import java.util.Map;
/**
* @author 波哥
* @QQ 2212371722
* @company 波哥集团
* @create 2022-12-27 16:44
*/
@RestController
public class SendMessageController {
@Autowired
private RabbitTemplate rabbitTemplate;
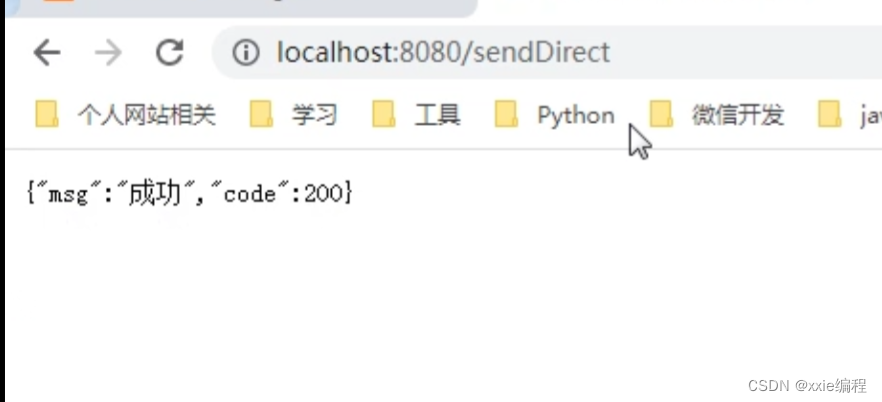
@RequestMapping("sendDirect")
public Map senDirect(String routingkey){
Map msg = new HashMap();
msg.put("msg","直连交换机 xlb-direct-exchang 发送的消息");
msg.put("time", LocalDateTime.now().format(DateTimeFormatter.ofPattern("yyyy-MM-dd hh:mm:ss")));
rabbitTemplate.convertAndSend("xlb-direct-exchange"
,routingkey,msg);
Map res = new HashMap();
res.put("code",200);
res.put("msg","成功");
return res;
}
}
然后加入配置
server.port=8080
## rabbitmq config
spring.rabbitmq.host=43.143.169.245
spring.rabbitmq.port=5672
spring.rabbitmq.username=xlb
spring.rabbitmq.password=xlb

## 与启动容器时虚拟主机名字一致~~~与启动容器时虚拟主机名字一致~~~与启动容器时虚拟主机名字一致~~~
spring.rabbitmq.virtual-host=my_vhost
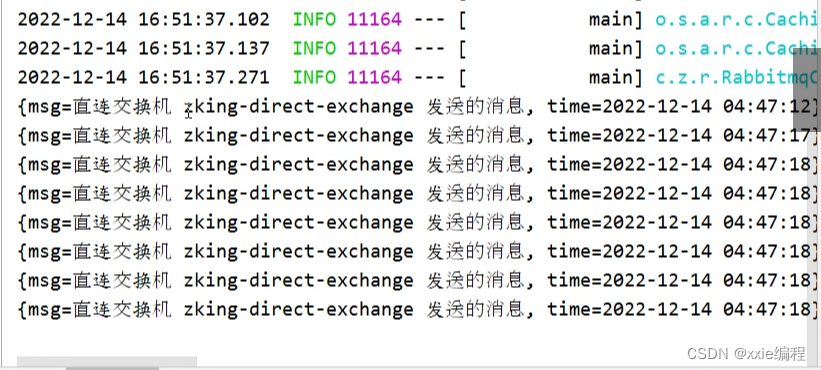
测试

同时也增加了队列
编写消费者
package com.xlb.rabbitmqconsumer.conf;

import org.springframework.amqp.rabbit.annotation.RabbitHandler;
import org.springframework.amqp.rabbit.annotation.RabbitListener;
import org.springframework.stereotype.Component;

import java.util.Map;

@Component
		@RabbitListener(queues = {"xlb-direct-queue"})
		public class DirectReceiver {
			// @RabbitListener(queues = {"direct-queue"})
			@RabbitHandler
			public void handler(Map msg){
				System.out.println(msg);
			}
		}
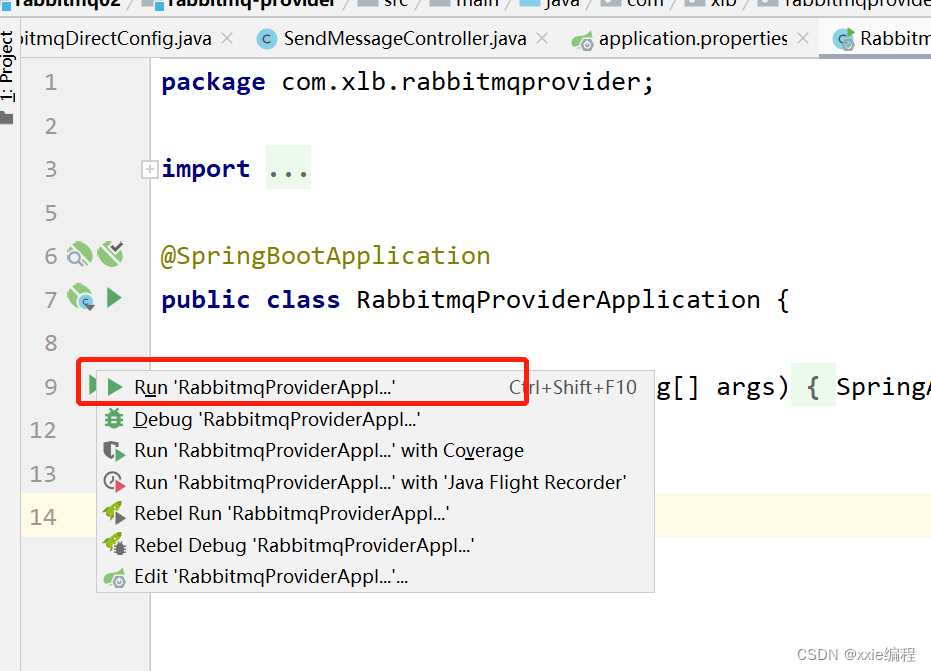
启动测试
主题交换机
主题交换机配置
package com.xlb.rabbitmqprovider.conf;

import org.springframework.amqp.core.*;
import org.springframework.context.annotation.Bean;
import org.springframework.context.annotation.Configuration;

/**
 * @author 波哥
 * @QQ 2212371722
 * @company 波哥集团
 * @create  2022-12-27 17:30
 */
@Configuration
public class RabbitTopicConfig {

    @Bean
    public Queue topicQueueA(){
        return new Queue("topic-queue-a");
    }

    @Bean
    public Queue topicQueueB(){
        return new Queue("topic-queue-b");
    }

    @Bean
    public Queue topicQueueC(){
        return new Queue("topic-queue-c");
    }

    @Bean
    public TopicExchange topicExchange(){
        return new TopicExchange("topic-exchange");
    }

    @Bean
    public Binding topicBindingA(){
        return BindingBuilder.bind(topicQueueA())
                .to(topicExchange())
                .with("topic.person.xx");
    }

    @Bean
    public Binding topicBindingB(){
        return BindingBuilder.bind(topicQueueB())
                .to(topicExchange())
                .with("topic.person.yy");
    }

    @Bean
    public Binding topicBindingC(){
        return BindingBuilder.bind(topicQueueC())
                .to(topicExchange())
                .with("topic.person.*");
    }

}
测试类
/**
     * http://localhost:8080/sendTopic?routing_key=topic.person.yyy
     * 只有queue-c收到消息
     * http://localhost:8080/sendTopic?routing_key=topic.person.xx
     * queue-a、queue-c都收到消息
     * http://localhost:8080/sendTopic?routing_key=topic.person.yy
     * queue-b、queue-c都收到消息
     * @param routing_key
     * @return
     */
    @RequestMapping("sendTopic")
    public Map sendTopic(String routing_key){
        Map msg = new HashMap();
        msg.put("msg","这是通过主题交换机投递的消息");
        msg.put("now", LocalDateTime.now().format(DateTimeFormatter.ofPattern("yyyy-MM-dd HH:mm:ss")));
        rabbitTemplate.convertAndSend("topic-exchange",routing_key,msg);

        Map res = new HashMap();
        res.put("msg","投递成功");
        res.put("code",200);
        return res;
    }
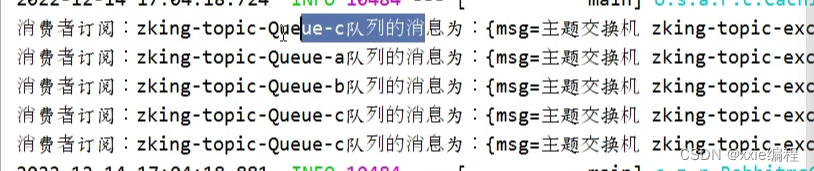
测试

同时会有交换机生成
当规则匹配那么就会添加消息

消费者
package com.xlb.rabbitmqconsumer.conf;

import org.springframework.amqp.rabbit.annotation.RabbitHandler;
import org.springframework.amqp.rabbit.annotation.RabbitListener;
import org.springframework.stereotype.Component;

import java.util.Map;

@Component
public class TopictReceiver {
    @RabbitListener(queues = {"topic-queue-a"})
    @RabbitHandler
    public void handler1(Map msg){
        System.out.println(msg);
    }


    @RabbitListener(queues = {"topic-queue-b"})
    @RabbitHandler
    public void handler2(Map msg){
        System.out.println(msg);
    }


    @RabbitListener(queues = {"topic-queue-c"})
    @RabbitHandler
    public void handler3(Map msg){
        System.out.println(msg);
    }
}


 1195
1195

 被折叠的 条评论
为什么被折叠?
被折叠的 条评论
为什么被折叠?
 到【灌水乐园】发言


