


jQuery 属性操作
<body>
<a href="http://www.itcast.cn" title="都挺好">都挺好</a>
<input type="checkbox" name="" id="" checked />
<div index="1" data-index="2">我是div</div>
<span>123</span>
<script>
$(function () {
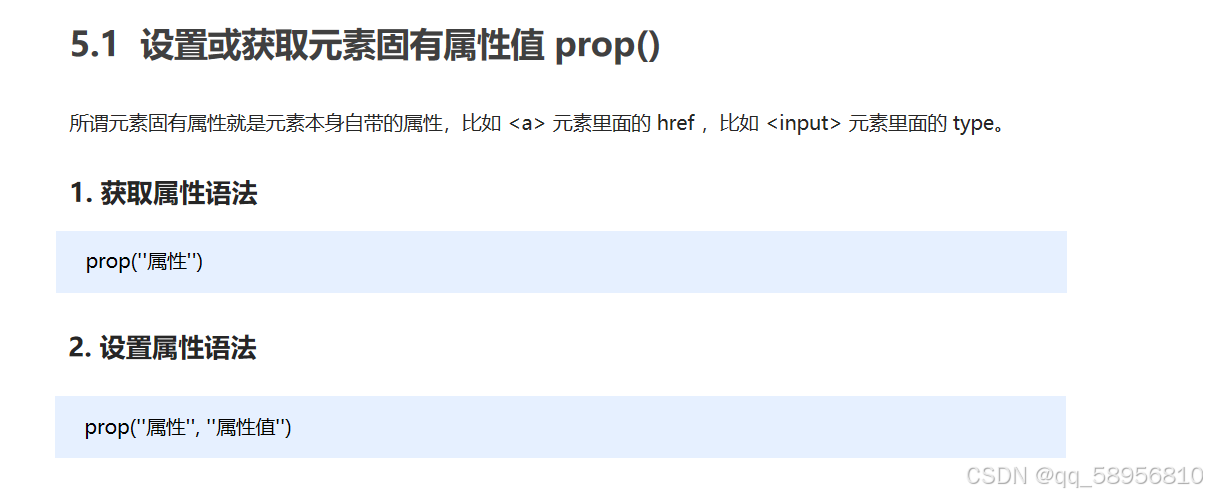
// element.prop("属性名") 获取元素固有的属性值
console.log($("a").prop("href"));
$("a").prop("title", "我们都挺好");
$("input").change(function () {
console.log($(this).prop("checked"));
});
console.log($("div").prop("index"));
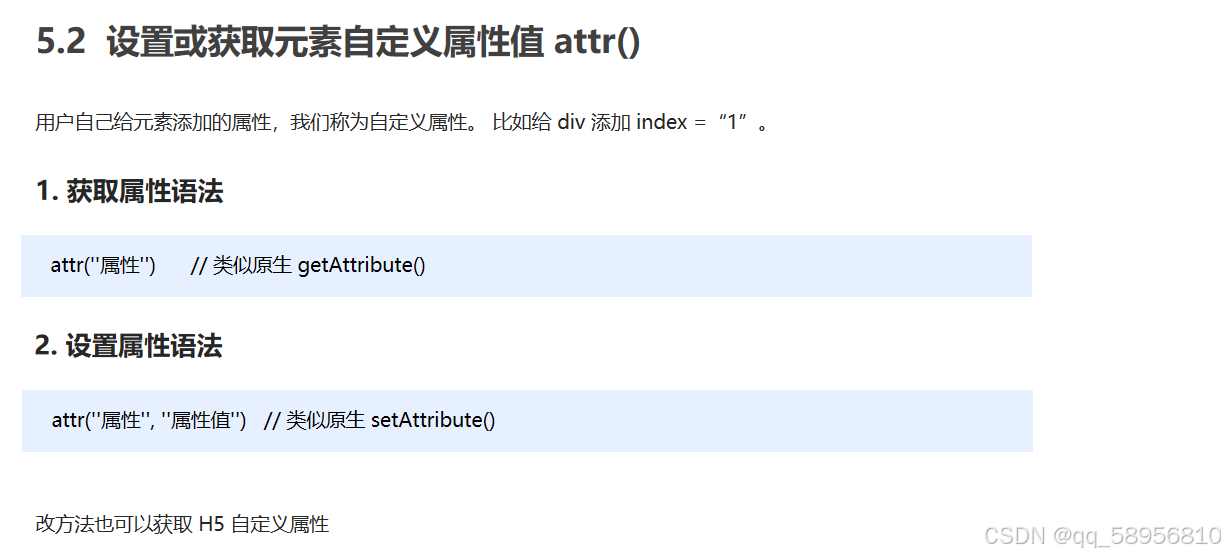
// 元素的自定义属性 我们通过 attr()
console.log($("div").attr("index"));
$("div").attr("index", 4);
console.log($("div").attr("data-index"));
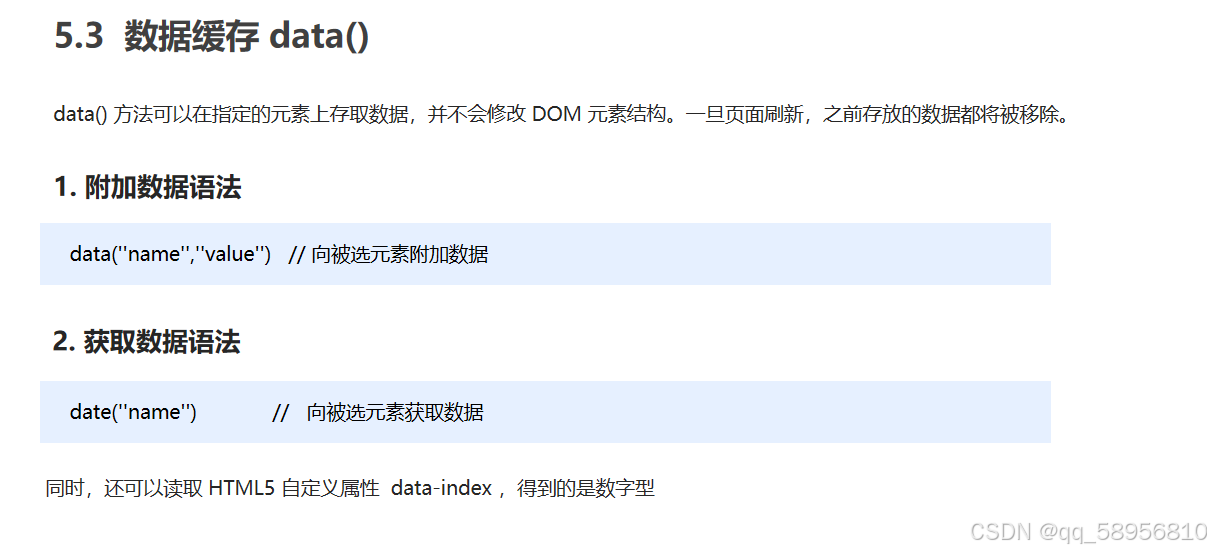
// 3.数据缓存data() 这个里面的数据是存放在元素的内存里面
$("span").data("uname", "andy");
console.log($("span").data("uname"));
// 这个方法获取data-index h5自定义的属性 第一个 不用写data- 而且返回的是数字型
console.log($("div").data("index"));
});
</script>
</body>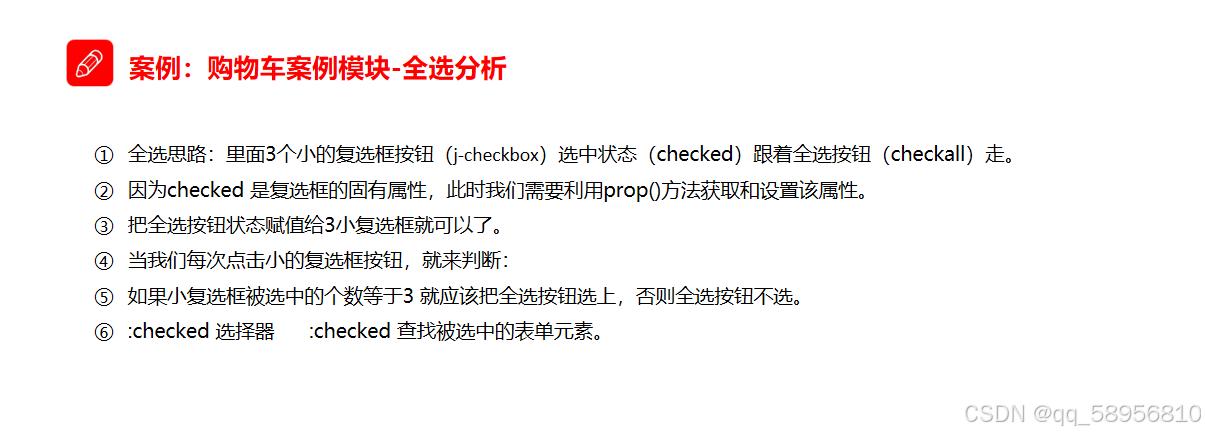

代码实现:
  // 全选 全不选功能模块
  //   就是把全选按钮(checkall)的状态赋值给三个小的按钮(j-checkbox)就可以了
  // 事件可以使用change
  $(".checkall").change(function () {
    console.log($(this).prop("checked"));
    $(".j-checkbox, .checkall").prop("checked", $(this).prop("checked"));
    if ($(this).prop("checked")) {
      // 让所有的商品添加check-cart-item 类名
      $(".cart-item").addClass("check-cart-item");
    } else {
      // 移除check-cart-item
      $(".cart-item").removeClass("check-cart-item");
    }
  });
  $(".j-checkbox").change(function () {
    //   if (被选中的小复选框的个数 === 3) {
    //     就要选中全选按钮;
    //   } else {
    //     就不要选中全选按钮;
    //   }
    // console.log($(".j-checkbox:checked").length); // 这个是所有小复选框选中的个数
    // $(".j-checkbox:checked") // 这个是所有小复选框的个数
    if ($(".j-checkbox:checked").length === $(".j-checkbox").length) {
      $(".checkall").prop("checked", true);
    } else {
      $(".checkall").prop("checked", false);
    }
    if ($(this).prop("checked")) {
      // 让当前商品添加 check-cart-item 类名, 注意,是当前商品,所以直接这样写不太对$(".cart-item"),会将所有的列表颜色都添加上
      $(this).parents(".cart-item").addClass("check-cart-item");
    } else {
      // check-cart-item 移除
      $(this).parents(".cart-item").removeClass("check-cart-item");
    }
  });
jQuery 内容文本值

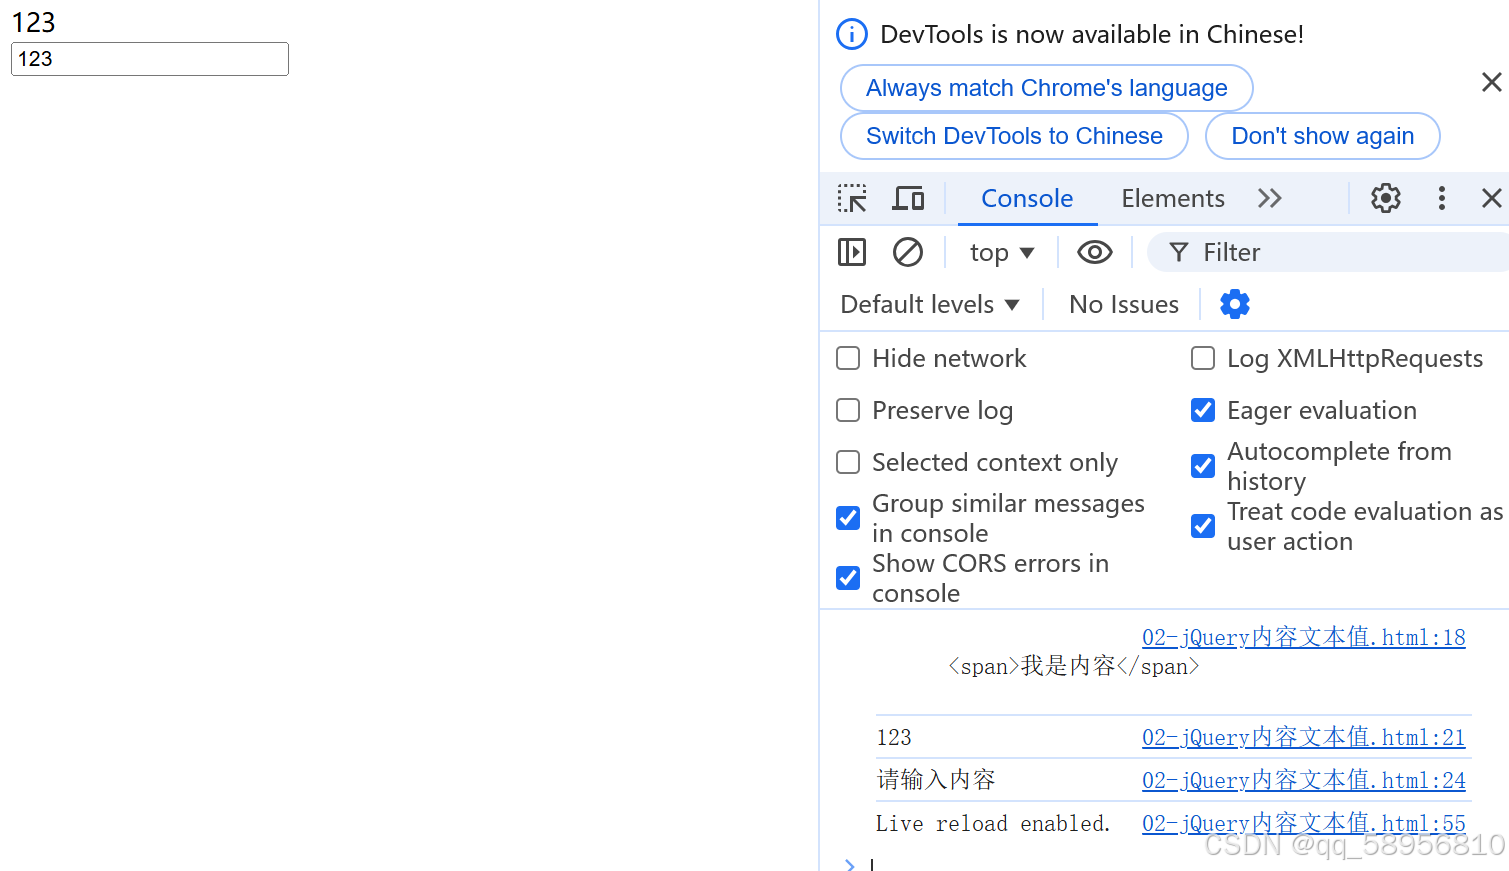
<div>
<span>我是内容</span>
</div>
<input type="text" value="请输入内容" />
<script>
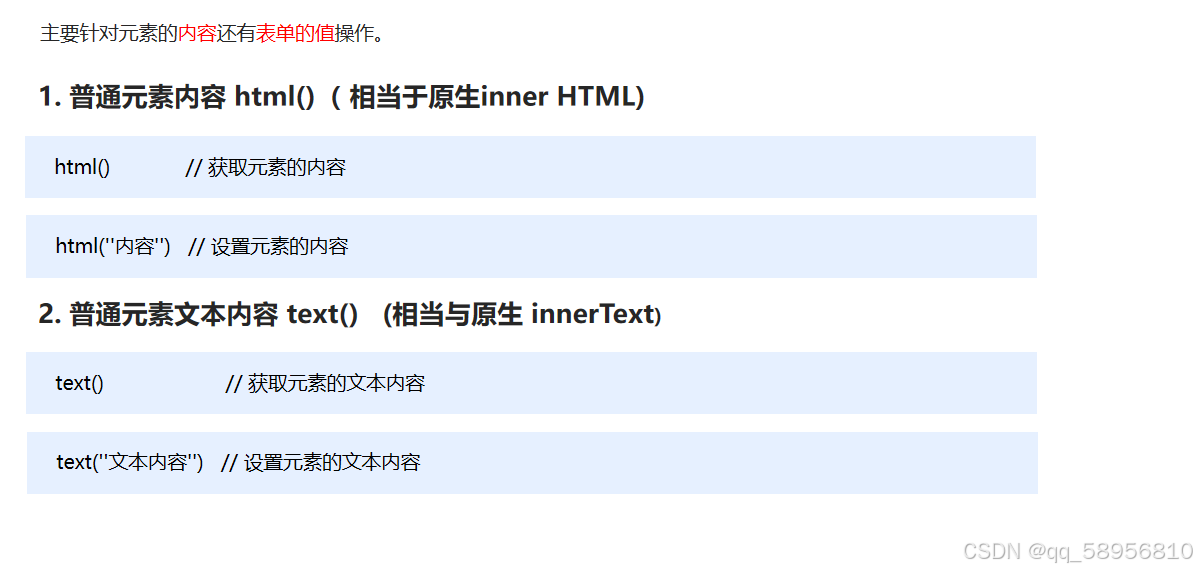
// 1.获取设置元素内容 html()
console.log($("div").html());
$("div").html("123");
// 2.获取设置元素文本内容 text()
console.log($("div").text());
$("div").text("123");
// 3.获取设置表单值 val()
console.log($("input").val());
$("input").val("123");
</script>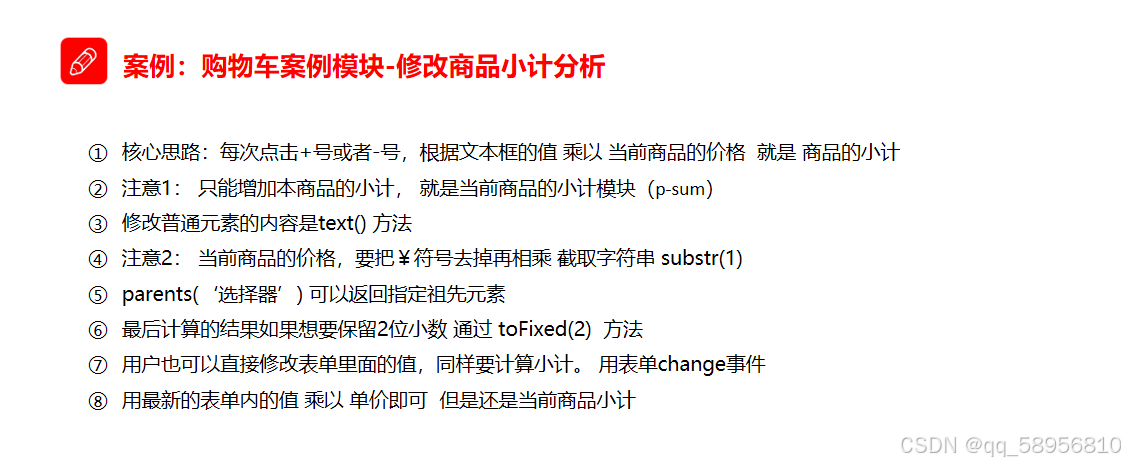
   //   3.增减商品数量模块 首先声明一个变量,但我们点击+号(increment),就让这个值++,然后赋值给文本框
  $(".increment").click(function () {
    // 得到当前兄弟文本框的值
    var n = $(this).siblings(".itxt").val();
    console.log(n);
    n++;
    $(this).siblings(".itxt").val(n);
    // 3.计算小计模块 根据文本框的值 乘以 当前商品的价格 就是 商品的小计
    // 当前商品的价格 p
    // .parents(".p-sum") 返回指定的祖先元素
    var p = $(this).parents(".p-num").siblings(".p-price").html();
    console.log(p);
    p = p.substr(1);
    console.log(p);
    // 小计模块 .toFixed(2) 可以让我们保留两位小数
    $(this)
      .parents(".p-num")
      .siblings(".p-sum")
      .html("¥" + (p * n).toFixed(2));
    getSum();
  });
  //   列表中获取到的加与减有一个循环遍历的过程
  $(".decrement").click(function () {
    // 得到当前兄弟文本框的值
    var n = $(this).siblings(".itxt").val();
    if (n == 1) {
      return false;
    }
    console.log(n);
    n--;
    $(this).siblings(".itxt").val(n);
    var p = $(this).parents(".p-num").siblings(".p-price").html();
    console.log(p);
    p = p.substr(1);
    console.log(p);
    // 小计模块
    $(this)
      .parents(".p-num")
      .siblings(".p-sum")
      .html("¥" + (p * n).toFixed(2));
    getSum();
  });
  //   4.用户修改文本框的值 乘以 当前商品的单价
  $(".itxt").change(function () {
    // 先得到文本框的里面的值 乘以 当前商品的单价
    var n = $(this).val();
    // 当前商品的单价
    var p = $(this).parents(".p-num").siblings(".p-price").html();
    // console.log(p)
    p = p.substr(1);
    $(this)
      .parents(".p-num")
      .siblings(".p-sum")
      .html("¥" + (p * n).toFixed(2));
    getSum();
  });
获取父级元素,以及简写方法
    <div class="one">
        <div class="two">
            <div class="three">
                <div class="four">我不容易</div>
            </div>
        </div>
    </div>
    <script>
        console.log($(".four").parent().parent().parent());
        console.log($(".four").parents());
        console.log($(".four").parents(".one"));
    </script>
jQuery 元素操作
<div>1</div>
<div>2</div>
<div>3</div>
<script>
$(function () {
// $("div").css("color", "red")
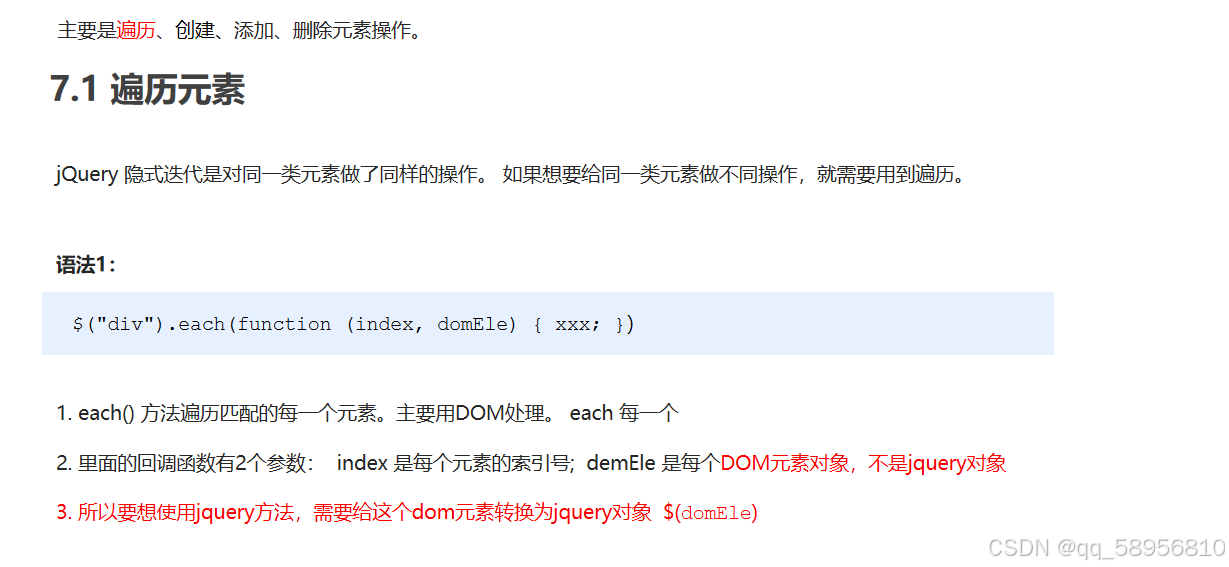
// 如果需要针对同一类元素做不同的操作,需要用到遍历元素(类似for,但是比for强大)
var sum = 0;
// 1.each 方法遍历元素
var arr = ["red", "green", "blue"];
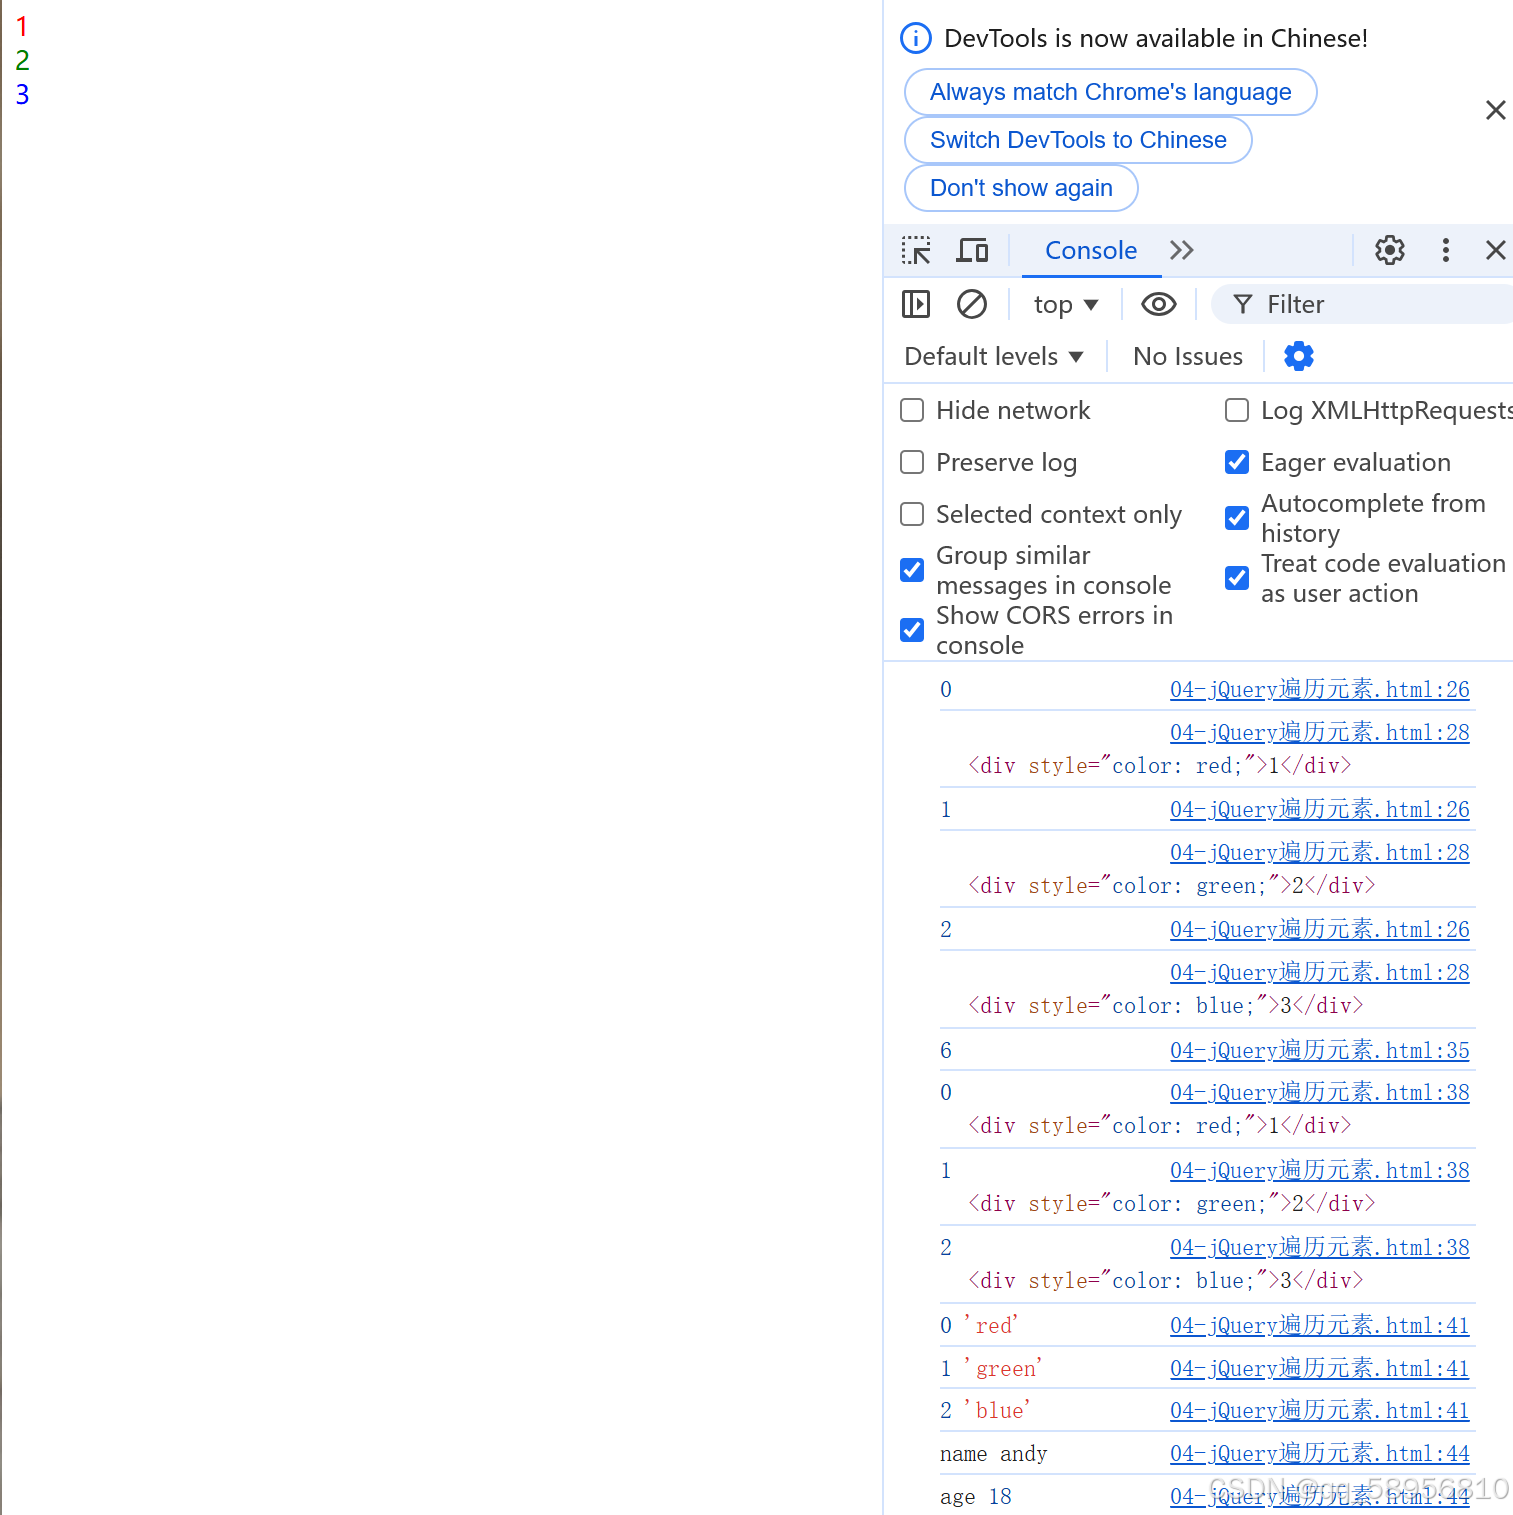
$("div").each(function (i, domEle) {
// 回调函数第一个参数一定是索引号,可以自己指定索引号名称
// console.log(index);
console.log(i);
// 回调函数第二个参数一定是 dom 元素对象
console.log(domEle);
// domEle.css("color"); // dom对象没有css方法
// 每一次循环都会为当前元素指定arr数组里面对应的索引值的颜色值
$(domEle).css("color", arr[i]);
// sum += $(domEle).text(); // 得到的sum是一个字符串
sum += parseInt($(domEle).text()); // parseInt转化成数值型
});
console.log(sum);
// 2.$.each() 方法遍历元素 主要用于遍历数据 处理数据
$.each($("div"), function (i, ele) {
console.log(i, ele);
});
$.each(arr, function (i, ele) {
console.log(i, ele);
});
$.each({ name: "andy", age: 18 }, function (i, ele) {
console.log(i, ele); // i 输出的是name age 属性名, ele输出的是andy 18 属性值
});
});
  //   计算总计模块
  getSum();
  function getSum() {
    var count = 0; // 计算总件数
    var money = 0; //计算总价钱
    $(".itxt").each(function (i, ele) {
      count += parseInt($(ele).val());
    });
    $(".amount-sum em").text(count);
    $(".p-sum").each(function (i, ele) {
      money += parseFloat($(ele).text().substr(1));
    });
    $(".price-sum em").text("¥" + money.toFixed(2));
  }

<ul>
<li>原先的li</li>
</ul>
<div class="test">我是原先的div</div>
$(function () {
// 1. 创建元素
var li = $("<li>我是后来创建的li</li>");
// 2. 添加元素
// (1) 内部添加
$("ul").append(li); // 内部添加并且放到内容的最后面
$("ul").prepend(li); // 内部添加并且放到内容的最前面
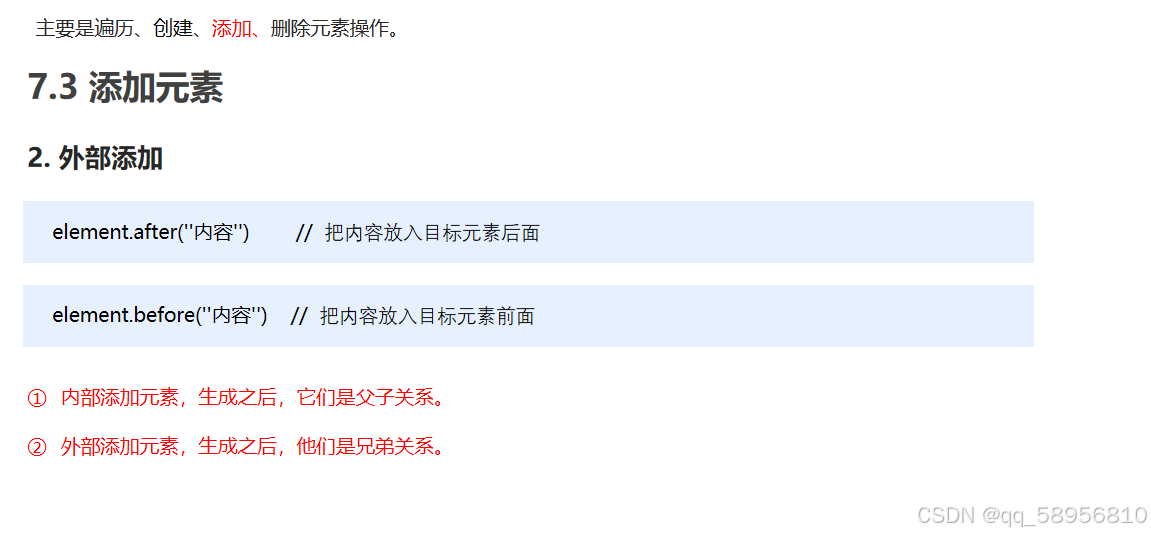
// (2) 外部添加
var div = $("<div>我是山上的带河</div>");
// $(".test").after(div);
$(".test").before(div);
// 3. 删除元素
// $("ul").remove(); // 可以删除匹配的元素
// $("ul").empty(); // 可以删除匹配的元素里面的子节点
$("ul").html(""); // 可以删除匹配的元素里面的子节点
});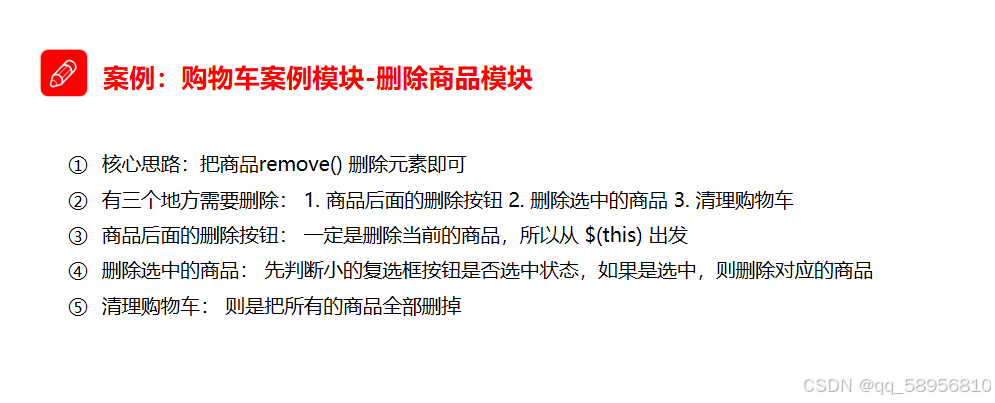
// 删除商品
// (1)商品后面的删除按钮
$(".p-action a").click(function () {
// 删除的是当前的商品
$(this).parents(".cart-item").remove();
getSum();
});
// (2) 删除选中的商品
$(".remove-batch").click(function () {
// 删除的是小的复选框选中的商品
$(".j-checkbox:checked").parents(".cart-item").remove();
getSum();
});
// (3)清空购物车 删除全部商品
$(".clear-all").click(function () {
$(".cart-item").remove();
getSum();
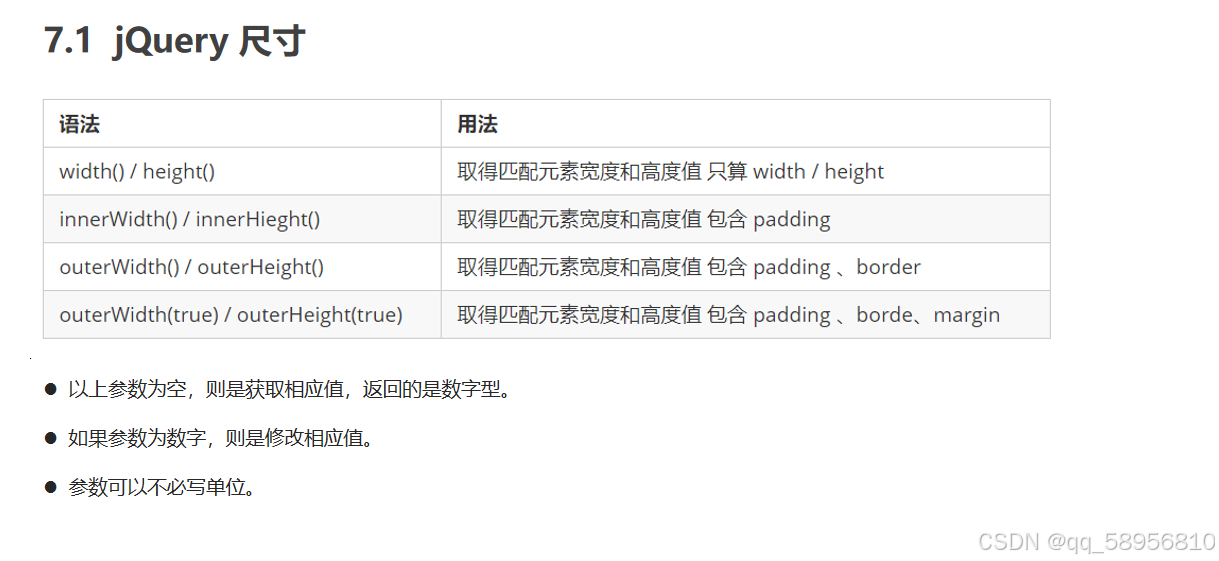
});jQuery 尺寸、位置操作
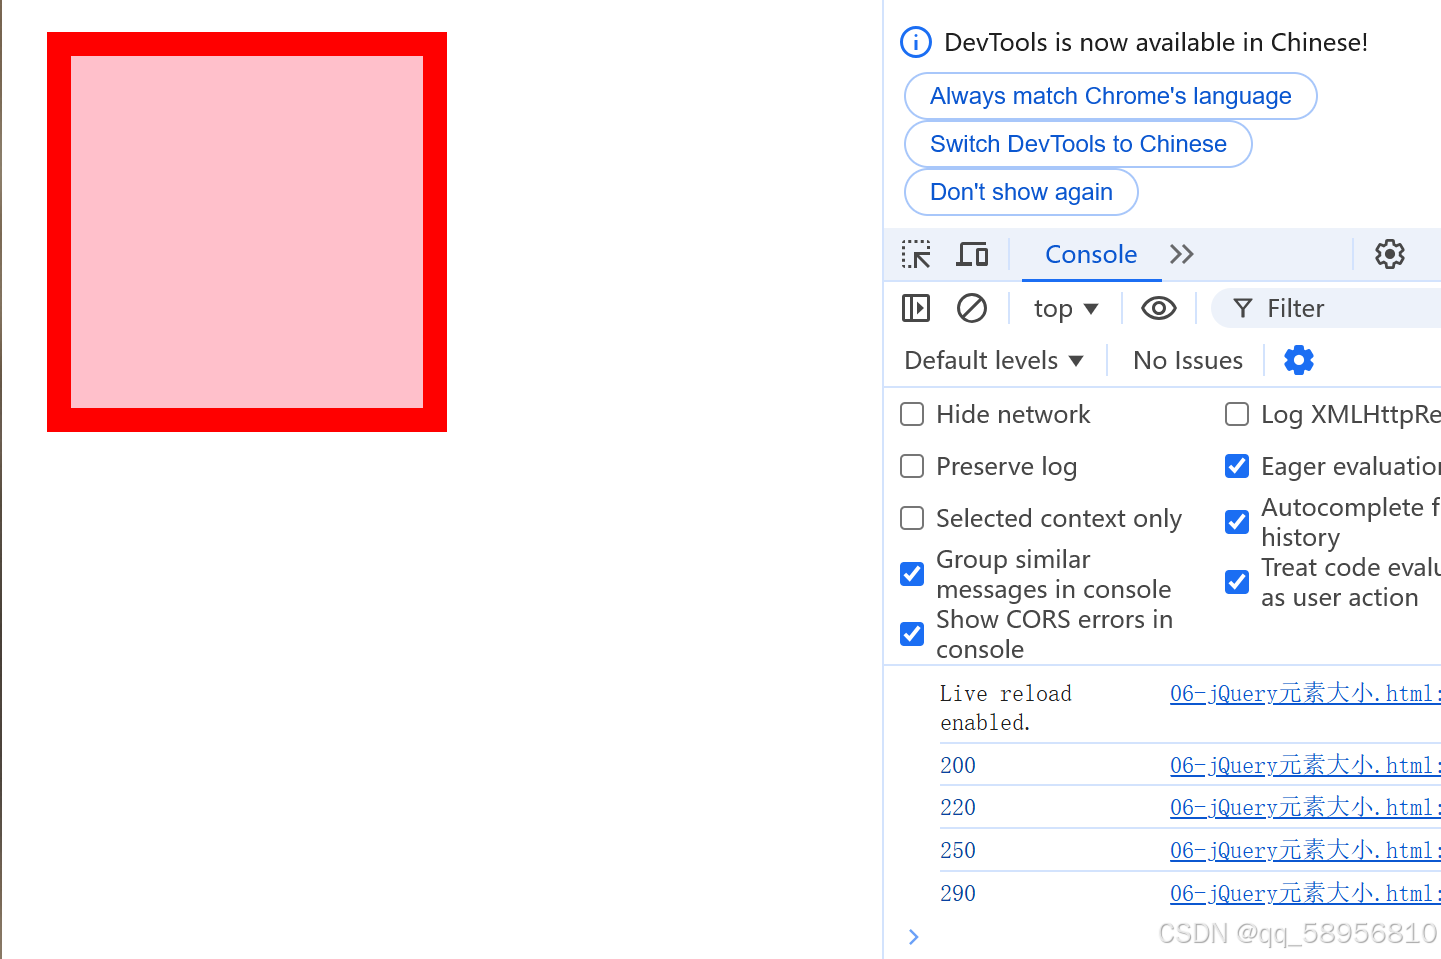
    $(function () {
        // 1. width() / height() 获取设置元素 width和height大小
        console.log($("div").width());
        // $("div").width(300);

        // 2. innerWidth() / innerHeight()  获取设置元素 width和height + padding 大小
        console.log($("div").innerWidth());

        // 3. outerWidth()  / outerHeight()  获取设置元素 width和height + padding + border 大小
        console.log($("div").outerWidth());

        // 4. outerWidth(true) / outerHeight(true) 获取设置 width和height + padding + border + margin
        console.log($("div").outerWidth(true));
      });
$(function () {
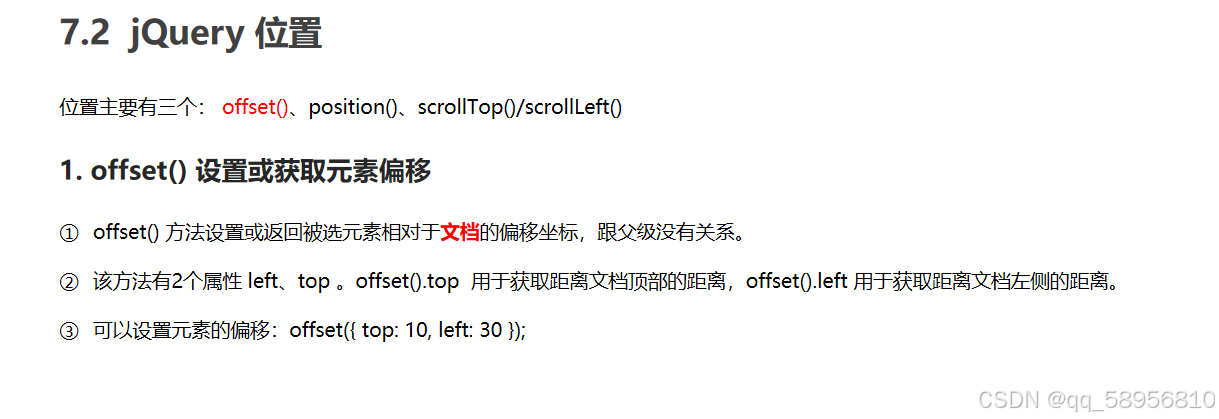
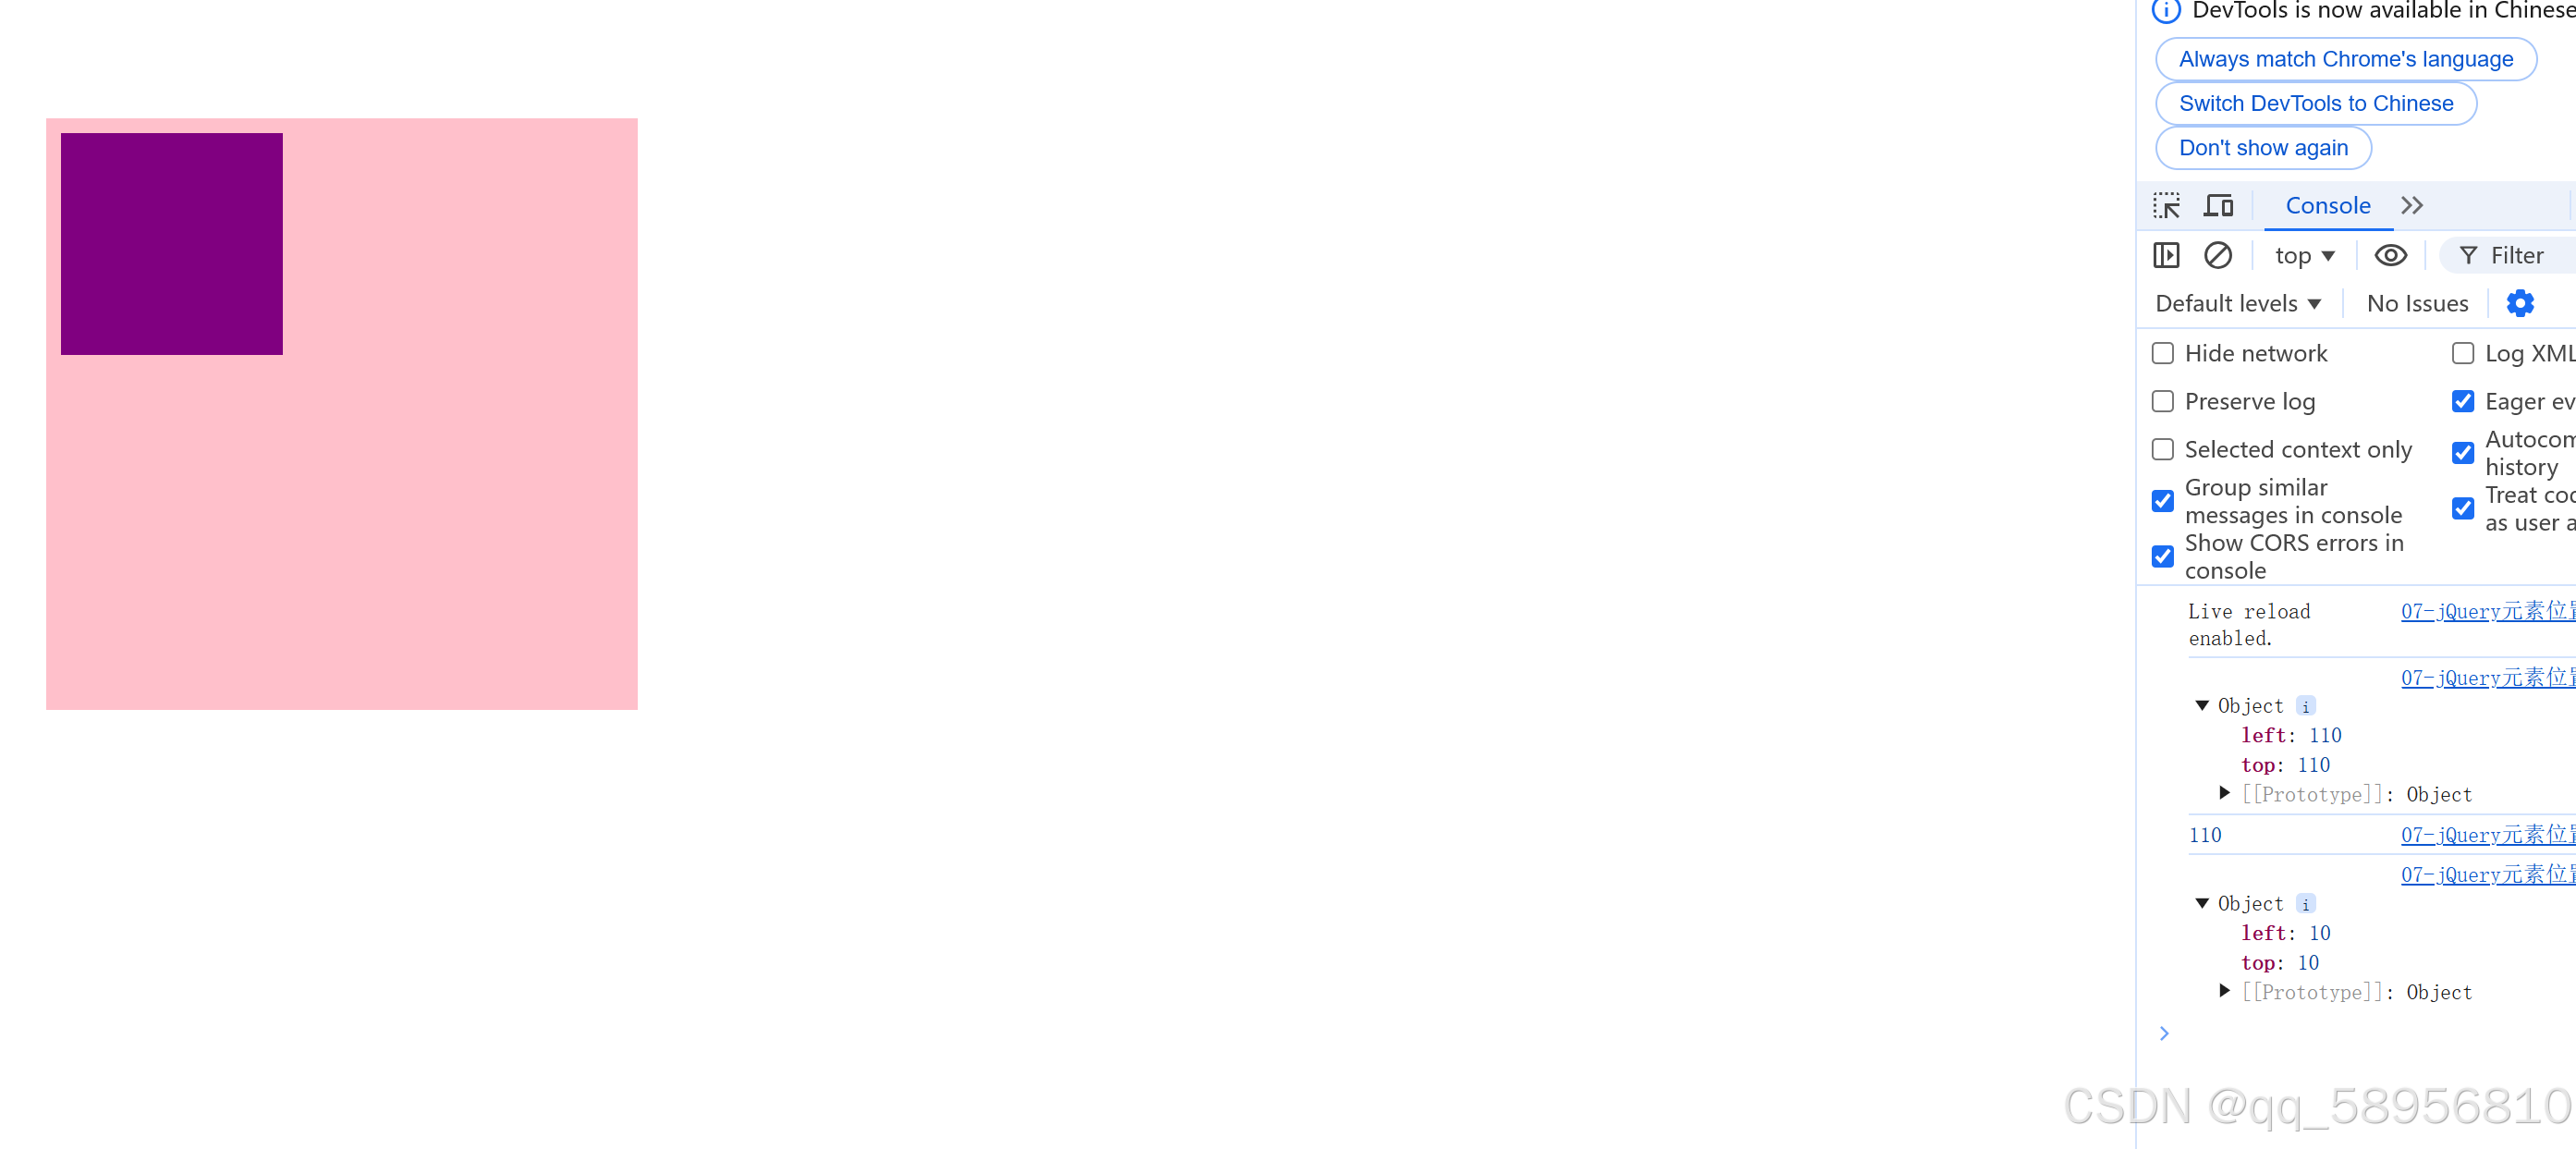
// 1.获取设置距离文档的位置(偏移) offset
console.log($(".son").offset());
console.log($(".son").offset().top);
// $(".son").offset({
// top: 200,
// left: 200,
// });
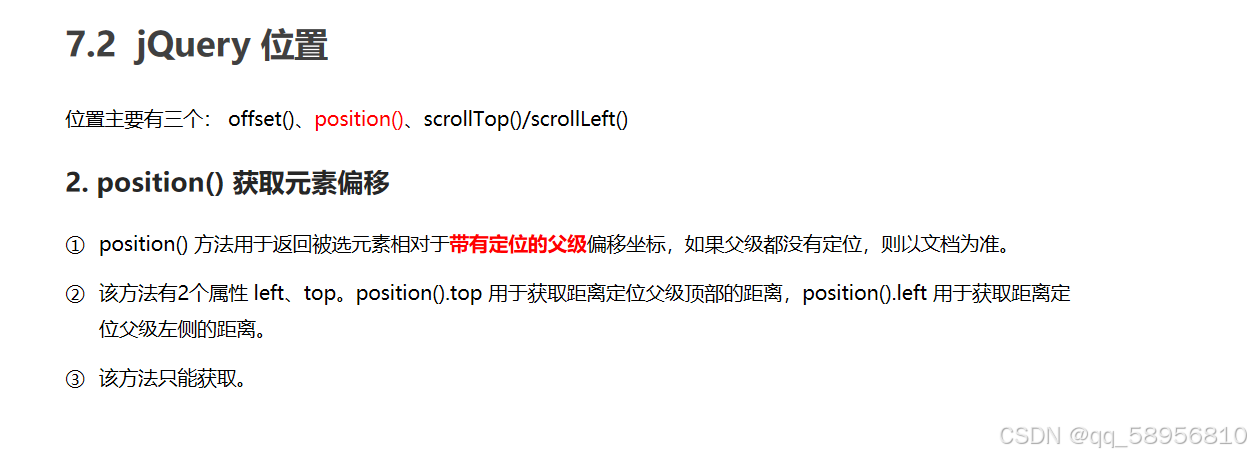
// 2.获取距离带有定位父级位置(偏移) position 如果没有带有定位的父级,则以文档为准
// 这个方法只能获取不能设置偏移
console.log($(".son").position());
// 没有效果出现
// $(".son").position({
// top: 200,
// left: 200,
// });
});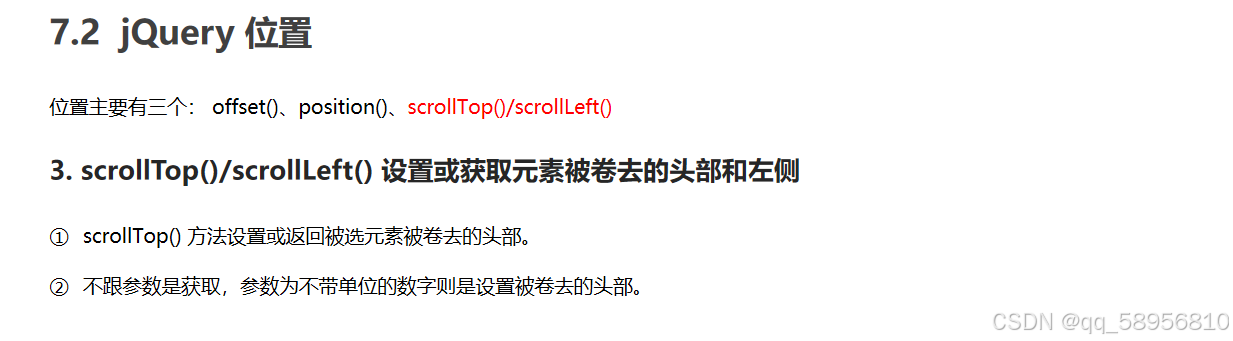
$(function () {
$(document).scrollTop(100);
// 被卷去的头部 scrollTop / 被卷去的左侧 scrollLeft()
// 页面滚动事件
var boxTop = $(".container").offset().top;
$(window).scroll(function () {
// console.log(11)
console.log($(document).scrollTop);
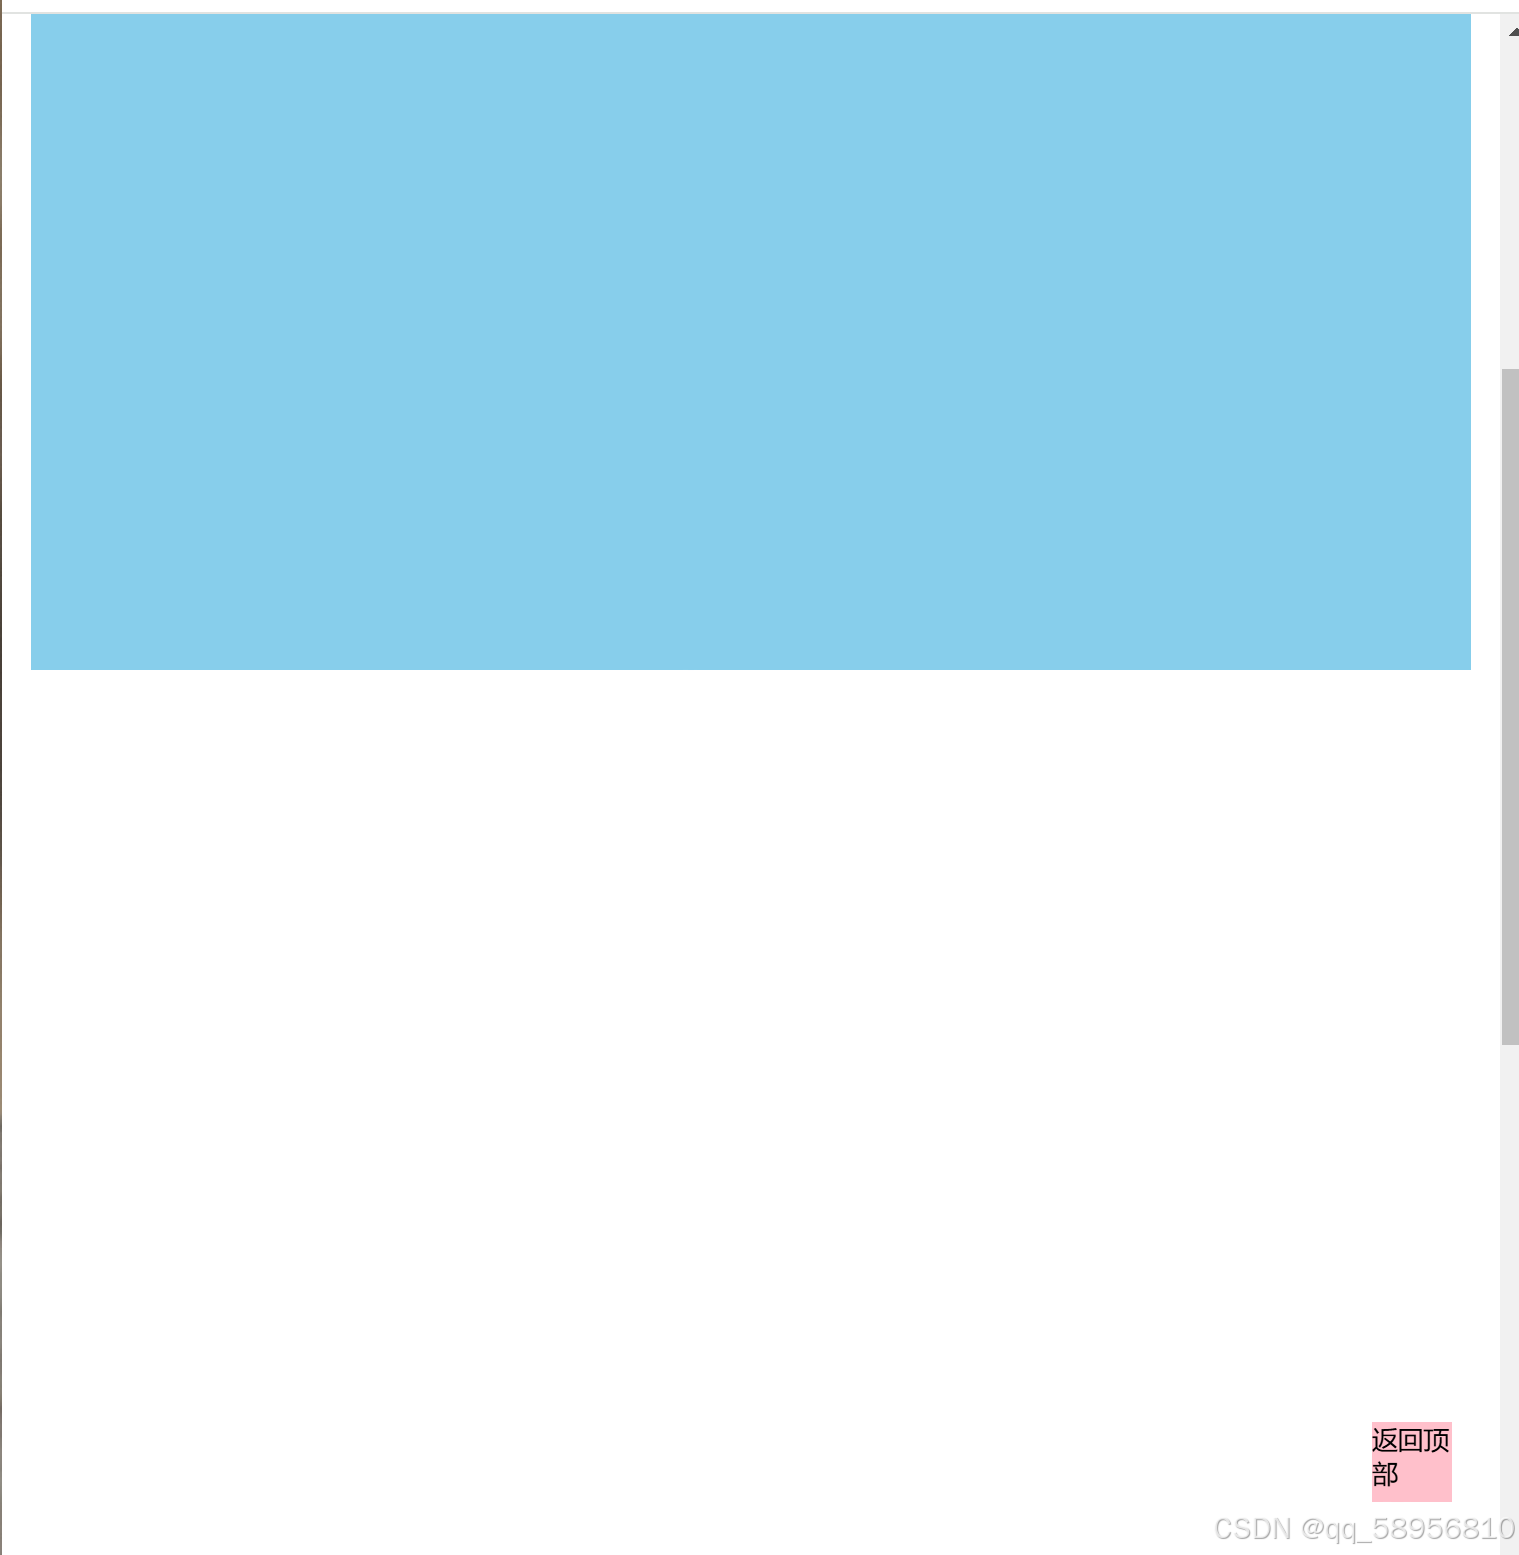
if ($(document).scrollTop() >= boxTop) {
$(".back").fadeIn();
} else {
$(".back").fadeOut();
}
});
// 返回顶部
$(".back").click(function () {
// $(document).scrollTop(0);
$("body,html").stop().animate({
scrollTop: 0,
});
// $("document").stop().animate({
// scrollTop: 0,
// }); // 不能是文档而是html和body元素做动画
});
});
$(function () {
// 当我们点击了小li 此时不需要执行 页面滚动事件里面的 li 的背景选择 添加 current
// 节流阀 互斥锁
var flag = true;
// 1.显示隐藏电梯导航
var toolTop = $(".recommend").offset().top;
toggleTool();
function toggleTool() {
if ($(document).scrollTop() >= toolTop) {
$(".fixedtool").fadeIn();
} else {
$(".fixedtool").fadeOut();
}
}
$(window).scroll(function () {
toggleTool();
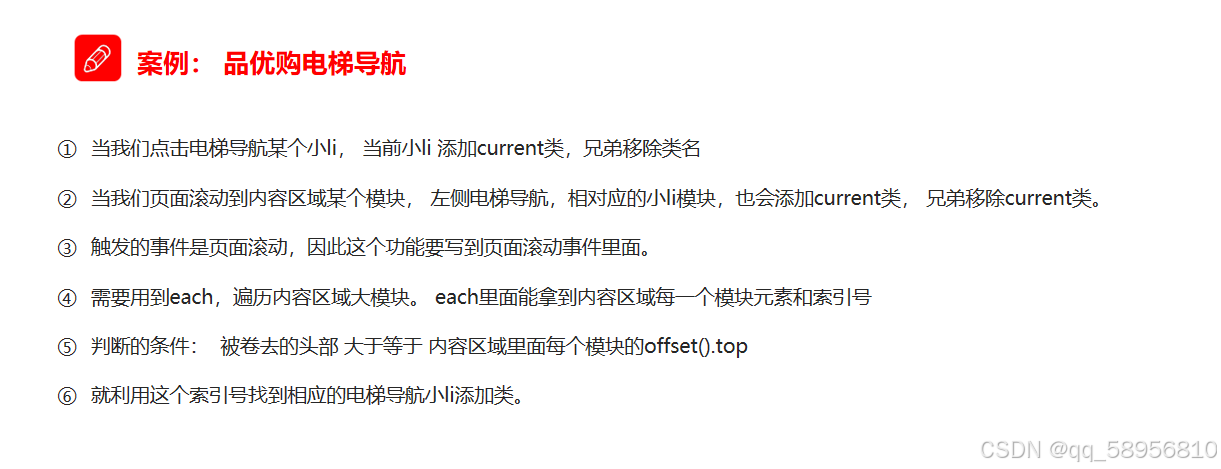
// 3. 页面滚动到某个内容区域,左侧电梯导航小li相应添加和删除current类名
if (flag) {
$(".floor .w").each(function (i, ele) {
if ($(document).scrollTop() >= $(ele).offset().top) {
console.log(i);
$(".fixedtool li").eq(i).addClass("current").siblings().removeClass();
}
});
}
});
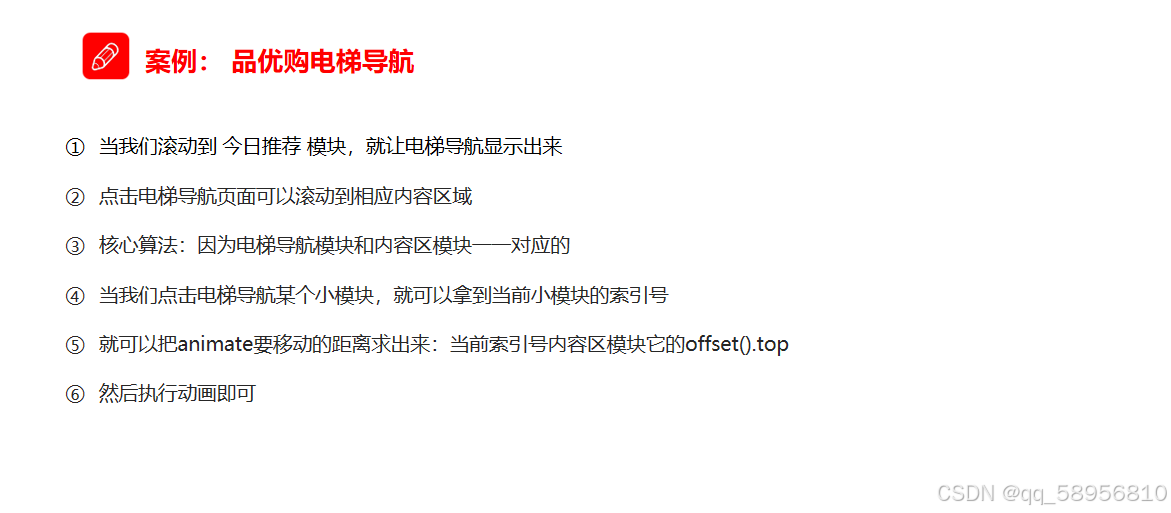
// 2. 点击电梯导航页面可以滚动到相应内容区域
$(".fixedtool li").click(function () {
flag = false;
console.log($(this).index());
// 当我们每次点击小li 就需要计算出页面要去往的位置
// 选出对应索引号的内容区的盒子 计算它的.offset().top
var current = $(".floor .w").eq($(this).index()).offset().top;
// 页面动画滚动效果
$("body, html")
.stop()
.animate(
{
scrollTop: current,
},
function () {
flag = true;
}
);
// 点击之后,让当前的小li 添加current 类名 ,姐妹移除current类名
$(this).addClass("current").siblings().removeClass();
});
});


 被折叠的 条评论
为什么被折叠?
被折叠的 条评论
为什么被折叠?
 到【灌水乐园】发言


