


 本文介绍了如何完成一个工程,包括后端页面跳转的实现、异常处理、日期格式定制以及Git提交。接着讲解了工程的打包过程,如清除target目录、移除测试环节并使用Maven生成jar包。最后,阐述了如何运行测试,通过java命令执行jar包进行测试。
一、完结工程
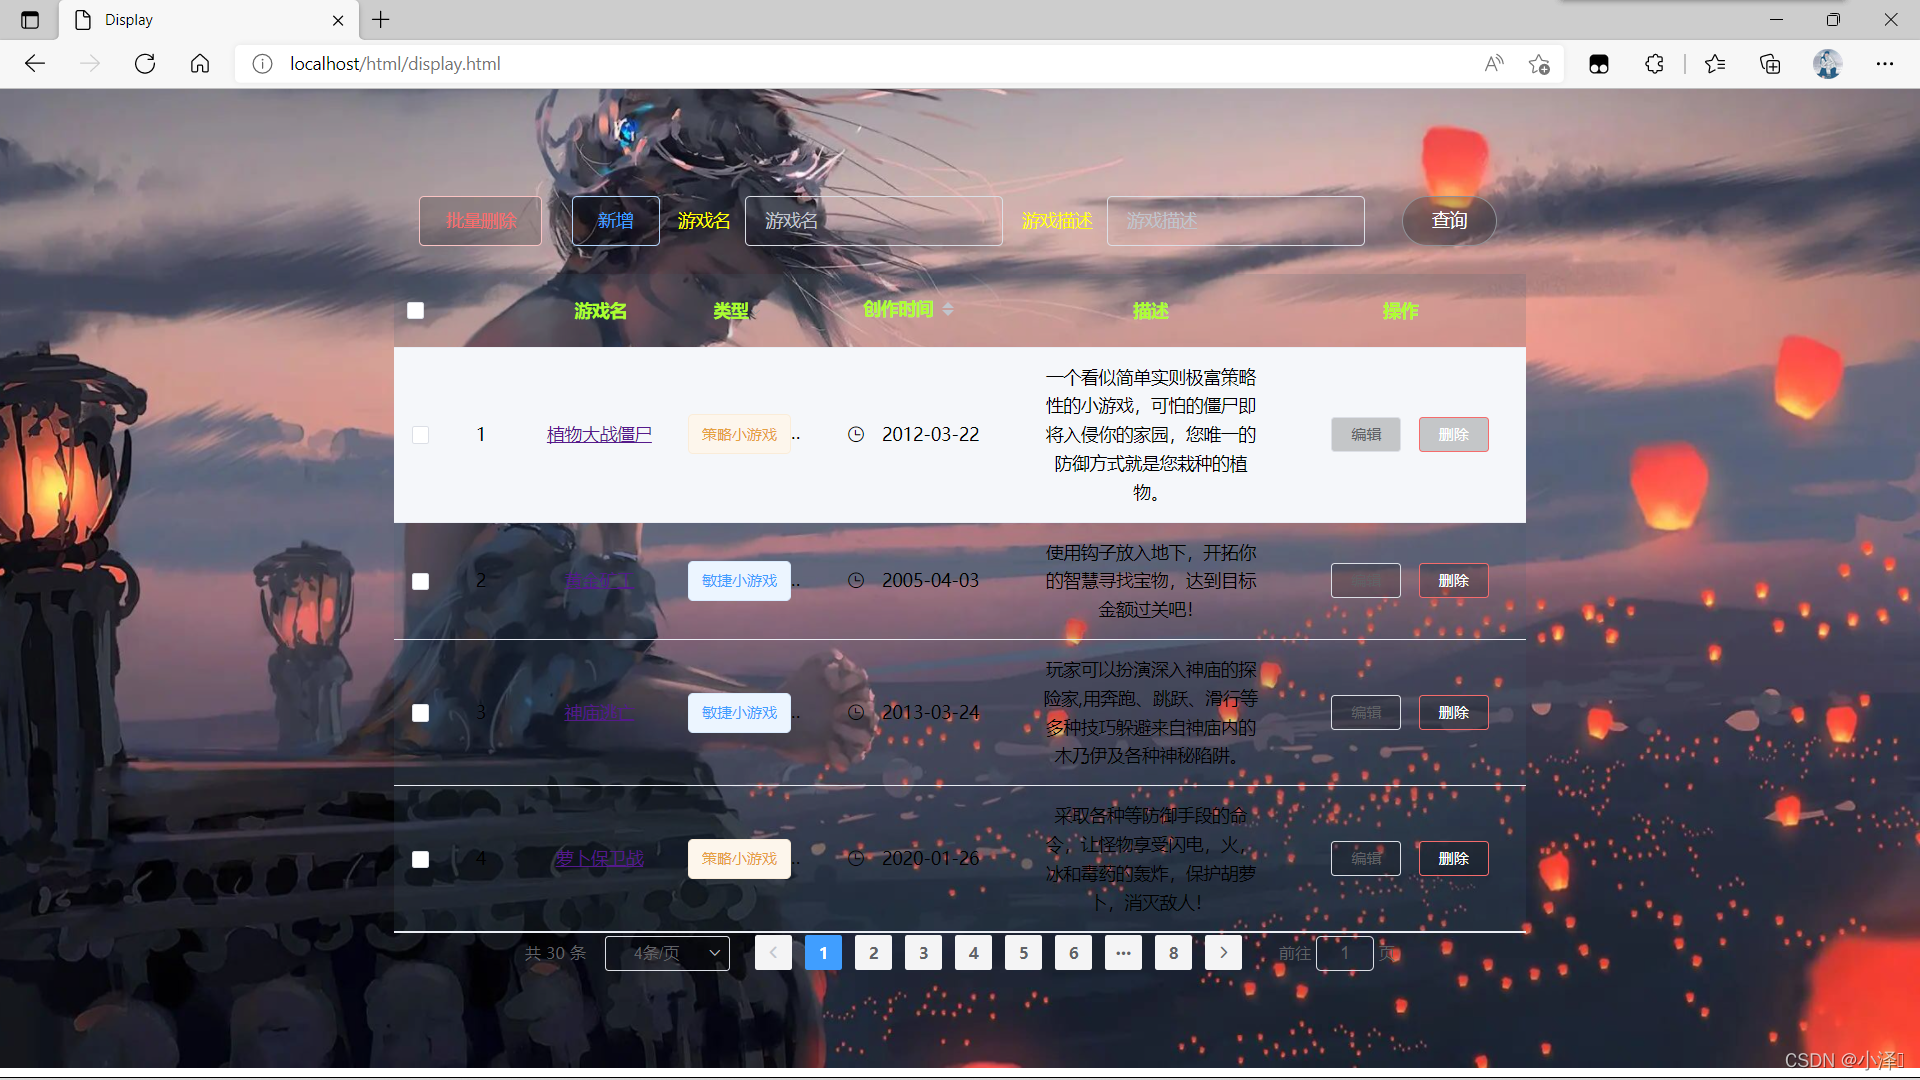
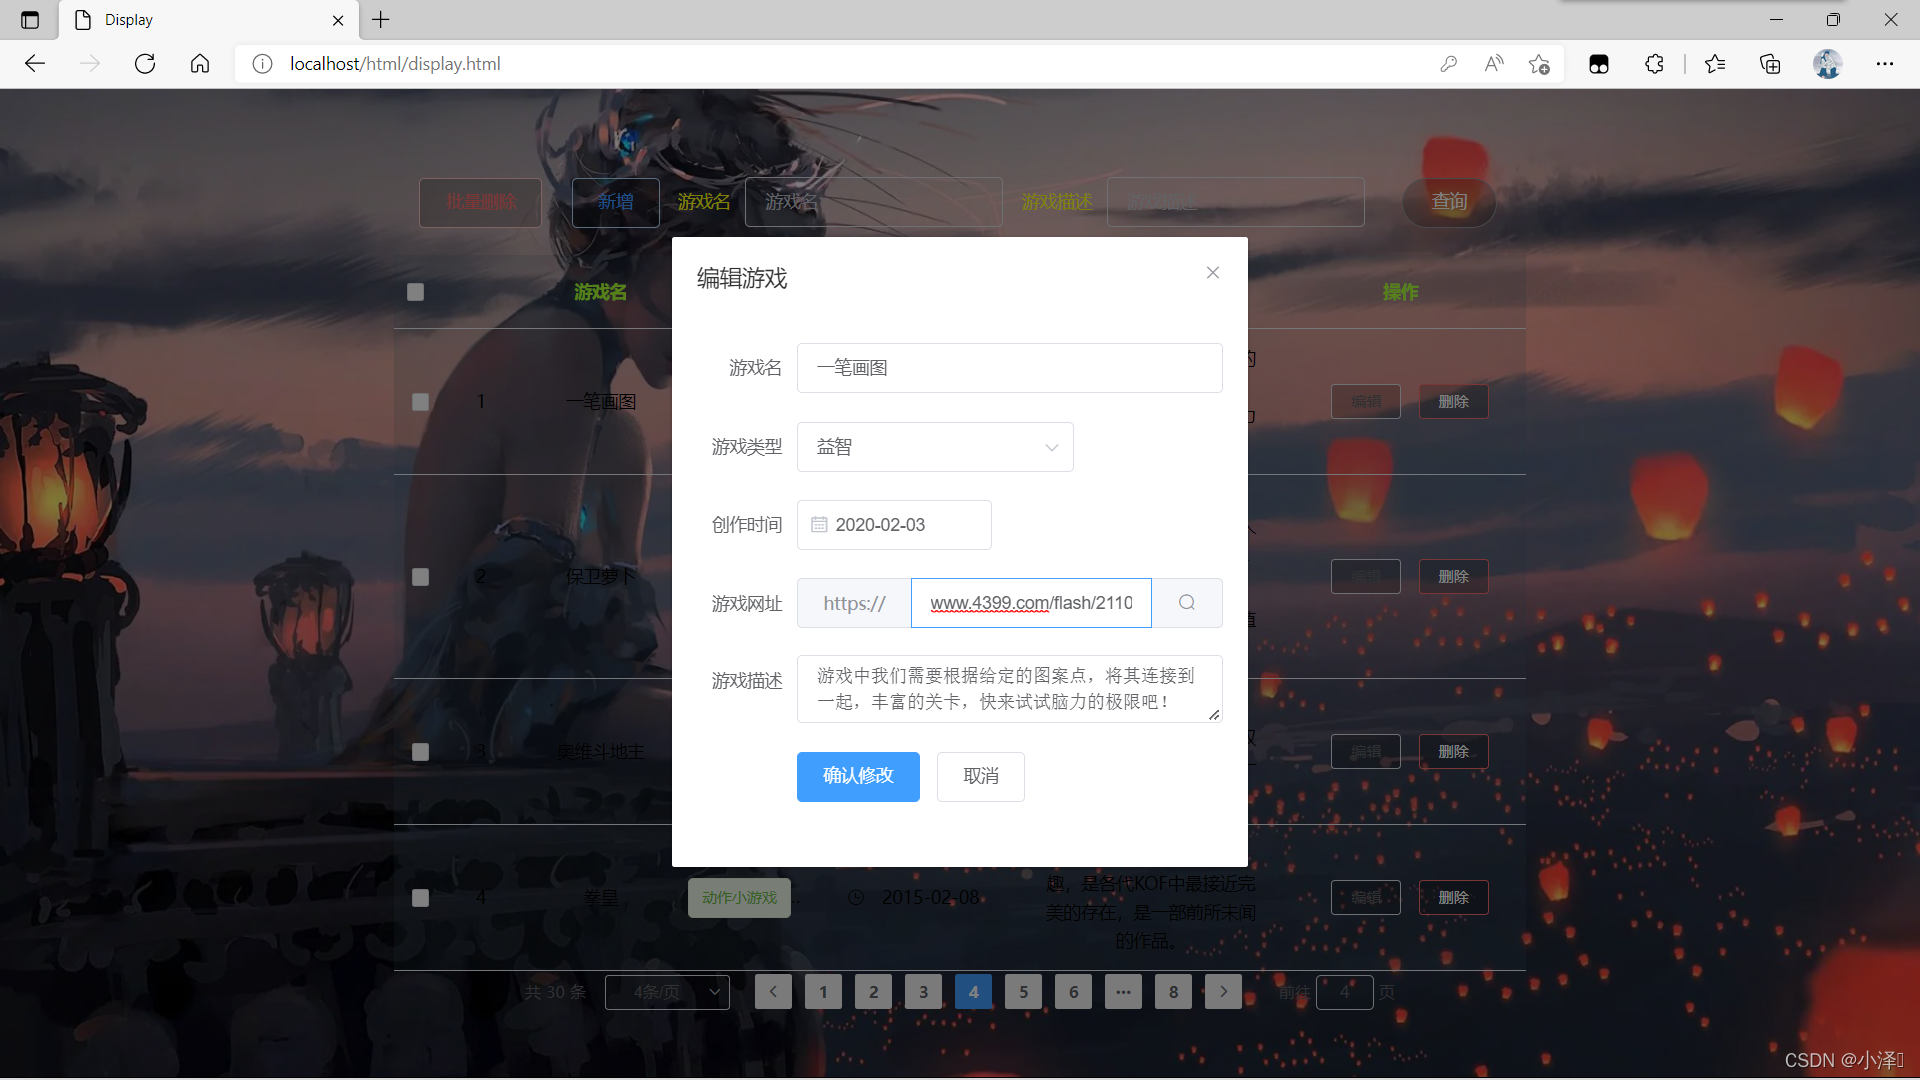
1.在数据展示页面,通过点击游戏名跳转到4399游戏网址,如果从前端进行页面跳转,只需要使用链接a标签,后端获取网址直接跳转,但是作为后端学习者,应该从后端出发,返回字符串或ModelAndView进行页面跳转
<--前端直接通过链接标签a跳转-->
<el-table-column
    label="游戏名"
    width="120"
    align="center"
    show-overflow-tooltip>
    <template slot-scope="scope">
         <a :href="scope.row.address" target="_blank">{{scope.row.name}}</a>
    </template>
</el-table-column>
<--发送异步请求返回视图模型-->
<el-table-column
prop="name"
label="游戏名"
width="120"
align="center">
<template slot-scope="scope">
<div @click='enter(scope.row)'>{{scope.row.name}}</div>
</template>
</el-table-column>
enter(row){
axios.get("/introduces/enter/" + row.id);
},@Mapper
public interface IntroduceMapper extends BaseMapper<Introduce> {
}
public String getAddress(int id) {
QueryWrapper<Introduce> wrapper = new QueryWrapper<>();
wrapper.eq("id",id);
Introduce introduce = mapper.selectOne(wrapper);
return introduce.getAddress();
}
//很遗憾未能成功
@GetMapping("/enter/{id}")
@CrossOrigin
public ModelAndView enter(@PathVariable Integer id) {
String address = service.getAddress(id);
return new ModelAndView("redirect:" + address);
}2.本来想前端直接传网址,但是出现“No 'Access-Control-Allow-Origin' header is present on the requested resource”,最后发现网址与localhost://叠加找不到路径
enter(row){
    axios.get("/introduces/enter/" + row.address);
},

@GetMapping("/enter/{address}")
public ModelAndView enter(@PathVariable String address) {
    return new ModelAndView("redirect:" + address);
}
3.对异常进行处理,自定义异常及异常处理器
/**
 * 自定义异常
 */
public class MyException extends Exception{

}

/**
 * 自定义异常处理器
 */
//拦截异常
//@ControllerAdvice
//@ResponseBody
@RestControllerAdvice
public class MyExceptionResolver {
    //指定处理哪个异常
    @ExceptionHandler(MyException.class)
    //返回的http状态码
    @ResponseStatus
    public Map<String,Object> handlerException(MyException e){
        return null;
    }
}
4.自定义日期格式
spring:
  #自定义日期格式
  jackson:
    date-format: yyyy-MM-dd
5.提交到git仓库

二、工程打包
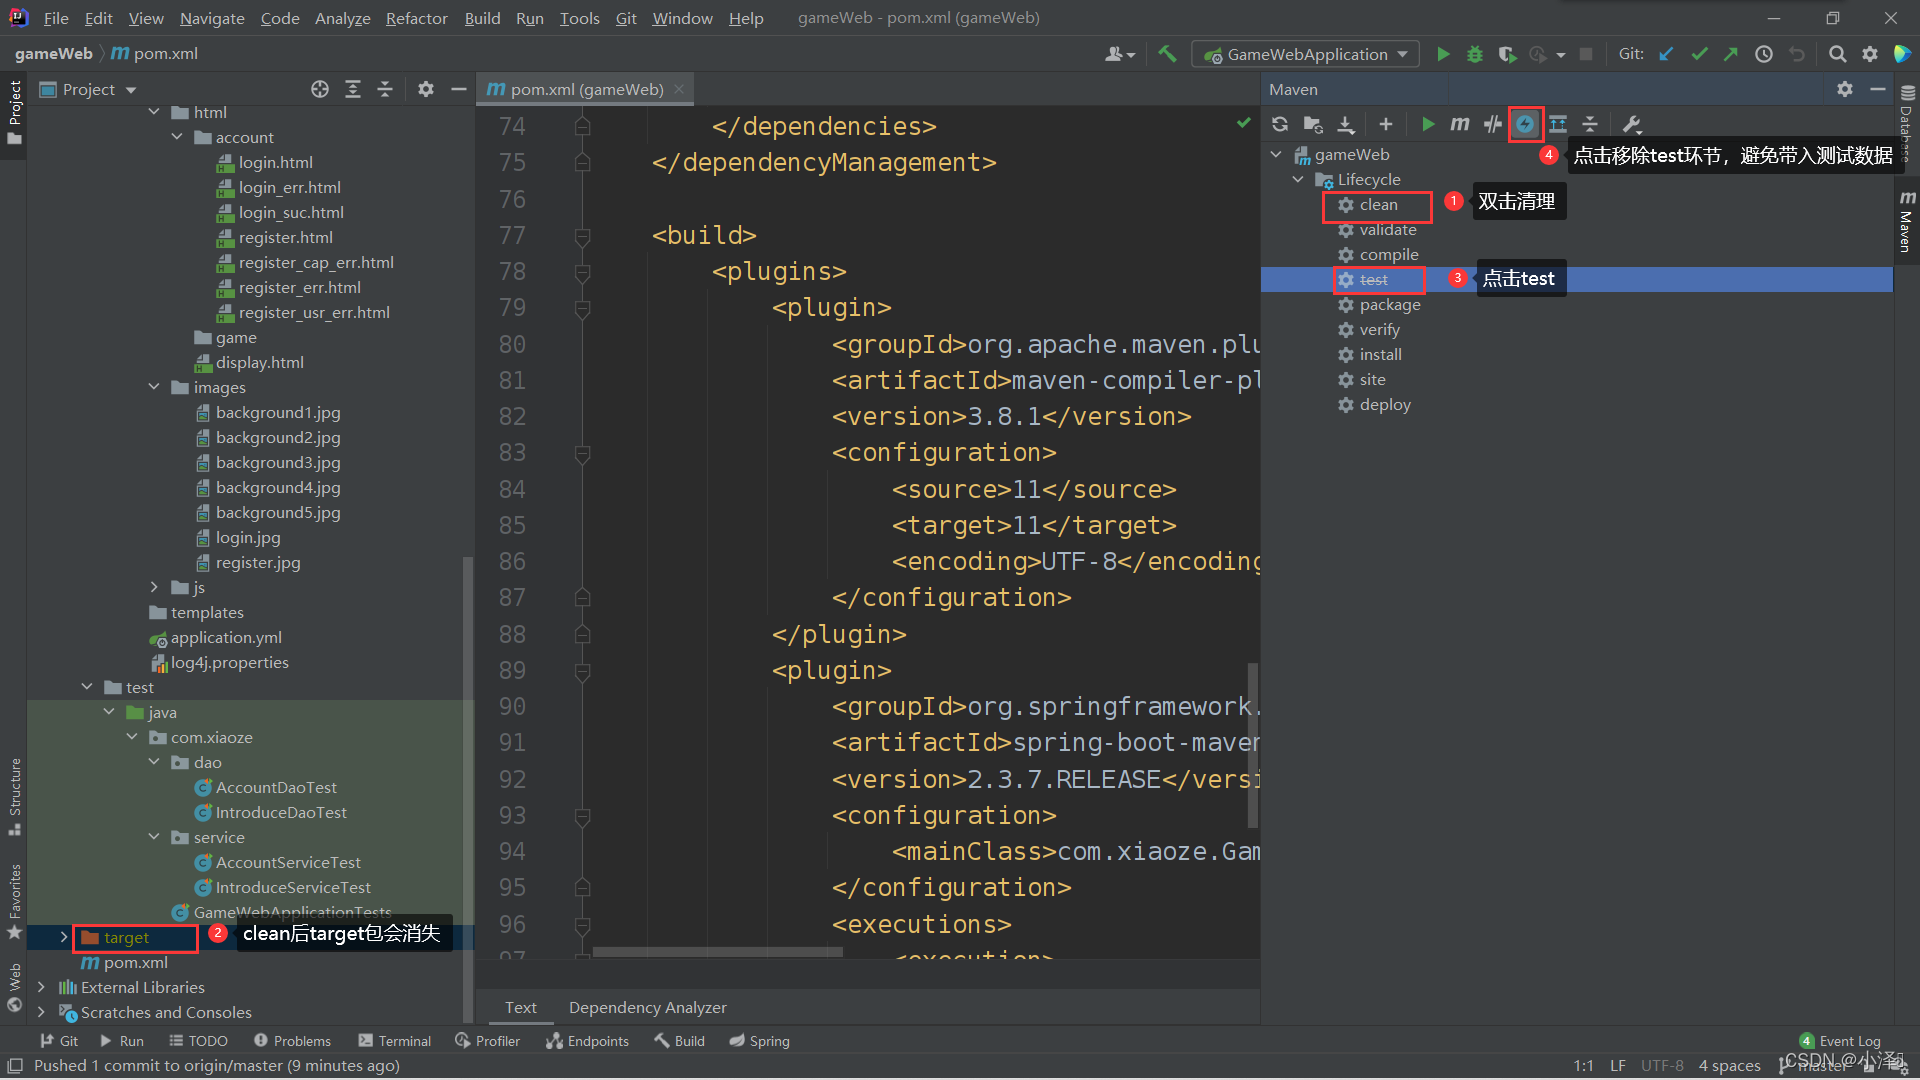
1.先将target目录清理以保证打包后的jar包干净,并将maven测试环节移除
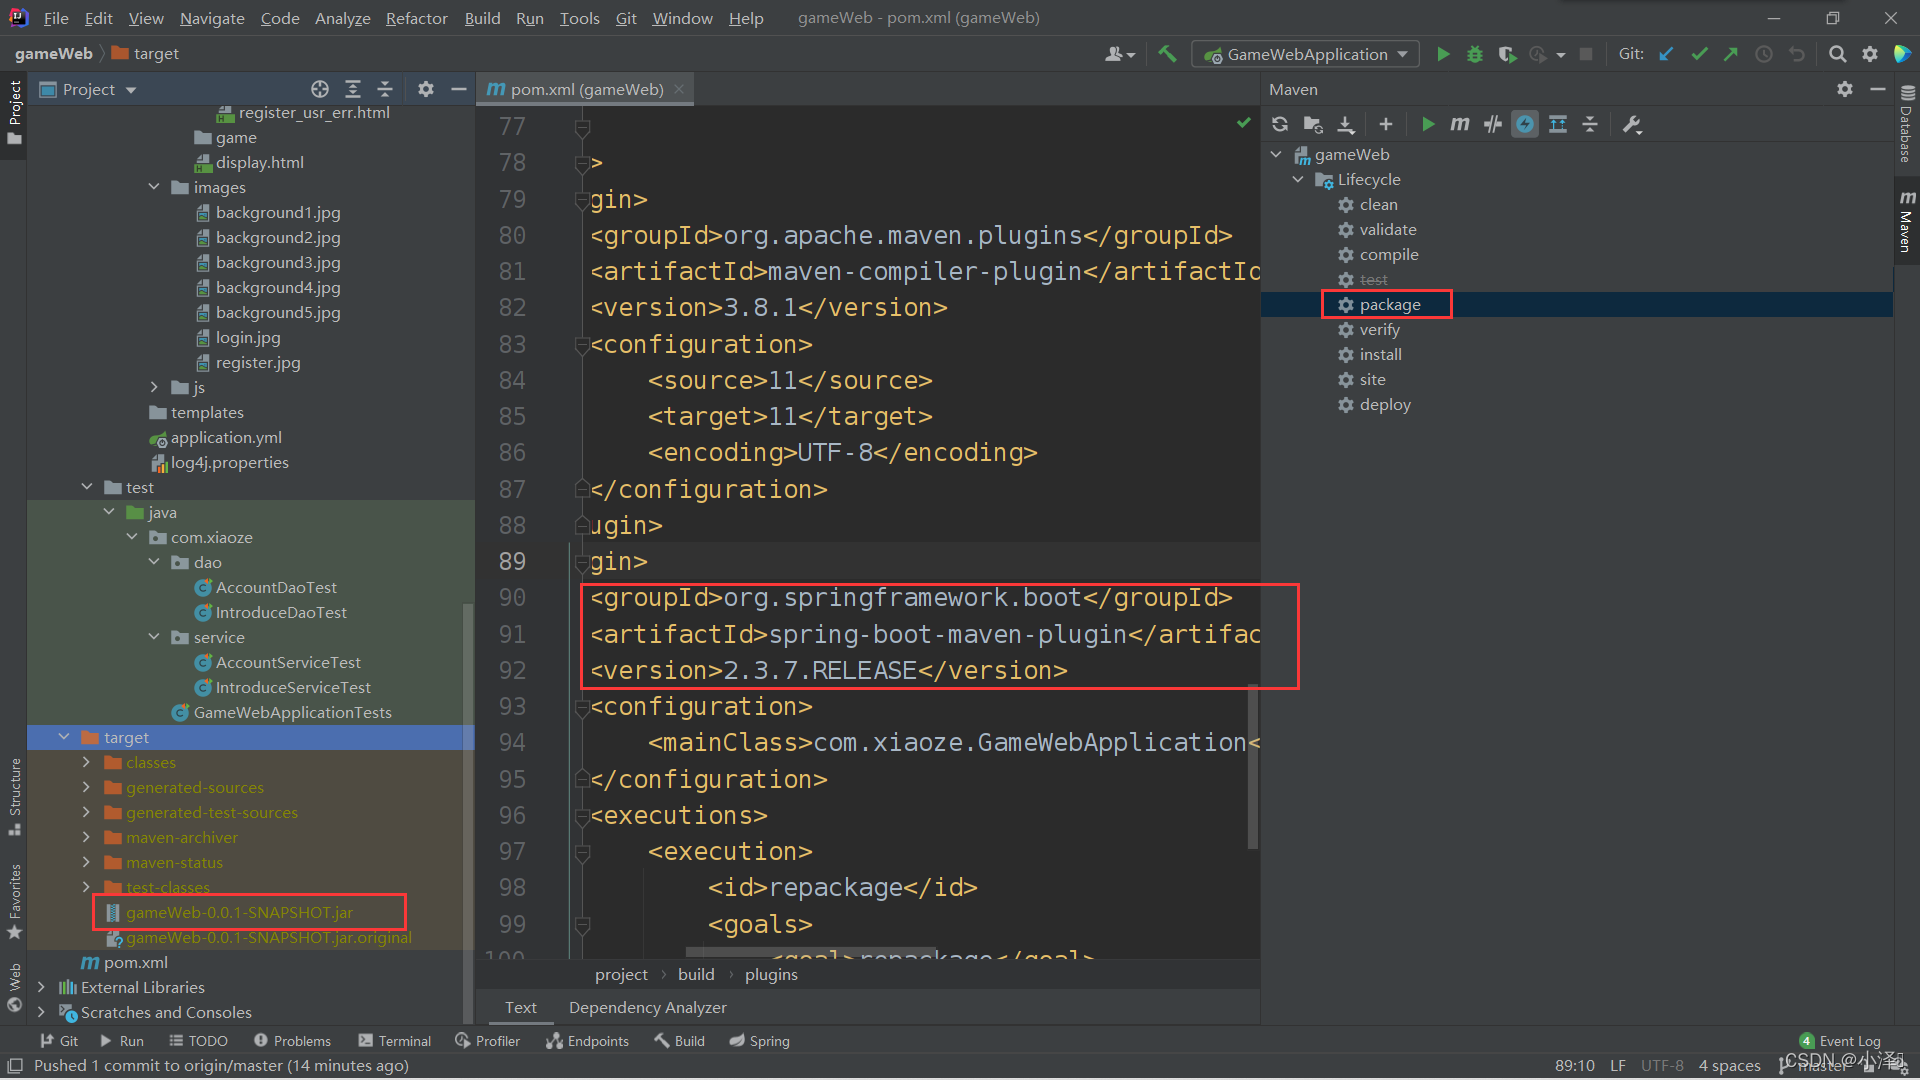
2.在确保打包时具有SpringBoot对应的maven插件后package生成jar包
三、运行测试
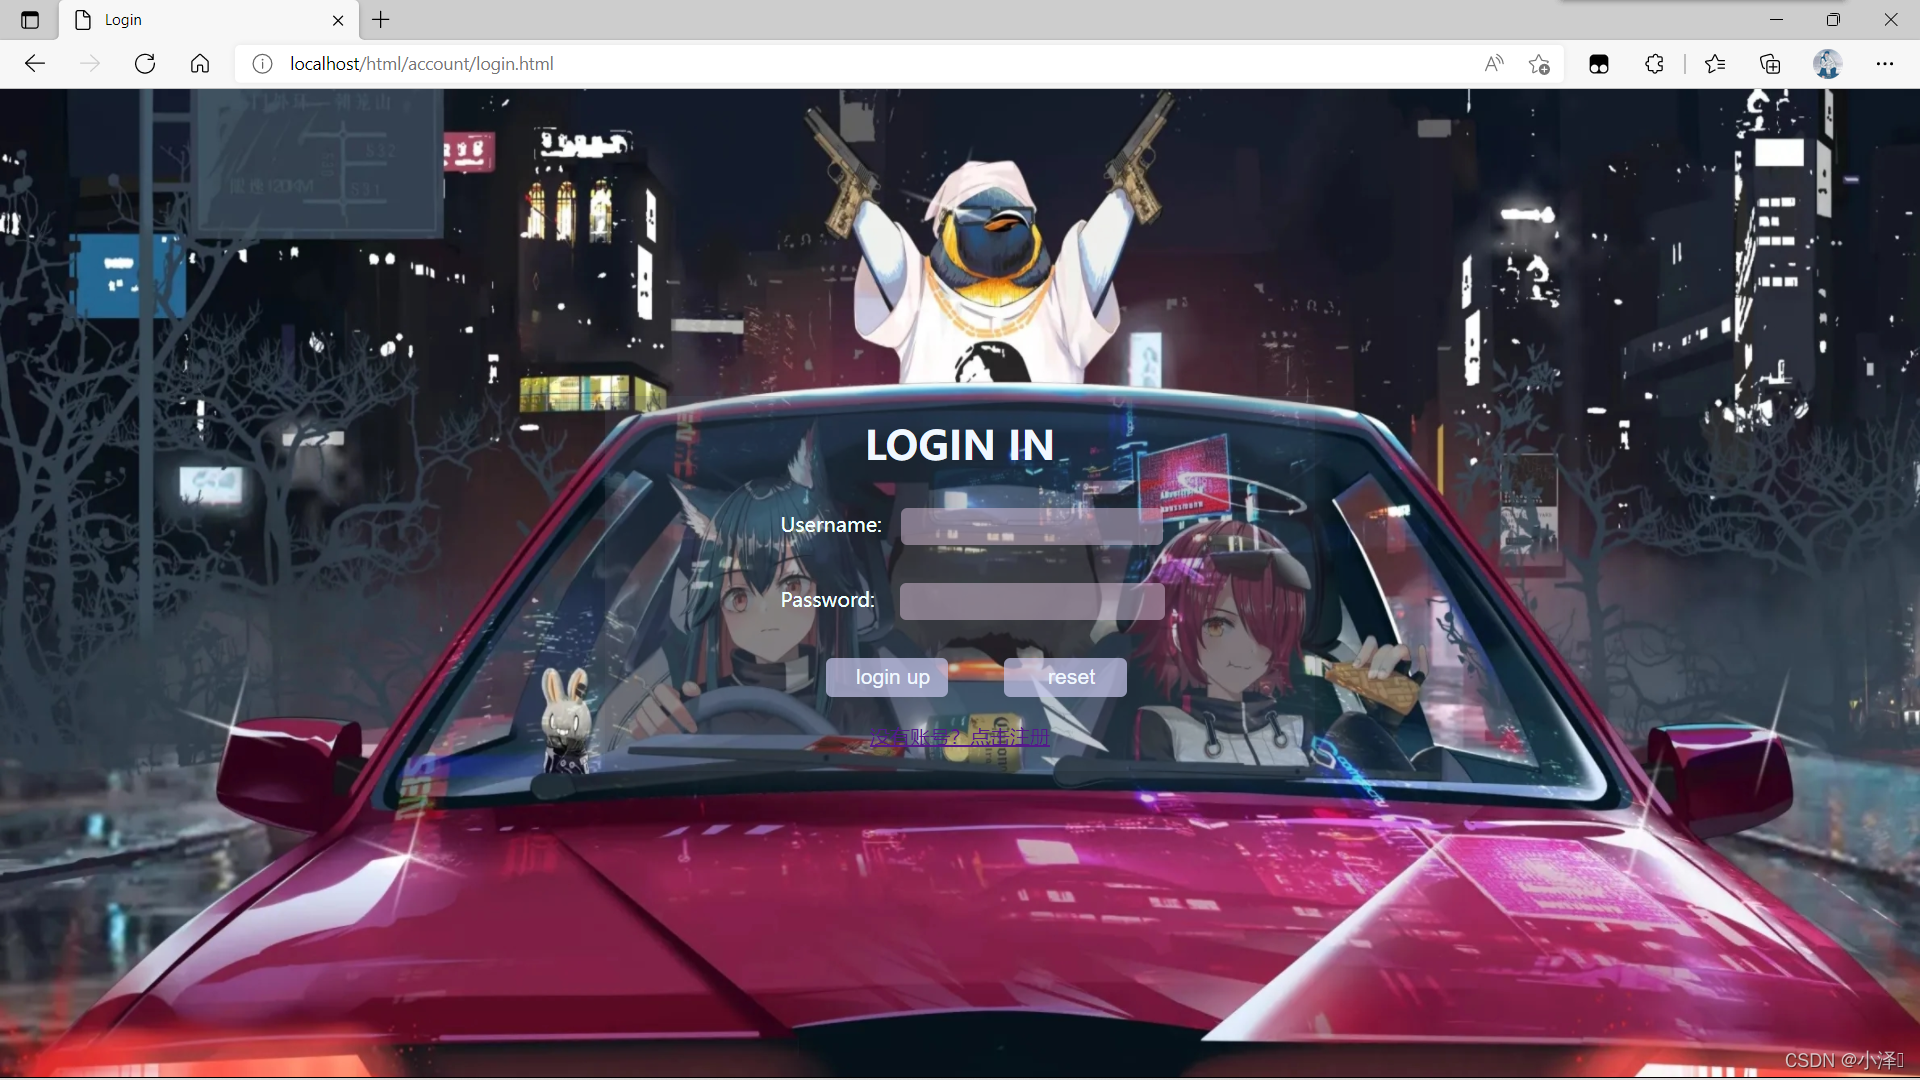
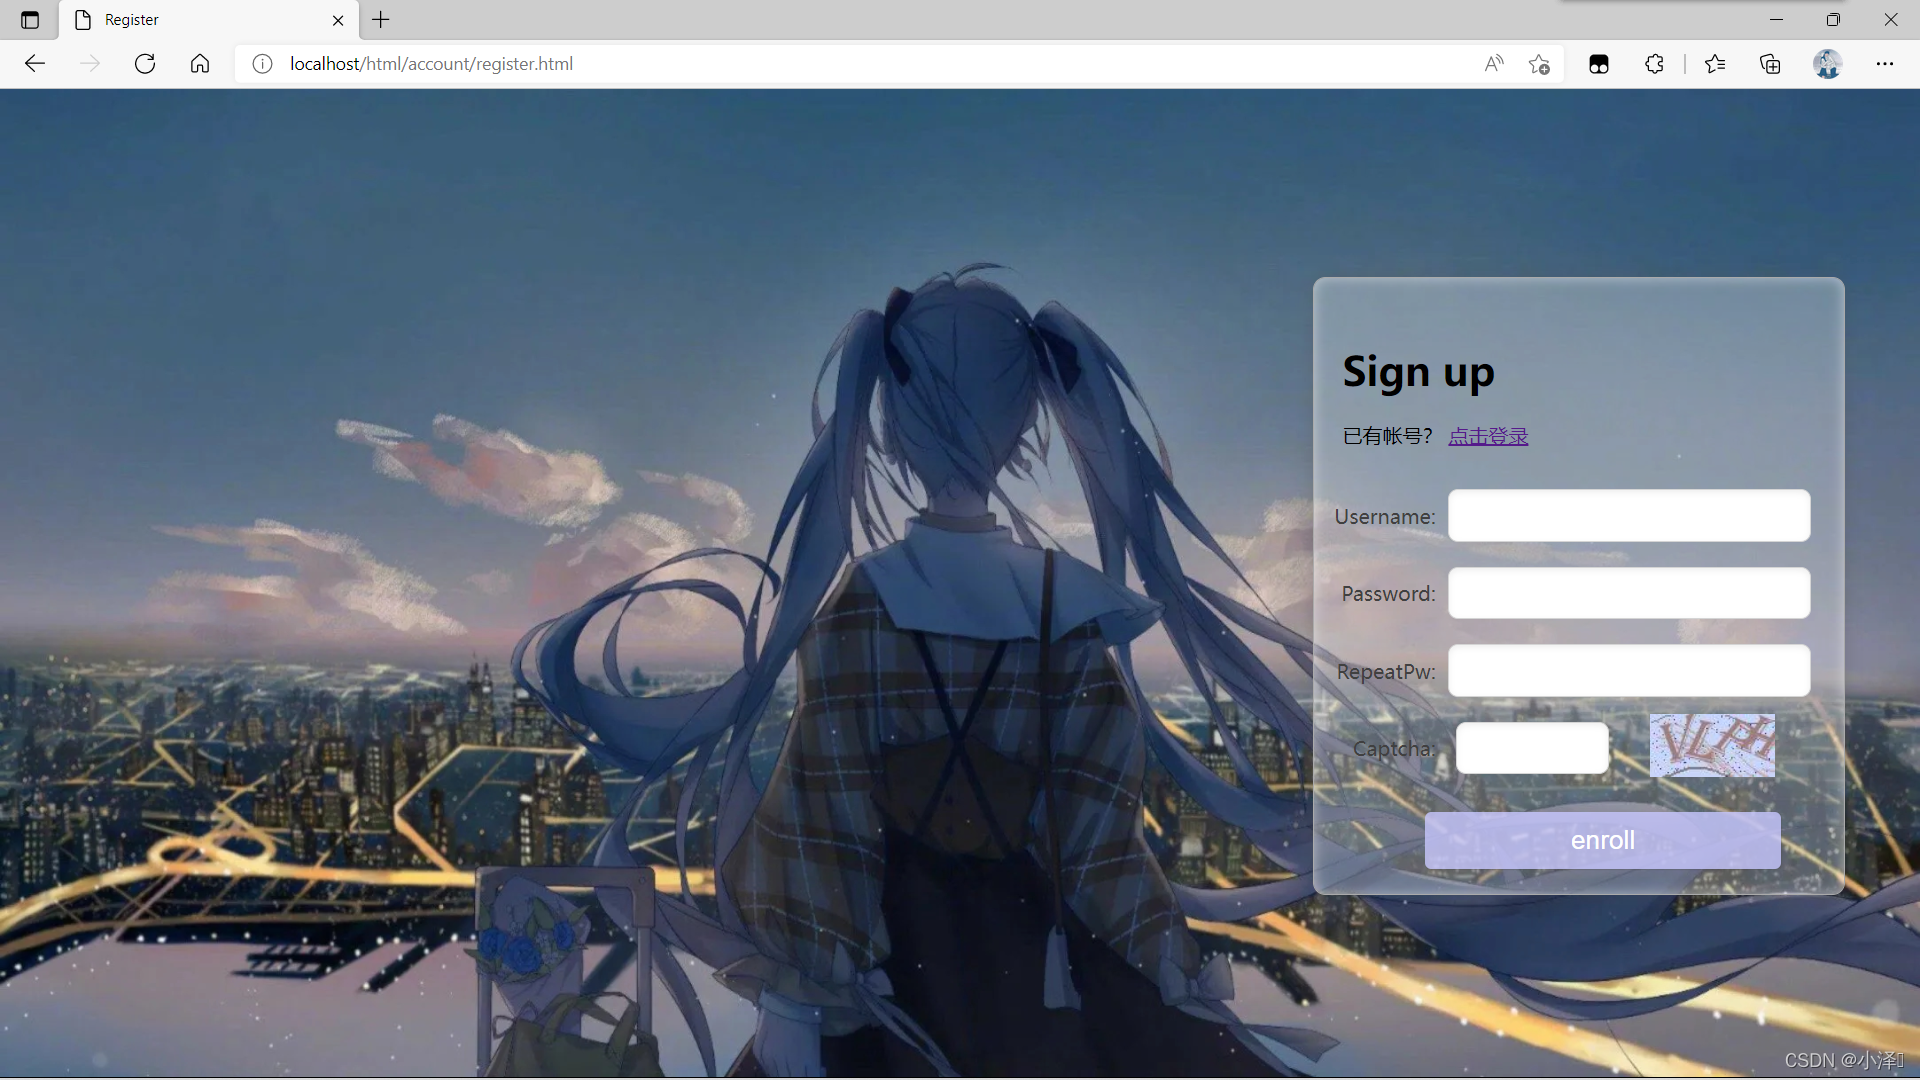
1.在打包好的jar包同文件夹下执行 java -jar springboot.jar便能运行测试
2.运行结果如下


 573
573

 被折叠的 条评论
为什么被折叠?
被折叠的 条评论
为什么被折叠?
 到【灌水乐园】发言


