


如何在 Ubuntu LTS 上安装和配置 CyberPanel 教程
简介
CyberPanel 是一个由 OpenLiteSpeed 提供支持的 Web 托管控制面板。本教程将指导你如何在 Ubuntu LTS 上安装 CyberPanel。本指南以 192.0.2.123 作为示例 IP 地址。
准备工作
服务器准备
必要前提:
- 一台 Linux 服务器(推荐腾讯云、阿里云或雨云等)。
我将以 雨云 为例,带大家创建一台自己的云服务器,以便学习本篇文章的内容。
注册链接: https://www.rainyun.com/NTE2NDM3_
创建雨云服务器
以下步骤仅供参考,请根据实际需求选择配置。
- 点击 云产品 → 云服务器 → 立即购买。
- 选择距离你较近的区域,以保证低延迟。

- 按照自己需求选择配置,选择 Ubuntu LTS 版本,按照自己需求是否预装 Docker。
- 最后按照提示进行购买。
- 购买后等待机器部署完毕,点击刚刚创建好的服务器,进入管理面板,找到远程连接相关信息。

- 我们使用
PowerShell进行SSH远程连接到服务器,Win+R打开运行窗口,输入powershell后点击确定。
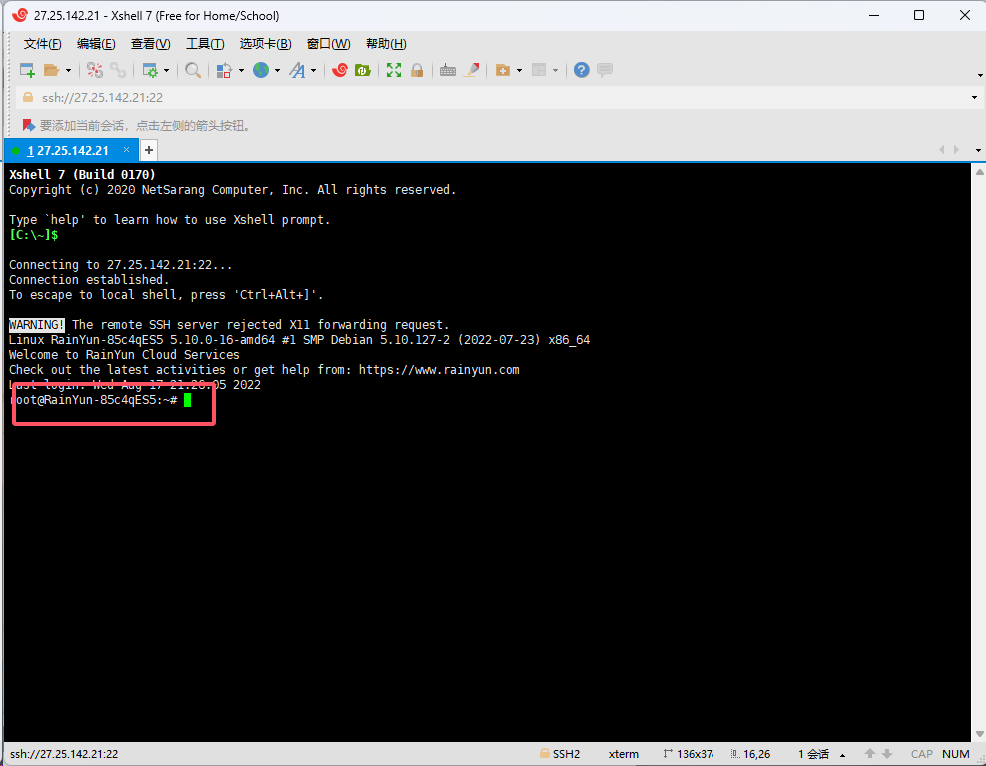
- 到此为止,我们的云服务器就远程连接上了。
安装和配置步骤
第一步:下载安装脚本
# wget -O installer.sh https://cyberpanel.net/install.sh
使脚本可执行并运行 installer.sh。
# chmod 755 installer.sh
# sh installer.sh
输入 1 并按 Enter 键安装 CyberPanel。
            CyberPanel Installer v2.00

1. Install CyberPanel.
2. Addons and Miscellaneous
3. Exit.

Please enter the number[1-3]:
第二步:安装 CyberPanel 与 OpenLiteSpeed
输入 1 并按 Enter 键安装 CyberPanel 与 OpenLiteSpeed。
            CyberPanel Installer v2.0

RAM check : 71/487MB (14.58%)
Disk check : 1/20GB (7%) (Minimal 10GB free space)

1. Install CyberPanel with OpenLiteSpeed.
2. Install Cyberpanel with LiteSpeed Enterprise.
3. Exit.

Please enter the number[1-3]:
输入 Y 并按 Enter 键选择完整安装。
Install Full service for CyberPanel? This will include PowerDNS, Postfix and Pure-FTPd.
Full installation [Y/n]:
按 Enter 键选择最新版本。
Press Enter key to continue with latest version or
Enter specific version such as: 1.9.4 , 1.9.5 ...etc
选择默认密码、随机生成密码或设置自己的密码,输入 D、R 或 S。然后按 Enter 键。
Please choose to use default admin password 1234567,
randomly generate one (recommended) or
specify the admin password?

Choose [d]fault, [r]andom or [s]et password: [d/r/s]
输入 Y 并按 Enter 键安装 Memcached。
Do you wish to install Memcached extension and backend?
Please select [Y/n]:
输入 Y 并按 Enter 键安装 Redis®。
Do you wish to install Redis extension and backend?
Please select [Y/n]:
输入 Yes 以启动 WatchDog。
Would you like to set up a WatchDog (beta) for Web service and Database service ?
The watchdog script will be automatically started up after installation and server reboot
If you want to kill the watchdog , run watchdog kill
Please type Yes or no (with capital Y, default Yes):
脚本将安装 CyberPanel 及其扩展。完成后,脚本将显示你的管理员详情。
第三步:配置防火墙
验证操作系统防火墙和 Vultr 防火墙都对以下端口开放入站和出站:
- TCP: 8090 用于 CyberPanel
- TCP: 80, TCP: 443 和 UDP: 443 用于 Web 服务器
- TCP: 21 和 TCP: 40110-40210 用于 FTP
- TCP: 25, TCP: 587, TCP: 465, TCP: 110, TCP: 143 和 TCP: 993 用于邮件服务
- TCP: 53 和 UDP: 53 用于 DNS 服务
第四步:配置 CyberPanel
- 访问你的服务器 IP 地址端口 8090。例如,
https://192.0.2.123:8090。你将看到一个管理员登录界面。 - 输入 admin 作为用户名和 1234567 作为密码。
- 点击用户名 “Cyber Pan” 旁边的用户菜单箭头。
- 选择 Edit Profile。
- 在 Modify User 页面的下拉菜单中选择 admin。
- 你现在可以相应地更改名字、姓氏、电子邮件地址和密码。
结尾
本教程详细介绍了如何在 Ubuntu LTS 上安装和配置 CyberPanel。希望这能帮助你更好地管理和控制你的 Web 托管环境。
雨云 - 新一代云服务提供商: https://www.rainyun.com/NTE2NDM3_


 1130
1130

 被折叠的 条评论
为什么被折叠?
被折叠的 条评论
为什么被折叠?
 到【灌水乐园】发言


