


mysql安装
安装环境
系统:CentOS Linux release 7.9.2009 (Core)
mysql版本:5.7.27
yum源:阿里源
软件包地址:https://downloads.mysql.com/archives/community/
软件包名称:mysql-boost-5.7.27.tar.gz
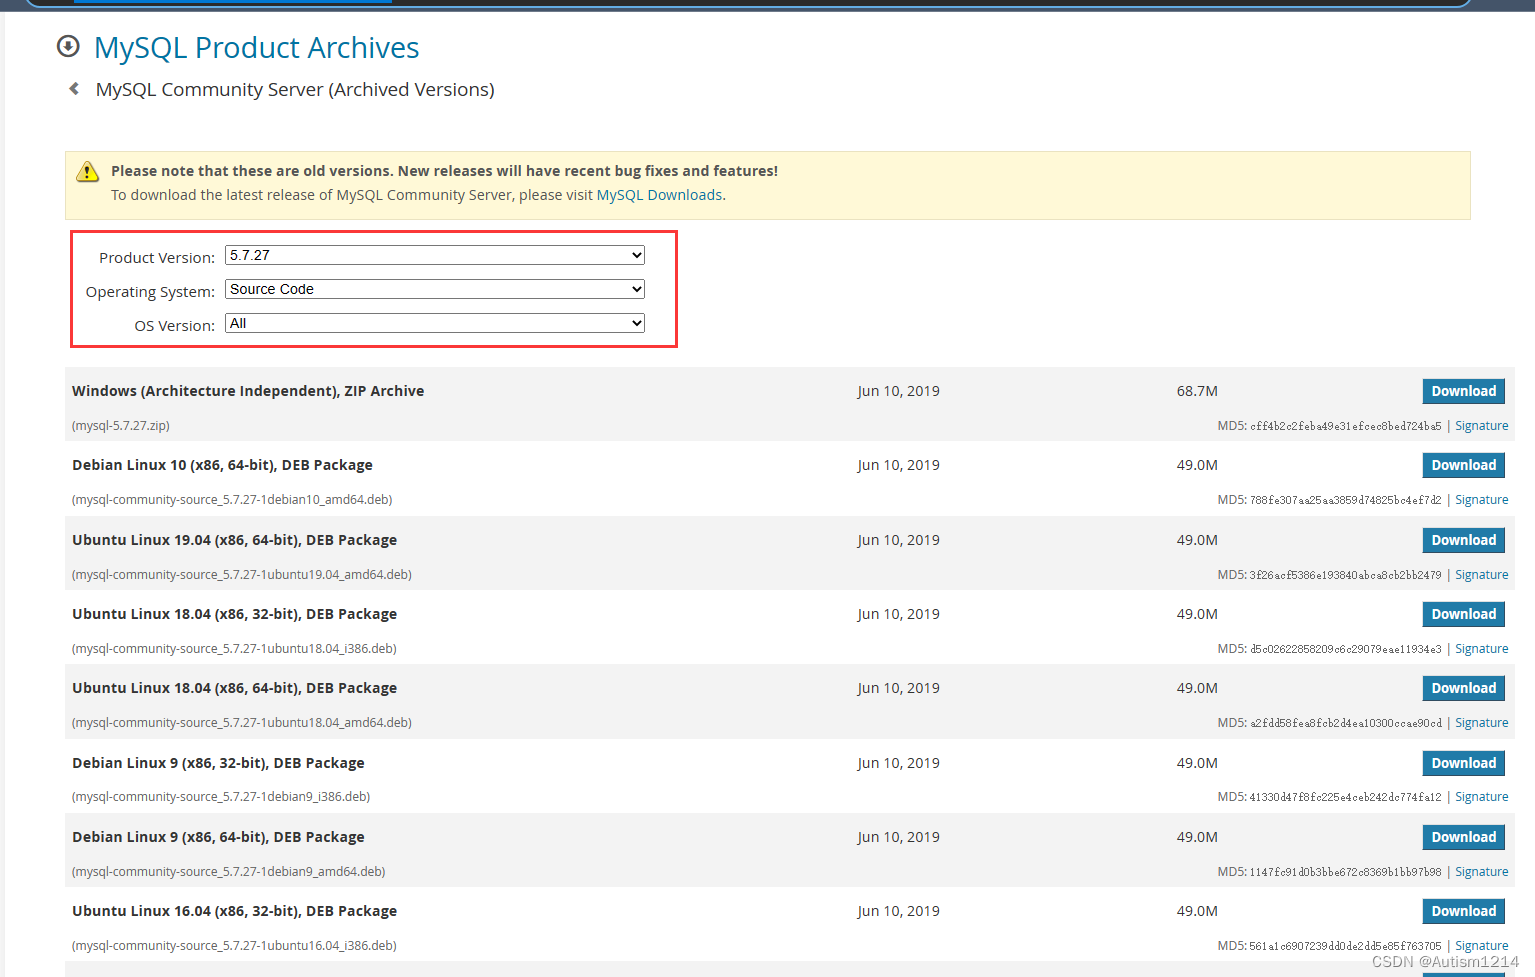
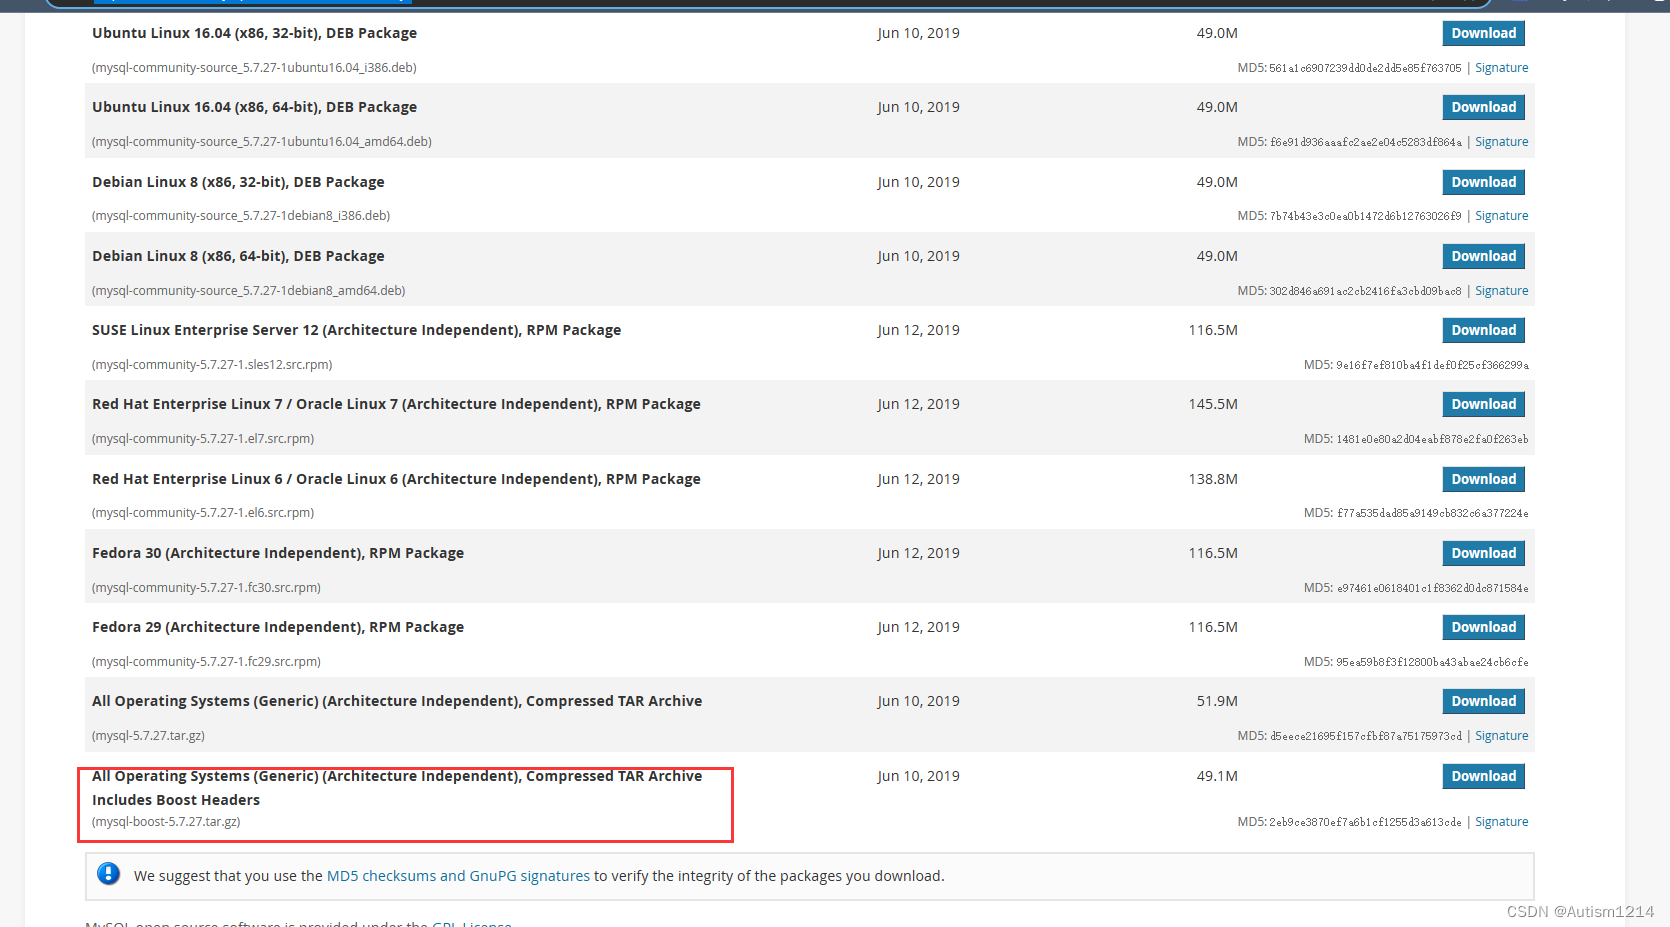
下载最下面的这个软件包
还需要上传一份配置文件my.cnf,这是my.cnf里面的配置
[client]
#password       = your_password
port            = 3308
socket          = /tmp/mysql.sock
#default-character-set=utf8mb4
# Here follows entries for some specific programs

# The MySQL server
[mysqld]
port            = 3308
socket          = /tmp/mysql.sock
character_set_client_handshake = FALSE
character_set_server = utf8mb4
collation_server = utf8mb4_unicode_ci
init_connect='SET NAMES utf8mb4'
datadir=/opt/mysqldata
skip-external-locking
key_buffer_size = 16M
max_allowed_packet = 500M
table_open_cache = 8192
sort_buffer_size = 512K
net_buffer_length = 8K
read_buffer_size = 256K
read_rnd_buffer_size = 512K
myisam_sort_buffer_size = 8M
connect_timeout=288000
wait_timeout=2880000
interactive_timeout=288000
max_connections = 30000
skip-name-resolve
#skip-slave-start
lower_case_table_names=1
innodb_file_per_table=1
sync_binlog=1
innodb_flush_method=O_DIRECT
innodb_flush_log_at_trx_commit=0
#sort_buffer_size=20M
log_bin_trust_function_creators=1
default_password_lifetime=0
innodb_read_io_threads=16
innodb_write_io_threads=16
innodb_io_capacity=2048
innodb_lru_scan_depth=2048
#innodb_page_size=4096
innodb_io_capacity_max=10240
#innodb_flush_neighbors=0
sql_mode = "STRICT_TRANS_TABLES,NO_ENGINE_SUBSTITUTION,NO_ZERO_DATE,NO_ZERO_IN_DATE,ERROR_FOR_DIVISION_BY_ZERO,NO_AUTO_CREATE_USER"
transaction_isolation = READ-COMMITTED
# Don't listen on a TCP/IP port at all. This can be a security enhancement,
# if all processes that need to connect to mysqld run on the same host.
# All interaction with mysqld must be made via Unix sockets or named pipes.
# Note that using this option without enabling named pipes on Windows
# (via the "enable-named-pipe" option) will render mysqld useless!
#
#skip-networking

# Replication Master Server (default)
# binary logging is required for replication
log-bin=mysql-bin

# binary logging format - mixed recommended
binlog_format=mixed
expire_logs_days=7
# required unique id between 1 and 2^32 - 1
# defaults to 1 if master-host is not set
# but will not function as a master if omitted
server-id = 32
#gtid-mode=ON
#enforce-gtid-consistency=ON
#disable-gtid-unsafe-statements=ON
# Replication Slave (comment out master section to use this)
#
# To configure this host as a replication slave, you can choose between
# two methods :
#
# 1) Use the CHANGE MASTER TO command (fully described in our manual) -
#    the syntax is:
#
#    CHANGE MASTER TO MASTER_HOST=<host>, MASTER_PORT=<port>,
#    MASTER_USER=<user>, MASTER_PASSWORD=<password> ;
#
#    where you replace <host>, <user>, <password> by quoted strings and
#    <port> by the master's port number (38141 by default).
#
#    Example:
#
#    CHANGE MASTER TO MASTER_HOST='125.564.12.1', MASTER_PORT=38141,
#    MASTER_USER='joe', MASTER_PASSWORD='secret';
#
# OR
#
# 2) Set the variables below. However, in case you choose this method, then
#    start replication for the first time (even unsuccessfully, for example
#    if you mistyped the password in master-password and the slave fails to
#    connect), the slave will create a master.info file, and any later
#    change in this file to the variables' values below will be ignored and
#    overridden by the content of the master.info file, unless you shutdown
#    the slave server, delete master.info and restart the slaver server.
#    For that reason, you may want to leave the lines below untouched
#    (commented) and instead use CHANGE MASTER TO (see above)
#
# required unique id between 2 and 2^32 - 1
# (and different from the master)
# defaults to 2 if master-host is set
# but will not function as a slave if omitted
#server-id       = 2
#
# The replication master for this slave - required
#master-host     =   <hostname>
#
# The username the slave will use for authentication when connecting
# to the master - required
#master-user     =   <username>
#
# The password the slave will authenticate with when connecting to
# the master - required
#master-password =   <password>
#
# The port the master is listening on.
# optional - defaults to 3306
#master-port     =  <port>
#
# binary logging - not required for slaves, but recommended
#log-bin=mysql-bin

# Uncomment the following if you are using InnoDB tables
#innodb_data_home_dir = /usr/local/mysql5/data
#innodb_data_file_path = ibdata1:10M:autoextend
#innodb_log_group_home_dir = /usr/local/mysql5/data
# You can set .._buffer_pool_size up to 50 - 80 %
# of RAM but beware of setting memory usage too high
#innodb_buffer_pool_size = 16M
innodb_buffer_pool_size = 6G
#innodb_additional_mem_pool_size = 2M
# Set .._log_file_size to 25 % of buffer pool size
#innodb_log_file_size = 5M
#innodb_log_buffer_size = 8M
#innodb_flush_log_at_trx_commit = 1
#innodb_lock_wait_timeout = 50

[mysqldump]
quick
max_allowed_packet = 16M

[mysql]
#default-character-set=utf8
no-auto-rehash
# Remove the next comment character if you are not familiar with SQL
#safe-updates

[myisamchk]
key_buffer_size = 20M
sort_buffer_size = 20M
read_buffer = 2M
write_buffer = 2M

[mysqlhotcopy]
interactive-timeoutuu
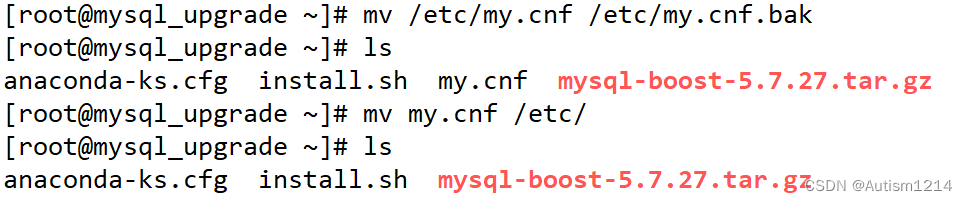
需要把my.cnf跟mysql的软件包上传到机器上

然后需要把机器上自己带的my.cnf删除或者重命名,把自己上传的my.cnf移动到/etc这个目录下
[root@mysql_upgrade ~]# mv /etc/my.cnf /etc/my.cnf.bak
[root@mysql_upgrade ~]# mv my.cnf /etc/
安装mysql
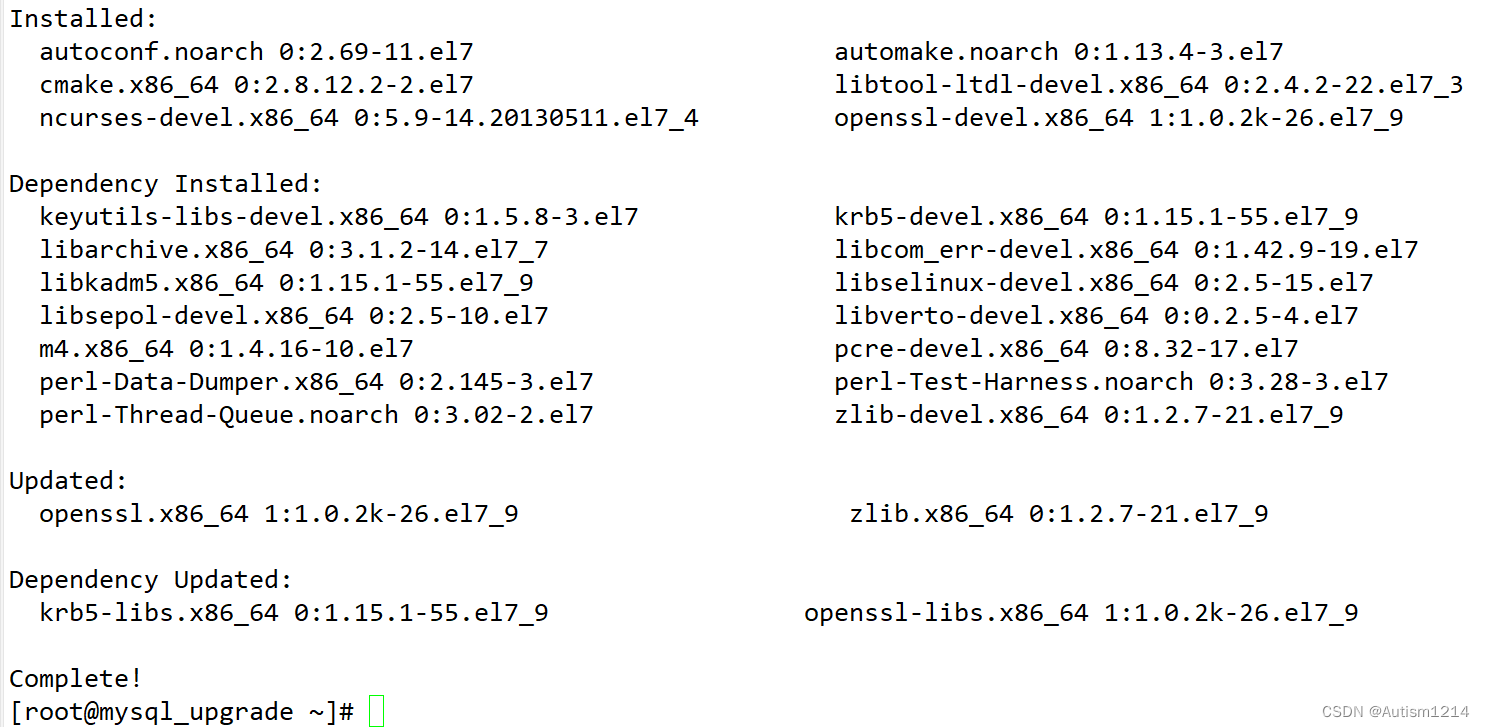
1.安装mysql依赖
yum -y install gcc gcc-c++ autoconf automake zlib flex libxml ncurses-devel libmcrypt libtool-ltdl-devel make cmake openssl openssl-devel
2.创建mysql程序用户
chattr -i /etc/passwd /etc/shadow /etc/group /etc/gshadow
useradd -M -s /sbin/nologin mysql
chattr +i /etc/passwd /etc/shadow /etc/group /etc/gshadow

3.安装mysql指定版本5.7.27
tar -xf mysql-boost-5.7.27.tar.gz #解压软件包
cd mysql-5.7.27 #切换到解压完的目录
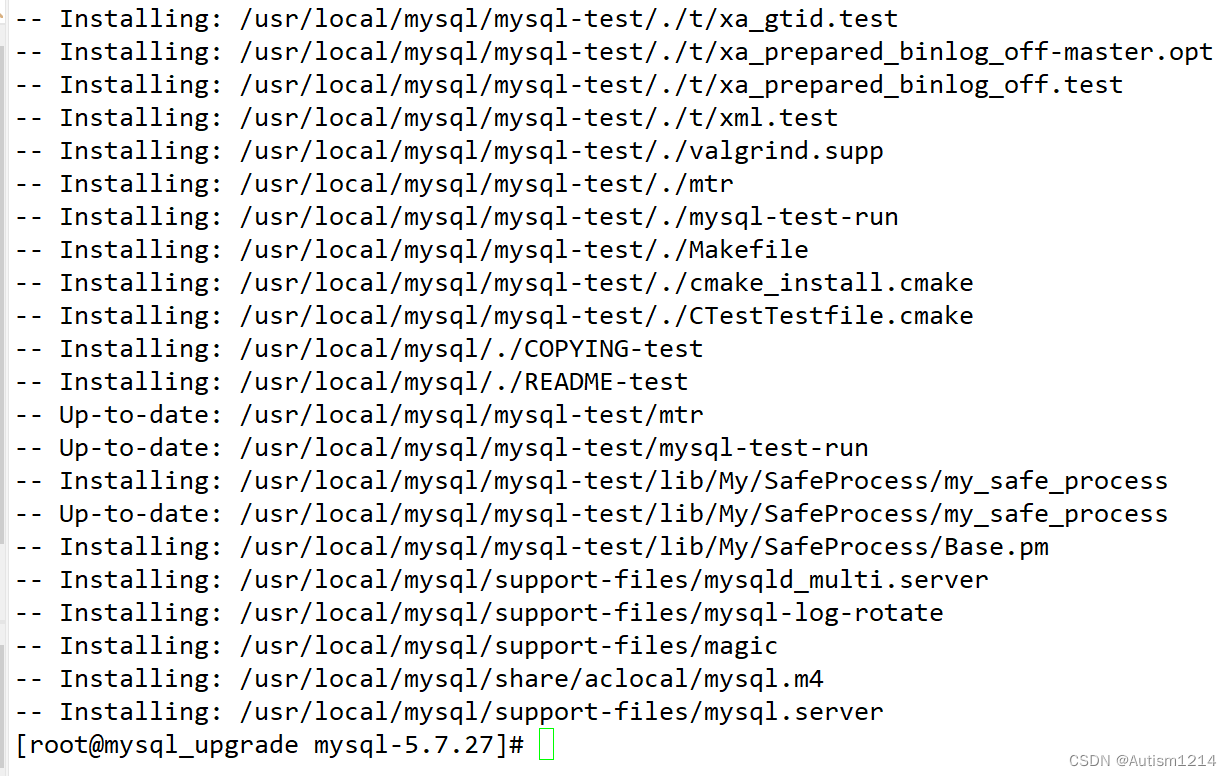
cmake -DCMAKE_INSTALL_PREFIX=/usr/local/mysql -DWITH_BOOST=boost && make -j 1 && make install #这里自己服务器环境的cpu核数是多少“-j ”后面就写多少,我这里是一个虚拟机环境,就给了1核cpu。
cd ../ && rm -rf mysql-5.7.27 #编译安装完以后删除软件包,删不删除都可以
rm -rf /opt/mysqldata #配置文件里面写的数据目录/opt/mysqldata,所以要删除机器上原先就有的这个目录
/usr/local/mysql/bin/mysqld --defaults-file=/etc/my.cnf --initialize --basedir=/usr/local/mysql --datadir=/opt/mysqldata --user=mysql #初始化数据库,指定配置文件 --defaults-file 为 /etc/my.cnf,指定 MySQL 的安装目录为 /usr/local/mysql,数据目录为 /opt/mysqldata,使用用户为 mysql;
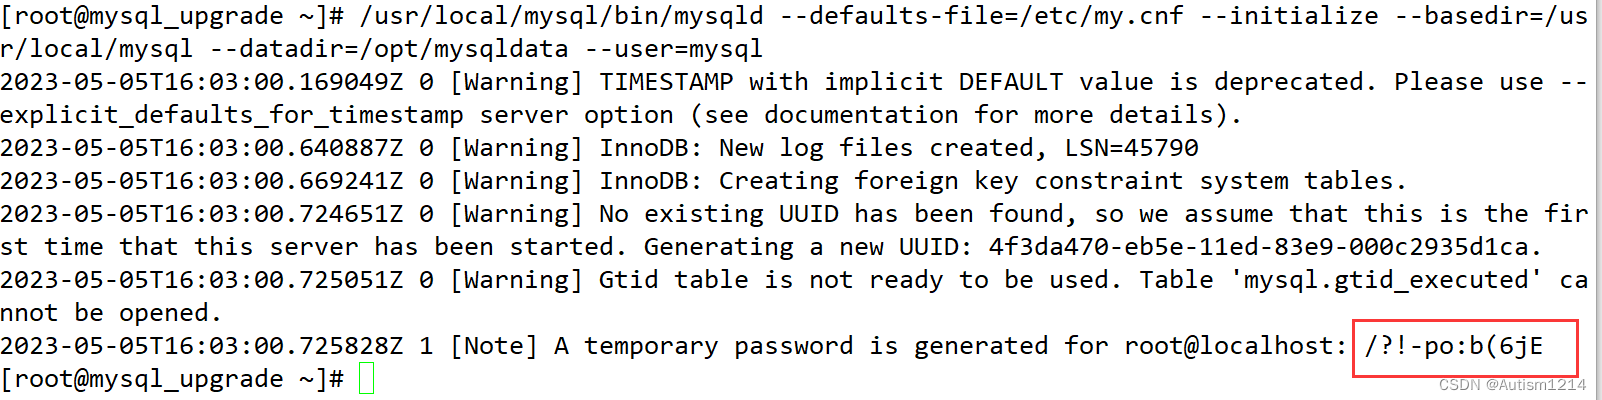
刚初始化完成会有一个默认的密码
4.修改配置,启动mysql
\cp -f /usr/local/mysql/support-files/mysql.server /etc/init.d/mysql					#使mysql自启动
sed -i "s/server-id = 32/server-id = 33/g" /etc/my.cnf						#修改 /etc/my.cnf 配置文件的 server-id 为 33;
echo "PATH=/usr/local/mysql/bin:$PATH" >> /etc/profile					#将 mysql 的/bin 目录添加到系统 环境变量;
source /etc/profile 													#重新载入环境变量
sed -i "/datadir=/askip_grant_tables" /etc/my.cnf						#在 /etc/my.cnf 中修改 datadir 配置,使 MySQL 不启用强制授权表(skip_grant_tables);也就是不启用验证,初始化完直接用mysql就可以登录,不使用自动生成的密码
/etc/init.d/mysql start													#启动mysql服务

到这里mysql初步的启动是完成了,但是我们还需要修改一下mysql的root用户密码
5.修改root用户密码,重启mysql
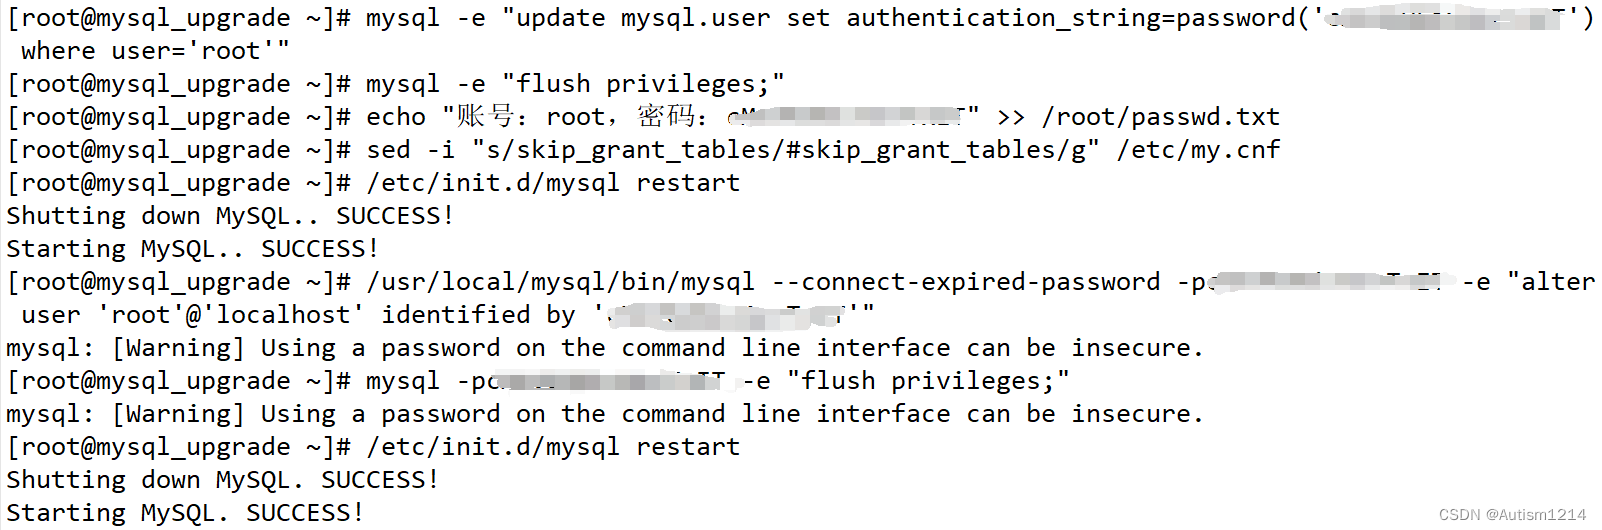
mysql -e "update mysql.user set authentication_string=password('********') where user='root'"					#使用 mysql 命令修改 MySQL 的 root 用户密码为 ********(这里是你自己设置的密码);
mysql -e "flush privileges;"							#刷新权限
echo "账号:root,密码:********" >> /root/passwd.txt							#将 root 用户账号和密码记录到 /root/passwd.txt 文件中;如果是随机生成的16位密码,方便一会登录数据库粘贴
sed -i "s/skip_grant_tables/#skip_grant_tables/g" /etc/my.cnf							#将 skip_grant_tables 改为 #skip_grant_tables,启用 MySQL 的正常身份验证机制,就是得用密码登录了。
/etc/init.d/mysql restart					#重启 MySQL 服务;
/usr/local/mysql/bin/mysql --connect-expired-password -p******** -e "alter user 'root'@'localhost' identified by '********'"							#使用 MySQL 命令修改 root 用户的密码为 ********;
mysql -p******** -e "flush privileges;"									#刷新权限,注意这里就需要用到咱们刚才刚修改的root密码了,再使用mysql不加密码是不行的,mysql默认登录的用户就是root,所以要跟-p  加root的密码
/etc/init.d/mysql restart							#重启mysql
到这里就安装mysql就已经完全完成了
6.登录mysql
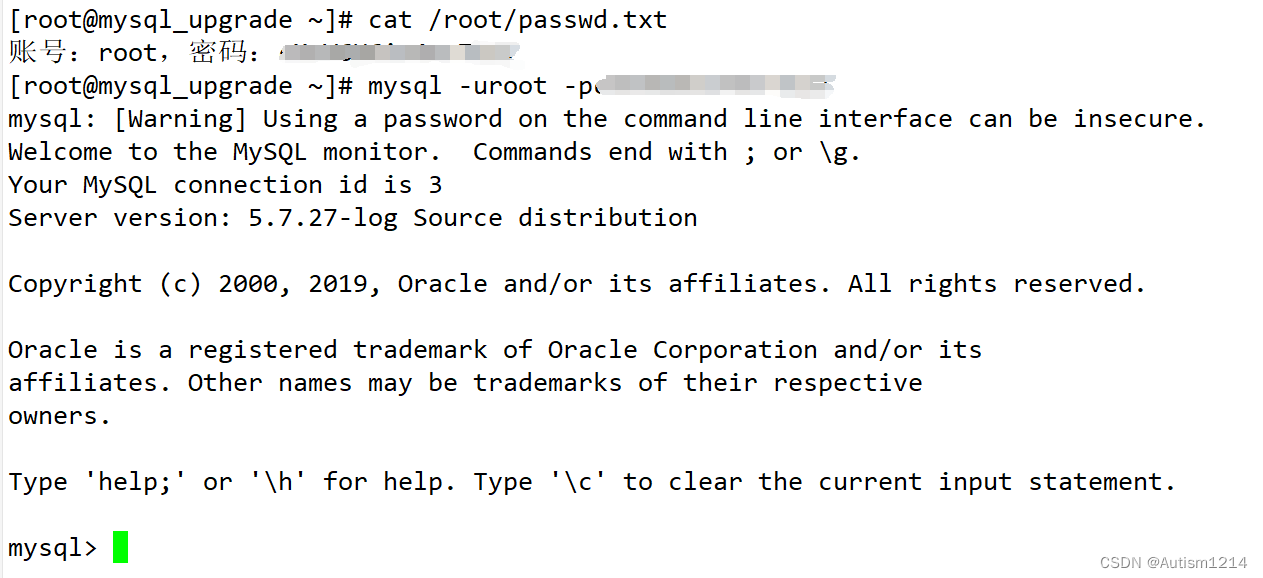
cat /root/passwd.txt										#查看一下mysql  root用户的密码
mysql -uroot -p*********								#然后用这个密码登录mysql
需要注意的一点是,上面配置文件里面写了,port = 3308,所以我安装的mysql占用的是3308端口,默认的mysql占用的是3306.生产环境中还是改一下端口的比较好。
ps aux|grep mysql										#查看mysql进程
netstat -lnput|grep mysql								#查看mysql进程占用的端口

可以用上面的两个命令查看mysql的运行状态


 4907
4907

 被折叠的 条评论
为什么被折叠?
被折叠的 条评论
为什么被折叠?
 到【灌水乐园】发言


