


Nginx-1 初识 Nginx
1. Nginx 适用于哪些场景

【1】静态资源服务
托管静态资源
【2】反向代理服务
应用服务受限于单节点的并发,一般形成集群以高可用,因此需要 nginx 具有反向代理功能,可以把动态请求传递给应用服务。
同时,对于某些在一段时间内不变的响应,可以由 nginx 进行缓存,加快响应。
【3】API 服务
应用服务本身功能复杂,并发量低,而数据库服务,缓存服务等功能简单。因此 nginx 可以直接访问 数据库/缓存,实现如 Web 防火墙功能
2. Nginx 的主要优点
【1】高并发、高性能
- 高并发一般每个连接占用的资源尽可能的少就可以做到,高性能则说明系统一定有良好的设计
- 32核64G的服务器
- 数千万的并发连接
- 如果是简单的静态资源请求,可以达到 100w 的RPS(Requests Per Second,每秒并发请求数)
【2】可拓展性
- 模块化设计,三方生态圈非常丰富,功能丰富
【3】高可靠性
- 可以持续不间断的运行数年
【4】热部署
- 可以在不停止服务的情况下升级 nginx
【5】BSD 许可证
- nginx 不仅开源、免费,还可以根据需要自行修改其源代码运行在自己的商业项目中
3. Nginx 的 4 个部分
【1】各模块源码编译出的二进制可执行文件
【2】nginx.conf 配置文件,控制 nginx 的行为
【3】access.log 请求日志,记录 HTTP 请求信息
【4】error.log 错误日志,定位问题
4. 选择并编译自己的 Nginx
开源版:Nginx下载链接
商业版:nginx.com
nginx 可以直接通过指令安装对应的二进制文件(例如yum、apt),但是不推荐,因为 nginx 有丰富的三方模块,而指令安装的可能不全,因此采用手动编译的方式
- 下载对应的压缩包
wget https://nginx.org/download/nginx-1.28.0.tar.gz
- 解压
tar -zxvf nginx-1.28.0.tar.gz
- 进入源码目录编译
cd cd nginx-1.28.0/
# 这里的 prefix 指的是编译完的目录,建议找一个空目录
./configure --prefix=/home/nginx/nginx
如果没有报错,就是编译成功了,编译会生成一些中间文件
- 进入中间文件目录
cd objs/
[root@VM-16-11-centos objs]# ll
total 88
-rw-r--r-- 1 root root 22541 May 27 23:06 autoconf.err
-rw-r--r-- 1 root root 40559 May 27 23:06 Makefile
-rw-r--r-- 1 root root  7196 May 27 23:06 ngx_auto_config.h
-rw-r--r-- 1 root root   657 May 27 23:06 ngx_auto_headers.h
-rw-r--r-- 1 root root  5856 May 27 23:06 ngx_modules.c   # 被编译进二进制文件的模块
drwxr-xr-x 9 root root  4096 May 27 23:06 src
- 进入上级目录,执行 make 编译
cd .. && make
[root@VM-16-11-centos nginx-1.28.0]# cd objs && ll
total 4008
-rw-r--r-- 1 root root   22541 May 27 23:06 autoconf.err
-rw-r--r-- 1 root root   40559 May 27 23:06 Makefile
-rwxr-xr-x 1 root root 3968488 May 27 23:11 nginx		# 编译生成的二进制文件
-rw-r--r-- 1 root root    5569 May 27 23:11 nginx.8
-rw-r--r-- 1 root root    7196 May 27 23:06 ngx_auto_config.h
-rw-r--r-- 1 root root     657 May 27 23:06 ngx_auto_headers.h
-rw-r--r-- 1 root root    5856 May 27 23:06 ngx_modules.c
-rw-r--r-- 1 root root   32880 May 27 23:11 ngx_modules.o
drwxr-xr-x 9 root root    4096 May 27 23:06 src
- make install
cd ..
make install
- 进入第3步 prefix 指定的路径
cd /home/nginx/nginx
[root@VM-16-11-centos nginx]# ll
total 16
drwxr-xr-x 2 root root 4096 May 27 23:21 conf
drwxr-xr-x 2 root root 4096 May 27 23:21 html
drwxr-xr-x 2 root root 4096 May 27 23:21 logs
drwxr-xr-x 2 root root 4096 May 27 23:21 sbin
5. Nginx 常用命令
此时目录是在编译出的 nginx 目录下,二进制 nginx 在 sbin 目录下
[root@VM-16-11-centos nginx]# sbin/nginx -v
nginx version: nginx/1.28.0
[root@VM-16-11-centos nginx]# sbin/nginx -V
nginx version: nginx/1.28.0
built by gcc 4.8.5 20150623 (Red Hat 4.8.5-44) (GCC)
configure arguments: --prefix=/home/nginx/nginx
# 启动 nginx
[root@VM-16-11-centos nginx]# sbin/nginx
# 验证已启动
[root@VM-16-11-centos nginx]# ps -ef | grep nginx
root     25756     1  0 10:48 ?        00:00:00 nginx: master process sbin/nginx
nobody   25757 25756  0 10:48 ?        00:00:00 nginx: worker process
root     25842 21957  0 10:48 pts/0    00:00:00 grep --color=auto nginx

# 验证配置文件格式是否正确
[root@VM-16-11-centos sbin]# ./nginx -t
nginx: the configuration file /home/nginx/nginx/conf/nginx.conf syntax is ok
nginx: configuration file /home/nginx/nginx/conf/nginx.conf test is successful

# 修改完配置文件,在不影响原服务的情况下加载新的配置项
sbin/nginx -s reload
# 热部署,更新 nginx
# 备份旧的 nginx
[root@VM-16-11-centos sbin]# mv nginx nginx.old
nginx version: nginx/1.28.0
[root@VM-16-11-centos sbin]# ./nginx.old -v
nginx version: nginx/1.28.0

# 移动新的 nginx 二进制过来(这是我提前编译好的,旧的是1.28.0,新的是1.26.2)
[root@VM-16-11-centos sbin]# cp /var/nginx/nginx/sbin/nginx ./
[root@VM-16-11-centos sbin]# ls
nginx  nginx.old
[root@VM-16-11-centos sbin]# ./nginx -v
nginx version: nginx/1.26.2
[root@VM-16-11-centos sbin]# ./nginx.old -v
nginx version: nginx/1.28.0

# 告诉 nginx 主进程要切换
[root@VM-16-11-centos sbin]# ps -ef | grep nginx
root     25756     1  0 10:48 ?        00:00:00 nginx: master process sbin/nginx
nobody   25757 25756  0 10:48 ?        00:00:00 nginx: worker process
root     27342 21957  0 10:54 pts/0    00:00:00 grep --color=auto nginx
[root@VM-16-11-centos sbin]# kill -USR2 25756
[root@VM-16-11-centos sbin]# ps -ef | grep nginx
root     25756     1  0 10:48 ?        00:00:00 nginx: master process sbin/nginx
nobody   25757 25756  0 10:48 ?        00:00:00 nginx: worker process
root     27452 25756  0 10:54 ?        00:00:00 nginx: master process sbin/nginx
nobody   27453 27452  0 10:54 ?        00:00:00 nginx: worker process
root     27485 21957  0 10:54 pts/0    00:00:00 grep --color=auto nginx

# 告诉旧 nginx 关闭它的 worker 进程
[root@VM-16-11-centos sbin]# kill -WINCH 25756
[root@VM-16-11-centos sbin]# ps -ef | grep nginx
root     25756     1  0 10:48 ?        00:00:00 nginx: master process sbin/nginx
root     27452 25756  0 10:54 ?        00:00:00 nginx: master process sbin/nginx
nobody   27453 27452  0 10:54 ?        00:00:00 nginx: worker process
root     27875 21957  0 10:56 pts/0    00:00:00 grep --color=auto nginx

# 老的 master 进程依然存在的原因是,为了避免新版本有问题,可以进行回退重新拉起它的 worker 进程
kill -USR2 27452
kill -quit 27452
kill -USR1 25756
6. 使用 Nginx 部署静态资源
- 新建一个目录并创建几个文件
[root@VM-16-11-centos nginx]# cd html/
[root@VM-16-11-centos html]# ls
50x.html  index.html
[root@VM-16-11-centos html]# mkdir test
[root@VM-16-11-centos html]# cd test/
[root@VM-16-11-centos test]# touch 1.html
[root@VM-16-11-centos test]# touch 2.html
[root@VM-16-11-centos test]# touch 3.html
- 修改 nginx 配置文件
    gzip on # 启用压缩
    server {
        listen       80;
        server_name  localhost;

        charset utf-8;		# 避免中文乱码

        #access_log  logs/host.access.log  main;

        location /test {
            alias   html/test;			# root 会携带路径,通常建议使用 alias
            autoindex on;                # 启用目录列表显示
            autoindex_exact_size on;    # 可选:禁用文件大小显示(以字节为单位)
            autoindex_localtime on;      # 可选:显示本地时间
        }

        location / {
            root   html;
            index  index.html index.htm;
        }
    }
- 重启 nginx 服务
sbin/nginx -t
sbin/nginx -s reload
- 打开浏览器验证
访问 http:ip:80/test
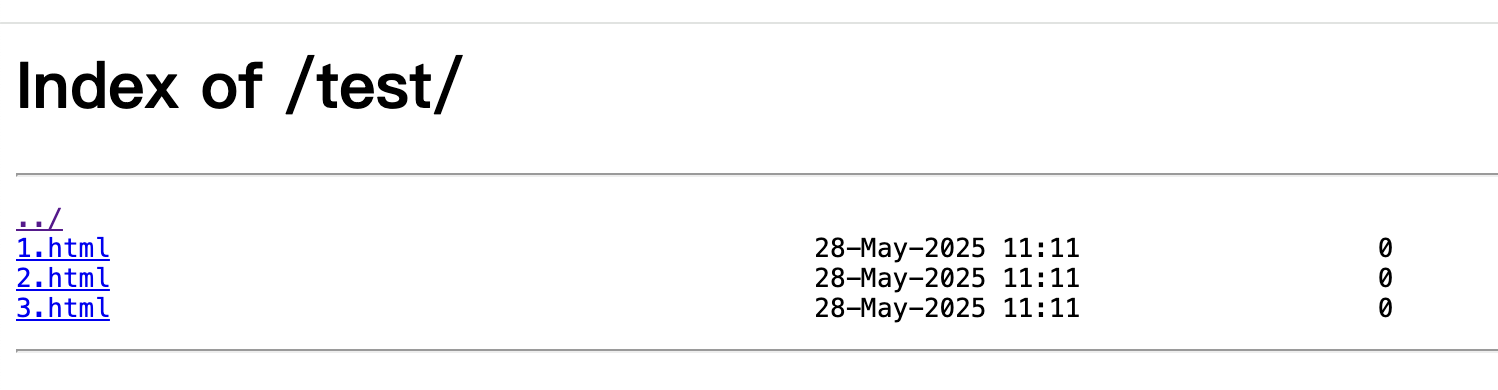
如果你平时经常去一些镜像网站、或者下载一些历史版本应用的话,应该很熟悉这个~
7. 使用 Nginx 作为反向代理服务器
该示例展示了运行于 80 端口的 nginx 作为反向代理将请求转发给真正的 8081 端口的 nginx(当然也可以是多个 nginx 组成的集群)
修改 nginx.conf 配置文件
#user  nobody;
worker_processes  1;

#error_log  logs/error.log;
#error_log  logs/error.log  notice;
#error_log  logs/error.log  info;

#pid        logs/nginx.pid;


events {
    worker_connections  1024;
}

http {
    # 定义负载均衡组,将请求负载均衡到 8081 和 8082 端口
    upstream backend_servers {
        server 127.0.0.1:8081;  # 后端服务1
        # server 127.0.0.1:8082;  # 后端服务2
    }

    server {
        listen 80;  # 监听 80 端口

        server_name 127.0.0.1;

        location / {
            # 请求转发到负载均衡池
            proxy_pass http://backend_servers;

            # 设置头部信息,确保请求信息能传递给后端服务
            proxy_set_header Host $host;
            proxy_set_header X-Real-IP $remote_addr;
            proxy_set_header X-Forwarded-For $proxy_add_x_forwarded_for;
            proxy_set_header X-Forwarded-Proto $scheme;
        }
    }
}
重启 nginx
我这里是又起了一个 nginx 服务,内部配置了路由规则
    server {
        listen       127.0.0.1:8081;
        server_name  localhost;

        charset utf-8;

        #access_log  logs/host.access.log  main;

        location / {
            root   myHtml;
            autoindex on;                # 启用目录列表显示
            autoindex_exact_size on;    # 可选:禁用文件大小显示(以字节为单位)
            autoindex_localtime on;      # 可选:显示本地时间
        }

        #error_page  404              /404.html;

        # redirect server error pages to the static page /50x.html
        #
        error_page   500 502 503 504  /50x.html;
        location = /50x.html {
            root   html;
        }

    }
[root@VM-16-11-centos nginx]# ll myHtml/
total 36
drwxr-xr-x 2 root root  4096 Mar 17 10:43 kafka
drwxr-xr-x 2 root root  4096 Mar 11 15:34 network
drwxr-xr-x 2 root root  4096 Mar 11 14:48 redis
drwxr-xr-x 2 root root  4096 Mar 17 11:51 tomcat
drwxr-xr-x 2 root root 20480 Apr 17 22:20 设计模式
访问 80 端口即可看到 8081 这样的内容,注意 8081 的 listen 还配置了 ip 为 127.0.0.1,这样可以保证只有服务器内部进程才能访问。
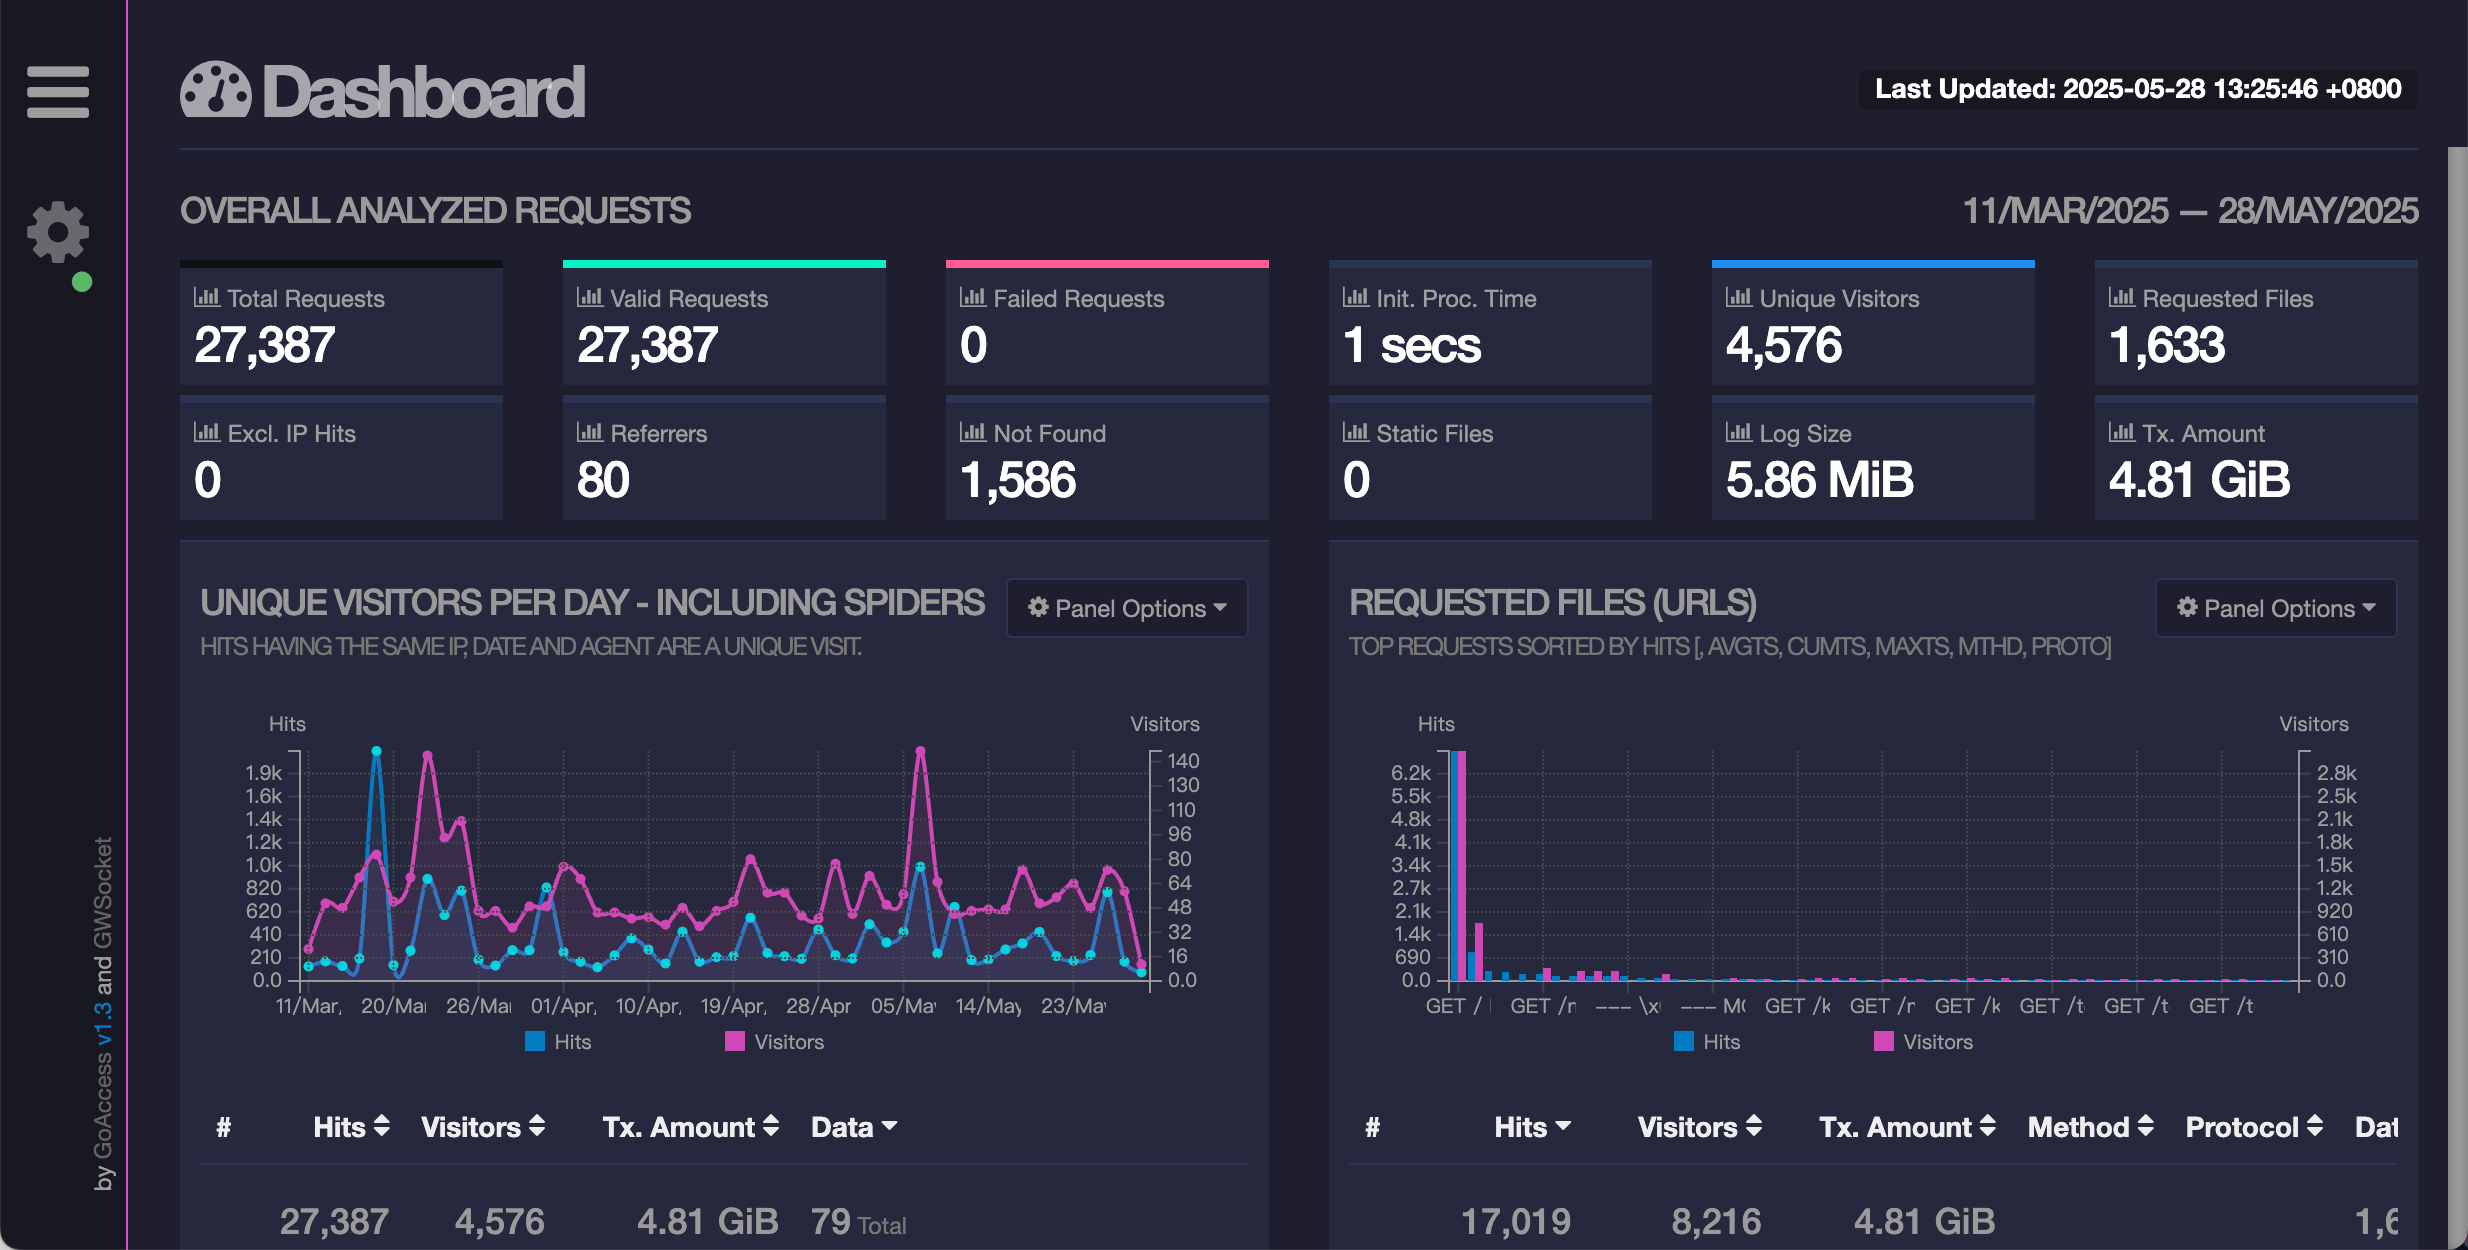
8. 可视化查看 nginx 日志
nginx 的请求日志在 logs/access.log 中,goaccess工具 提供了一种可视化分析的方式,原理是 websocket
以 centos 系统为例:
[root@VM-16-11-centos logs]# yum -y install goaccess
# 可视化分析 --log-format=COMBINED是正常情况下的日志格式化方式,如果修改了日志格式,这里也需要改
goaccess access.log -o ../html/report.html --real-time-html --time-format='%H:%M:%S' --date-format='%d/%b/%Y' --log-format=COMBINED
同时,记得在 nginx.conf 配置到 report.html 的路由
**


 890
890

 被折叠的 条评论
为什么被折叠?
被折叠的 条评论
为什么被折叠?
 到【灌水乐园】发言


