


spring注解开发
声明:本文章属于学习笔记,根据狂神说的Spring编写
Spring官方文档:Spring官方文档
一丶注解开发的基本配置
1丶@Component:
@Component 等价于 < bean id=“user” class=“com.kdy.pojo.User” >
public class User {
    public String name="kdy";
}
但是提前我们需要进行扫描这些包,来获取并使用注解:
<?xml version="1.0" encoding="UTF-8"?>
<beans xmlns="http://www.springframework.org/schema/beans"
       xmlns:xsi="http://www.w3.org/2001/XMLSchema-instance"
       xmlns:context="http://www.springframework.org/schema/context"
       xsi:schemaLocation="http://www.springframework.org/schema/beans
        https://www.springframework.org/schema/beans/spring-beans.xsd
            http://www.springframework.org/schema/context
        https://www.springframework.org/schema/context/spring-context.xsd">
    <!--注解扫描:该包下的注解全部生效-->
    <context:component-scan base-package="com.kdy.pojo" />
    <!--开启注解的支持-->
    <context:annotation-config/>
</beans>
测试类测试:
  @Test
    public void test1(){
        ClassPathXmlApplicationContext context = new ClassPathXmlApplicationContext("beans.xml");
        User user = context.getBean("user", User.class);
        System.out.println("我的名字叫:"+user.name);
    }
运行结果:
2丶 @Value(“kdy”)
@Value(“kdy”) 相当于 < property name=“name” value=“kdy”/>
public class User {
    // @Value("kdy")   相当于 < property name="name" value="kdy"/>
    @Value("kdy")
    public String name;
}
这也就相当于将值注入到name属性中:

依然可输出。
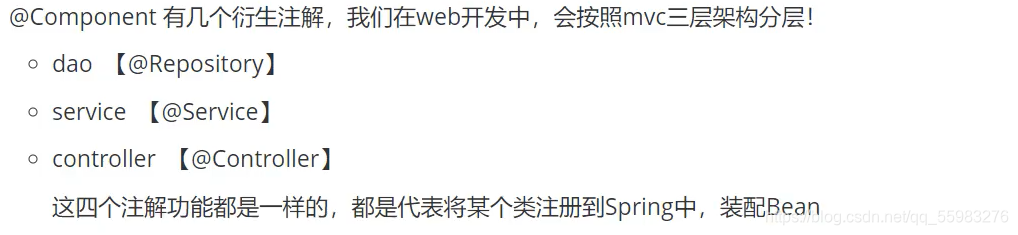
3丶Component注解的衍生
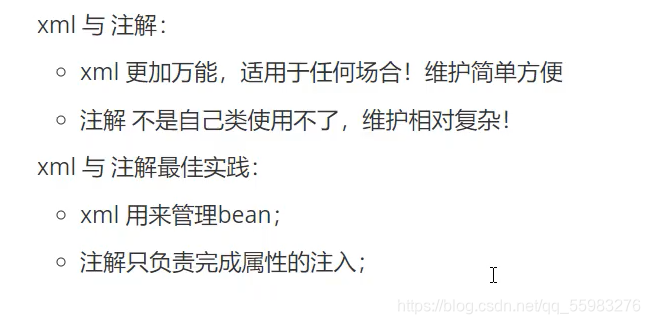
二丶xml与注解的合理搭配使用


 1147
1147

 被折叠的 条评论
为什么被折叠?
被折叠的 条评论
为什么被折叠?
 到【灌水乐园】发言


