


 本文探讨了类模板demo的实现如何从demo.cpp文件移到demo.hpp,并介绍了在实际开发中如何正确引用.hpp文件以确保编译通过。通过实例演示了如何命名和使用.hpp文件,以及主函数接口的正确组织。
现有类模板demo,通过分文件编写:
demo.h
#pragma once

template <typename T>
class demo{
public:
	demo(T t = 0);
	demo operator+(const demo& other);
	T getT();
private:
	T t;
};
在demo.cpp中,既有类的实现呢,也有主函数接口:
#include "demo.h"
#include<iostream>

template<typename T>
demo<T>::demo(T t) {
	this->t = t;
}

template <typename T>
demo<T> demo<T>::operator+(const demo& other) {
	demo temp;
	temp = demo(this->t + other.t);
	return demo(temp);
}

template<typename T>
T demo<T>::getT() {
	return t;
}


int main() {
	demo<int> a(111), b(222);
	demo<int> add = a + b;
	std::cout << add.getT() << std::endl;
	system("pause");
	return 0;
}
运行结果:
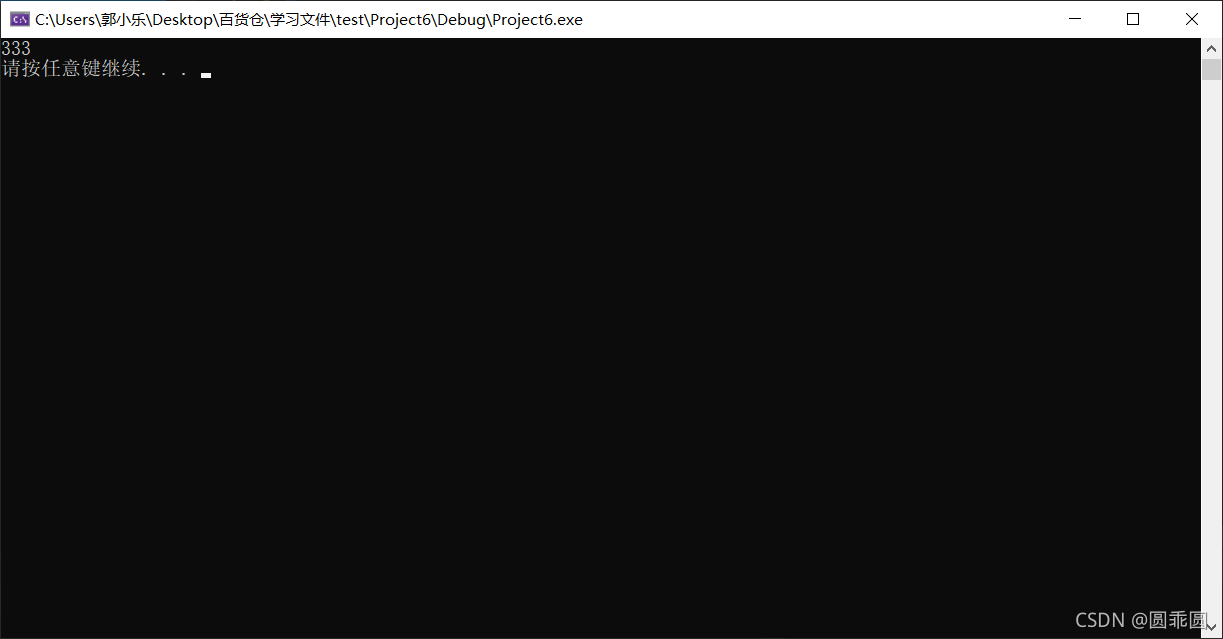 将主函数接口从demo.cpp中分开,写在另一个.cpp文件中 。
按照普通类写法,仅包含类的头文件即可。
#include<iostream>
#include"demo.h"


int main() {
	demo<int> a(111), b(222);
	demo<int> add = a + b;
	std::cout << add.getT() << std::endl;
	system("pause");
	return 0;
}
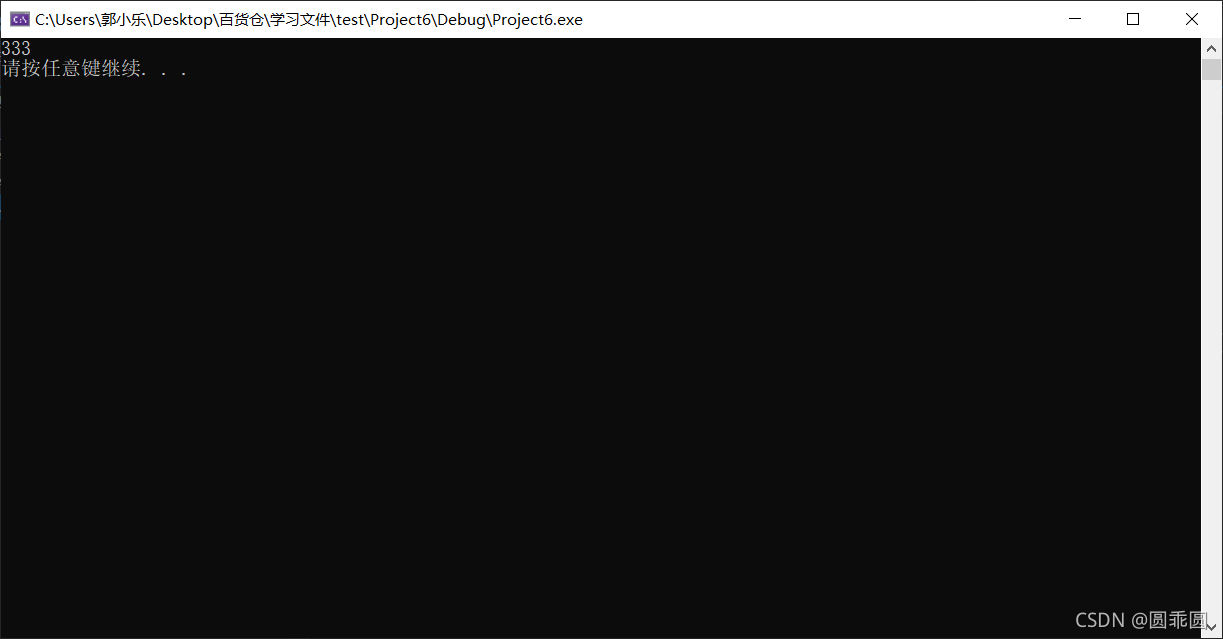
编译结果:
 在此先不做过多探究,主要原因是因为编译器未编译demo.cpp文件 。
解决方法:
将包含demo.h语句改为包含demo.cpp
#include<iostream>
#include"demo.cpp"


int main() {
	demo<int> a(111), b(222);
	demo<int> add = a + b;
	std::cout << add.getT() << std::endl;
	system("pause");
	return 0;
}
运行结果:
因此,在实际开发中,对于类模板实现文件,一般会命名为.hpp文件。
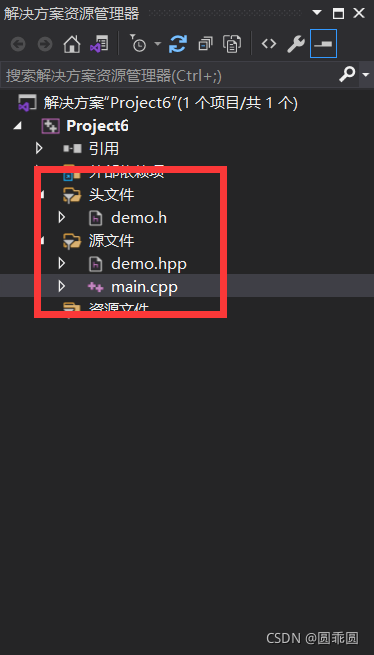
这样遇到.hpp文件便可知道这是一个类模板实现文件 。
main.cpp代码:
#include<iostream>
#include"demo.hpp"


int main() {
	demo<int> a(111), b(222);
	demo<int> add = a + b;
	std::cout << add.getT() << std::endl;
	system("pause");
	return 0;
}
运行结果相同。


 被折叠的 条评论
为什么被折叠?
被折叠的 条评论
为什么被折叠?
 到【灌水乐园】发言


