


后台管理页面已经做的差不多了,那下面应该就是做公共站点,也就是给别人看的网页部分。 对于django的设计框架MVT,用户在URL中请求的是视图,视图接收请求后进行处理,并将处理的结果返回给请求者。
打开上次的personal_blog博客项目,在templates下面创建blog文件夹,然后在blog文件夹下创建主页index.html,博客界面list.html,详情页界面detail.html
一、主页的书写
1.myapp/views.py的书写
from django.shortcuts import render
from .models import Post


def index(request):
    return render(request,'blog/index.html')
2.blog/index.html的书写
<!DOCTYPE html>
<html lang="en">
<head>
    <meta charset="UTF-8">
    <title>主页</title>
</head>
<body>
<a href="/admin" target="_blank">进入管理后台</a>
<a href="/blog/list" target="_blank">进入简陋博客</a>
<hr>
</body>
</html>
3.personal_blog/urls.py的书写
from django.conf.urls import include, url
from django.contrib import admin
from myapp.views import index

urlpatterns = [
    url(r'^admin/', include(admin.site.urls)),
    url(r'^index/', index,name='index'),
    url(r'^$', index,name='index'),
]
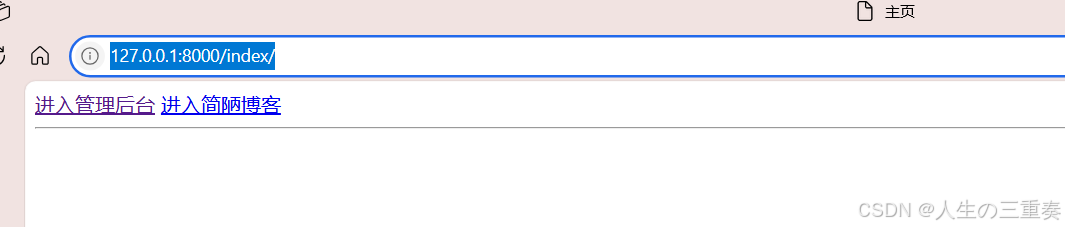
4.运行结果
访问http://127.0.0.1:8000/和http://127.0.0.1:8000/index/

二、博客界面的书写
1.myapp/views.py的书写
def list(request):
    ps = Post.objects.all()
    return render(request,'blog/list.html',context={'ps':ps})
2.blog/list.html的书写
博客样式复制网上的
<!DOCTYPE html>
<html lang="en">
<head>
<meta charset="UTF-8">
<title>博客主页</title>
<style>
#navigator {
background-color: #169fe6;
height: 60px;
clear: both;
position: relative;
border: 1px solid #138cca;
border-left: none;
border-right: none;
}
#navList {
width: 1200px;
margin: 0 auto;
height: 60px;
}
#navList li {
float: left;
height: 60px;
line-height: 60px;
list-style-type: none;
}
#navList a {
padding: 0 20px;
font-size: 25px;
display: block;
color: #fff;
text-decoration: none;
}
#navList a:hover {
color: #169fe6;
background: #fff;
text-shadow: 3px 3px 3px #000;
}
.day {
background: #fff;
padding: 20px;
border: 1px solid #dedede;
margin-bottom: -1px;
}
.dayTitle a {
color: #fff;
}
.postTitle a:hover {
color: #7e8c8d;
}
.c_b_p_desc {
font-size: 14px;
color: #333;
line-height: 200%;
}
.postCon{
padding: 0 100px;
}
.postCon a {
text-decoration: none;
color: #9ab26b;
}
.postDesc {
clear: both;
color: #bcbcbc;
float: none;
text-align: left;
line-height: 200%;
font-size: 12px;
}
.dayTitle {
color: #fff;
background-color: #45bcf9;
padding: 3px 6px;
font-size: 12px;
display: block;
float: left;
margin-right: 10px;
z-index: 10;
}
</style>
</head>
<body>
<div id="navigator">
<ul id="navList">
<li><a class="menu" href="/blog/list">
博客园</a>
</li>
<li><a class="menu" href="/">
首页</a>
</li>
<li><a class="menu" href="{% url 'list' %}">
博客园</a>
</li>
</ul>
{% for p in ps %}
<div class="day">
<div class="dayTitle"><a href="#">{{ p.created_time }}</a>
</div>
<div class="postTitle">
<a class="postTitle2 vertical-middle" href="/blog/detail/{{ p.id }}">
<span>
{{ p.title }}
</span>
</a>
</div>
<div class="postCon">
<div class="c_b_p_desc">
{{ p.content|slice:"100" }}
<a href="/blog/detail/{{ p.id }}" class="c_b_p_desc_readmore">阅读全文</a>
</div>
</div>
<div class="clear"></div>
<div class="postDesc">posted @ {{ p.created_time }}人生三重奏
<a href="#" rel="nofollow">
编辑
</a>
</div>
<div class="clear"></div>
</div>
{% endfor %}
</div>
</body>
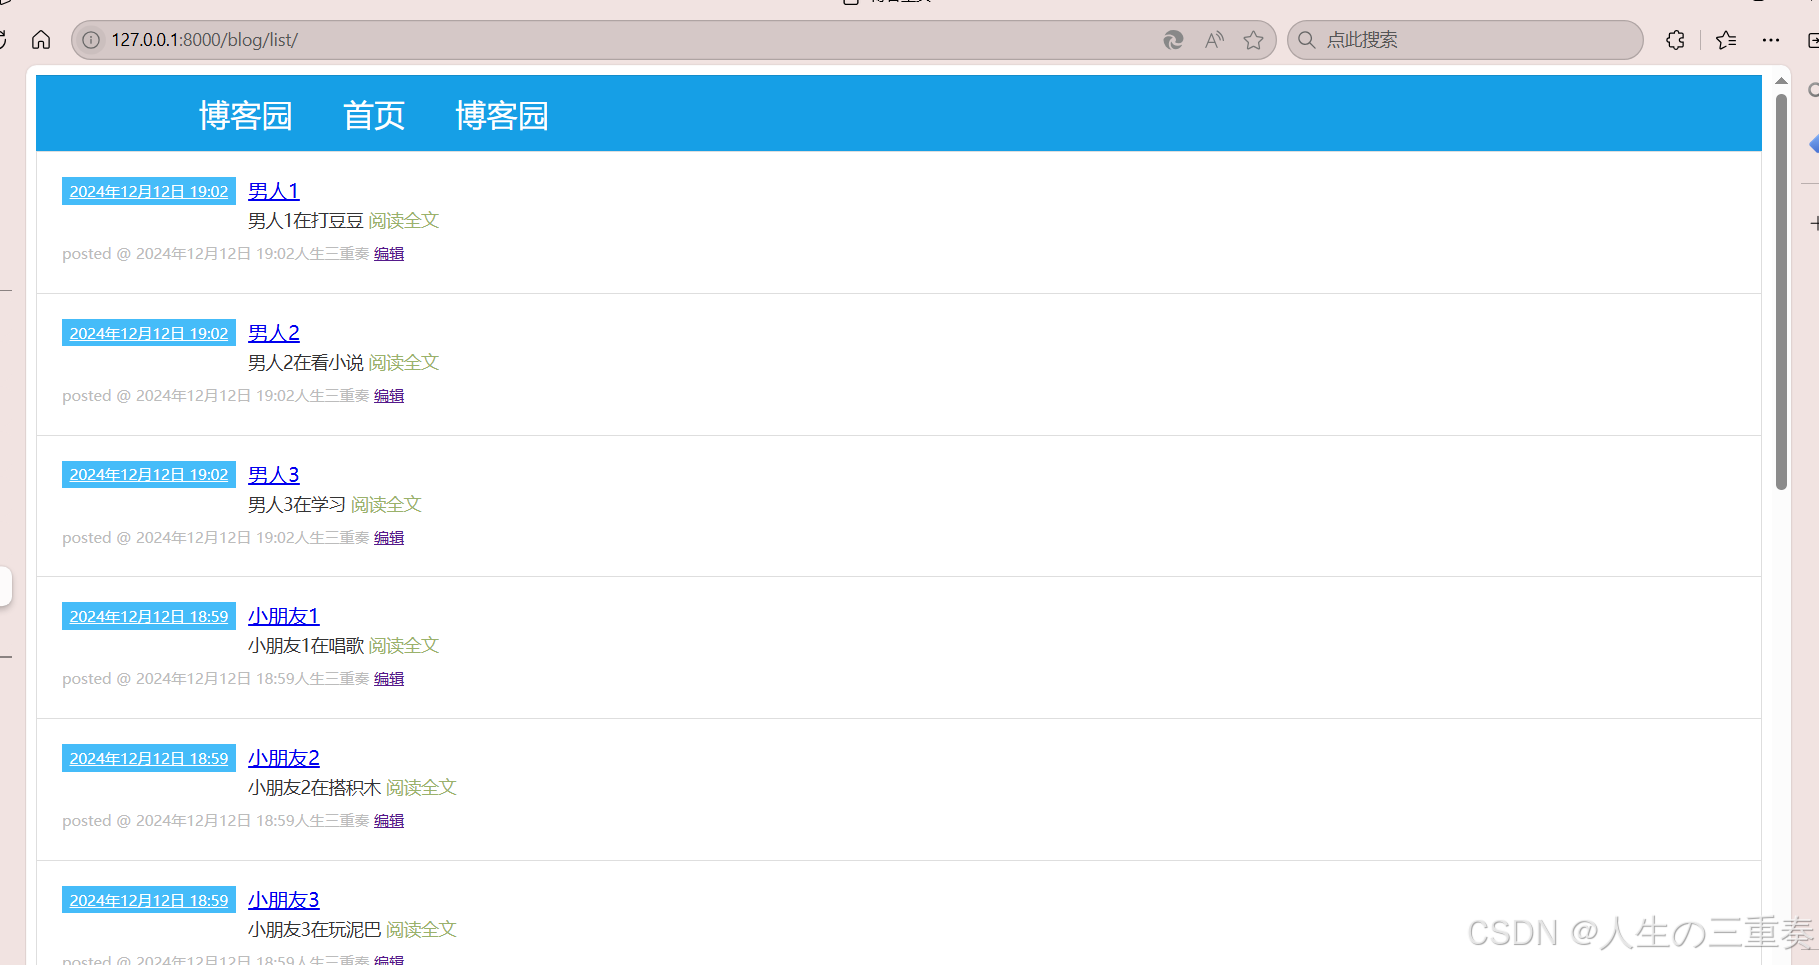
</html>3.personal_blog/urls.py的书写
url(r'^blog/list/', list,name='list'),#播客主页4.运行结果
三、详情页面的书写
1.myapp/views.py的书写
def detail(request,post_id):
    p = Post.objects.get(id=post_id)
    return render(request, 'blog/detail.html', context={"p": p})
2.blog/detail.html的书写
<!DOCTYPE html>
<html lang="en">
<head>
    <meta charset="UTF-8">
    <title>详情页</title>
</head>
<body>
<a href="/blog/list">回到博客主页</a>

<h1>标题:{{ p.title }}</h1>
<hr>
<p>内容:{{ p.content }}</p>
<hr>
<p>所属类别:{{ p.mycategory }}</p>
<hr>
<p>标签:{{ p.mytag}}</p>
</body>
</html>
3.personal_blog/urls.py的书写
from django.conf.urls import include, url
from django.contrib import admin
from myapp.views import index,list,detail

urlpatterns = [
    url(r'^admin/', include(admin.site.urls)),
    url(r'^index/', index,name='index'),
    url(r'^$', index,name='index'),
    url(r'^blog/list/', list,name='list'),#播客主页
    url(r'^blog/detail/(\d+)', detail,name='detail'),#播客详情页,#动态路由  \d+表示1个或者多个数字 ()表示提取
]
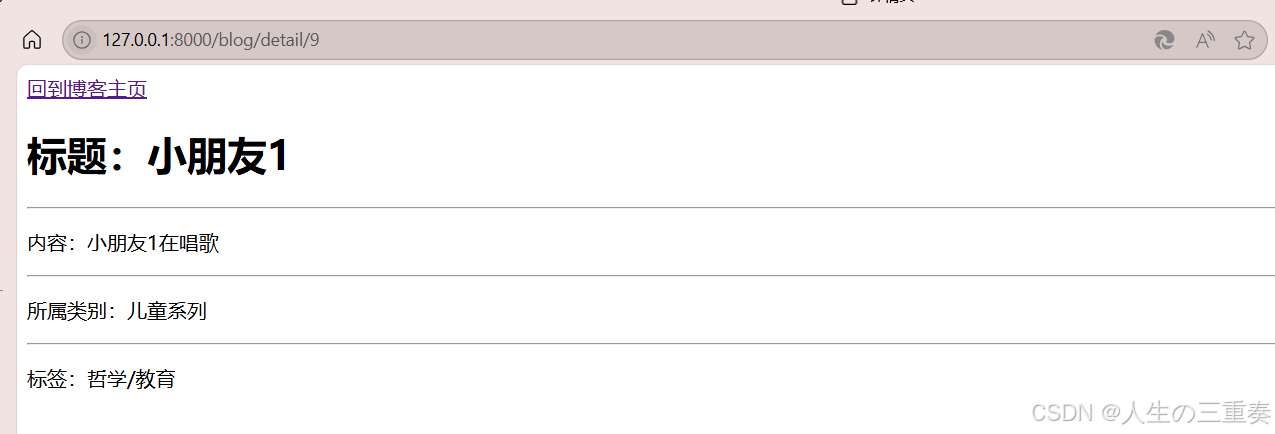
4.运行结果


 2699
2699

 被折叠的 条评论
为什么被折叠?
被折叠的 条评论
为什么被折叠?
 到【灌水乐园】发言


