


 本文详细介绍了如何在Linux系统上搭建LNMP环境,包括卸载并安装MySQL 5.7,配置MySQL,安装Nginx,安装PHP7.2,以及配置Nginx支持PHP,最后通过创建PHP测试页面验证环境的正确性。
1.安装MySQL
(1)卸载mariadb
# rpm -qa | grep mariadb 查看有无安装mariadb

# rpm -e --nodeps mariadb-libs-5.5.56-2.el7.x86_64 卸载mariadb
(2)下载
将压缩包上传到/opt下
#cd /opt 软件包都放在这里方便管理
(3).解压
# tar zxvf mysql-5.7.34-linux-glibc2.12-x86_64.tar.gz

(4).安装和配置
安装依赖包
# yum install ncurses-devel autoconf -y
# groupadd mysql
# useradd -g mysql -s /sbin/nologin -d /usr/local/mysql -MN mysql
# mkdir /data/mysql/data -p
# chown -R mysql:mysql /data/mysql
# mv mysql-5.7.34-linux-glibc2.12-x86_64 /usr/local/
# ln -s /usr/local/mysql-5.7.34-linux-glibc2.12-x86_64 /usr/local/mysql
# chown -R mysql.mysql /usr/local/mysql
# cd /usr/local/mysql
# >/etc/my.cnf
# cp /etc/my.cnf /etc/my.cnf.bak
# vi /etc/my.cnf
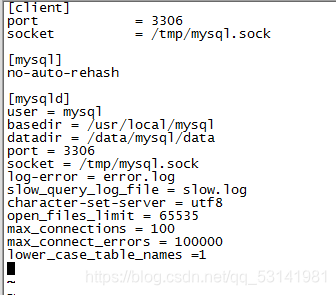
[client]
port = 3306
socket = /tmp/mysql.sock
[mysql]
no-auto-rehash
[mysqld]
user = mysql
basedir = /usr/local/mysql
datadir = /data/mysql/data
port = 3306
socket = /tmp/mysql.sock
log-error = error.log
slow_query_log_file = slow.log
character-set-server = utf8
open_files_limit = 65535
max_connections = 100
max_connect_errors = 100000
lower_case_table_names =1
初始化mysql
# /usr/local/mysql/bin/mysqld --initialize
# grep 'temporary password' /data/mysql/data/error.log 查看MySQL密码

(5).复制启动脚本文件
cp support-files/mysql.server /etc/init.d/mysql
(6)添加环境变量
echo "export PATH=/usr/local/mysql/bin:$PATH">>/etc/profile
source /etc/profile
(7)启动mysql
service mysql start

(8)查看mysql进程
ps -ef |grep mysql

(9)登录mysql
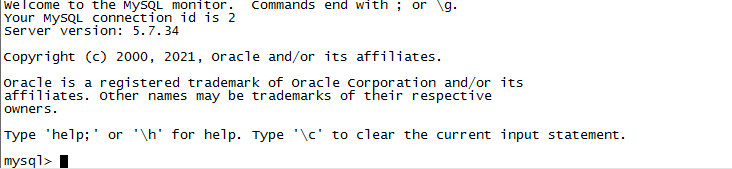
mysql -uroot -p
![]()
输入密码(密码是root@localhost后面的)
(10)修改mysql密码
mysql> alter user user() identified by 'test';
Query OK, 0 rows affected (0.00 sec)
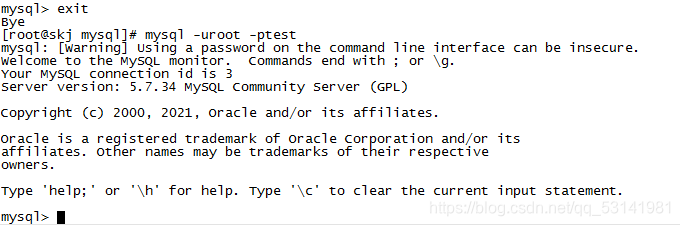
(11)登录mysql
mysql -uroot -ptest
注:exit退出MySQL
2.安装Nginx
(1)# cd /etc/yum.repos.d
#vi nginx.repo
[nginx]
name=nginx repo
baseurl=http://nginx.org/packages/centos/7/$basearch/
gpgcheck=0
enabled=1

(2)执行yum安装
[root@nginx ~]# yum install nginx -y
[root@nginx ~]# systemctl start nginx
[root@nginx ~]# systemctl enable nginx

3.安装PHP
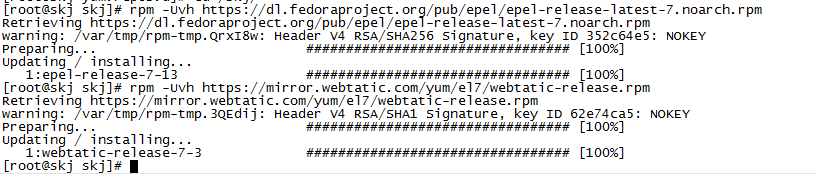
(1)使用第三方扩展epel源安装php7.2
rpm -Uvh https://dl.fedoraproject.org/pub/epel/epel-release-latest-7.noarch.rpm
rpm -Uvh https://mirror.webtatic.com/yum/el7/webtatic-release.rpm
(2)清除版本
yum -y remove php*
(3)安装php
yum -y install php72w php72w-cli php72w-fpm php72w-common php72w-devel php72w-embedded php72w-gd php72w-mbstring php72w-mysqlnd php72w-opcache php72w-pdo php72w-xml php72w-redis(耐心等待,可能会加载的慢一些)
(4)启动php-fpm服务
systemctl enable php-fpm.service
systemctl start php-fpm.service
(5)启动php-fpm
service php-fpm start

4.配置nginx支持PHP
(1) # cd /etc/nginx/conf.d
#vi default.conf
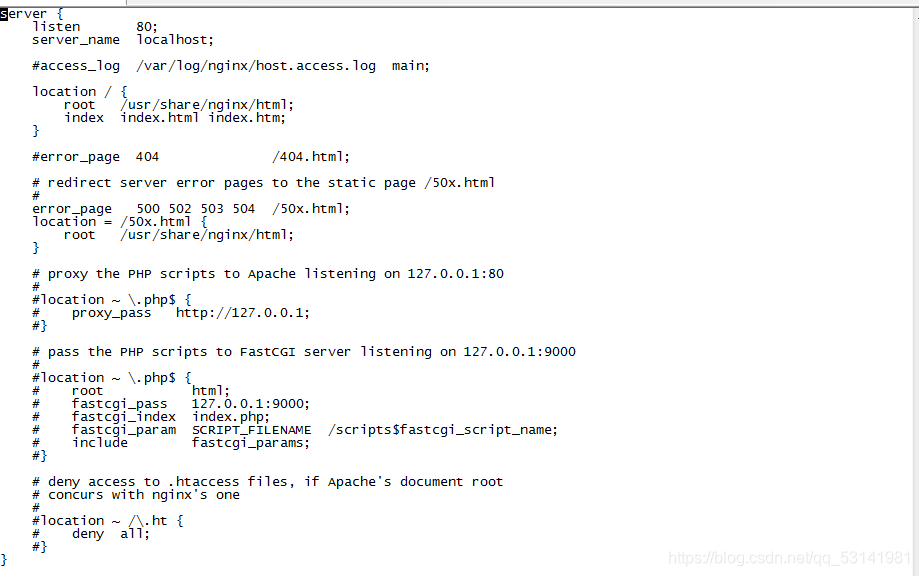
红字是修改添加的内容
server {
listen 80;
server_name localhost;
#access_log /var/log/nginx/host.access.log main;
location / {
root /soft/code;
index index.php index.html index.htm;
location ~ \.php$ {
fastcgi_pass 127.0.0.1:9000;
fastcgi_index index.php;
fastcgi_param SCRIPT_FILENAME /soft/code$fastcgi_script_name;
include fastcgi_params;
}
}
#error_page 404 /404.html;
# redirect server error pages to the static page /50x.html
#
error_page 500 502 503 504 /50x.html;
location = /50x.html {
root /usr/share/nginx/html;
}
# proxy the PHP scripts to Apache listening on 127.0.0.1:80
#
#location ~ \.php$ {
# proxy_pass http://127.0.0.1;
#}
# pass the PHP scripts to FastCGI server listening on 127.0.0.1:9000
#
#location ~ \.php$ {
# root html;
# fastcgi_pass 127.0.0.1:9000;
# fastcgi_index index.php;
# fastcgi_param SCRIPT_FILENAME /scripts$fastcgi_script_name;
# include fastcgi_params;
#}
# deny access to .htaccess files, if Apache's document root
# concurs with nginx's one
#
#location ~ /\.ht {
# deny all;
#}
}
(2) 重启nginx
nginx -t
nginx -s reload

(3) 新建目录
mkdir -p /soft/code
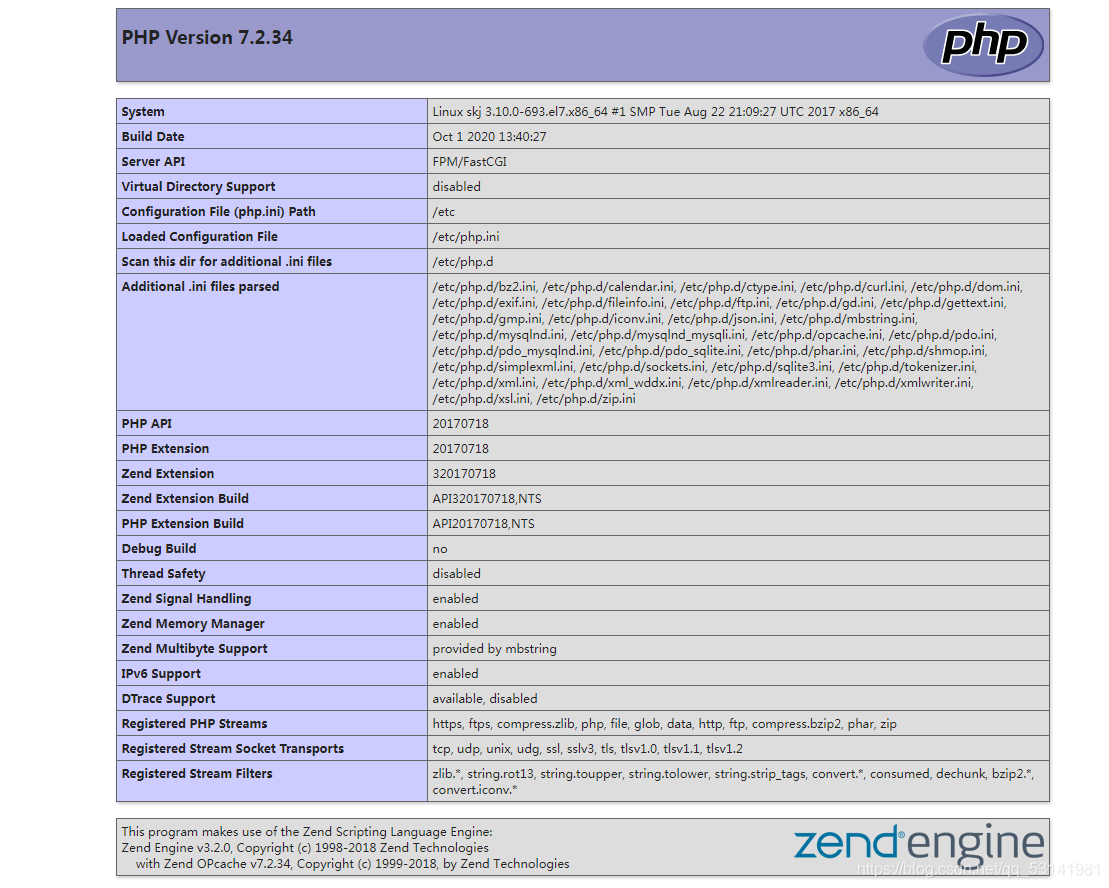
vi /soft/code/info.php
<?php
phpinfo();
?>
(4)浏览网页
http://192.168.60.10/info.php (IP地址是自己设置的地址)


 980
980

 被折叠的 条评论
为什么被折叠?
被折叠的 条评论
为什么被折叠?
 到【灌水乐园】发言


