


React+electron 打包(只用于Linux系统(arm64 mips64el) (本项目使用的是yarn下载的依赖)
注意 node环境是18,然后打包可能会有版本冲突的问题
1.首先要保证程序可以在本地运行
先运行 npm start
再运行 yarn electron .
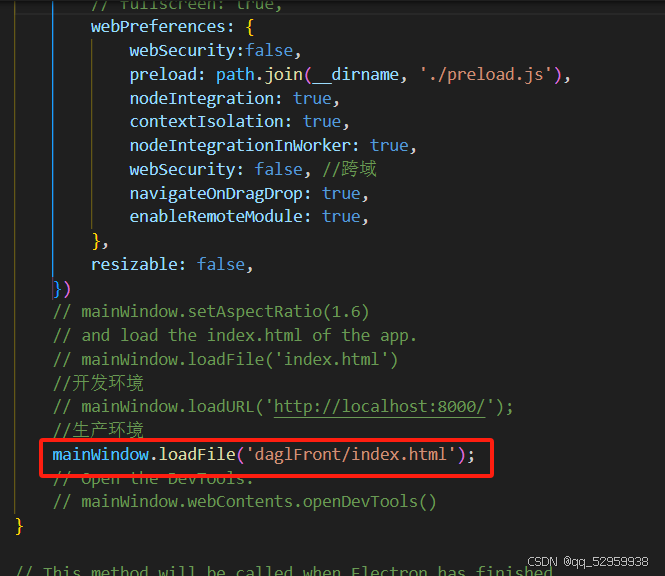
2.更改main.js的地址
之前是项目运行的端口地址,改成打包文件的index.html的地址。我打包文件叫daglFront,这里就是
mainWindow.loadFile('daglFront/index.html');
3.然后打项目生产环境的包
(这一步就是正常打包)
npm run build:prod
4.然后按照你所需要的运行以下命令(这里开始才是要开始打electron的包了)
要什么包就运行什么
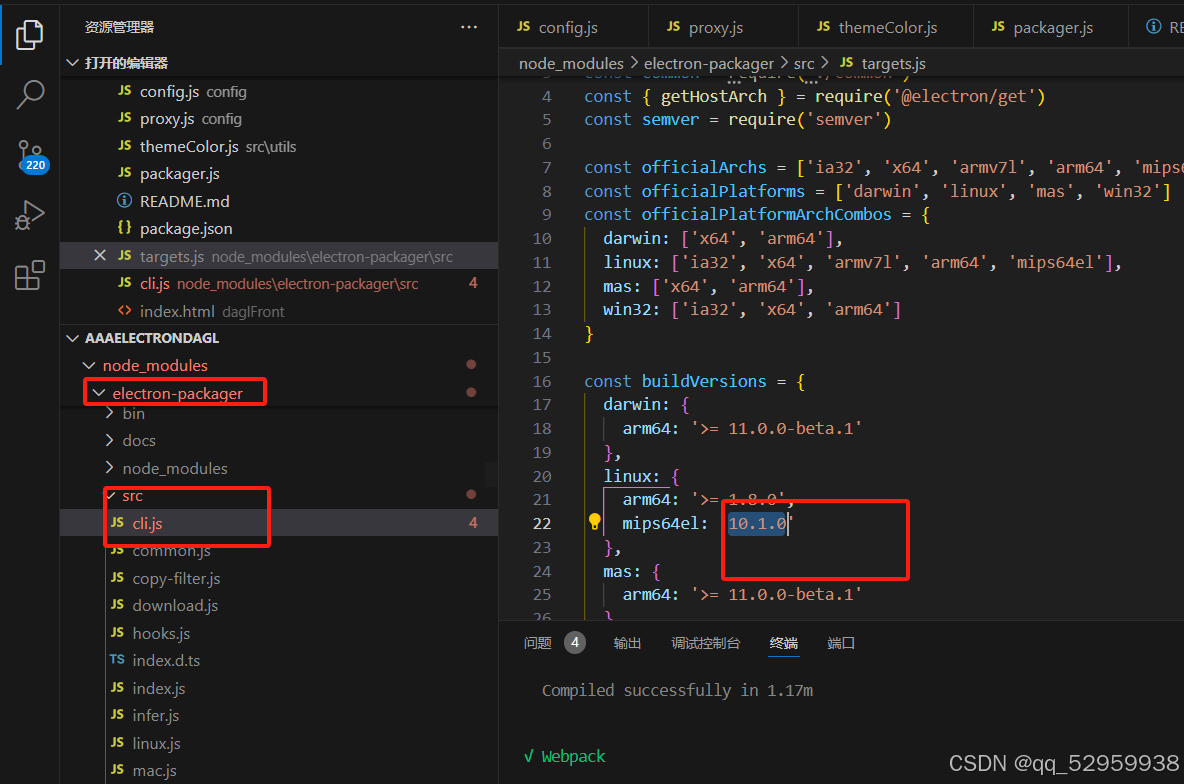
yarn packager:mips64el
yarn packager:arm64

5.其中的packager文件私信我,我私发给你
6.然后打包好的对应包在项目下的packagerBuild文件中

8。然后就要去Linux的电脑上了,要去安装electron-installer-debian
8.把文件移动到Linux电脑上,然后先点击该文件,看看能不能运行成功(文件名是你之前写的打包的名字),能打开,不白屏就是成功了。

8.然后就是把整个包变为安装包。(变成我们平时网上下载的那种)
首先在Linux装electron-installer-debian,(全局安装,然后)
创建如图文件夹。
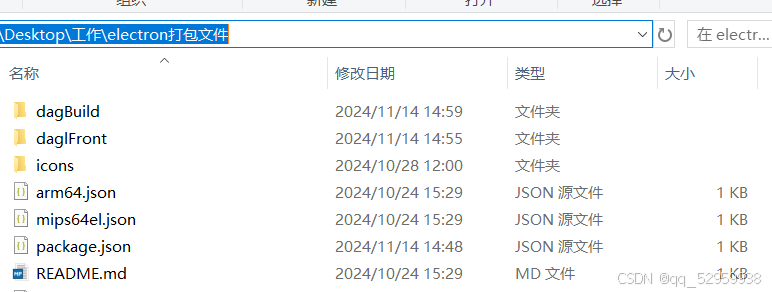
1.dagBuild(该文件存放的是打包后的deb文件)
2.daglFront(这放(打什么包就放哪一个)我们之前的文件(dagl-linux-mips64el) (tdagl-linux-arm64)
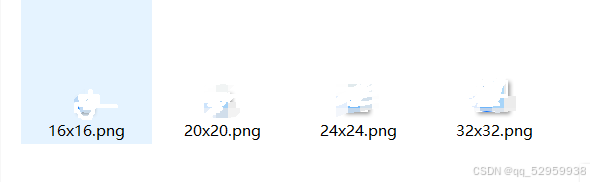
3.icon放图标,具体图标尺寸在arm64.json代码中。
4.arm64.json(准备如代码所示的图片,)
{
	"src":"dagInstaller/tellhow_dagl-linux-arm64/",
	"dest":"dagBuild/",
	"arch":"arm64",
	"productName":"档案柜",
	"genericName":"档案柜",
	"icon":{
		"16x16":"icons/16x16.png",
		"20x20":"icons/20x20.png",
		"24x24":"icons/24x24.png",
		"32x32":"icons/32x32.png",
		"40x40":"icons/40x40.png",
		"48x48":"icons/48x48.png",
		"64x64":"icons/64x64.png",
		"256x256":"icons/256x256.png",
		"512x512":"icons/512x512.png"
	}
}

```javascript
5.mips64el.json
{
	"src":"dagInstaller/tellhow_dagl-linux-mips64el/",
	"dest":"dagBuild/",
	"arch":"mips64el",
	"productName":"档案柜",
	"genericName":"档案柜",
	"icon":{
		"16x16":"icons/16x16.png",
		"20x20":"icons/20x20.png",
		"24x24":"icons/24x24.png",
		"32x32":"icons/32x32.png",
		"40x40":"icons/40x40.png",
		"48x48":"icons/48x48.png",
		"64x64":"icons/64x64.png",
		"256x256":"icons/256x256.png",
		"512x512":"icons/512x512.png"
	}
}
6.package.js
{
    "name": "dag-kylin-build",
    "productName": "dag-kylin-build",
    "version": "0.1.0",
    "author": "tellhowIt",
    "license": "license",
    "scripts": {
        "deb:mips64el":"electron-installer-debian --config mips64el.json",
        "deb:arm64":"electron-installer-debian --config arm64.json"
    },
    "dependencies": {
        "electron-installer-debian":"^3.1.0"
    },
    "devDependencies": {

    }
  }


 被折叠的 条评论
为什么被折叠?
被折叠的 条评论
为什么被折叠?
 到【灌水乐园】发言


