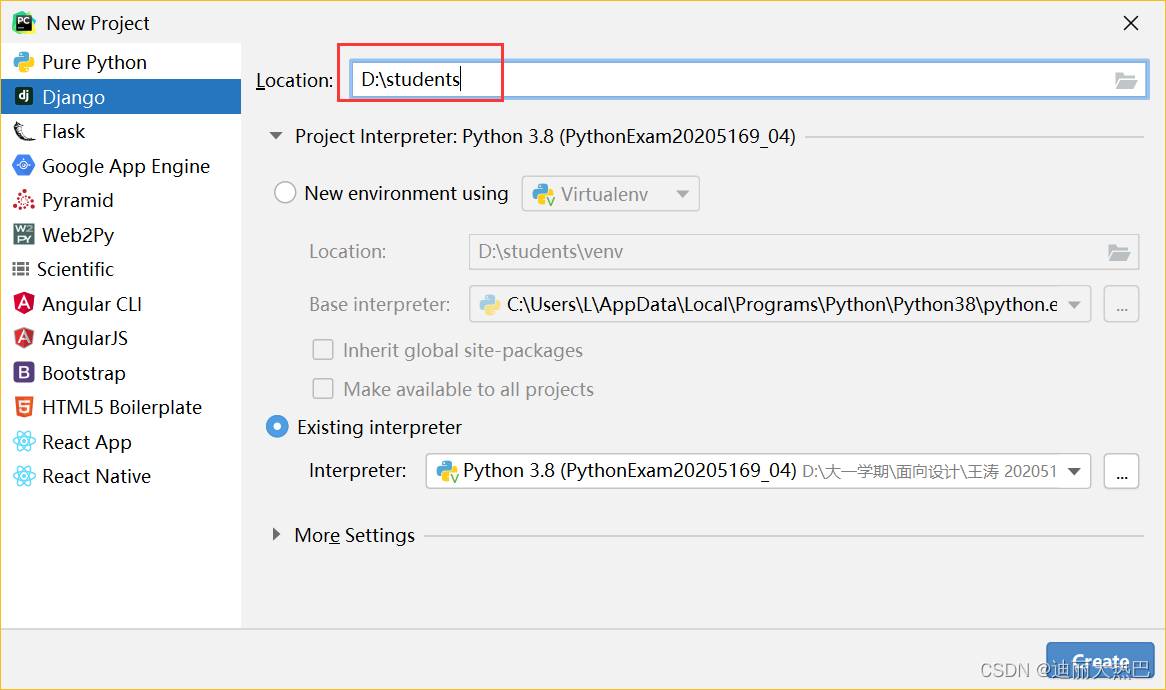
一,准备Django项目-students
- 设置Django项目的位置与名称
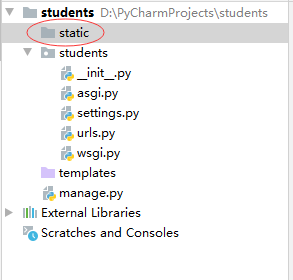
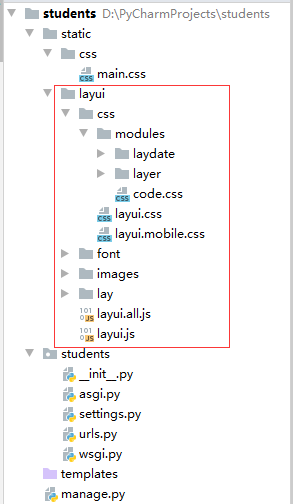
二,准备静态资源
1,创建静态目录
- 在students里创建static目录
2,创建样式文件
- 在static里创建css目录,然后在css里创建main.css样式文件
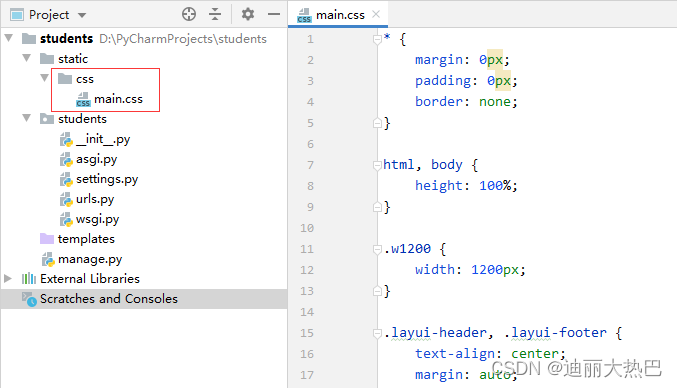
* {
    margin: 0px;
    padding: 0px;
    border: none;
}

html, body {
    height: 100%;
}

.w1200 {
    width: 1200px;
}

.layui-header, .layui-footer {
    text-align: center;
    margin: auto;
}

.layui-header {
    padding: 40px 0px;
    line-height: 1.5em;
    position: fixed;
    background-image: linear-gradient(to bottom, olive, deepskyblue, cornflowerblue, mediumorchid);
}

.layui-footer {
    padding: 30px 0px;
    position: relative;
    background-image: linear-gradient(to bottom, mediumorchid, cornflowerblue, deepskyblue, olive);
}

.layui-footer a {
    margin: 0px 20px;
}

.layui-footer a:hover {
    color: red;
}

.layui-footer p {
    margin: 15px 0px;
}

.bold {
    font-weight: bold;
}

.middle {
    display: flex;
    flex-direction: row;
    margin: 5px 0px;
    min-height: 500px;
}

.left-menu {
    flex: 1;
    background: azure;
    padding: 20px;
}

.right-content {
    flex: 5;
    margin-left: 5px;
    background: azure;
    padding: 20px;
}

.test-info h4 {
    font-size: 20px;
    font-weight: bolder;
}

.test-info p {
    font-size: 15px;
    line-height: 2em;
    text-indent: 2em;
}

form {
    margin: auto;
}

form table {
    width: 400px;
    margin: auto;
    border: 1px solid black;
    padding: 50px 20px !important;
}

form table th {
    width: 100px;
    text-align: right;
}

form table td {
    width: 250px;
    padding: 0px 10px;
}

tr {
    line-height: 4em;
}

table tr:last-child {
    text-align: center;
}

table caption {
    font-weight: bolder;
    padding: 10px 0px;
    font-size: 1.5em;
}

.stuinfo {
    width: 90% !important;
    margin: auto;
    text-align: center;
}

.stuinfo table {
    margin: auto !important;
    width: 90% !important;
}

.stuinfo table td {
    width: 25%;
}

.stuinfo table tr {
    border-bottom: 1px solid black;
}

.stuinfo thead {
    background: black;
}

.stuinfo thead th {
    color: white;
    border-right: 1px solid white;
}

.stuinfo table tr:nth-child(even) {
    background: #2D93CA;
}

.stuinfo table tr:hover td {
    background: #00FFFF;
}
3,添加layui框架
- 在static里添加layui框架
- 下载链接:https://pan.baidu.com/s/1gXt5Qd5U5GJUUSk2dzYNtA 提取码:cgn6
此链接由我的专业老师提供的
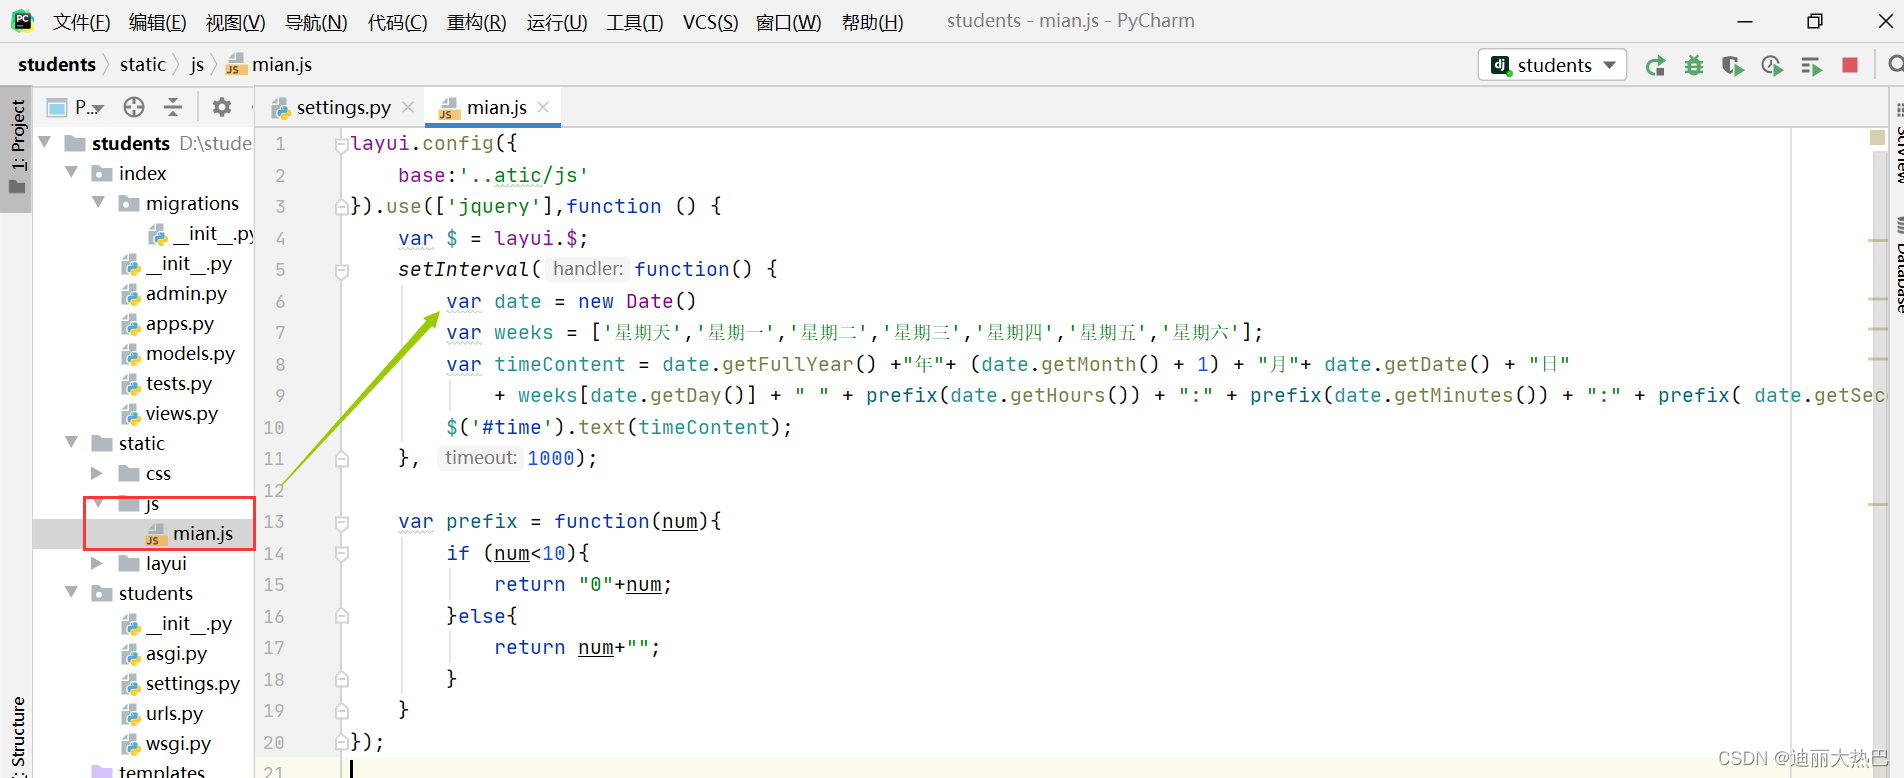
4,创建脚本文件
- 在static里创建js目录,然后在js里创建main.js文件
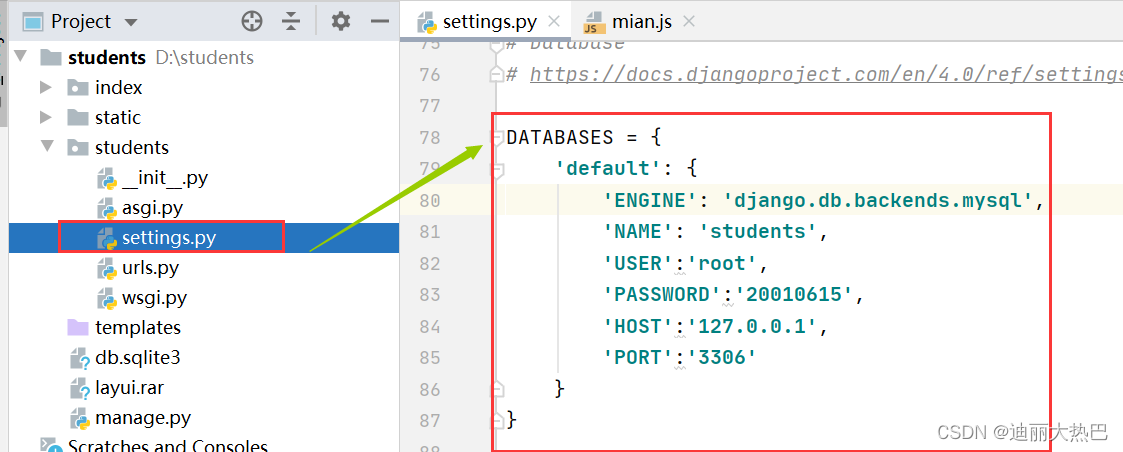
三,完成基本配置
1、配置数据库信息
- 在配置文件settings.py里配置数据库信息(注意密码要换成自己数据库的密码)
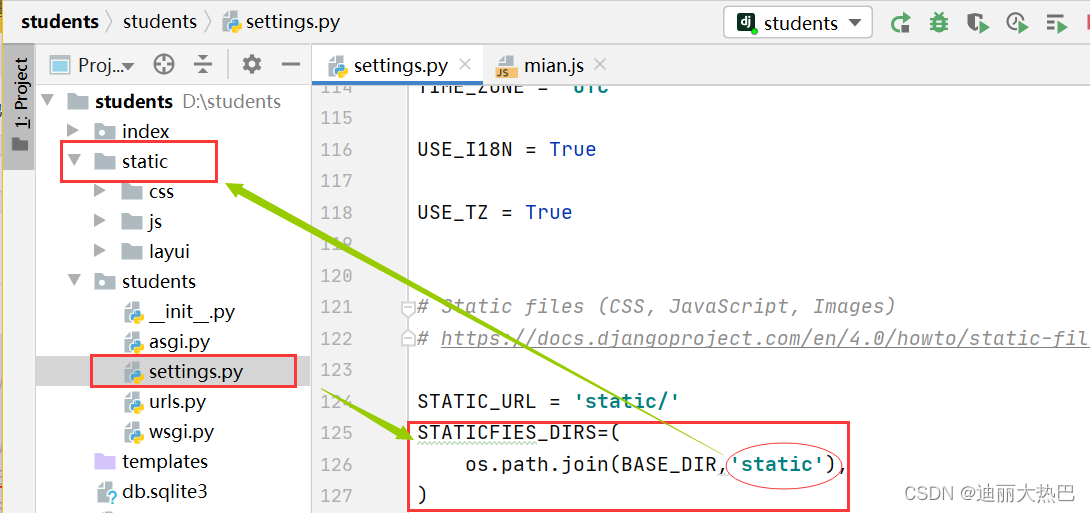
2、配置静态文件目录
- 在配置文件settings.py里配置静态文件目录
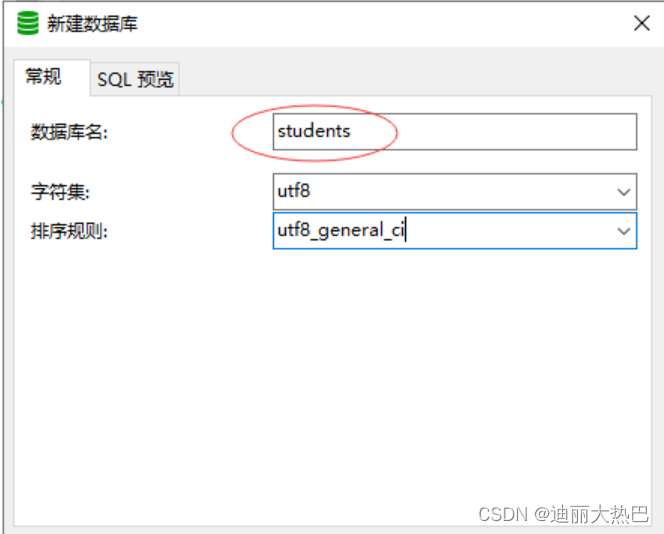
3、进行数据迁移
(1)创建数据库 - students
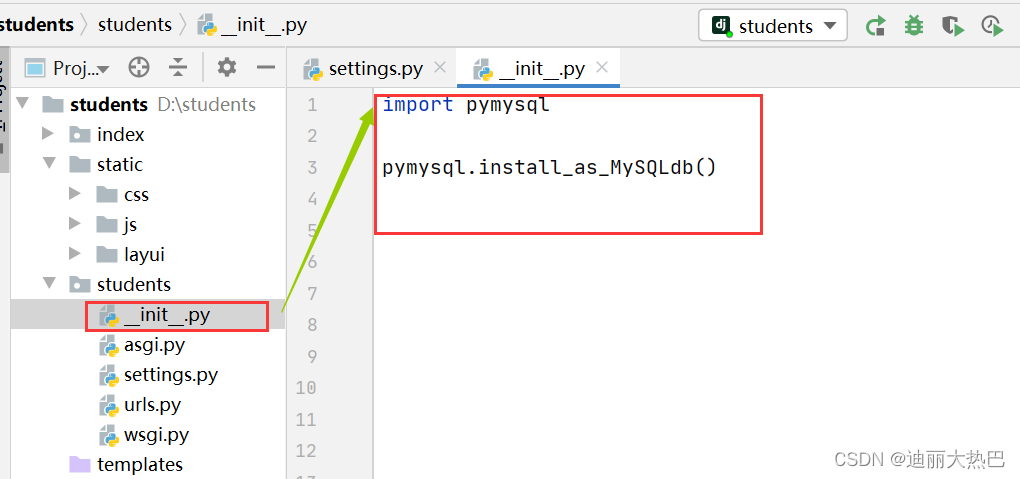
(2)设置数据库连接模块
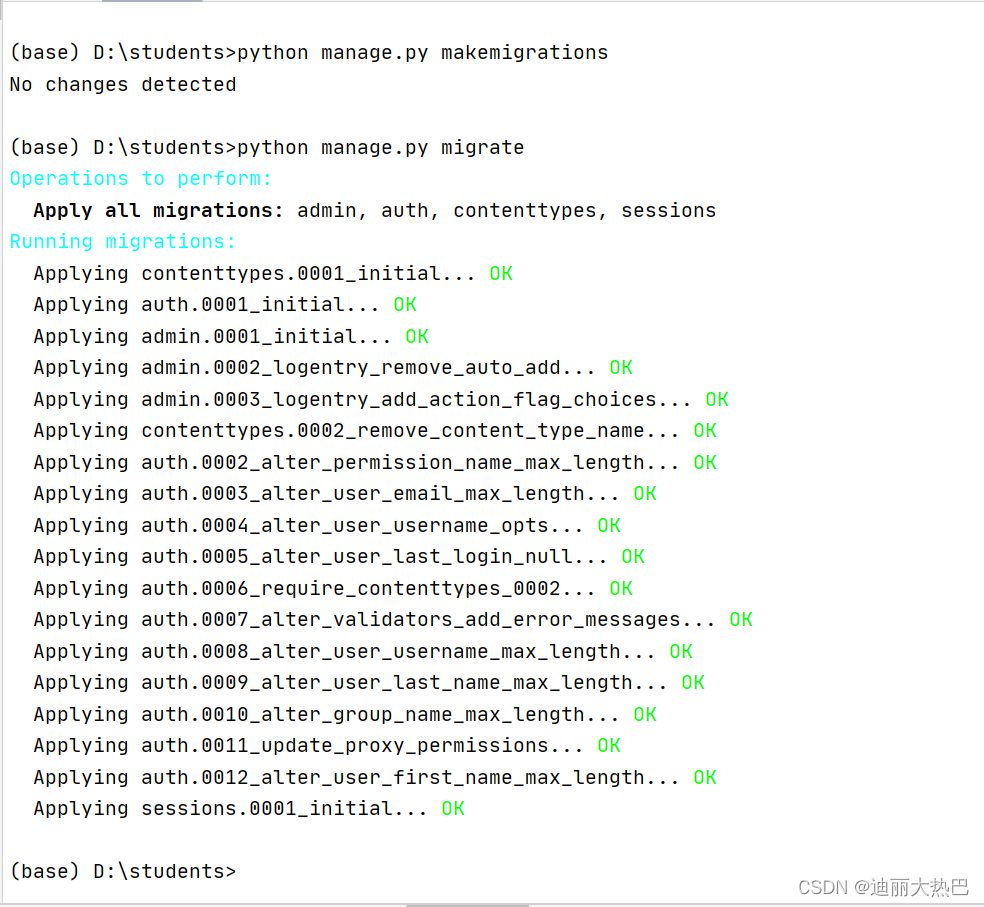
(3)执行数据迁移命令
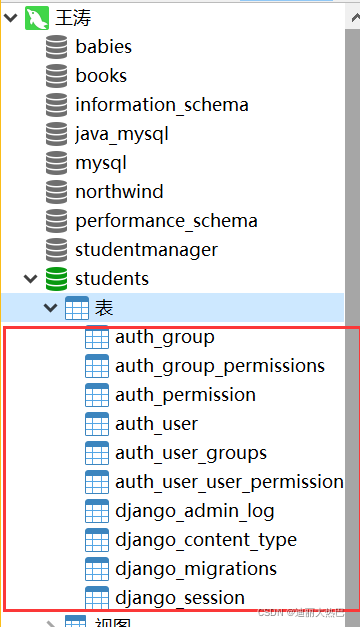
- 查看生成的数据表
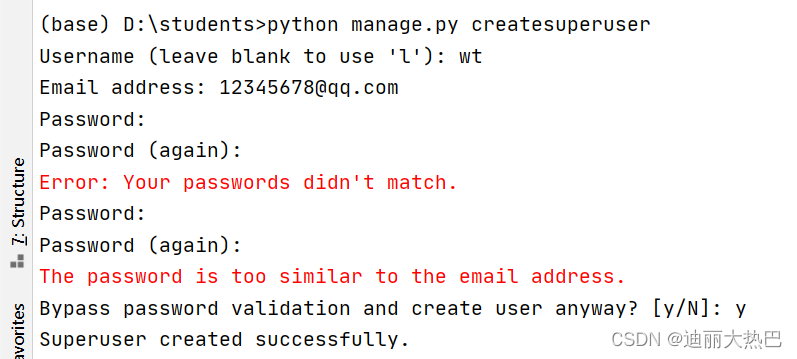
(4)添加超级管理员
- python manage.py createsuperuser
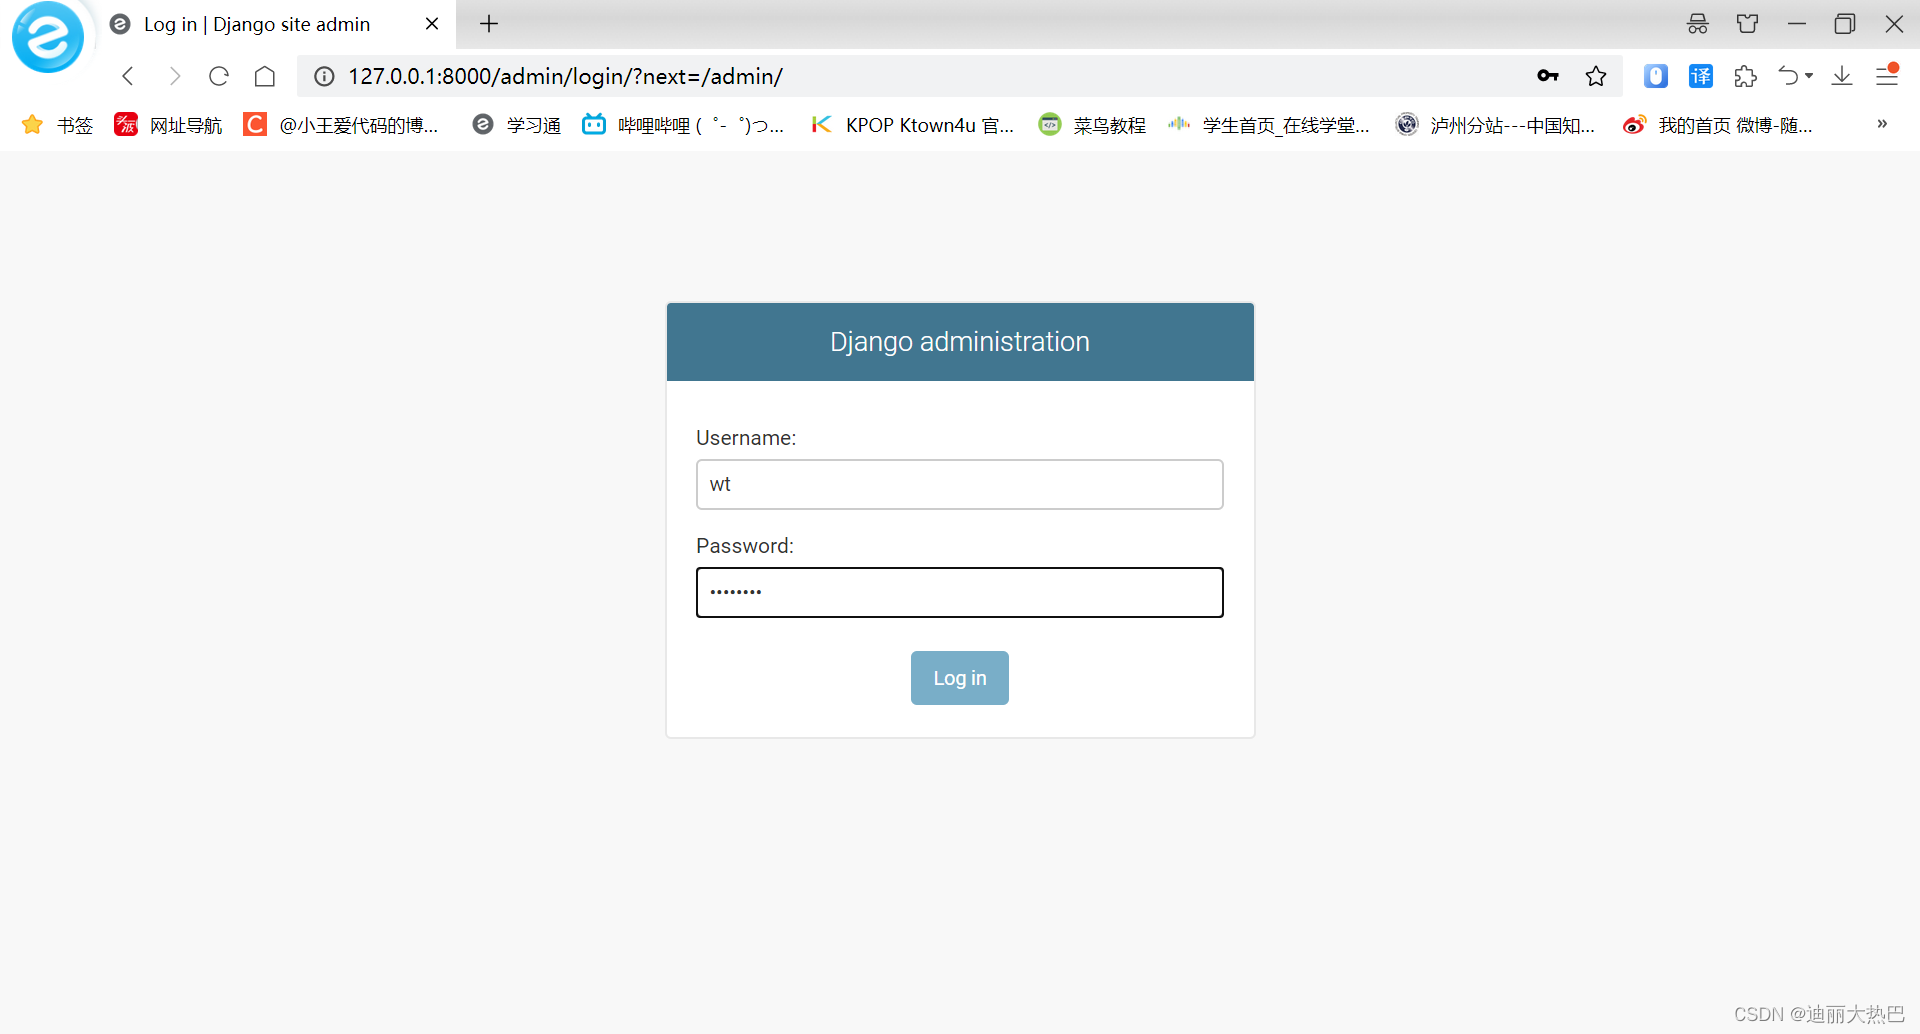
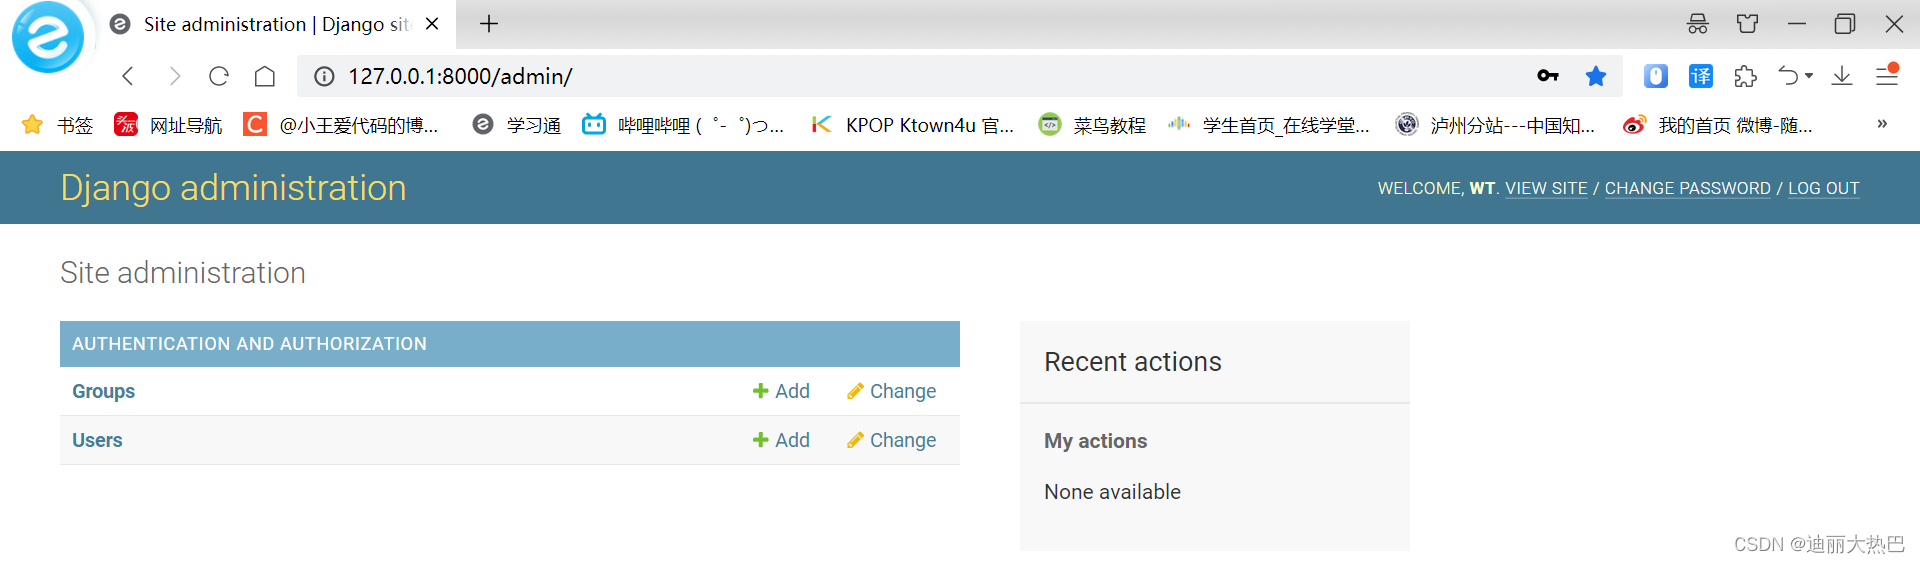
- 启动服务器查看
- http://127.0.0.1:8000/admin/
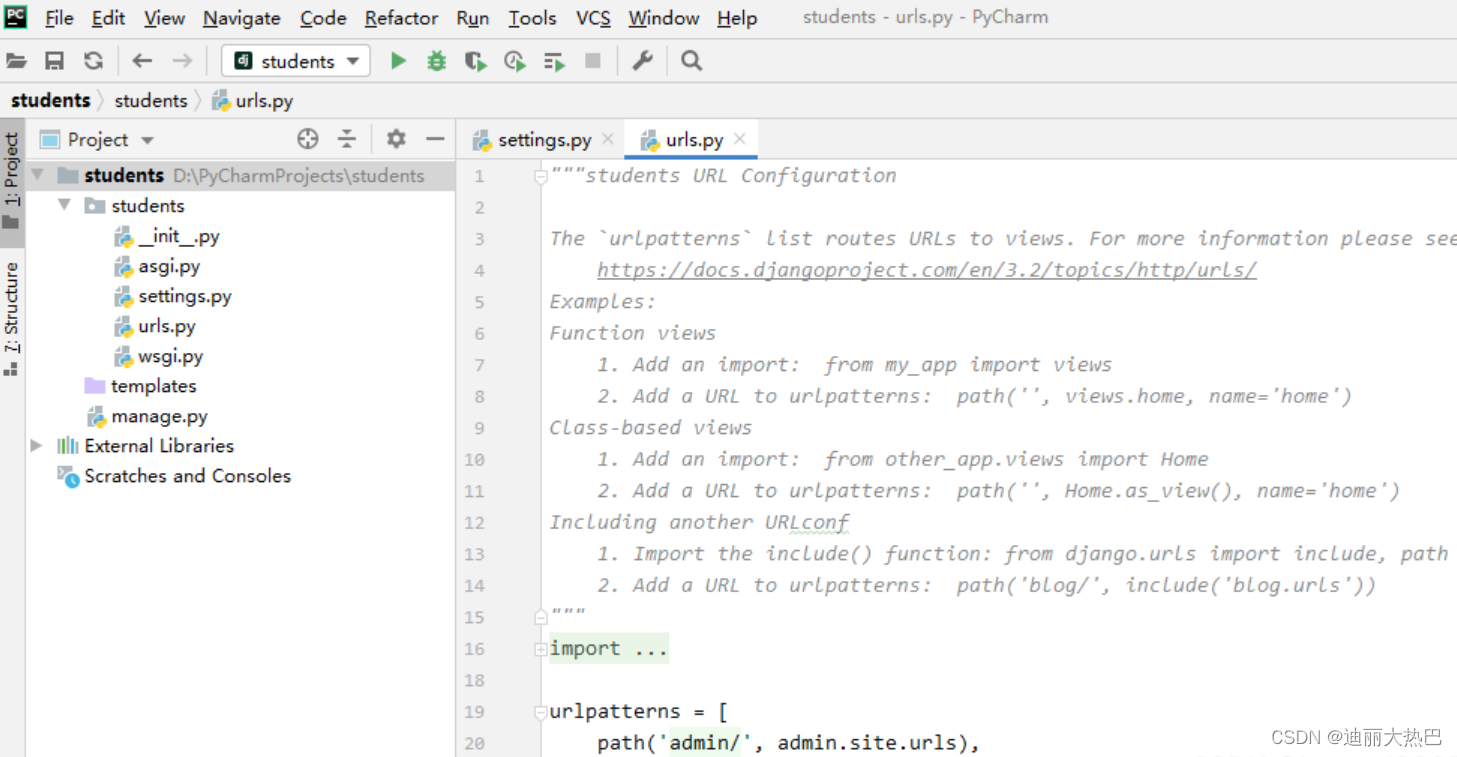
4,路由配置
(1)路由要求
- 主页面:路由地址为空,对应视图函数indexView,名称indexview
-添加学生: 路由地址addstudent/,对应视图addStudentView,名称addstudent
- 显示学生:路由地址showstudent/,对应视图showStudentView,名称showstudent
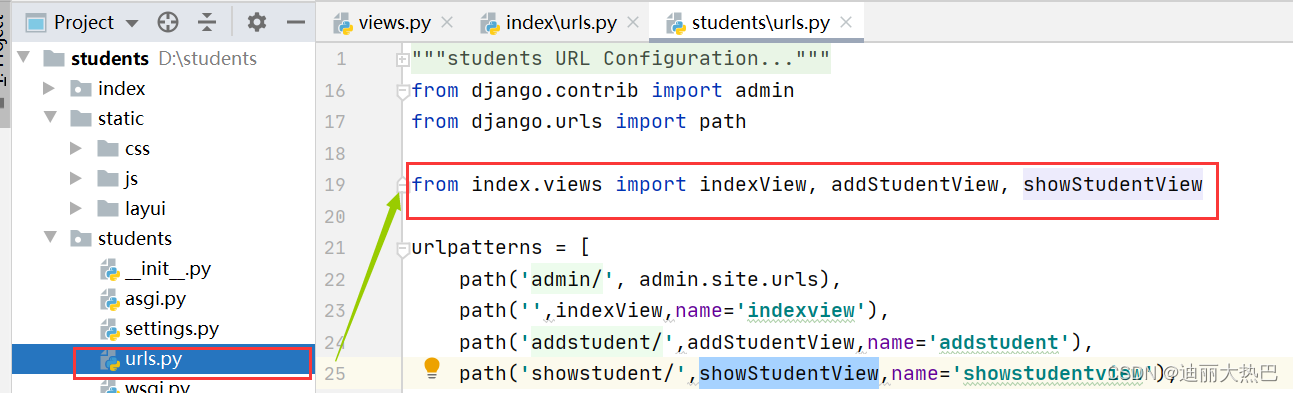
(2)完成路由配置
- 配置主路由-student里的urls.py
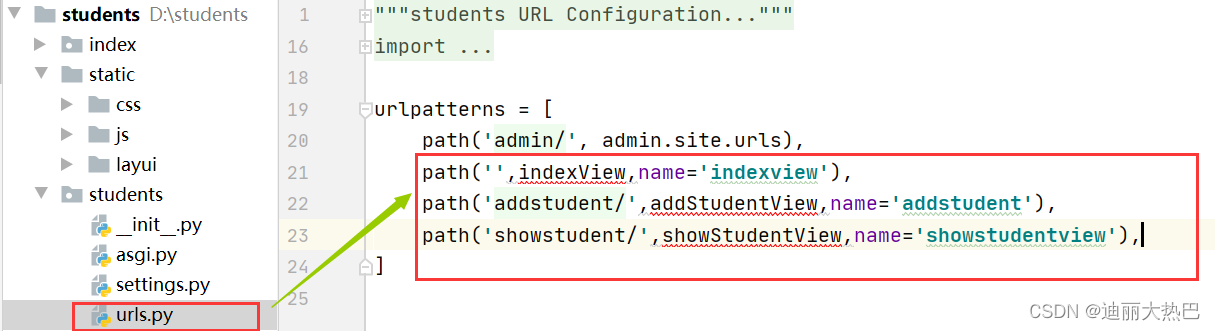
图片显示红色波浪线的原因是还没有创建对应的视图函数·四,创建应用-index
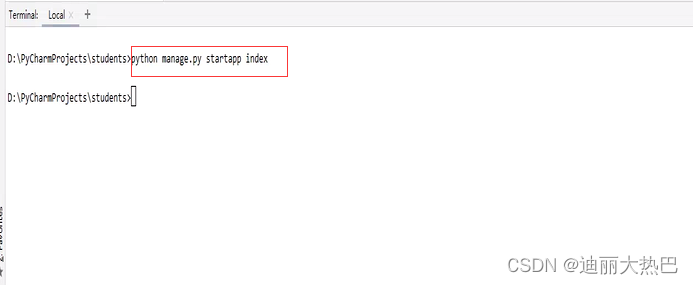
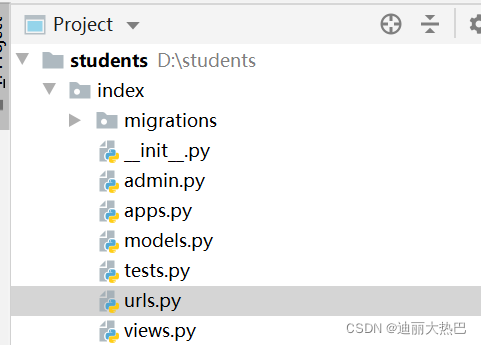
1,创建index应用
- 在控制台执行:
python manage.py startapp index
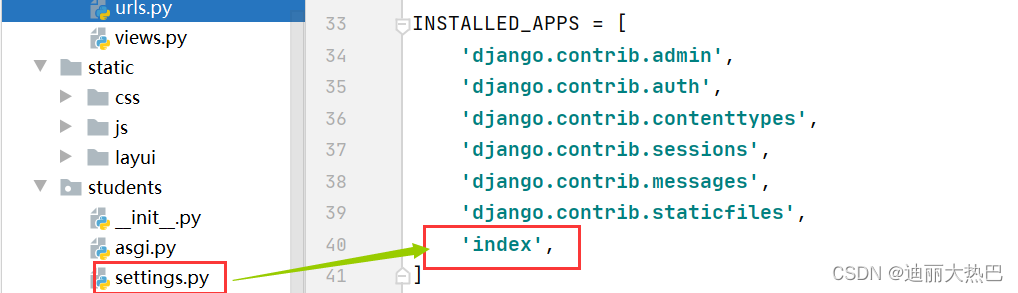
2, 注册应用
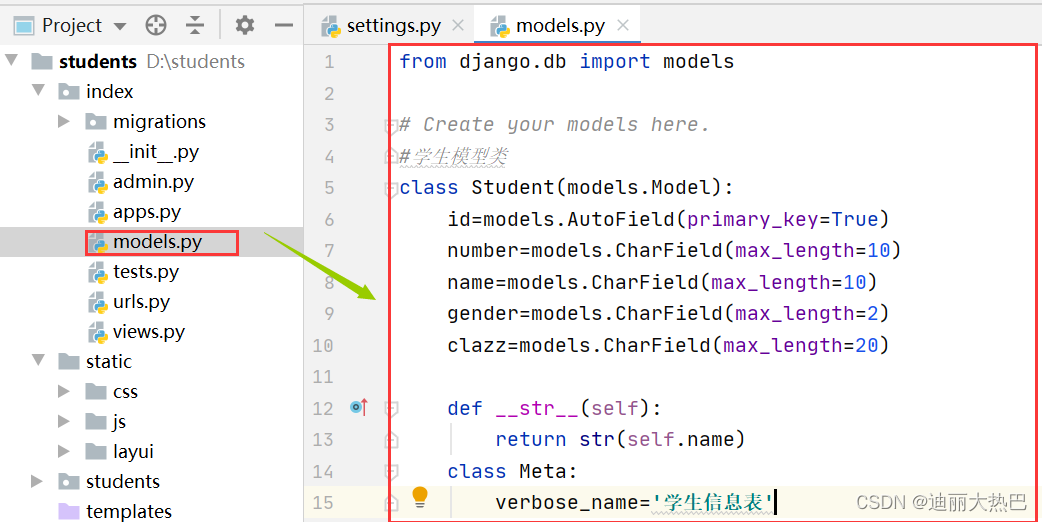
3,创建学生模型
- 在index里的models.py创建Student模型类
4,创建视图函数(空的视图函数)
- 在index里的view.py里创建三个视图函数

- 在主路由文件中导入上述三个视图函数
5,数据迁移,生成学生表
五,创建视图函数
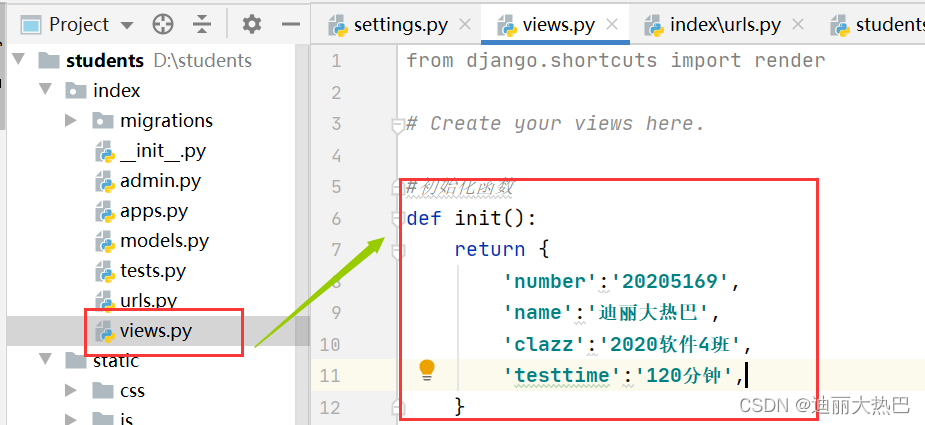
1,定义初始化函数
- 在index的view.py里创建init()函数
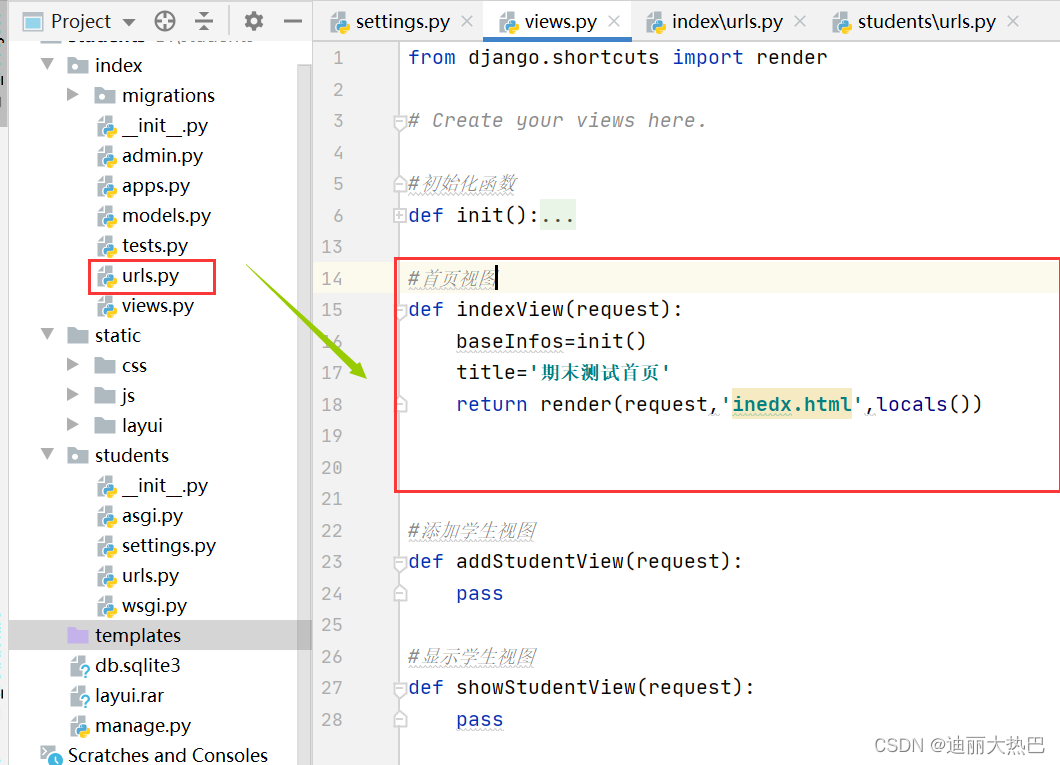
2,修改首页视图函数
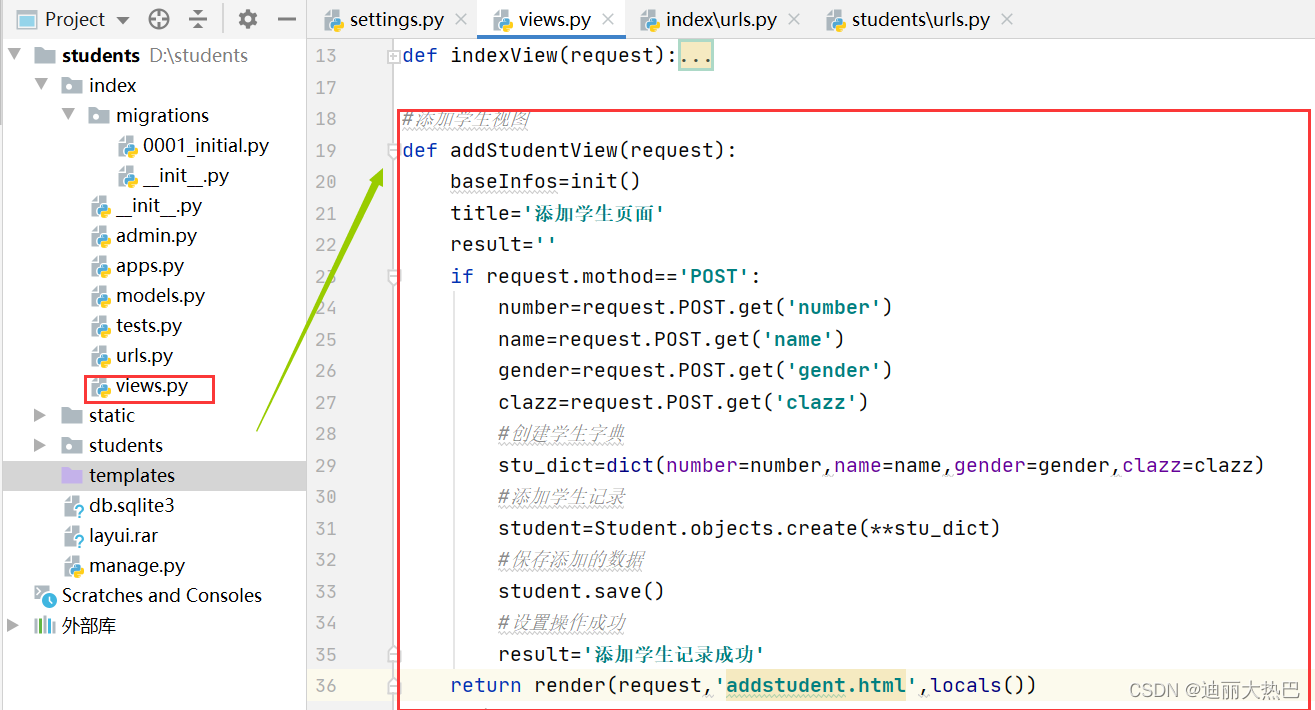
3, 修改添加学生视图函数
4,修改显示学生视图函数

from django.shortcuts import render, HttpResponse, redirect, reverse
from .models import StudentModel, StudentInformationModel, CourseModel
from django.forms.models import model_to_dict
import json
def index(request):
context = {
'status': '未登录状态'
}
return render(request, 'studentManage/index.html', context)
def login(request):
if request.method == "POST":
username = request.POST.get('username')
password = request.POST.get('password')
if not all([username, password]):
return HttpResponse('错误!用户名或密码为空!')
else:
student = StudentModel.objects.filter(username=username, password=password)
if len(student):
request.session['user'] = {
'id':student[0].stu_id,
'username': username,
'password': password
}
context = {
'status': username,
'msg': '已登录',
'lenght': 1
}
return render(request, 'studentManage/index.html',context)
else:
context = {
'msg': '用户名密码错误'
}
return render(request, 'studentManage/login.html'<


 本文详细介绍了使用Django框架搭建一个学生信息管理系统的步骤,包括创建项目、配置静态资源、数据库配置、数据迁移、创建视图函数、实现模板页面等。通过这个教程,你可以学习到如何在Django中实现增删查改学生信息的功能。


 最低0.47元/天 解锁文章


 1134
1134

 被折叠的 条评论
为什么被折叠?
被折叠的 条评论
为什么被折叠?
 到【灌水乐园】发言


