


目录
1.2 下载internlm2_5-chat-1_8b并打印示例输出
1. Hugging Face模型下载
Hugging Face是一家专注于自然语言处理(NLP)技术的公司,以其开源的 Transformers 库而闻名,该库提供了大量预训练的模型和工具,极大地简化了开发者使用先进NLP模型的过程。它还维护着一个活跃的社区和数据集库,旨在推动机器学习技术的开放和普及。如今,Hugging Face已经发展成为一个拥有超过100,000个预训练模型和10,000个数据集的平台,被誉为机器学习界的GitHub。
1.1 InternLM模型下载
Hugging Face下载模型首先需要注册账号,由于官网需要外网,国内访问较慢,可以去镜像网站进行下载,镜像网址:HF-Mirror
这里使用Github CodeSpace进行连接,CodeSpace是Github推出的线上代码平台,提供了一系列templates,我们这里选择Jupyter Notebook进行创建环境。创建好环境后,可以进入网页版VSCode的界面,这就是CodeSpace提供给我们的在线编程环境。
在界面下方的终端(terminal)安装以下依赖,便于模型运行。
# 安装transformers
pip install transformers==4.38
pip install sentencepiece==0.1.99
pip install einops==0.8.0
pip install protobuf==5.27.2
pip install accelerate==0.33.0
通过touch命令在工作区新建hf_download_josn.py:
touch hf_download_josn.py在这个文件中,粘贴以下代码并运行:
import os
from huggingface_hub import hf_hub_download
# 指定模型标识符
repo_id = "internlm/internlm2_5-7b"
# 指定要下载的文件列表
files_to_download = [
{"filename": "config.json"},
{"filename": "model.safetensors.index.json"}
]
# 创建一个目录来存放下载的文件
local_dir = f"{repo_id.split('/')[1]}"
os.makedirs(local_dir, exist_ok=True)
# 遍历文件列表并下载每个文件
for file_info in files_to_download:
file_path = hf_hub_download(
repo_id=repo_id,
filename=file_info["filename"],
local_dir=local_dir
)
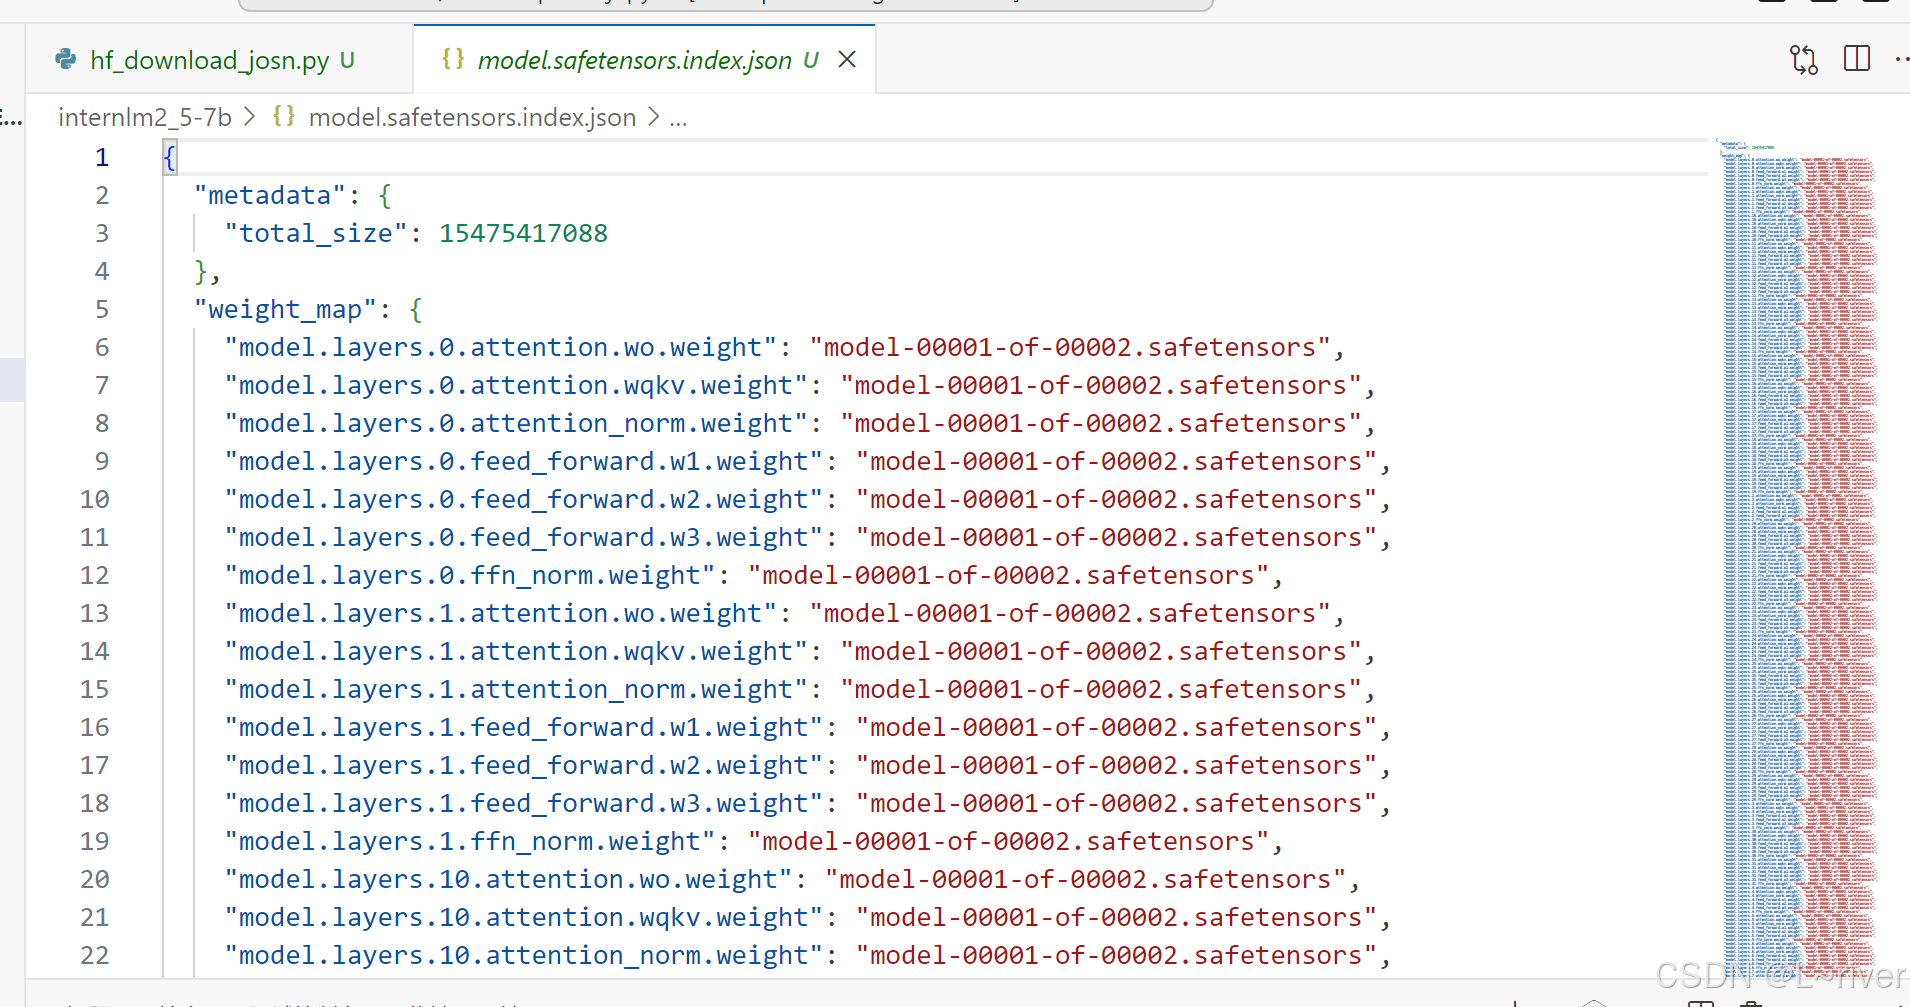
print(f"{file_info['filename']} file downloaded to: {file_path}")运行后可以从目录看到,已经从Hugging Face上下载了相应配置文件:

可以看到配置文件:
1.2 下载internlm2_5-chat-1_8b并打印示例输出
首先创建hf_download_1_8_demo.py文件
touch hf_download_1_8_demo.py由于CodeSpace平台上是没有GPU资源的,因此只能使用CPU进行推理,我们需要修改跟CUDA有关的API,在hf_download_1_8_demo.py文件中粘贴以下内容:
import torch
from transformers import AutoTokenizer, AutoModelForCausalLM

tokenizer = AutoTokenizer.from_pretrained("internlm/internlm2_5-1_8b", trust_remote_code=True)
model = AutoModelForCausalLM.from_pretrained("internlm/internlm2_5-1_8b", torch_dtype=torch.float16, trust_remote_code=True)
model = model.eval()

inputs = tokenizer(["A beautiful flower"], return_tensors="pt")
gen_kwargs = {
    "max_length": 128,
    "top_p": 0.8,
    "temperature": 0.8,
    "do_sample": True,
    "repetition_penalty": 1.0
}

# 以下内容可选,如果解除注释等待一段时间后可以看到模型输出
output = model.generate(**inputs, **gen_kwargs)
output = tokenizer.decode(output[0].tolist(), skip_special_tokens=True)
print(output)
运行后可以看到以下结果:

2. 模型上传
2.1 Access Tokens获取
通过CLI上传 Hugging Face同样是跟Git相关联,通常大模型的模型文件都比较大,因此我们需要安装git lfs,对大文件系统支持。
curl -s https://packagecloud.io/install/repositories/github/git-lfs/script.deb.sh | sudo bash
# sudo apt-get install git-lfs # CodeSpace里面可能会有aptkey冲突且没有足够权限
git lfs install # 直接在git环境下配置git LFS
pip install huggingface_hub
模型商城需要获取tokens,首先去hugging face平台点击Settings,再找到Access Tokens,点击create new token,权限选择write,取名后创建并复制, token需要妥善保存,后续push需要填token。
然后在codespaces的终端输入以下命令:
git config --global credential.helper store
huggingface-cli login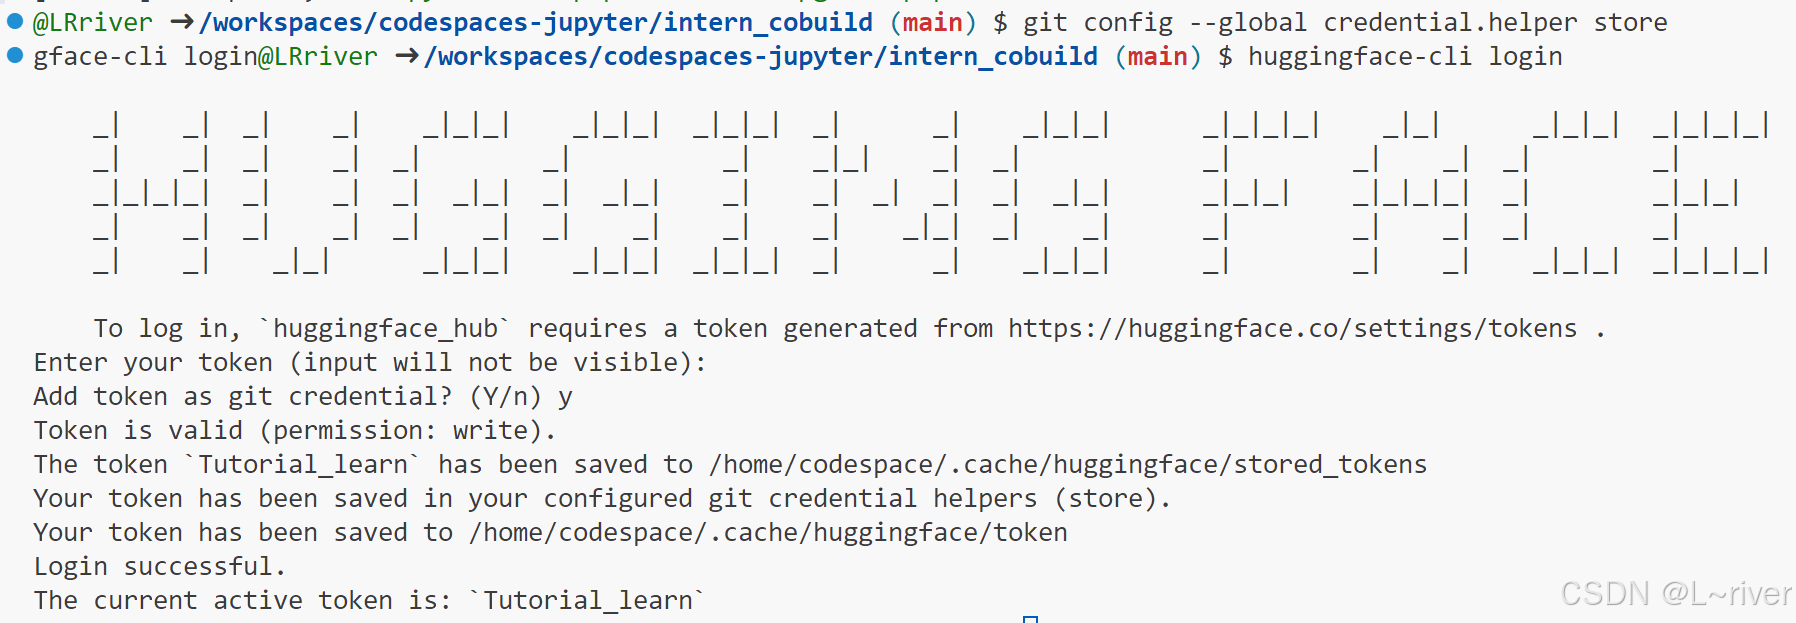
2.2 克隆项目
输入以下命令创建intern_study_L0_4仓库,并克隆到本地:
cd /workspaces/codespaces-jupyter

#intern_study_L0_4就是model_name
huggingface-cli repo create intern_study_L0_4

# 克隆到本地 your_gf_name 注意替换成你自己的huggingface的uesr name,注意不是GitHub的!!
git clone https://huggingface.co/{your_hf_name}/intern_study_L0_4
可以看见终端左侧出现了文件夹intern_study_L0_4,并且可以复制前面已经下载的配置文件,以及新建一个READ.md文件,输入一些内容。修改好后,输入以下命令:
git add .
git commit -m "update: colearn page"
git push
# 如果报错:remote: Password authentication in git is no longer supported. You must use a user access token or an SSH key instead.
# 请再次设置这个项目的验证,这个地方需要用户的Access Tokens
# 注意更换<user_name>,<token>,<repo_path>
git remote set-url origin https://<user_name>:<token>@huggingface.co/<repo_path>
# 例如:git remote set-url origin https://jack:hf_xxxxx@huggingface.co/spaces/jack/intern_cobuild/
# 然后再次输入
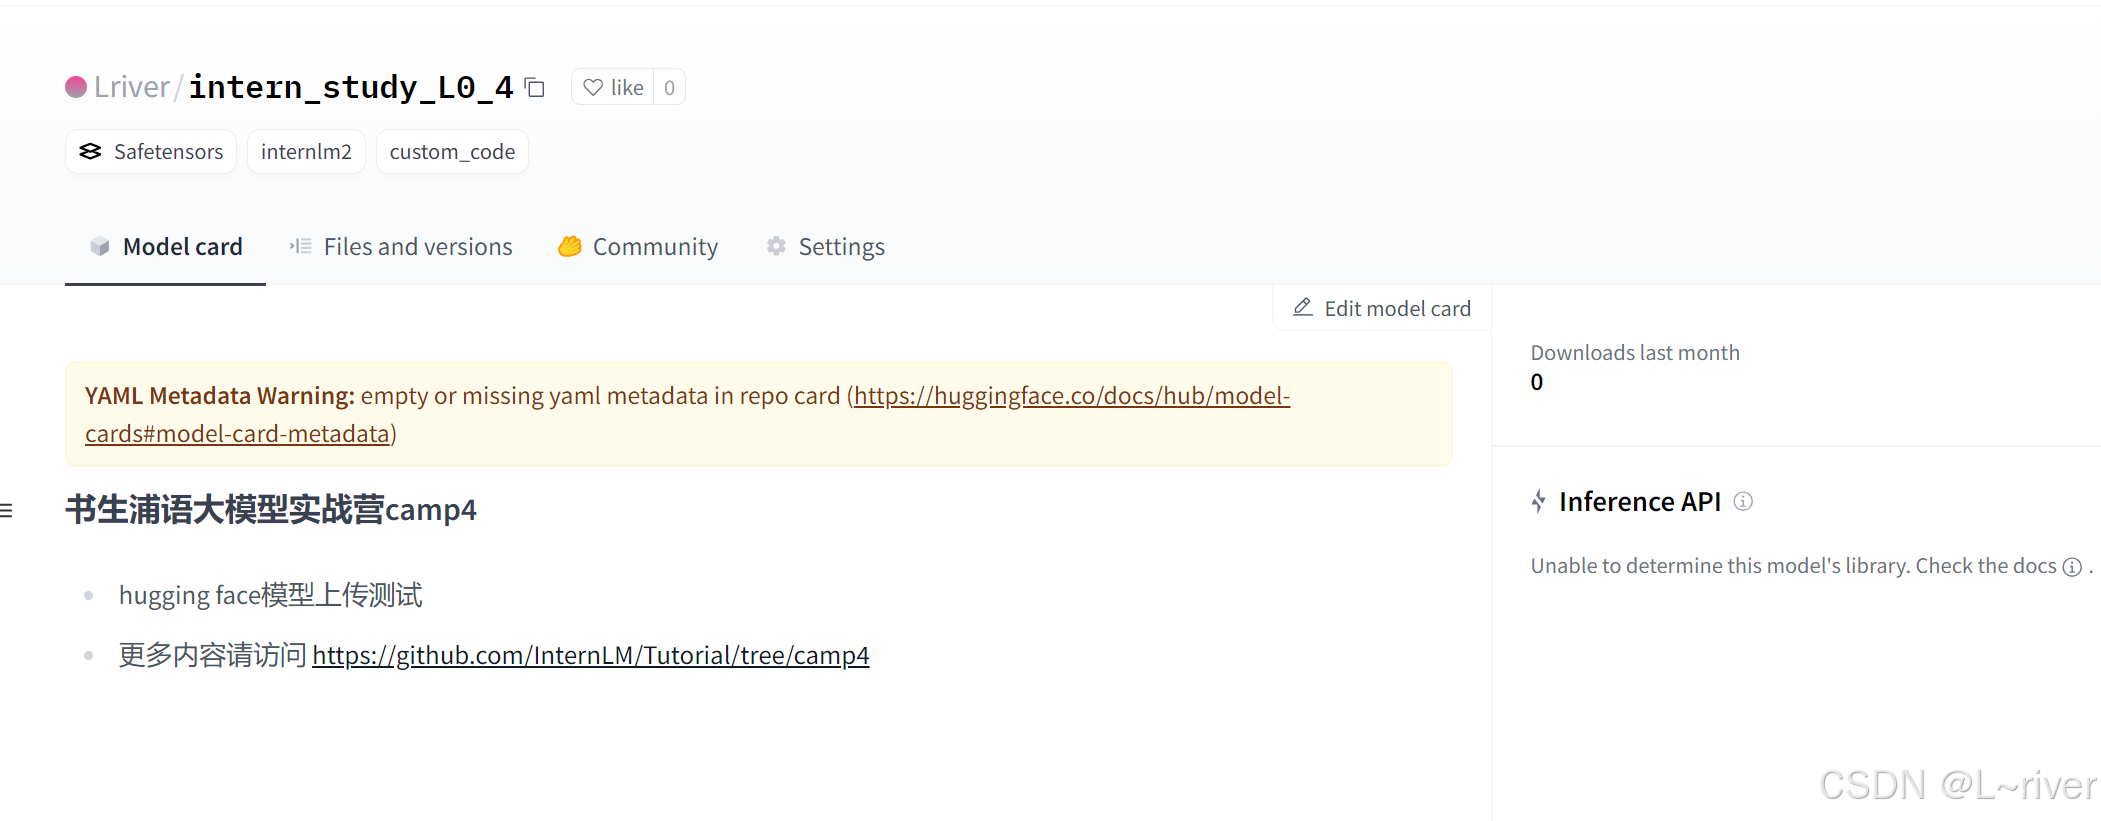
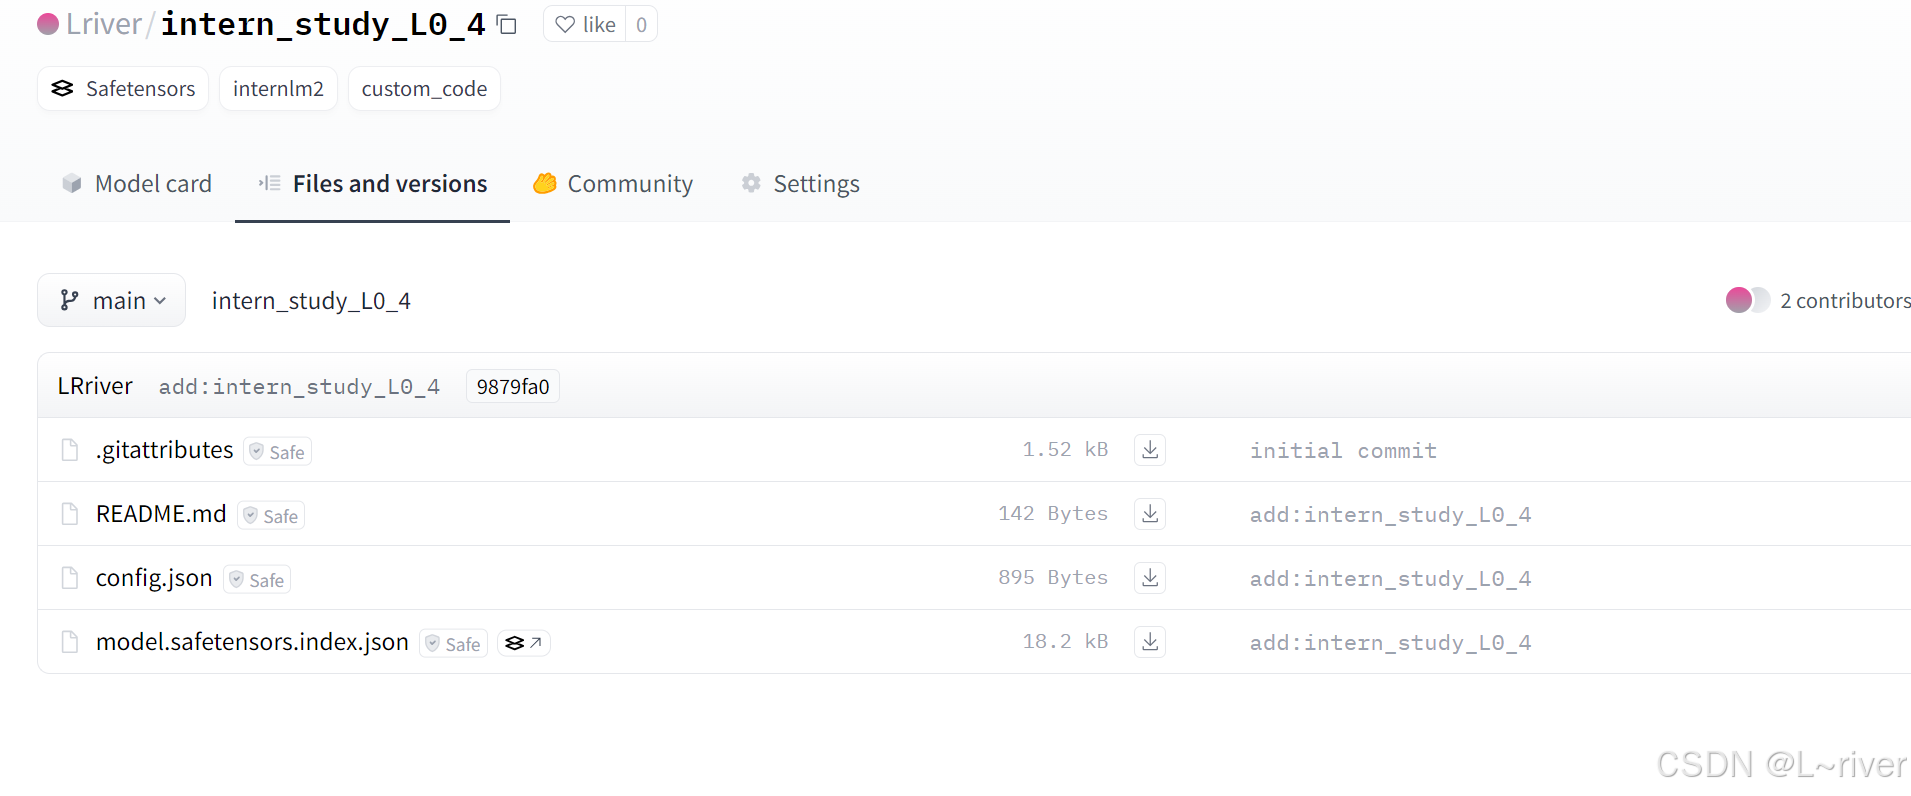
git push然后去HF平台查看,结果如下:
3. Space上传
3.1 创建Space
Hugging Face Spaces是一个允许我们轻松地托管、分享和发现基于机器学习模型的应用的平台。Spaces 使得开发者可以快速将我们的模型部署为可交互的 web 应用,且无需担心后端基础设施或部署的复杂性。 首先访问以下链接,进入Spaces。在右上角点击Create new Space进行创建。
在创建页面中,输入项目名为intern_cobuild,License选择apache-2.0,并选择Static应用进行创建。
3.2 克隆项目
创建好项目后,回到CodeSpace,接着clone项目。输入以下命令:
cd /workspaces/codespaces-jupyter
# 请将<your_username>替换你自己的username
git clone https://huggingface.co/spaces/<your_username>/intern_cobuild
cd /workspaces/codespaces-jupyter/intern_cobuild
找到该目录文件夹下的index.html文件,修改html代码:
<!doctype html>
<html>
<head>
  <meta charset="utf-8" />
  <meta name="viewport" content="width=device-width" />
  <title>My static Space</title>
  <style>
    html, body {
      margin: 0;
      padding: 0;
      height: 100%;
    }
    body {
      display: flex;
      justify-content: center;
      align-items: center;
    }
    iframe {
      width: 430px;
      height: 932px;
      border: none;
    }
  </style>
</head>
<body>
  <iframe src="https://colearn.intern-ai.org.cn/cobuild" title="description"></iframe>
</body>
</html>
保存后就可以push到远程仓库上了,它会自动更新页面:
git add .
git commit -m "update: colearn page"
git push
如果报错,跟2.2一样的操作:
# 如果报错:remote: Password authentication in git is no longer supported. You must use a user access token or an SSH key instead.
# 请再次设置这个项目的验证,这个地方需要用户的Access Tokens
# 注意更换<user_name>,<token>,<repo_path>
git remote set-url origin https://<user_name>:<token>@huggingface.co/<repo_path>
# 例如:git remote set-url origin https://jack:hf_xxxxx@huggingface.co/spaces/jack/intern_cobuild/
# 然后再次输入
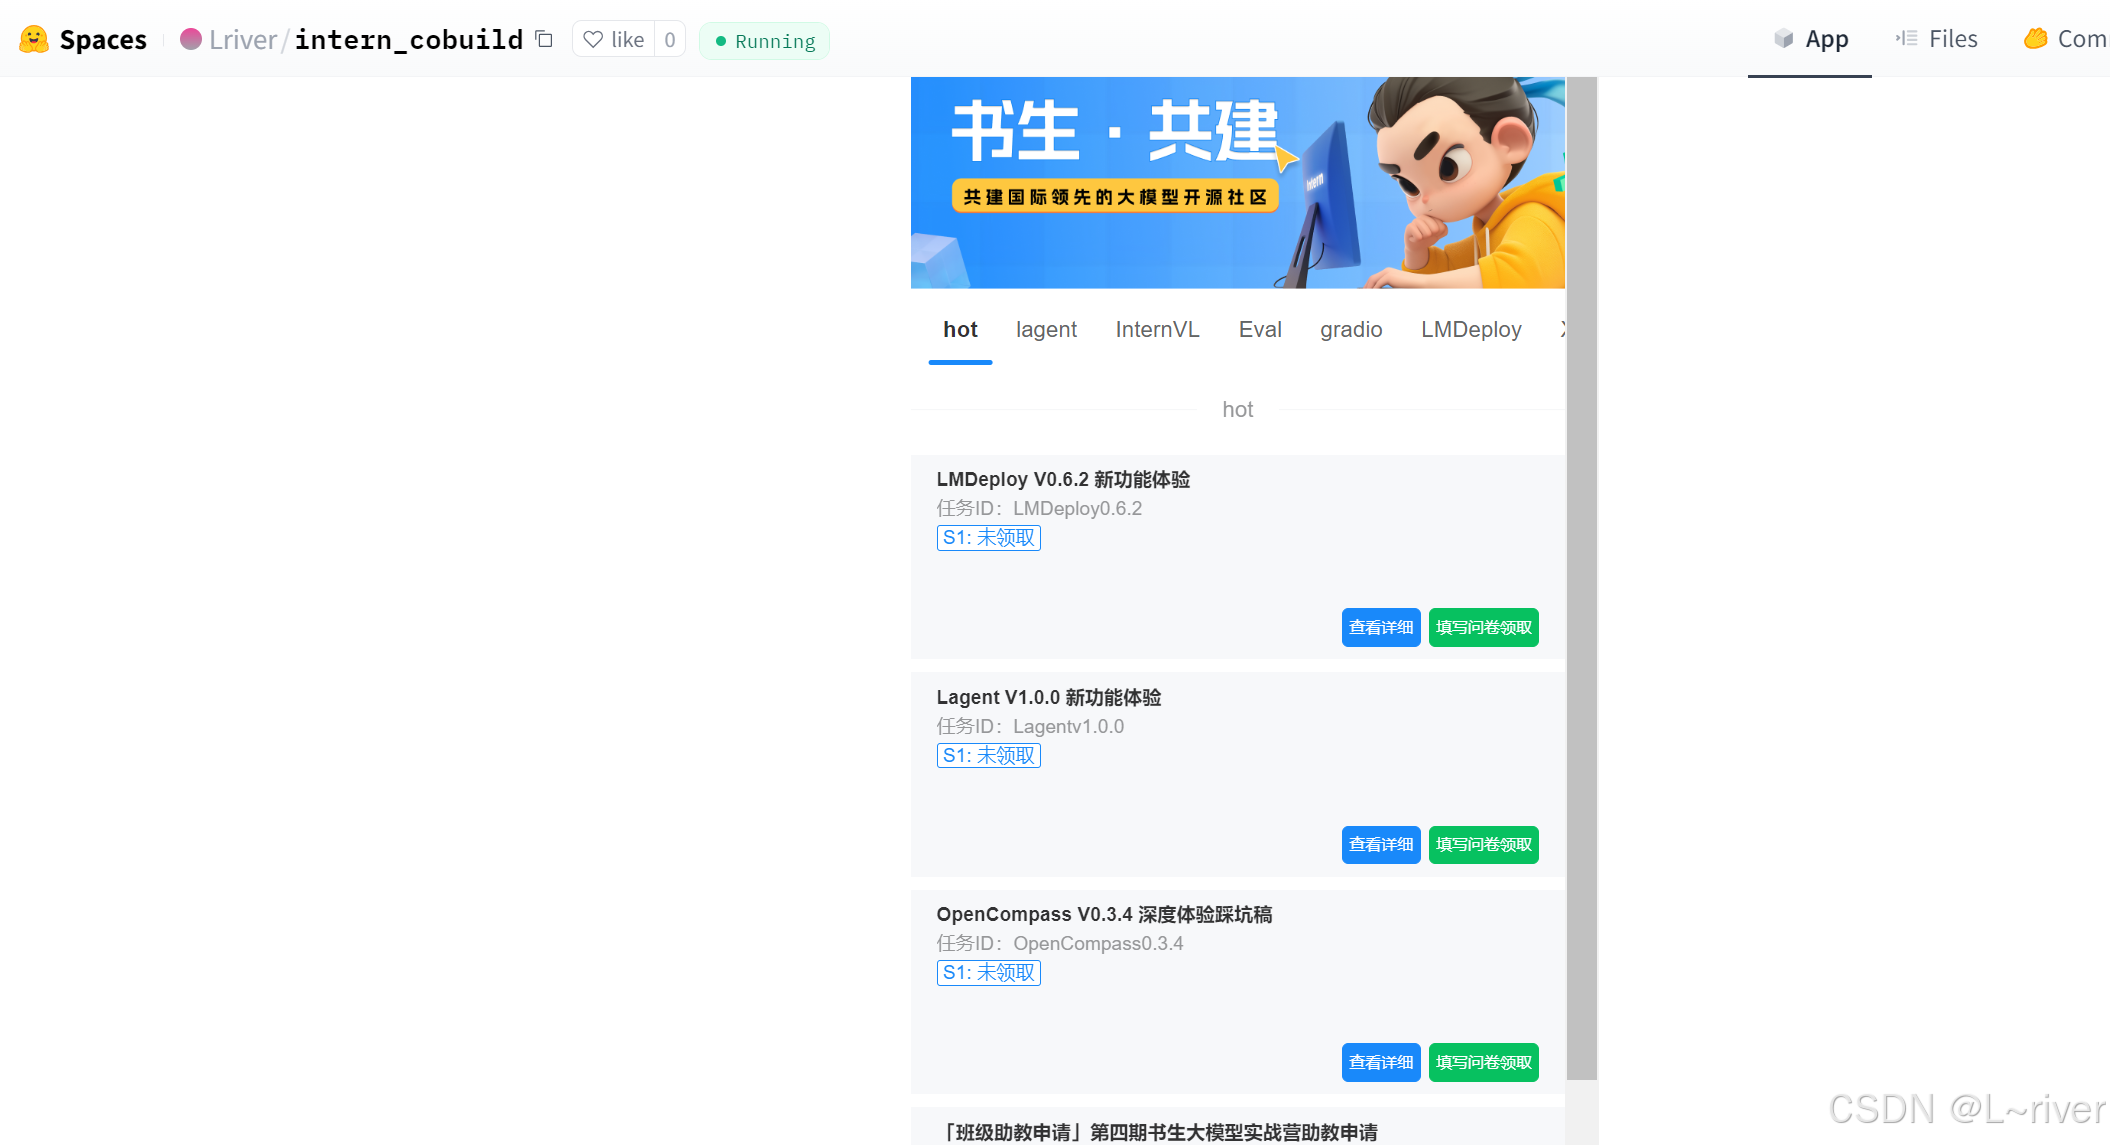
git push再次进入Space界面,就可以看到刚才上次的html页面:


 2819
2819

 被折叠的 条评论
为什么被折叠?
被折叠的 条评论
为什么被折叠?
 到【灌水乐园】发言


