


简单的说,Spring是包含了多个根据方法的IOC容器。
核心部分
IOC
Inverse of Control,“控制反转”。没有这部分,我们在项目中需要修改最底层代码的时候,会“牵一发而动全身”,整个代码就需要跟着修改。这样就显得很麻烦。
而IOC机制则是将这种弊端进行优化,将“自己造轮子”改成“别人传进来”,以达到解耦的作用。这就是控制反转。
更进一步来说,控制反转思想就是:
- 类的创建顺序发生了反转。
- 调用下属类的控制权发生了反转
早期Spring中所说的DI(依赖注入)在广义上来说IOC==DI,只是从不同的角度描述同一件事。
A需要调用B的方法,也就是说A依赖于B的对象属性b,所以需要将b依赖注入A中。
IOC的工作原理:
-
利用Java的反射机制,根据类名生成相应的对象
-
创建IOC容器对象
创建Spring
-
添加依赖
<!-- https://mvnrepository.com/artifact/org.springframework/spring-context -->
<dependency>
    <groupId>org.springframework</groupId>
    <artifactId>spring-context</artifactId>
    <version>5.2.3.RELEASE</version>
</dependency>
<!-- https://mvnrepository.com/artifact/org.springframework/spring-beans --> <dependency> <groupId>org.springframework</groupId> <artifactId>spring-beans</artifactId> <version>5.2.3.RELEASE</version> </dependency> -
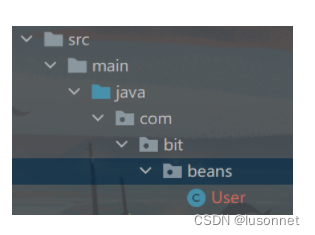
创建一个Bean
将Bean存储到Spring中
-
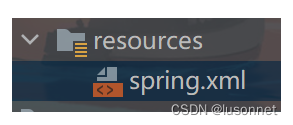
在resource底下创建xml文件
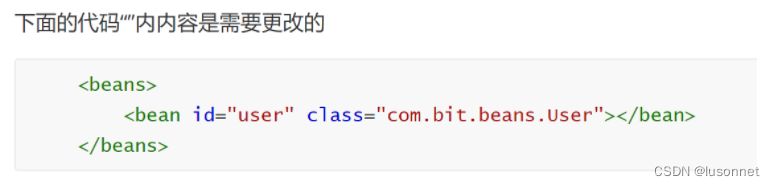
<?xml version="1.0" encoding="UTF-8"?>
<beans xmlns="http://www.springframework.org/schema/beans"
       xmlns:xsi="http://www.w3.org/2001/XMLSchema-instance"
       xsi:schemaLocation="http://www.springframework.org/schema/beans http://www.springframework.org/schema/beans/spring-beans.xsd">

    //此处还有代码
</beans>
下面的代码“”内内容是需要更改的
	<beans>
        <bean id="user" class="com.bit.beans.User"></bean>
    </beans>
-
-
获取并使用bean对象
-
获取上下文对象(在User类内)
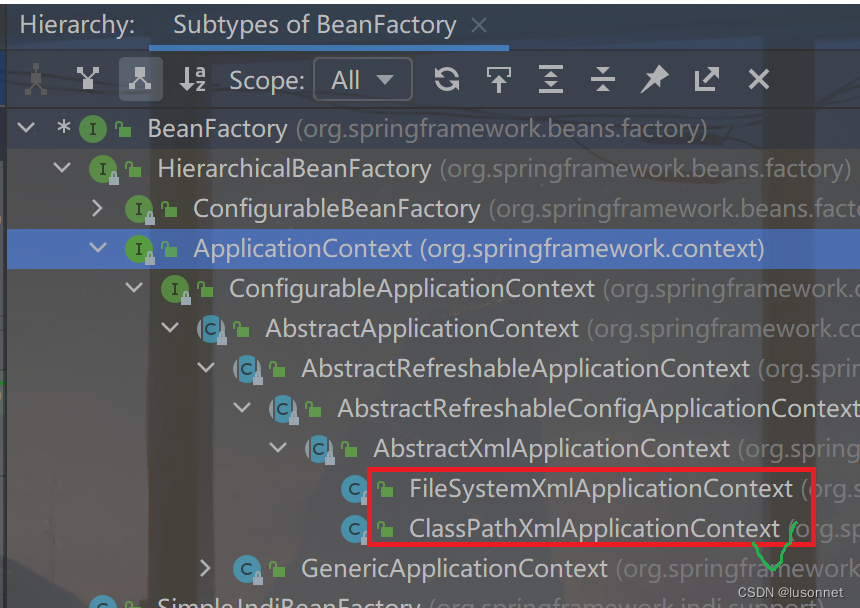
ApplicationContext applicationContext = new ClassPathXmlApplicationContext("spring.xml");!:注意,获取上下文对象的方法不止一个,还有其他方法
BeanFactory beanFactory = new
        ClassPathXmlApplicationContext("spring.xml");
BeanFactory和ApplicationContext的区别
- 归属关系:ApplicationContext是BeanFactory的子类
- 性能方面:ApplicationContext一次性加载并初始化所有的bean对象;BeanFactory按需(根据代码中的调用)进行初始化。由此,BeanFactory初始化代码快,调用慢;ApplicationContext初始化慢,调用快
- 功能方面:ApplicationContext功能更多
-
使用上下文对象获得bean
User user = (User) applicationContext.getBean("user");.getbean()方法有三种写法:User user = (User) applicationContext.getBean("user");//要发生强转 //User user = (User) applicationContext.getBean(User.class); //User user = (User) applicationContext.getBean("user",User.class); -
使用bean对象
user.hello();
-
注解
首先配置resource底下xml文件
<?xml version="1.0" encoding="UTF-8"?>
<beans xmlns="http://www.springframework.org/schema/beans"
       xmlns:xsi="http://www.w3.org/2001/XMLSchema-instance"
       xmlns:content="http://www.springframework.org/schema/context"
       xsi:schemaLocation="http://www.springframework.org/schema/beans http://www.springframework.org/schema/beans/spring-beans.xsd http://www.springframework.org/schema/context https://www.springframework.org/schema/context/spring-context.xsd">

    <!-- 配置一下:bean注解扫描的根路径(方面后面更简单存储对象到spring容器)-->
    <content:component-scan base-package="com.bit.beans"></content:component-scan>
</beans>
Spring里面提供了大量注解来供更简单地读取和存取。
-
类注解
类注解只是业务需求不一样
-
方法注解
类注解
@Controller
处理前端请求,转发,重定向
使用@Controller可以省略.xml文件中的下段声明代码(不用每一个类都要声明)
public static void main(String[] args) {
    ApplicationContext applicationContext =
            new ClassPathXmlApplicationContext("spring.xml");
    //.getBean()方法里面的字符串只能是类名首字母小写
    UserController usercontroller = applicationContext.getBean
            ("userController",UserController.class);
    usercontroller.hello();
}
@Service
用于服务层,处理业务逻辑。
作用同@Controller。
注意:要调用的类必须在下面.xml所声明的目录底下

@Repository
用于持久层,数据库访问层。
@Configuration
定义配置类,可替换xml配置文件。被注解的类内部包含有一个或多个被@Bean注解的方法, 这些方法将会被AnnotationConfigApplicationContext或AnnotationConfigWebApplicationContext类进行扫描,并用于构建bean定义,初始化Spring容器。
@Component
作用同@Controller。
最基础的注解,可以说是其它注解的父类。
上面的声明的作用都差不多,我们为什么需要这么多注释呢?
其实是供程序员用于不同的用途。每个注释都有它自己的意思。
首先我们来认识一下后端代码的层级结构
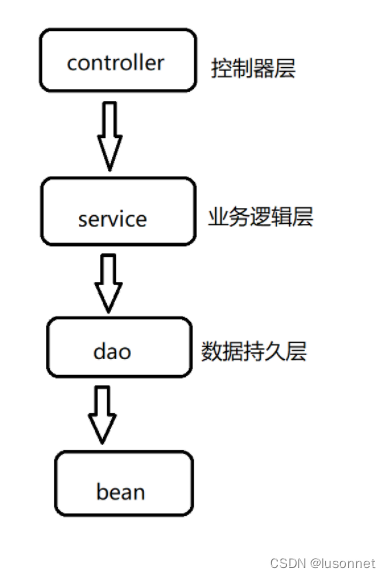
方法注解
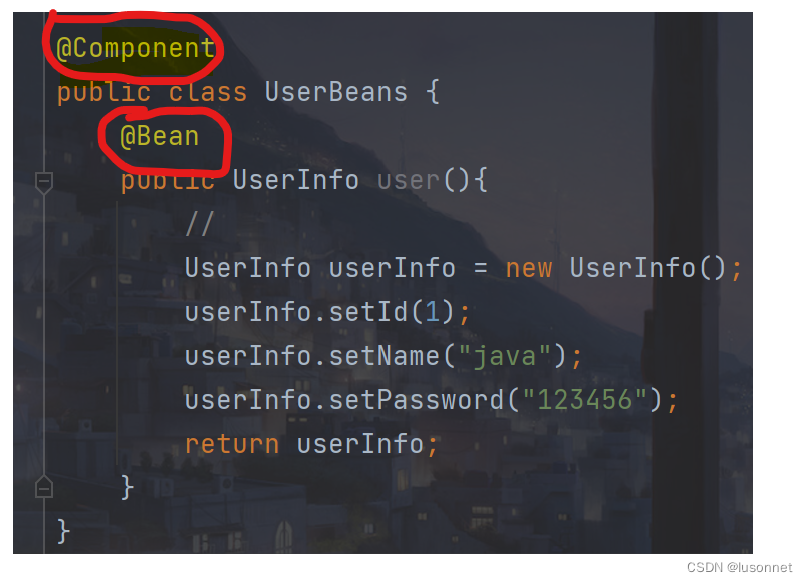
@Bean
!:@Bean注解一定要配合类注解一起使用(否则会导致对象不能正常的存储到spring中)
其实也是出于性能的考量,因为每个类里面可能会有很多方法,如果每个类都扫描,将会花掉很多时间,所以在类外面加上注解,表示里面有要加载的方法,这样就能更有效率。

Bean重命名
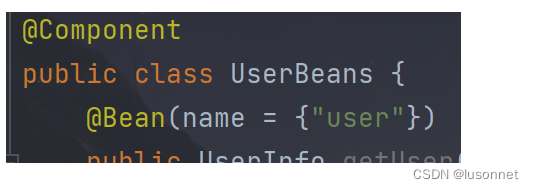
==注意:==重命名后使用原方法名就不能得到对象了
对象注入
将存放在spring中的对象获取出来,这就是对象注入
-
属性注入
-
构造方法注入
-
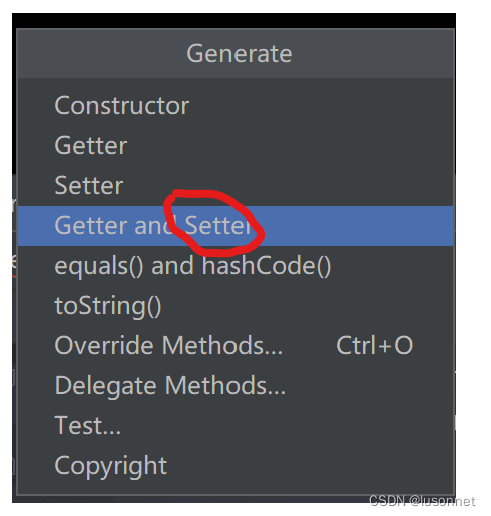
Setter注入
//注入方式

----------------------------------
//属性注入
@Autowired
private ArtService artService;
---------------------------------
//构造方法注入
private ArtService artService;

@Autowired  //只有一个构造函数的时候可以省略
public ArtController(ArtService artService){
    this.artService = artService;
}

public ArtController(ArtService artService,String name){
    this.artService = artService;
}
--------------------------------------
//setter注入
private ArtService artService;

@Autowired
public void setArtService(ArtService artService){
    this.artService = artService;
}
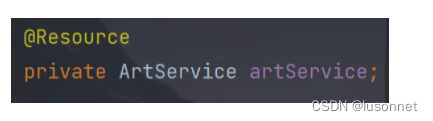
还有一种注入,使用到@Resource
@Resource
@Resource和@Autowired的区别
- @Autowired来自spring,@Resource来自于jdk
- 使用时设置的参数不同,相比于@Autowired,@Resource支持更多的参数设置
- @Autowired可用于Setter注入、构造函数注入和属性注入,@Resource不能用于构造函数注入
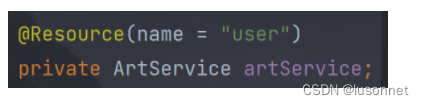
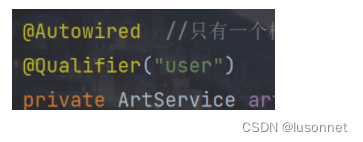
解决同一类型多个Bean对象报错:
a. 使用@Resource(name=“”)
b.使用@Qualifier(“”)


 被折叠的 条评论
为什么被折叠?
被折叠的 条评论
为什么被折叠?
 到【灌水乐园】发言


