


1、技术栈
- Vue3
- Uni-app框架
- ts
- Pinia
单纯的vue是无法开发小程序的,需要依赖于Uni-app框架
2、项目创建
2.1 通过HbuiderX创建

(1)下载地址:
- 官网地址:
https://www.dcloud.io/hbuilderx.html?source=javascriptc.com
- 第三方地址:
https://www.comcw.cn/pcsoft/12541.html
因为在官网下载解压有问题,无法使用,我直接在第三方下载了
(2)安装方式
直接解压,创建桌面快捷方式即可

(3)使用
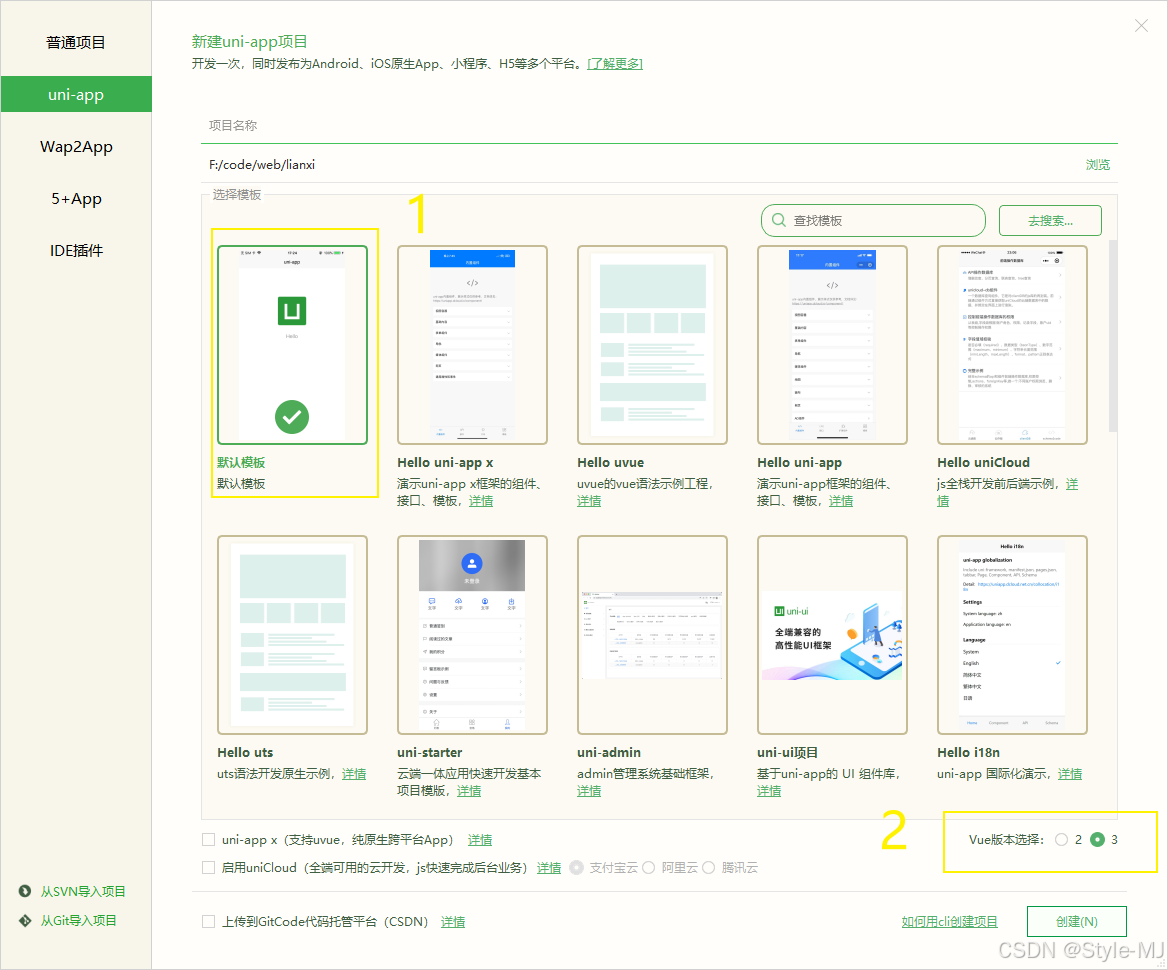
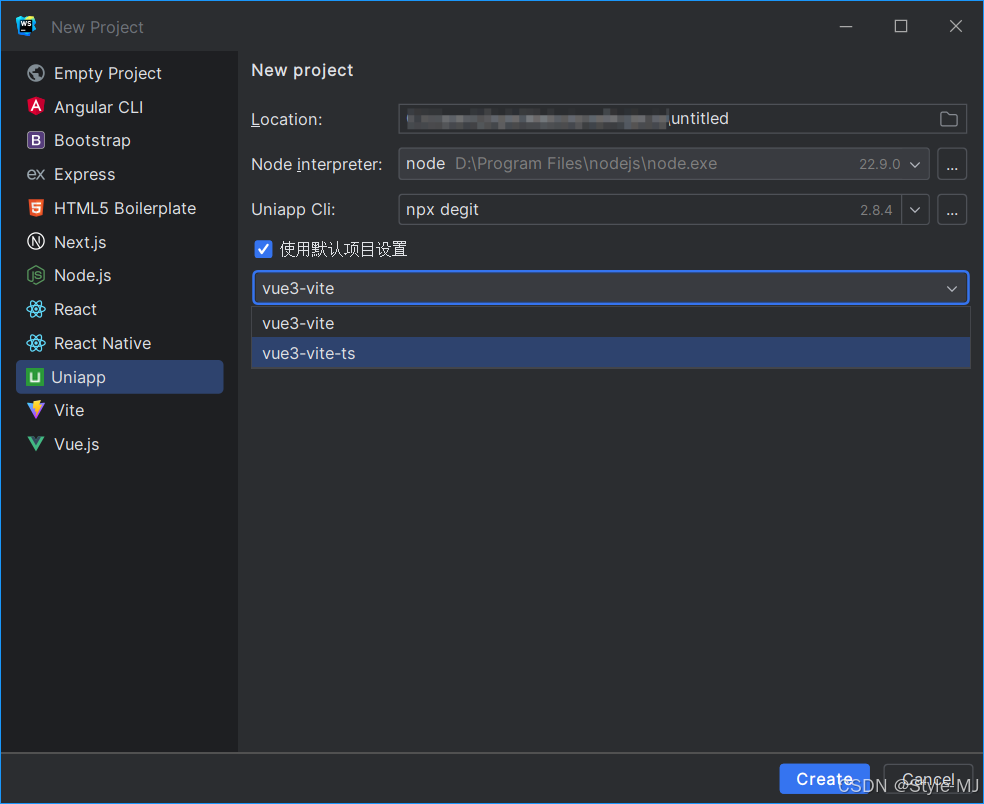
(a)创建项目
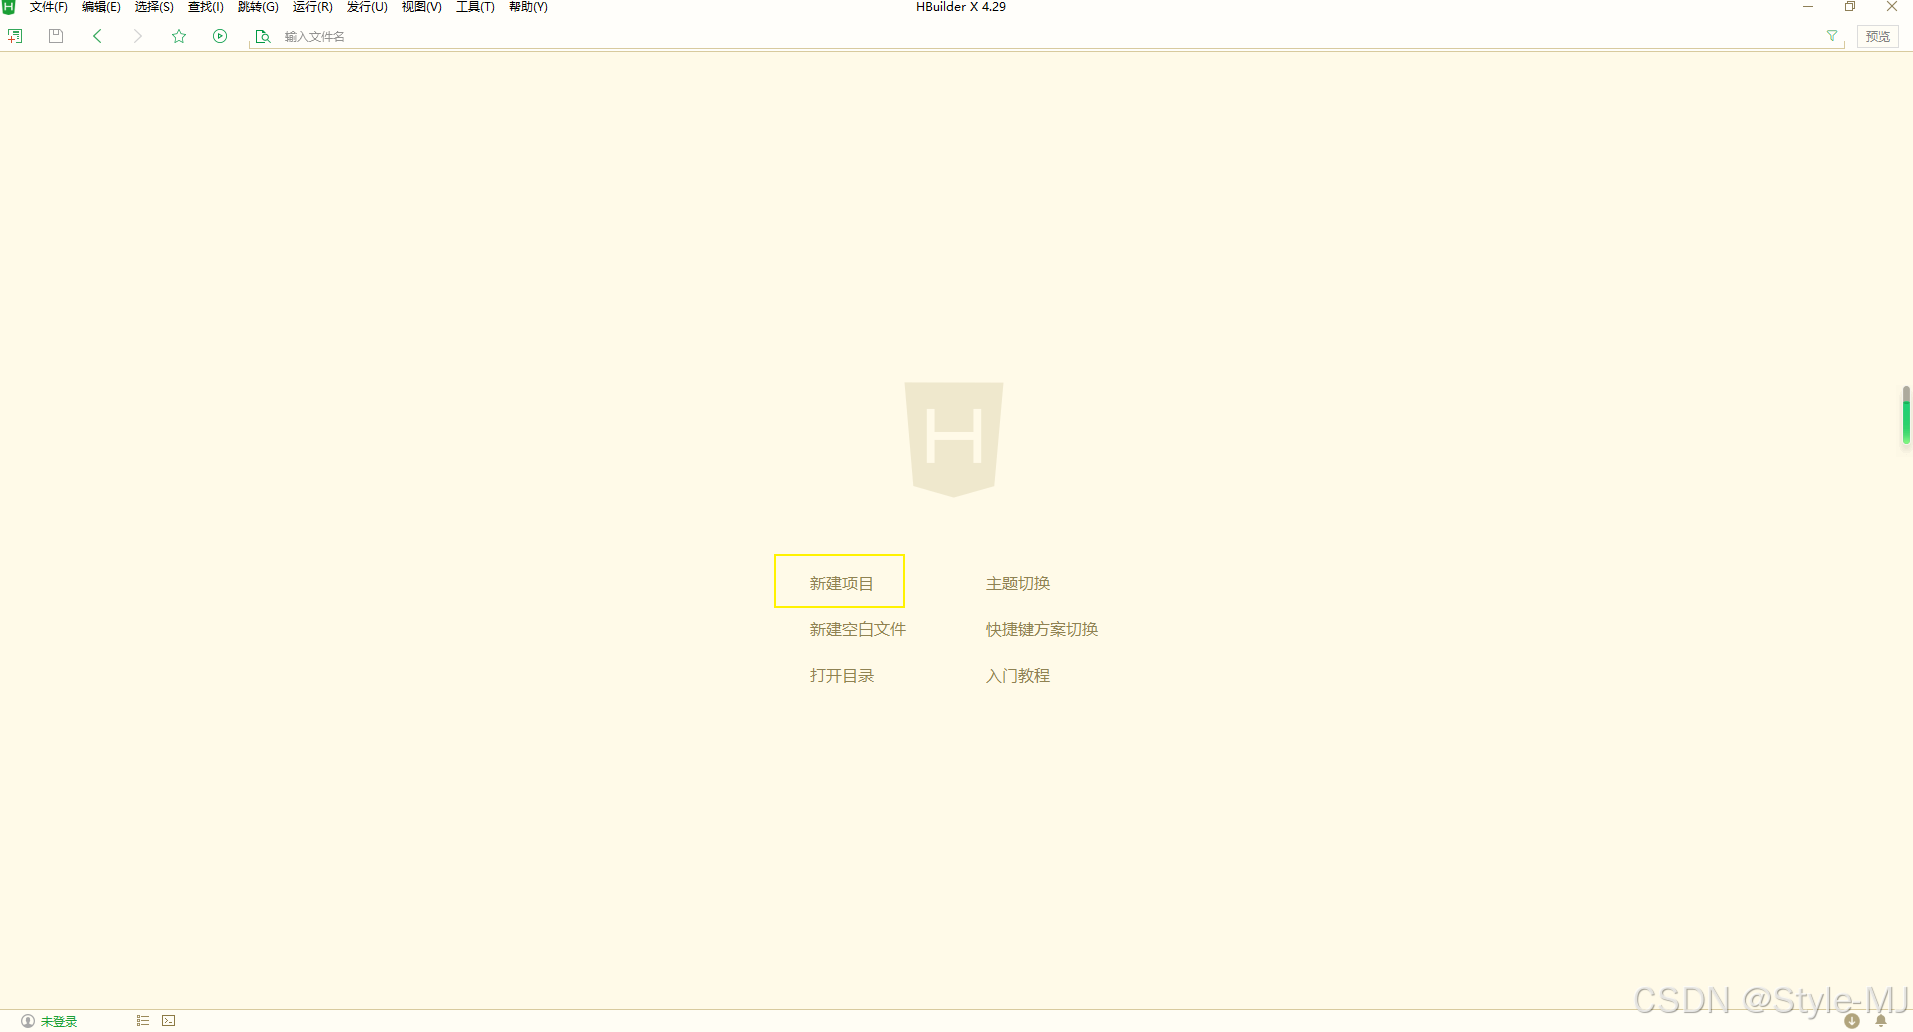
以下按照需要选择对应模版,并选择对应vue版本即可
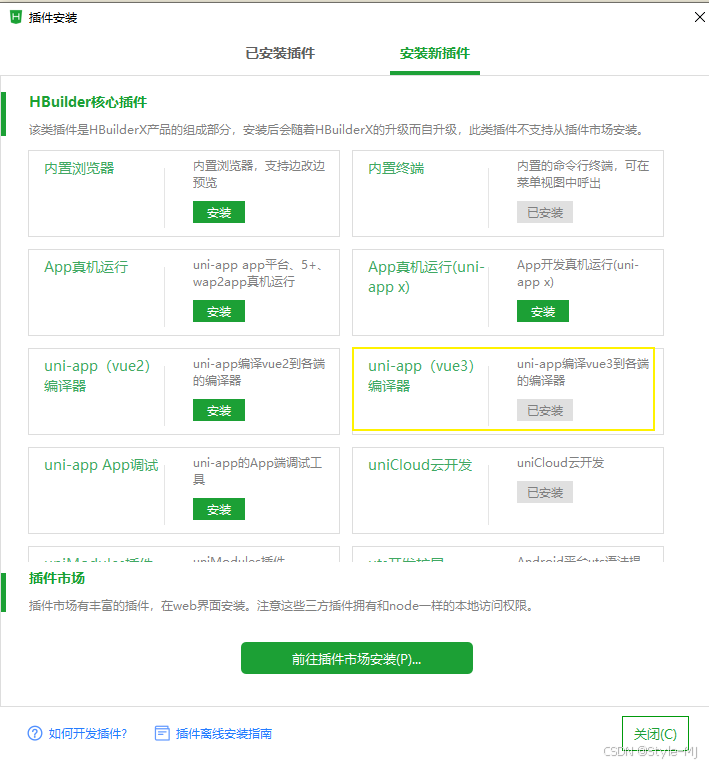
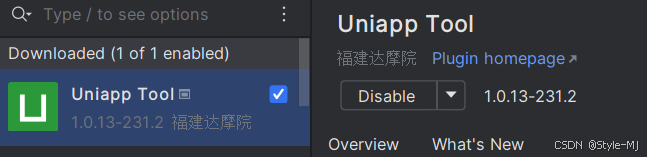
(b)安装uni-app插件
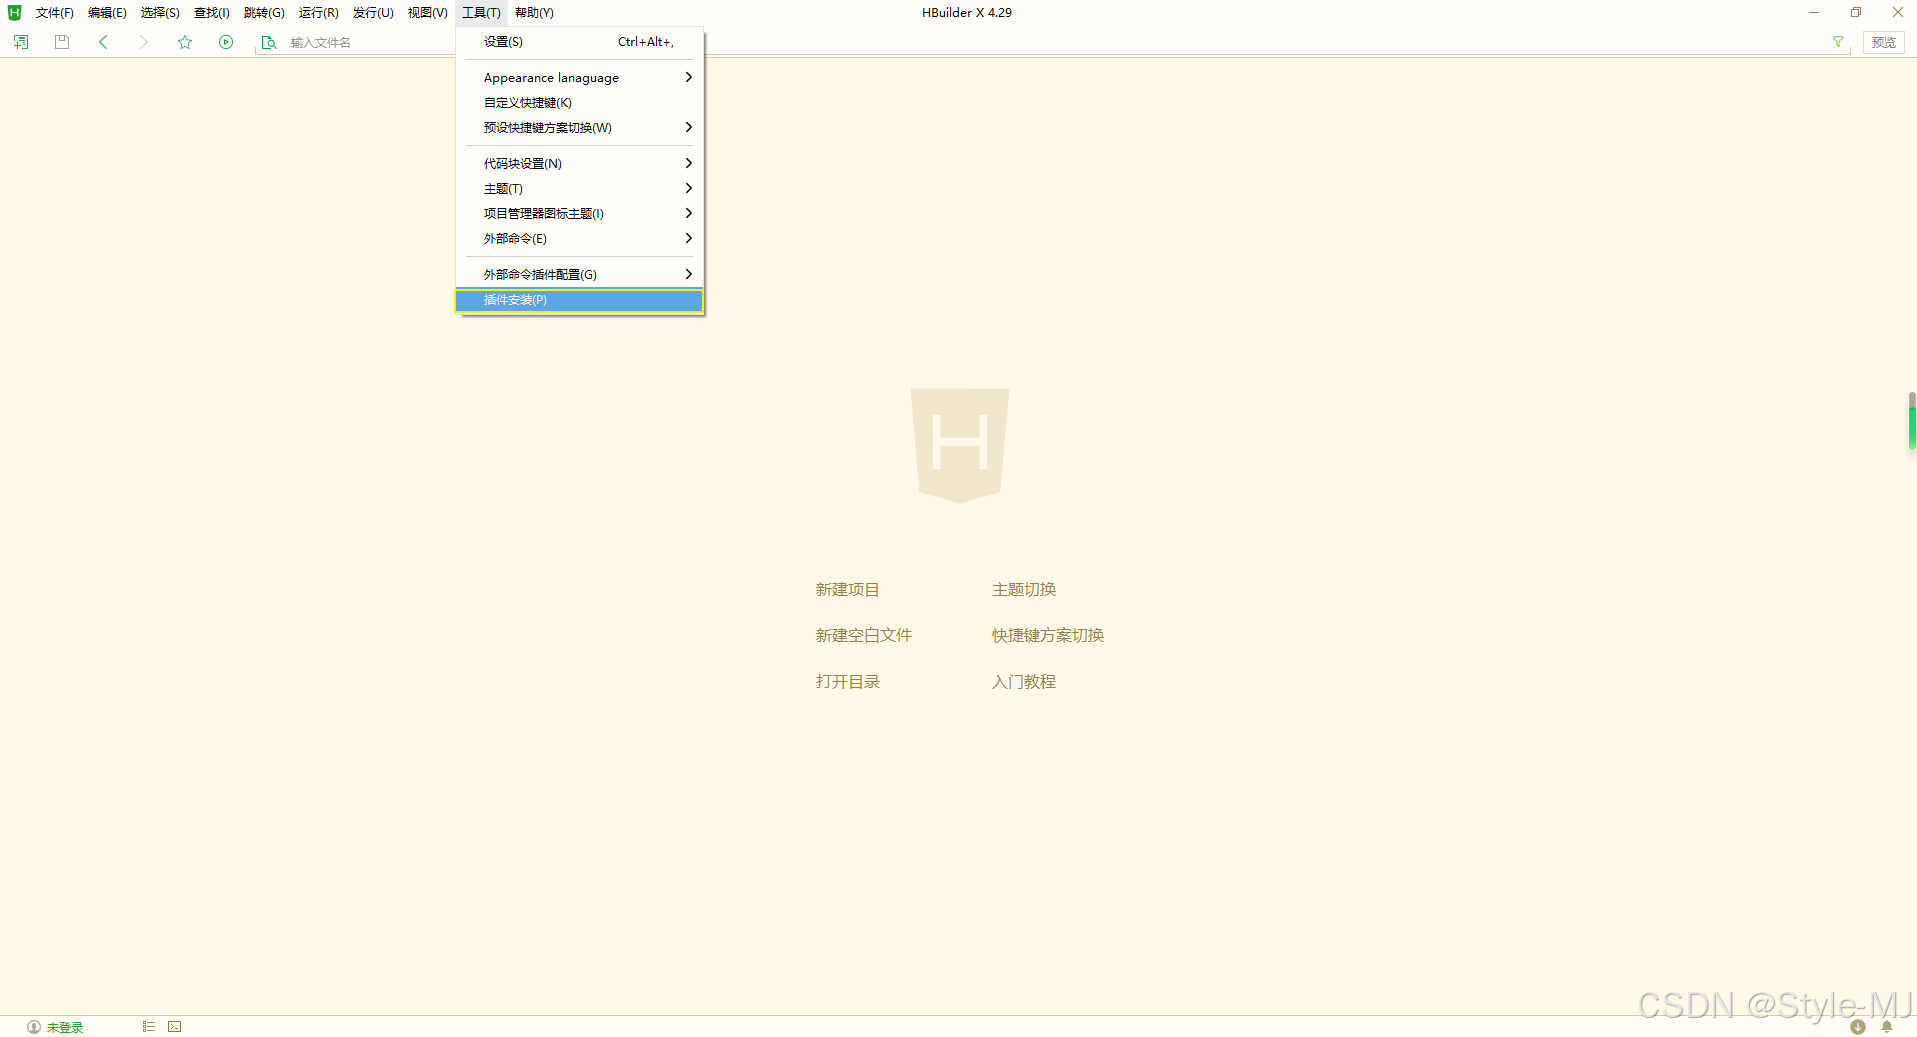
按照对应版本安装即可
 (c)安装第三方模拟器
以下以微信为例
安装微信开发者工具
下载地址:
https://developers.weixin.qq.com/miniprogram/dev/devtools/download.html
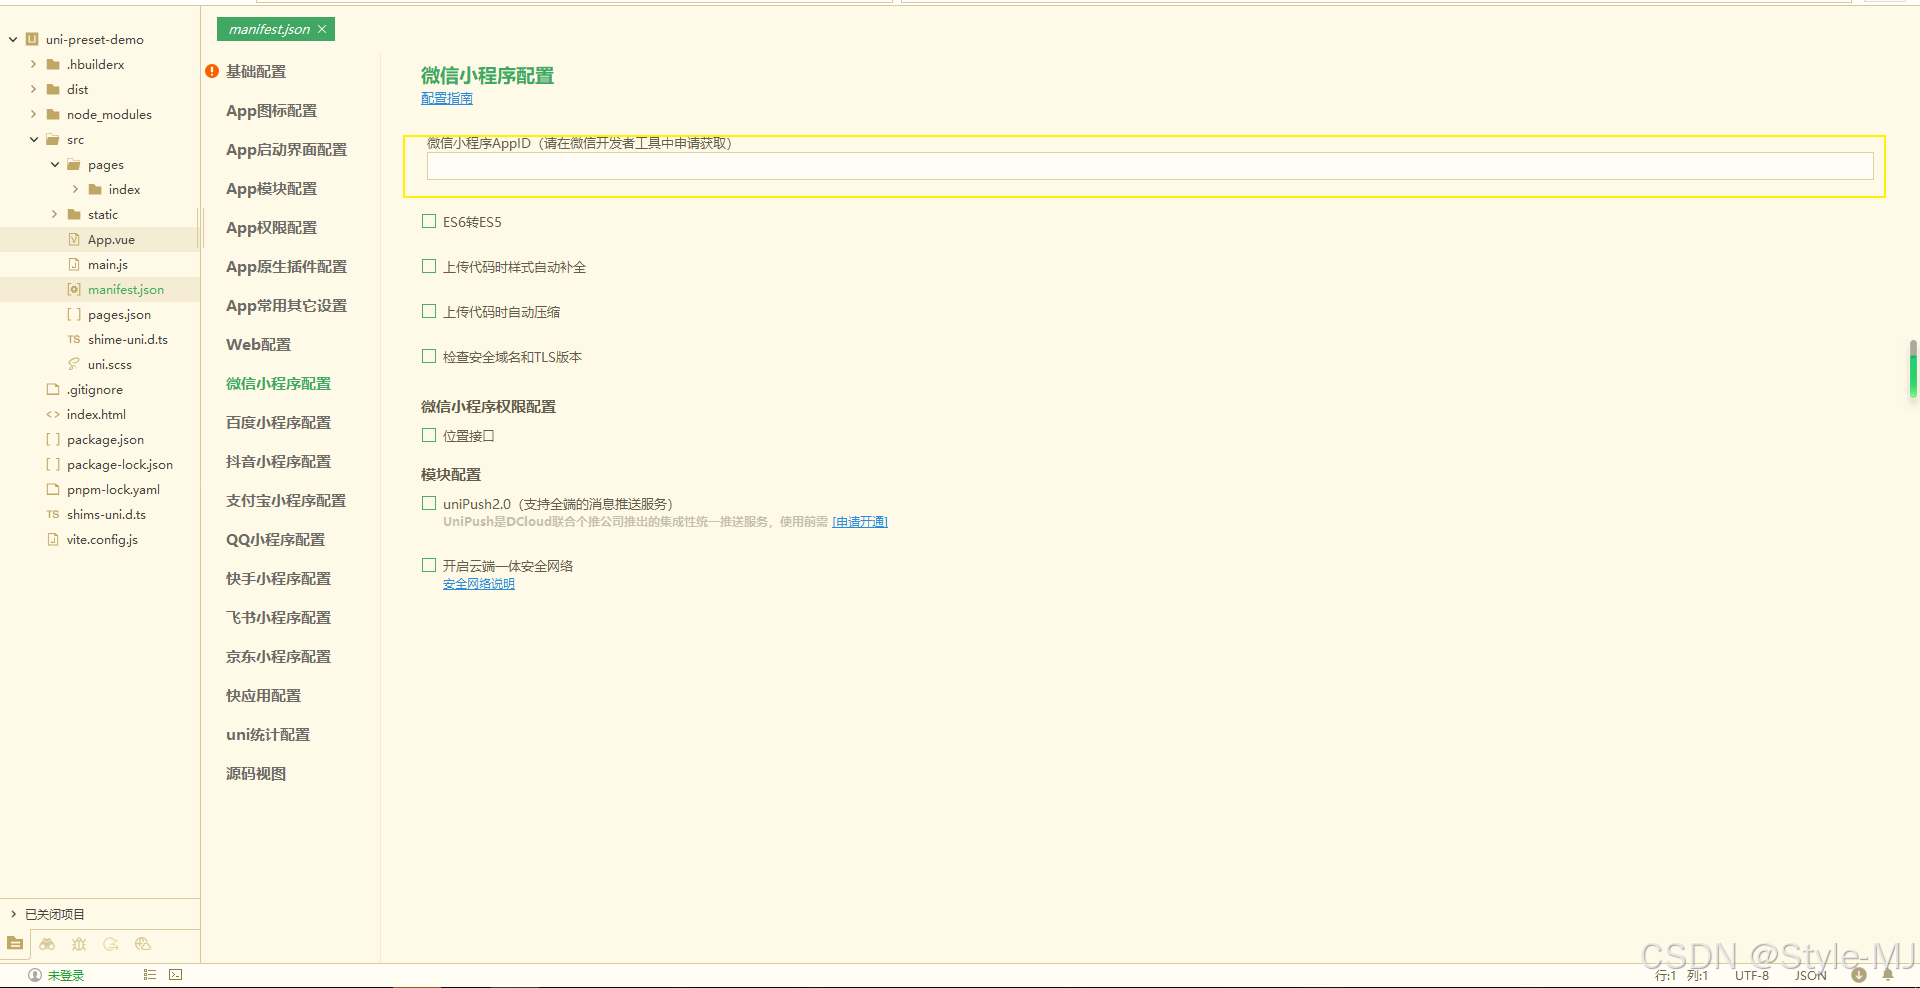
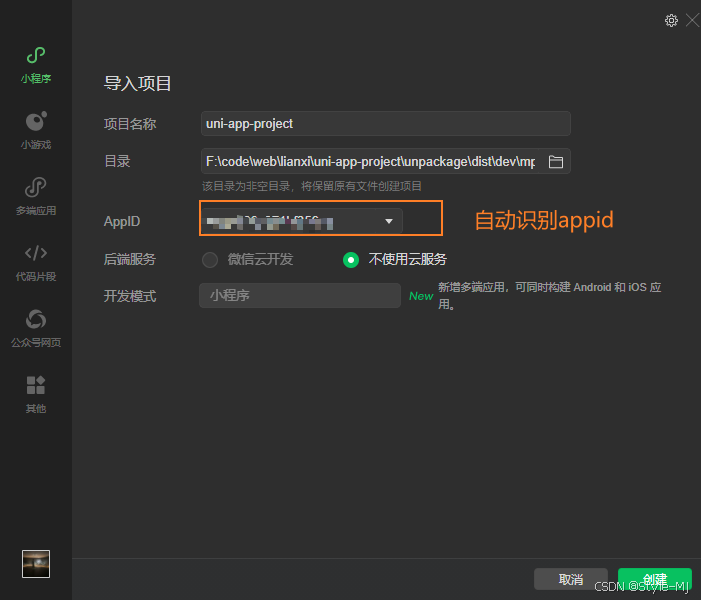
 (d)绑定appid
注意:若不知道如何获取可以点击指南,里面有详细教学
 (e) 点击启动
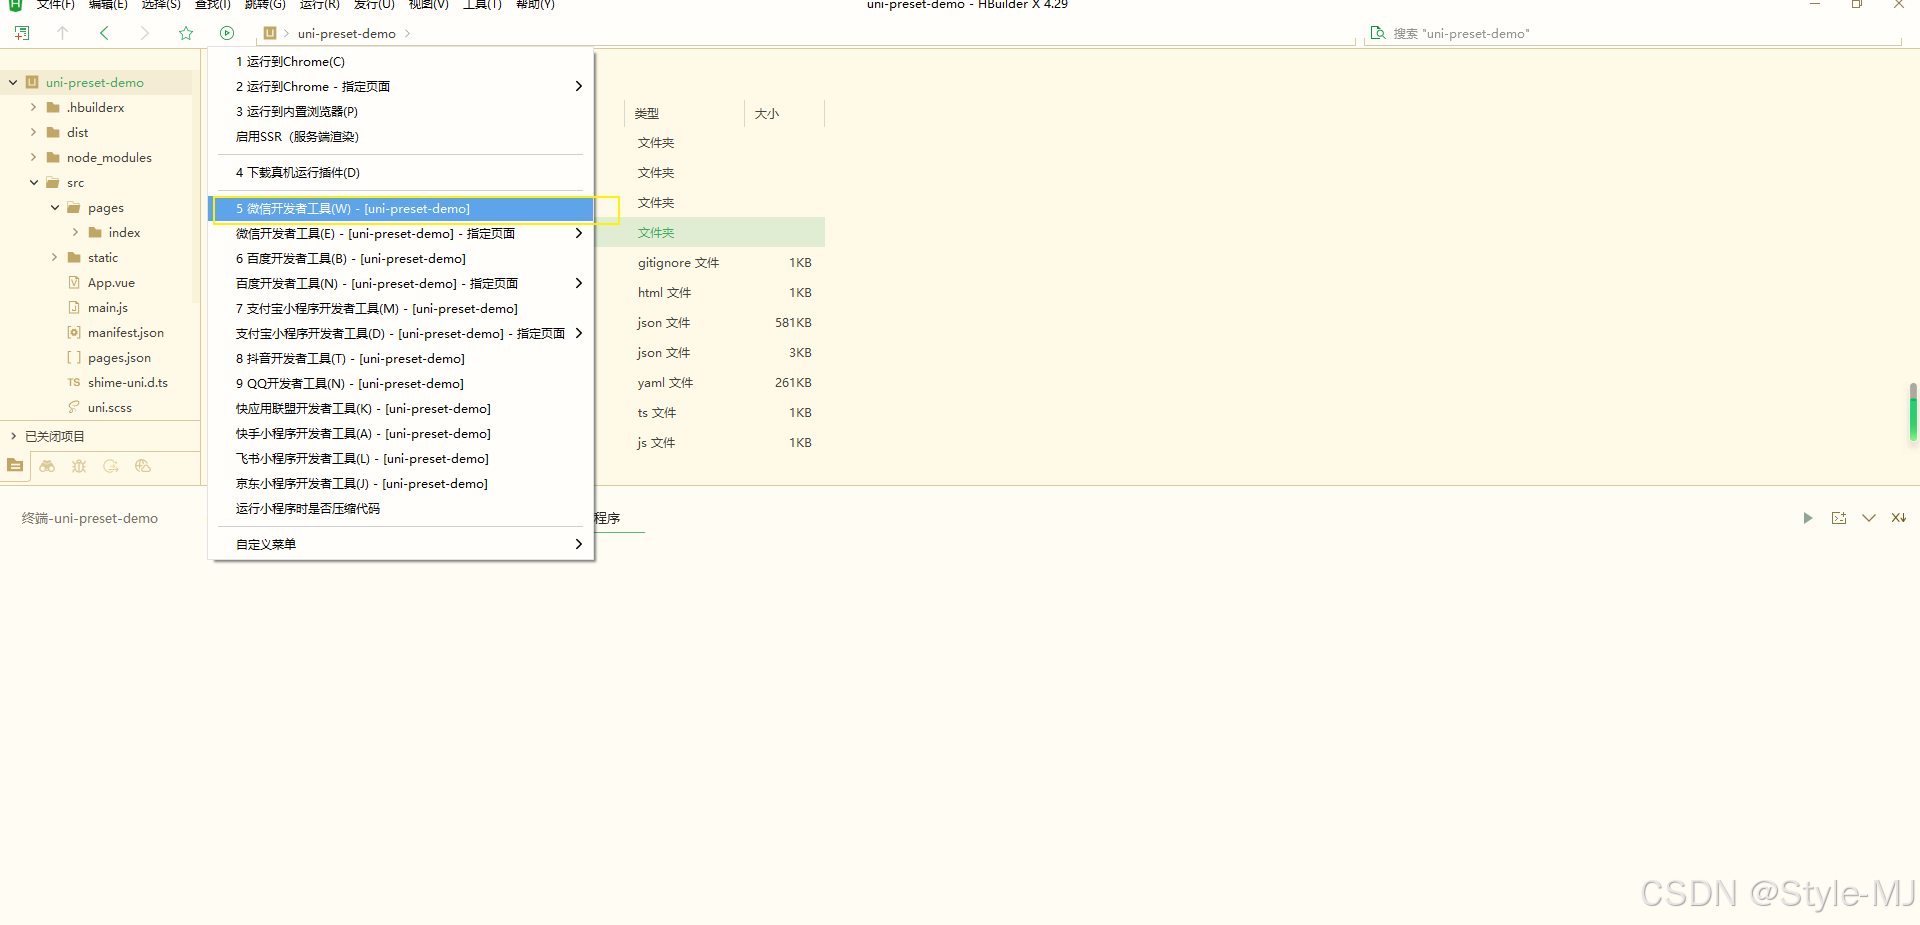 注意:有时点击完之后没识别出第三方模拟器的位置,可能需要填写本地模拟器位置,我这好像不需要,可能是最新版的微信开发者工具吧
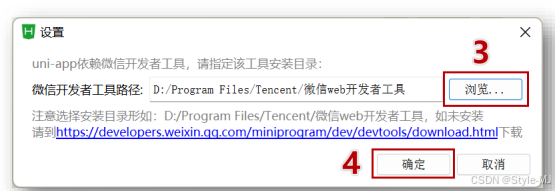
若需要填写模拟器位置如下
编译:
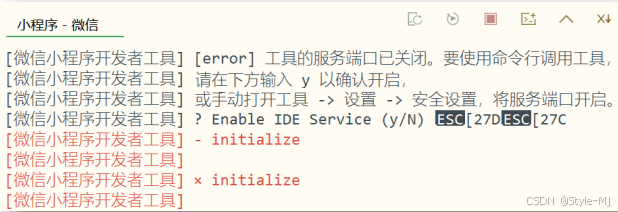
噢,为什么现在会出现报错?原因很简单,模拟器没开放端口,报错日志也写清楚如何解决

微信开发者工具开启一下即可
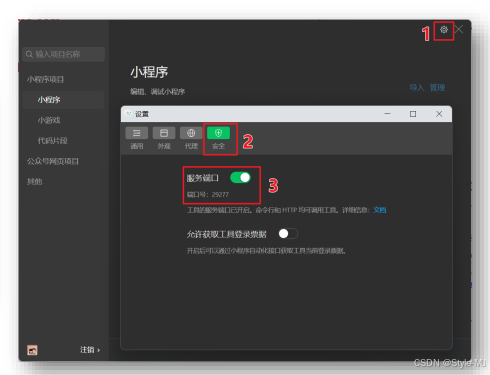
重新编译
 这样就已经可以了
2.2 命令行创建
(a)直接命令下载
vue3+ts版:
npx degit dcloudio/uni-preset-vue#vite-ts 项目名称
eg: npx degit dcloudio/uni-preset-vue#vite-ts uni-app-demo
以上方式因为受网络限制,很容易失败,可以使用b方案
(b)直接clone码云(gitee)上的空项目
- git地址
https://github.com/dcloudio/uni-preset-vuehttps://github.com/dcloudio/uni-preset-vue
https://gitee.com/dcloud/uni-preset-vue.git
- url
https://gitee.com/dcloud/uni-preset-vue/tree/vite
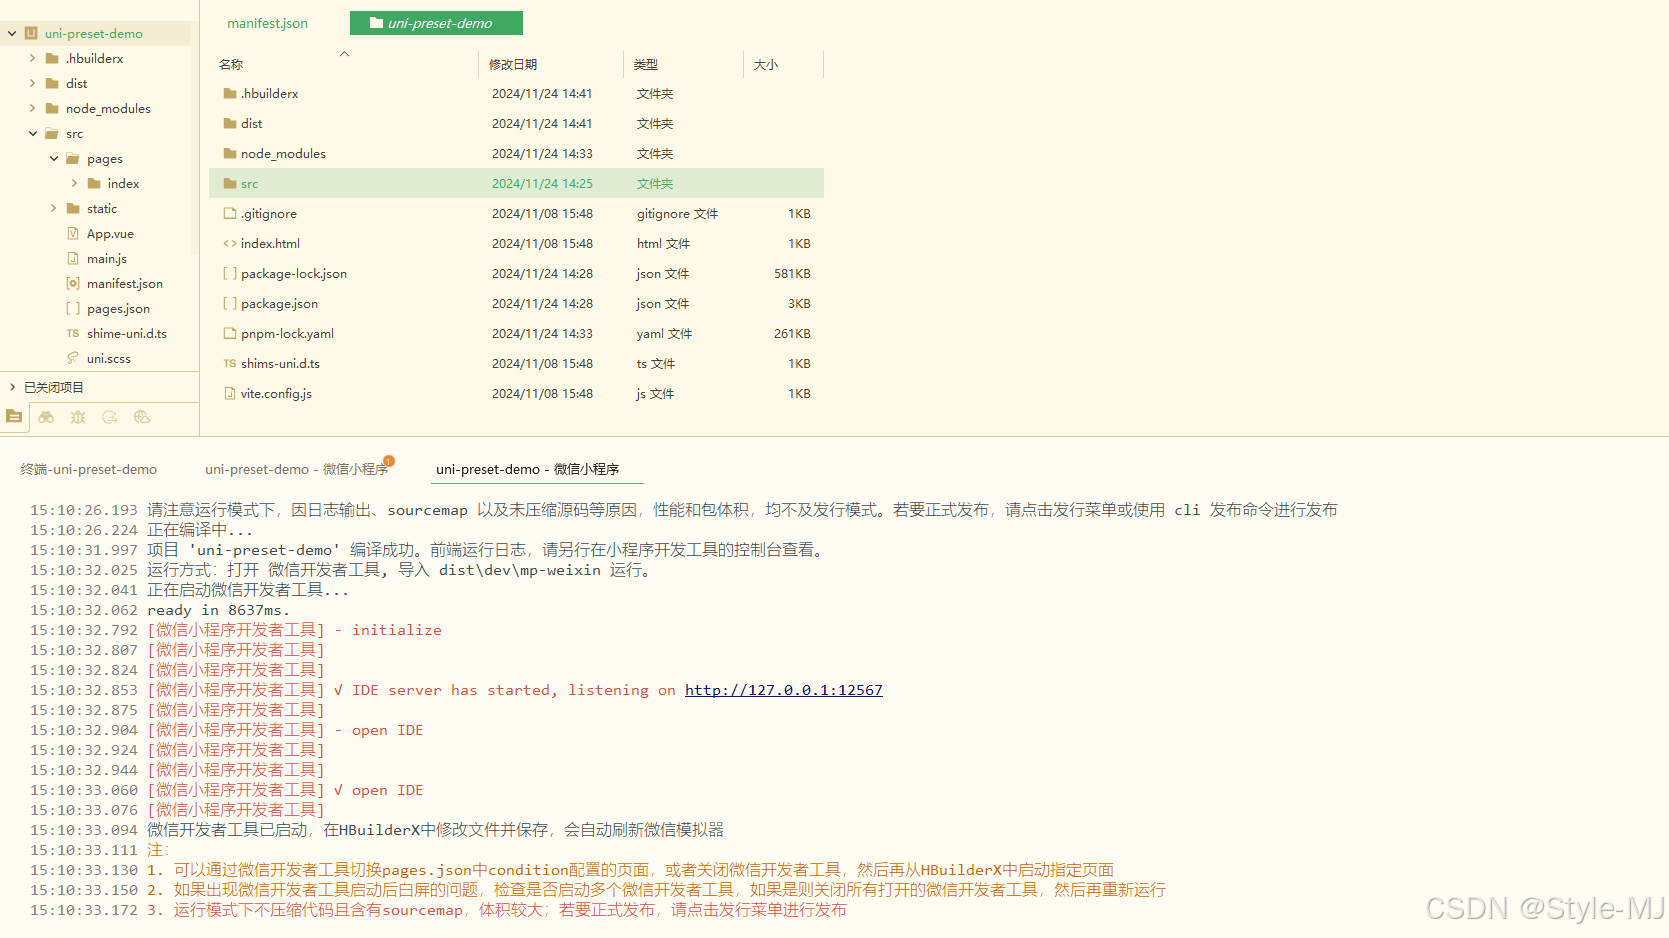
若是压缩包直接解压,若是clone改一下项目名字就行
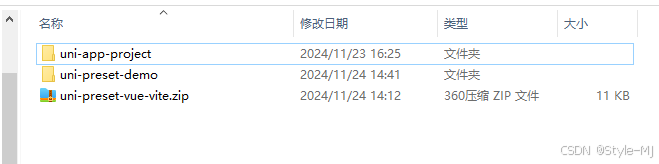
再用工具打开就行

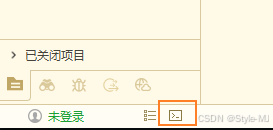
点击一下命令行【第一次会提示安装命令行插件,安装即可】
第一次需要安装一下pnpm工具【注意:若想执行npm前提安装了nodejs,如何安装请自己去看教程,这里不详说】
npm install pnpm -g
然后直接执行【执行以下命令安装包】
pnpm i
操作完后,再绑定appid【模拟器】就完成
2.3 打包方式
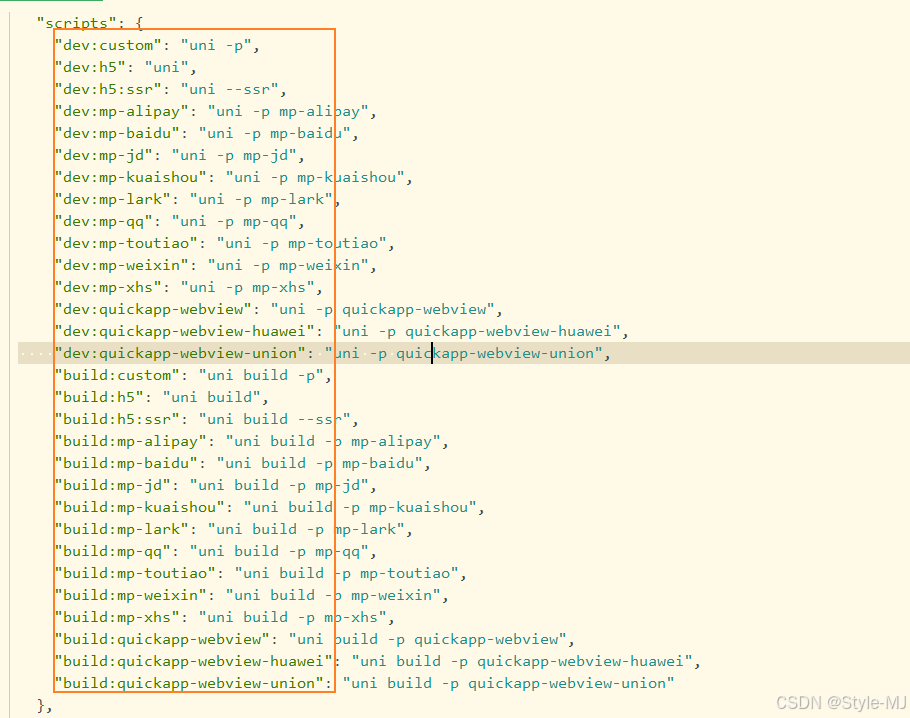
可以直接命令行:
pnpm dev:平台

eg:
pnpm dev:mp-weixin
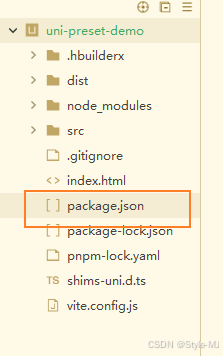
那平台可以哪里获取,可以查看
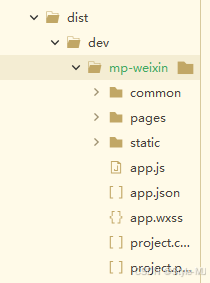
 打包结果:
打包结果:
2.4 通过webstrorm创建项目
(1)安装插件
(2) 创建项目
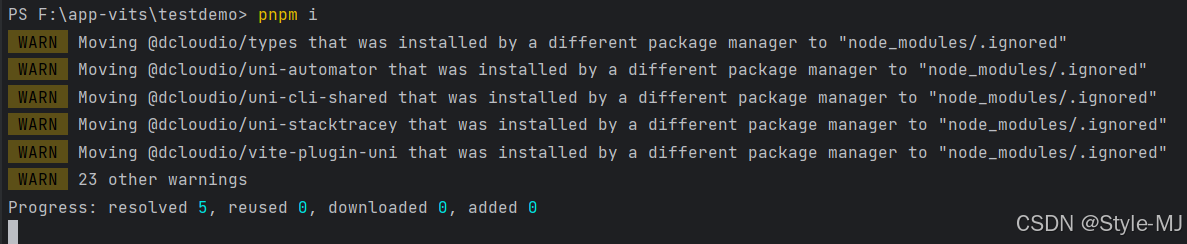
 (3)执行install
pnpm i
(4)绑定微信开发者工具以及xhbuilder
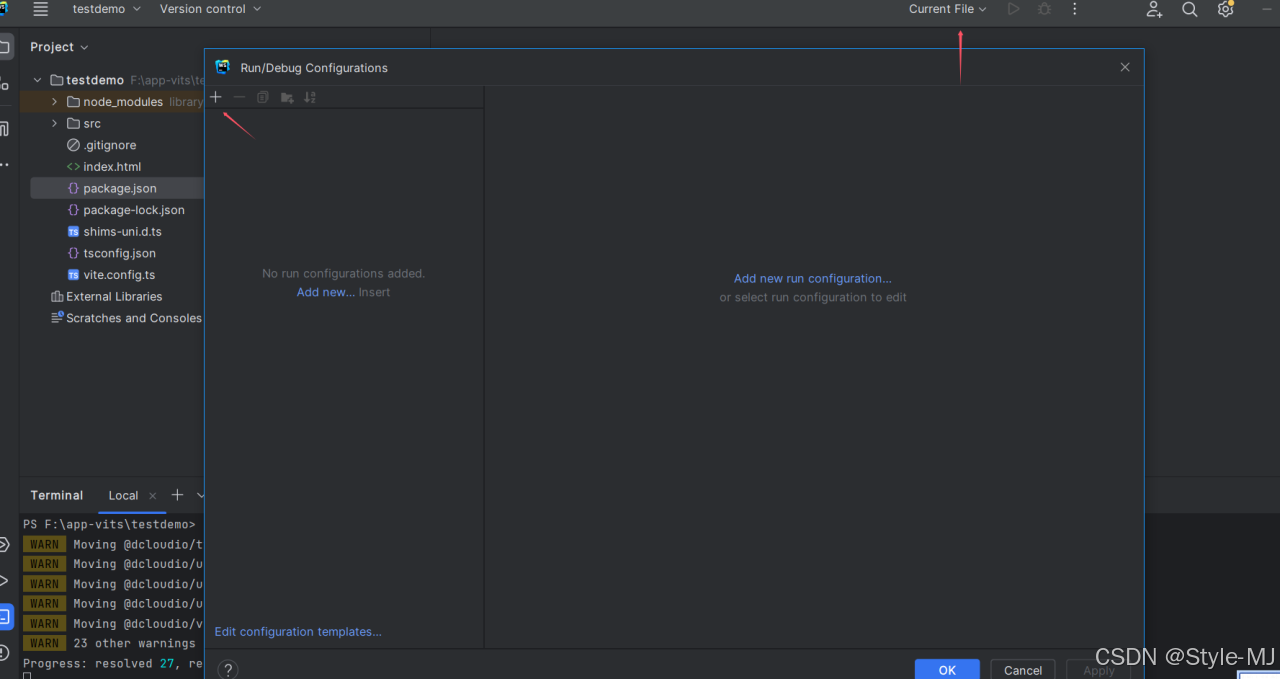
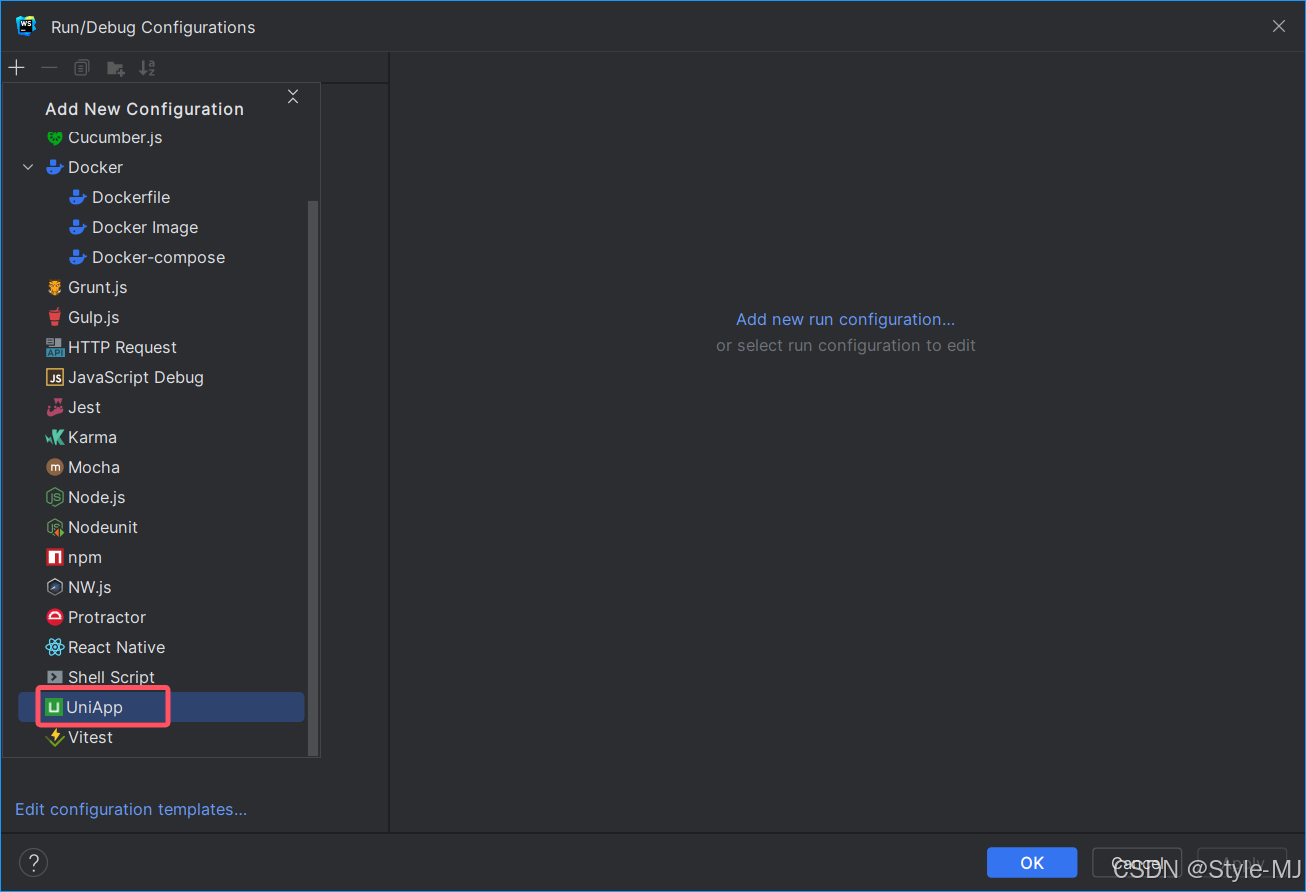
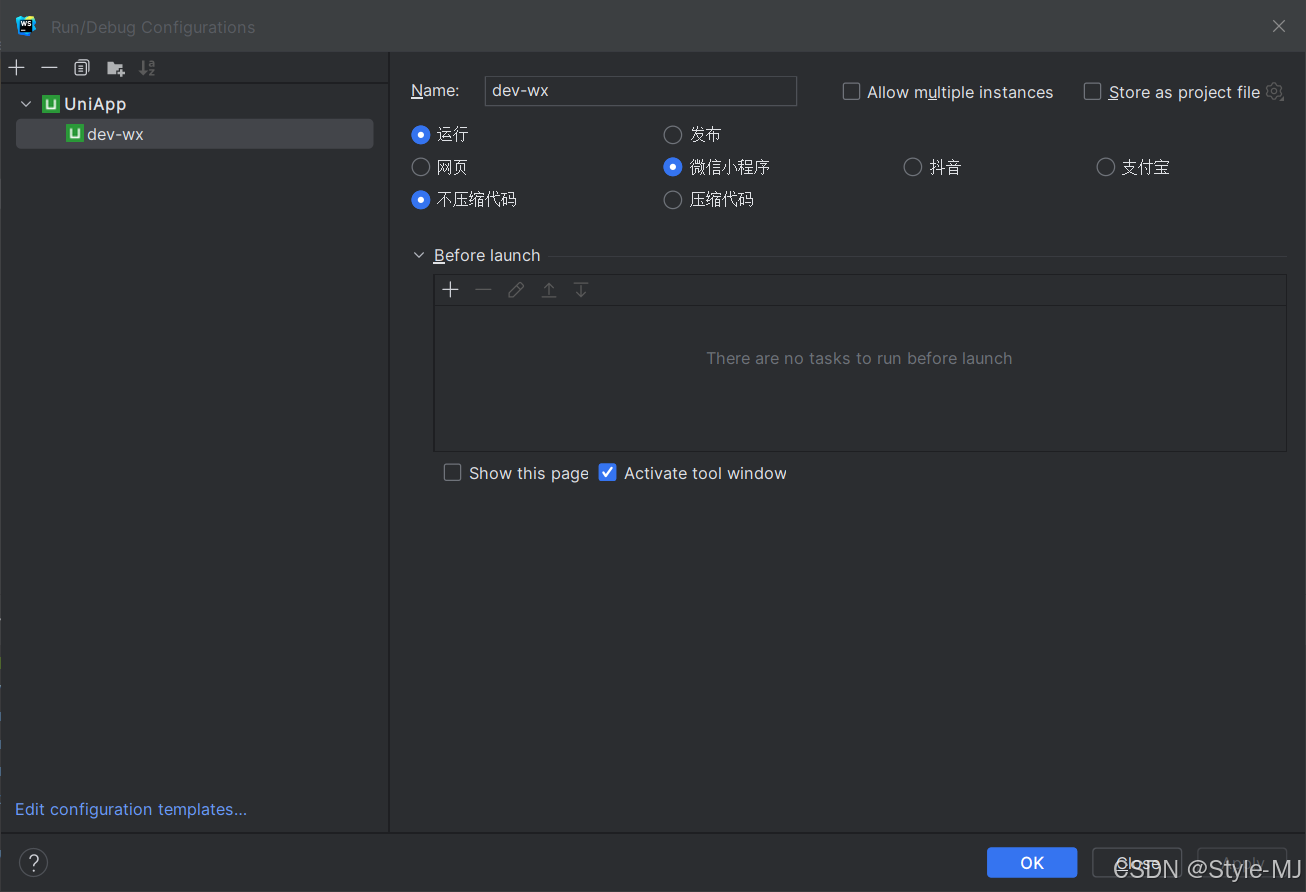
 (5)配置启动项
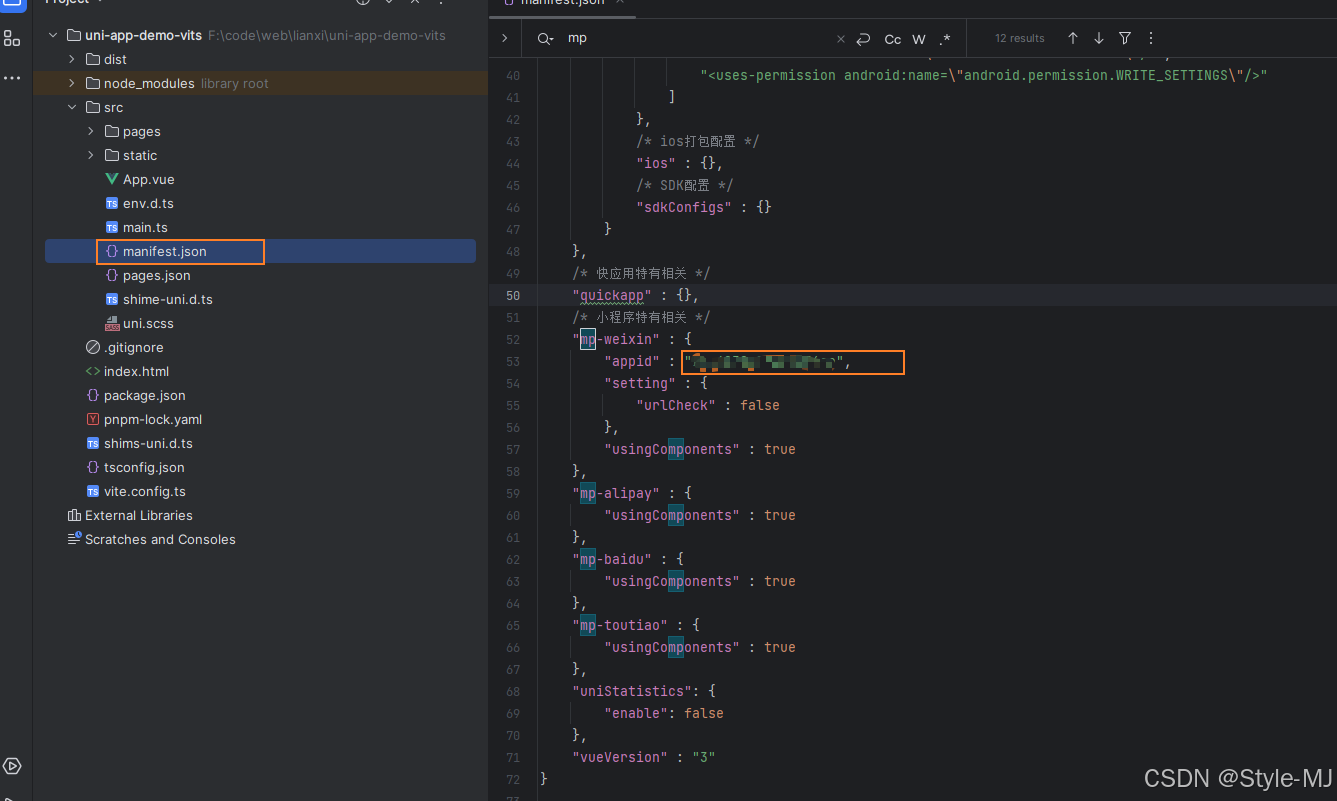
 指定appid
点击运行就行
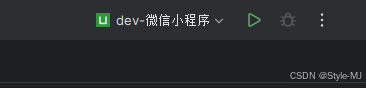
 完成
完成
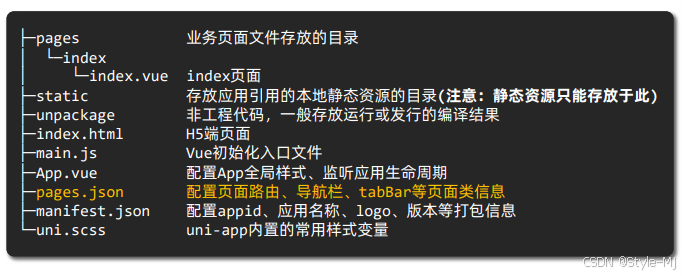
3、案例
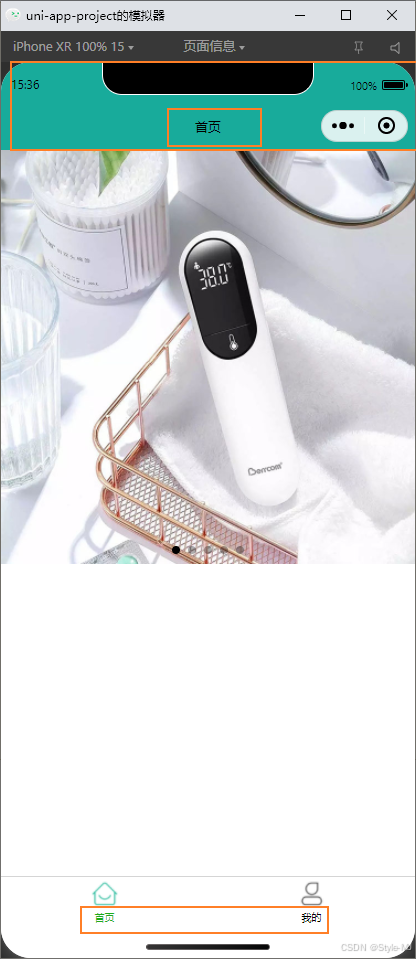
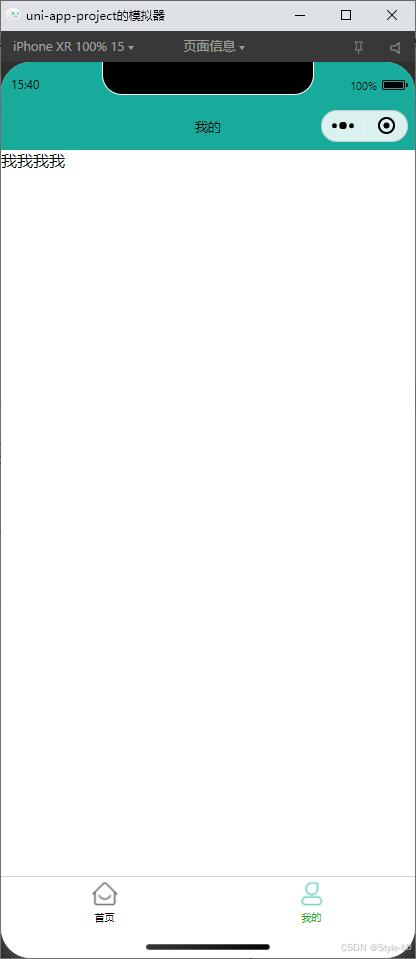
(1)描述
实现一个轮播图,能点击看大图并可以分享给好友
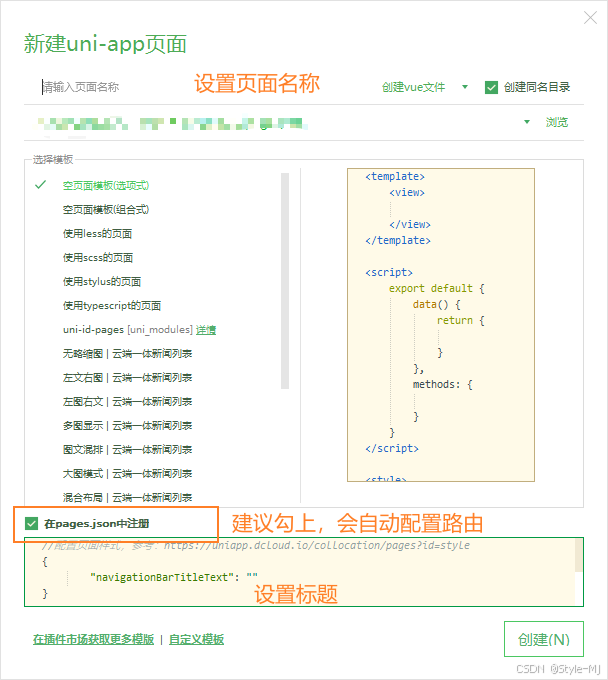
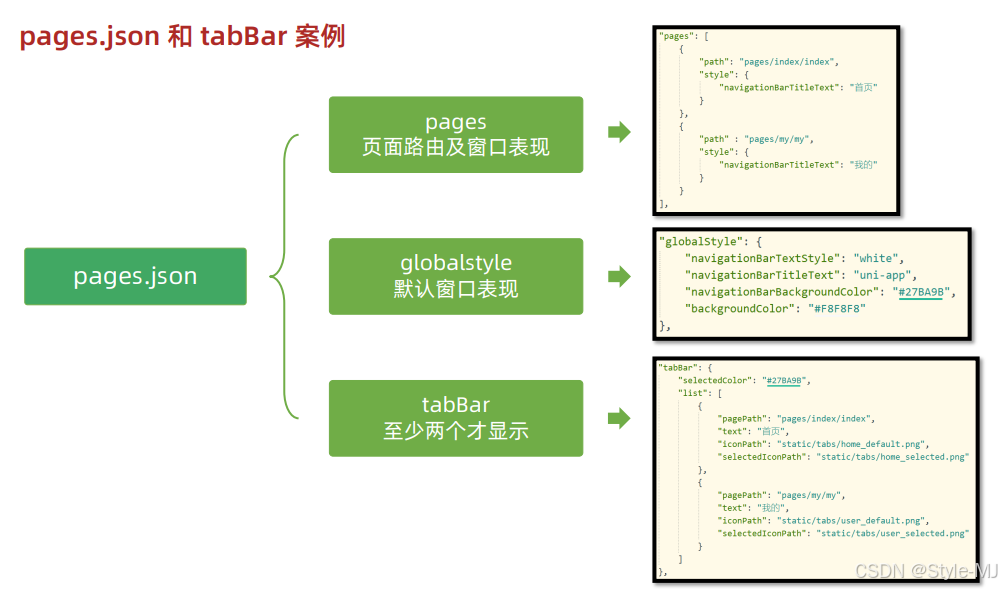
(a)设置页面的基本样式、标题、背景颜色
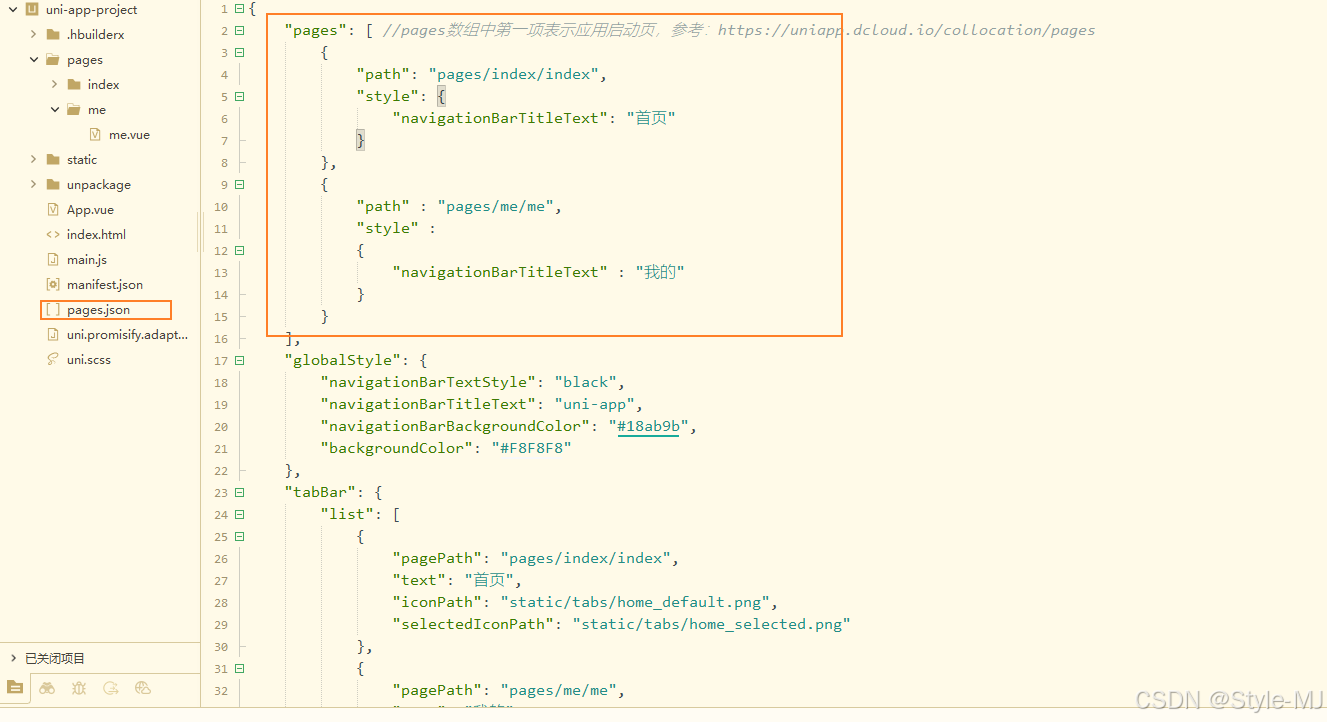
源码:
{
	"pages": [ //pages数组中第一项表示应用启动页,参考:https://uniapp.dcloud.io/collocation/pages
		{
			"path": "pages/index/index",
			"style": {
				"navigationBarTitleText": "首页"
			}
		},
		{
			"path" : "pages/me/me",
			"style" :
			{
				"navigationBarTitleText" : "我的"
			}
		}
	],
	"globalStyle": {
		"navigationBarTextStyle": "black",
		"navigationBarTitleText": "uni-app",
		"navigationBarBackgroundColor": "#18ab9b",
		"backgroundColor": "#F8F8F8"
	},
	"tabBar": {
		"list": [
			{
				"pagePath": "pages/index/index",
				"text": "首页",
				"iconPath": "static/tabs/home_default.png",
				"selectedIconPath": "static/tabs/home_selected.png"
			},
			{
				"pagePath": "pages/me/me",
				"text": "我的",
				"iconPath": "static/tabs/user_default.png",
				"selectedIconPath": "static/tabs/user_selected.png"
			}
		]
	},
	"uniIdRouter": {},
	"condition" : { //模式配置,仅开发期间生效
		"current": 0, //当前激活的模式(list 的索引项)
		"list": [
			{
				"name": "", //模式名称
				"path": "", //启动页面,必选
				"query": "" //启动参数,在页面的onLoad函数里面得到
			}
		]
	}
}
(b)新增页面
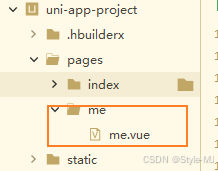
轮播图源码
<template>
	<swiper class="banner" indicator-dots circular :autoplay="true">
		<swiper-item v-for="item in pictures" :key="item.id">
			<image @tap="onPreviewImage(item.url)" :src="item.url"></image>
		</swiper-item>
	</swiper>
</template>

<script>
	export default {
		data() {
			return {
				title: 'Hello',
				// 轮播图数据
				pictures: [{
						id: '1',
						url: "https://pcapi-xiaotuxian-front-devtest.itheima.net/miniapp/uploads/goods_preview_1.jpg"
					},
					{
						id: '2',
						url: "https://pcapi-xiaotuxian-front-devtest.itheima.net/miniapp/uploads/goods_preview_2.jpg"
					},
					{
						id: '3',
						url: "https://pcapi-xiaotuxian-front-devtest.itheima.net/miniapp/uploads/goods_preview_3.jpg"
					},
					{
						id: '4',
						url: "https://pcapi-xiaotuxian-front-devtest.itheima.net/miniapp/uploads/goods_preview_4.jpg"
					},
					{
						id: '5',
						url: "https://pcapi-xiaotuxian-front-devtest.itheima.net/miniapp/uploads/goods_preview_5.jpg"
					},
				]
			}
		},
		onLoad() {

		},
		methods: {
			onPreviewImage(url) {
               uni.previewImage({
				   urls: this.pictures.map(v=>v.url),
				   current: url
			   })
			}
		}
	}
</script>

<style>
	.banner,
	.banner image {
		width: 750rpx;
		height: 750rpx;
	}
</style>
注意:
- 查看文档uni-app文档
直接将光标放到标签上就会弹出链接

- 查看微信官方文档
同理
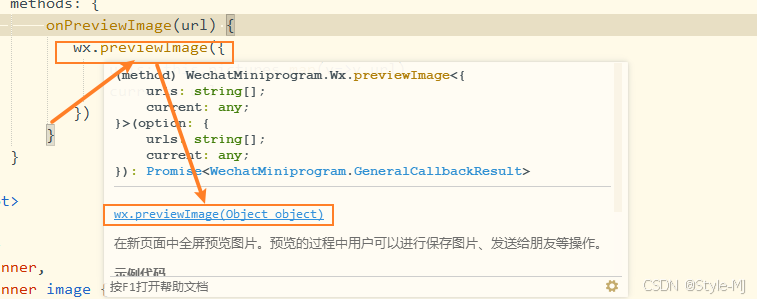
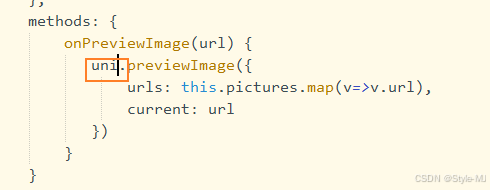
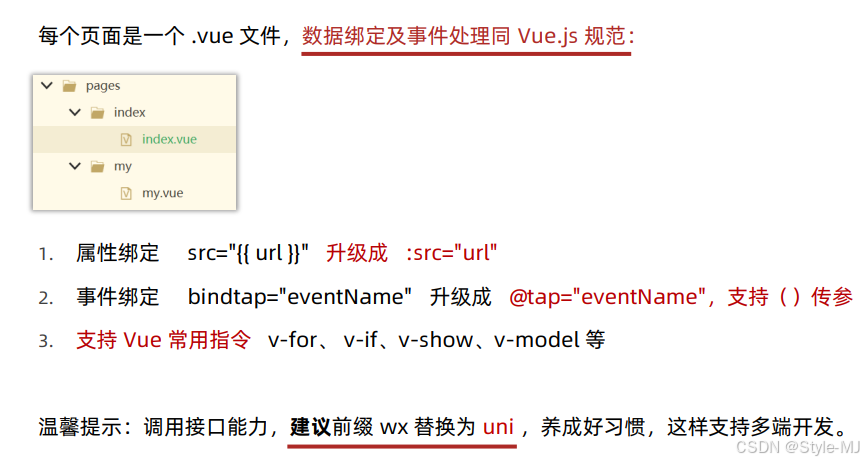
- 在页面中建议不用wx等特平台api,这对多端平台不友好,需要管理多份
我们可以使用uni代替,当打包时候会根据打包方式决定打成那个平台
小结:
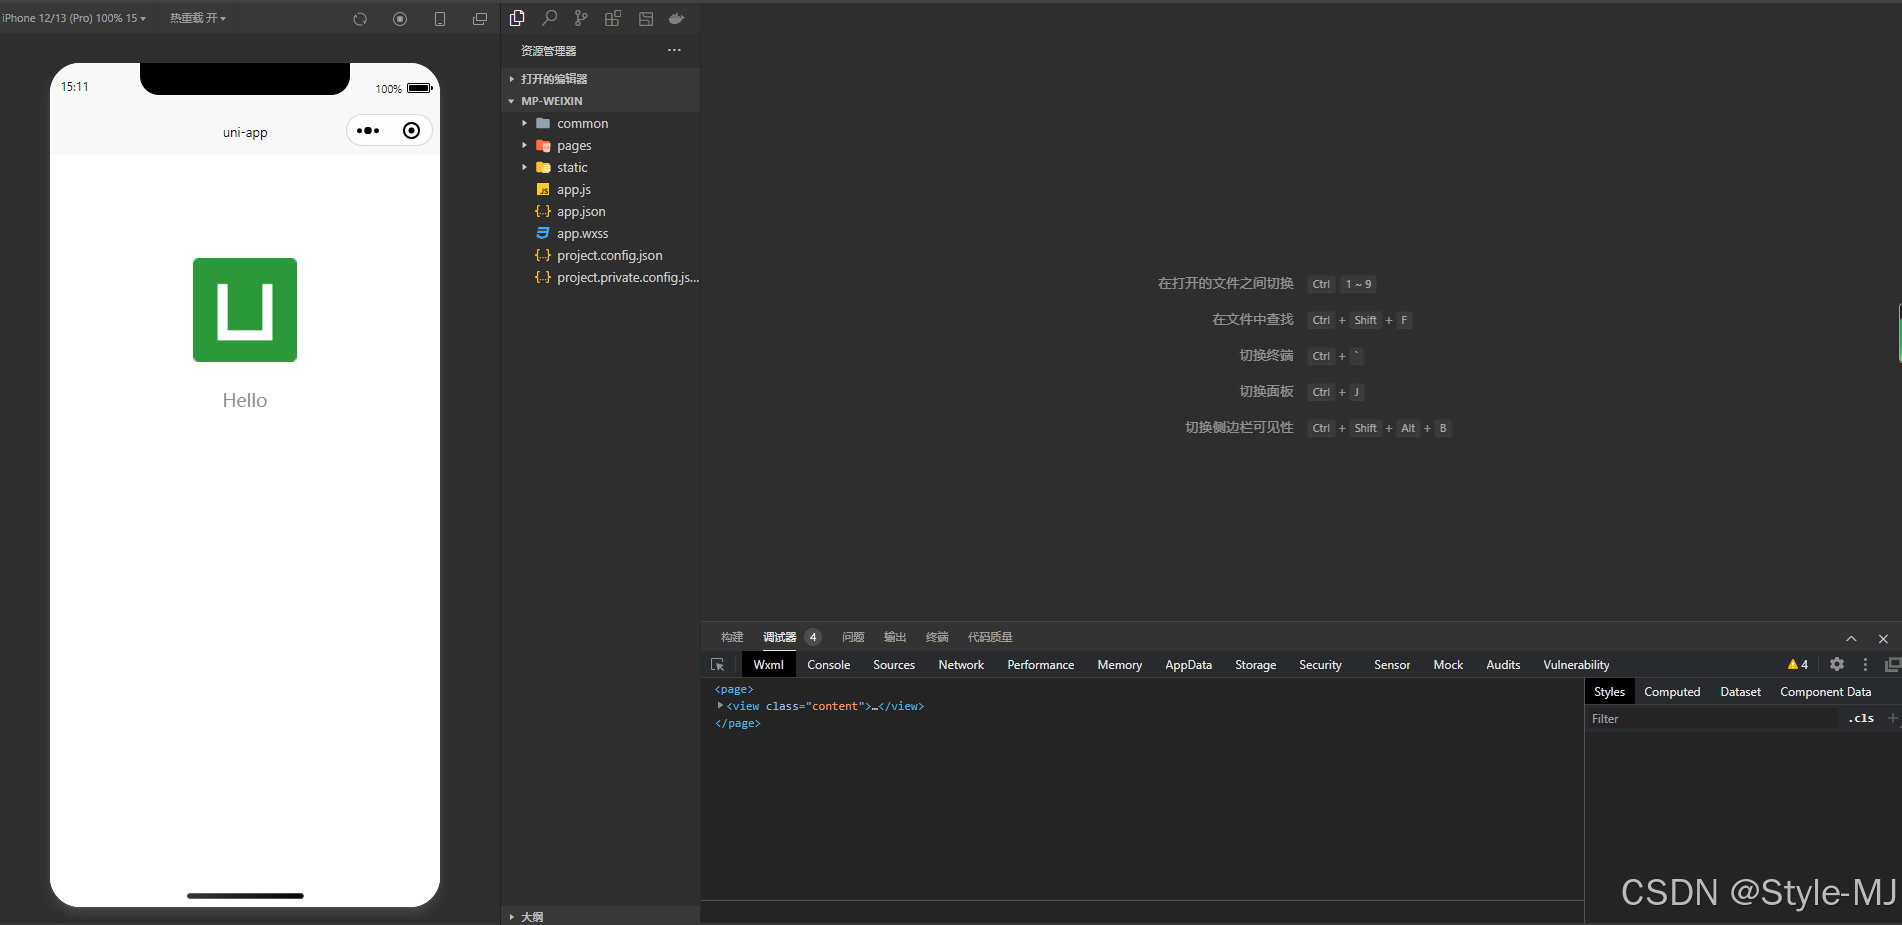
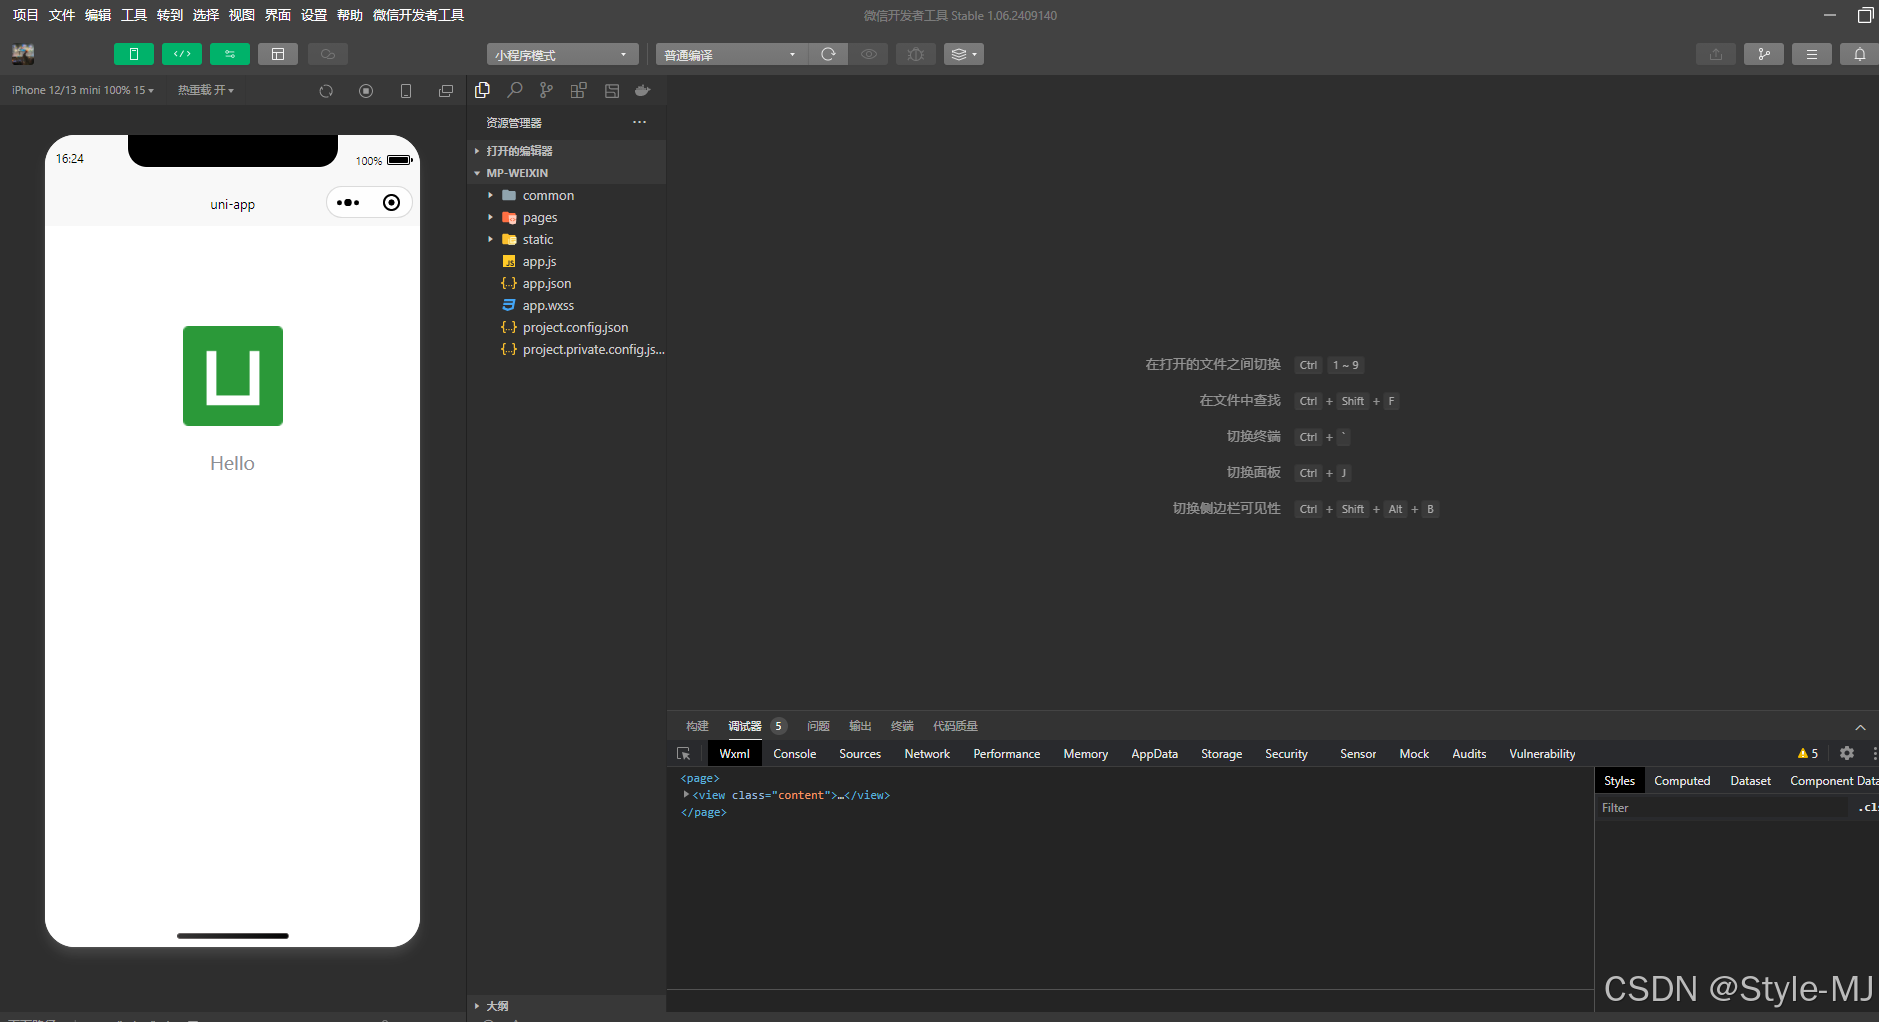
4、微信开发者工具导入项目
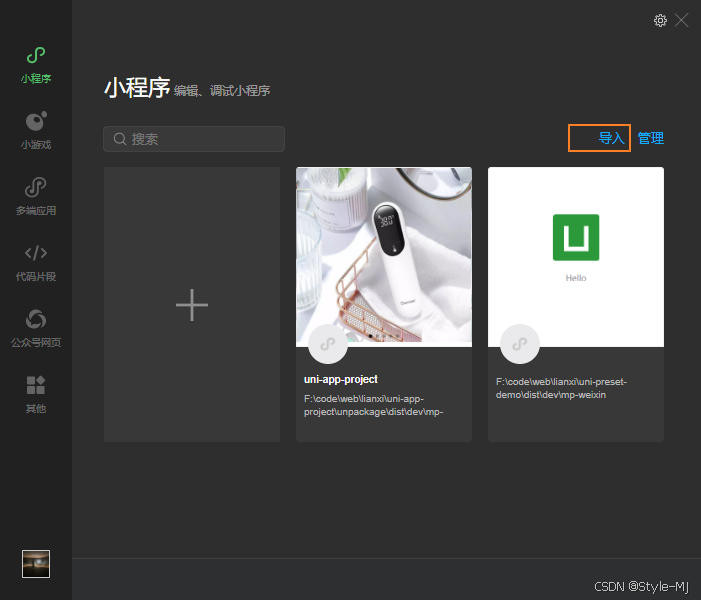
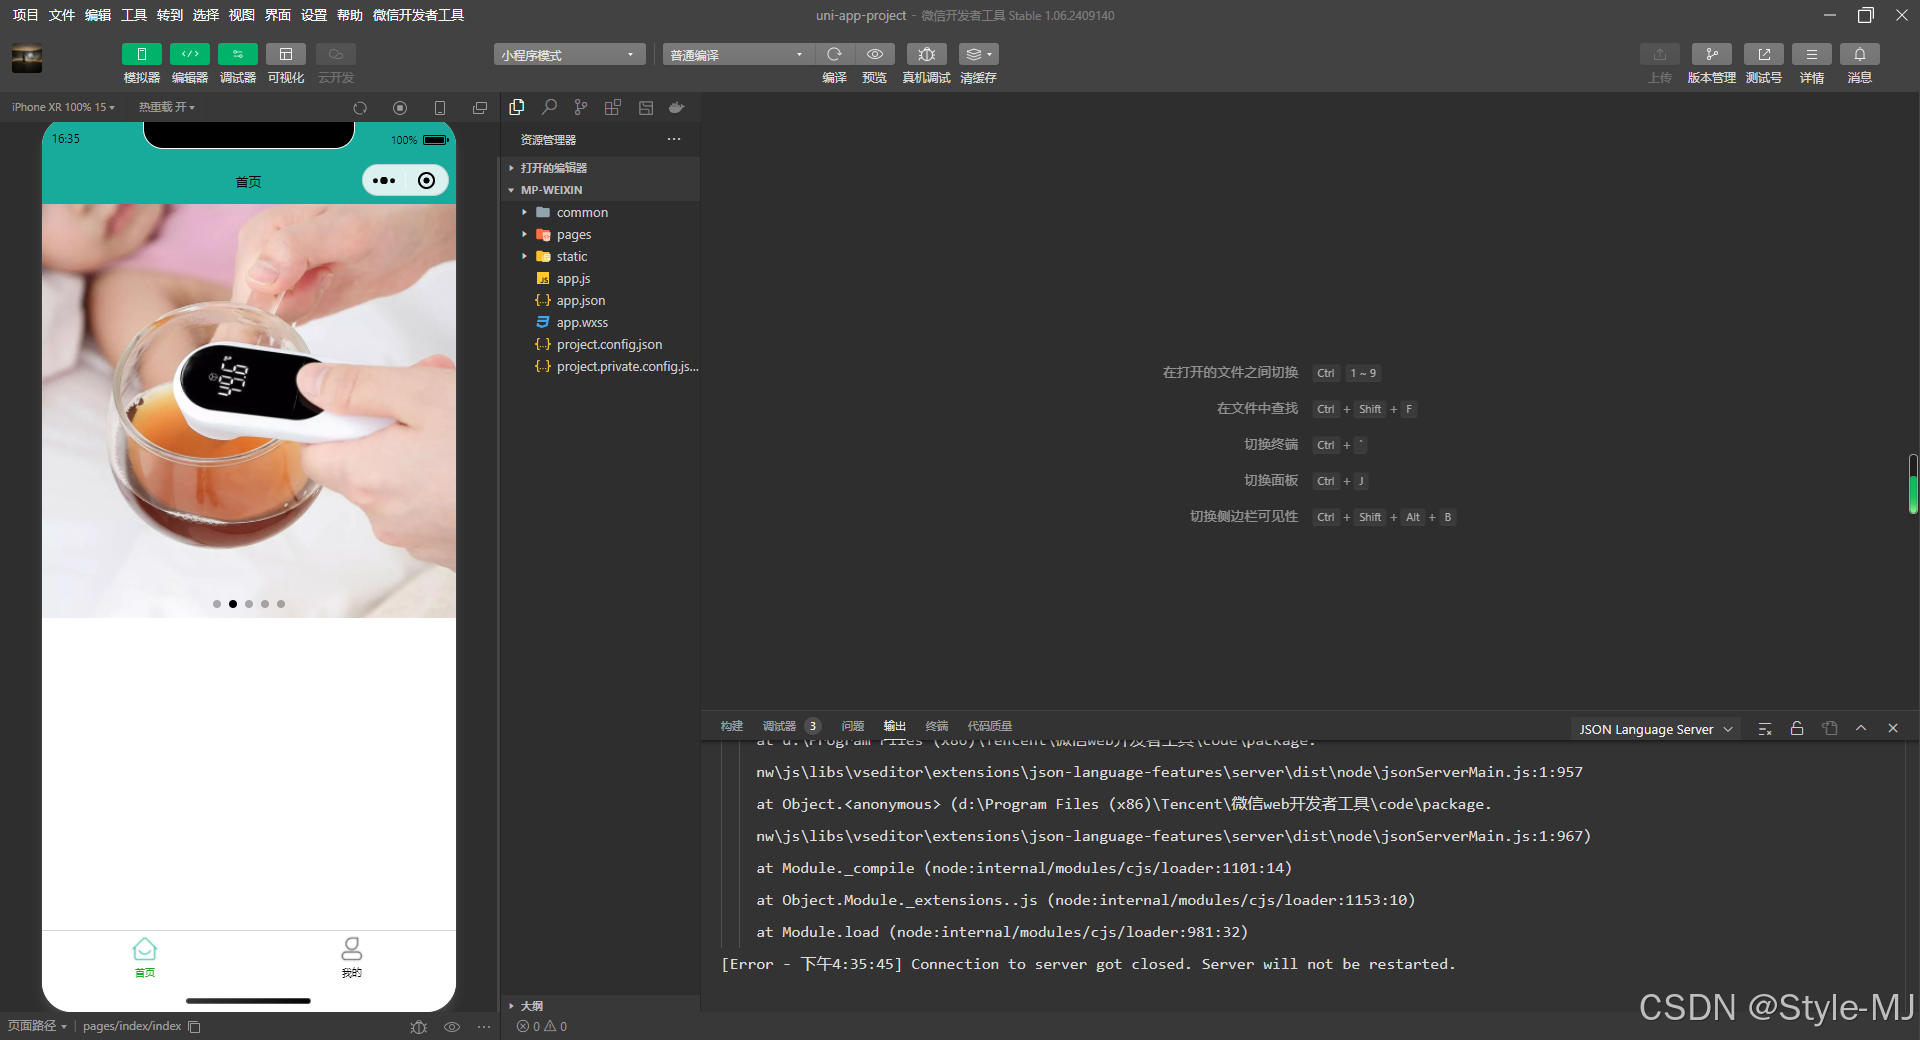 完成
完成
运行流程:


 被折叠的 条评论
为什么被折叠?
被折叠的 条评论
为什么被折叠?
 到【灌水乐园】发言


