


 这篇博客适合初学者,详细介绍了如何配置Maven、Spring和Spring MVC的模板,包括引入命名空间、集成到web.xml以及配置Spring框架的数据源jdbc。
此内容适合初学者(本人)参考,大佬勿喷
1,配置springmvc模板
主要引入命名空间
<?xml version="1.0" encoding="UTF-8"?>
<beans xmlns="http://www.springframework.org/schema/beans"
       xmlns:mvc="http://www.springframework.org/schema/mvc"
       xmlns:xsi="http://www.w3.org/2001/XMLSchema-instance"
       xsi:schemaLocation="
       http://www.springframework.org/schema/beans http://www.springframework.org/schema/beans/spring-beans.xsd
        http://www.springframework.org/schema/mvc http://www.springframework.org/schema/mvc/spring-mvc.xsd
">


    <!--mvc注解驱动-->
    <mvc:annotation-driven/>

    <!--配置视图解析器-->
    <bean class="org.springframework.web.servlet.view.InternalResourceViewResolver">
        <property name="prefix" value="/pages/"/>
        <property name="suffix" value=".jsp"/>
    </bean>


    <!--静态资源访问权限开放-->
    <mvc:default-servlet-handler/>
</beans>
2,配置web.xml 集成两个框架
<?xml version="1.0" encoding="UTF-8"?>
<web-app xmlns="http://xmlns.jcp.org/xml/ns/javaee"
         xmlns:xsi="http://www.w3.org/2001/XMLSchema-instance"
         xsi:schemaLocation="http://xmlns.jcp.org/xml/ns/javaee http://xmlns.jcp.org/xml/ns/javaee/web-app_4_0.xsd"
         version="4.0">

        <!--全局初始化参数-->
        <context-param>
            <param-name>contextConfigLocation</param-name>
            <param-value>classpath:applicationContext.xml</param-value>
        </context-param>
    <!--spring的监听器,让spring和springmvc集成到web中 -->
    <listener>
        <listener-class>org.springframework.web.context.ContextLoaderListener</listener-class>
    </listener>


    <!--springmvc的前端控制器-->
    <servlet>
        <servlet-name>DispatcherServlet</servlet-name>
        <servlet-class>org.springframework.web.servlet.DispatcherServlet</servlet-class>
        <init-param>
            <param-name>contextConfigLocation</param-name>
            <param-value>classpath:spring-mvc.xml</param-value>
        </init-param>
        <load-on-startup>1</load-on-startup>
    </servlet>

    <!--这里路径加/,说明所有的资源都要过这个控制器,就需要在spring开启静态资源访问权限-->
    <servlet-mapping>
        <servlet-name>DispatcherServlet</servlet-name>
        <url-pattern>/</url-pattern>
    </servlet-mapping>
</web-app>
3,配置spring框架代码
<?xml version="1.0" encoding="UTF-8"?>
<beans xmlns="http://www.springframework.org/schema/beans"
       xmlns:xsi="http://www.w3.org/2001/XMLSchema-instance"
       xmlns:context="http://www.springframework.org/schema/context"
       xsi:schemaLocation="
        http://www.springframework.org/schema/beans http://www.springframework.org/schema/beans/spring-beans.xsd
       http://www.springframework.org/schema/context http://www.springframework.org/schema/context/spring-context.xsd

">

    <!--加载数据源-->
    <context:property-placeholder location="jdbc.properties"/>
    <bean id="dataSource" class="com.mchange.v2.c3p0.ComboPooledDataSource">
        <property name="driverClass" value="${jdbc.driver}"/>
        <property name="jdbcUrl" value="${jdbc.url}"/>
        <property name="user" value="${jdbc.username}"/>
        <property name="password" value="${jdbc.password}"/>
    </bean>
    <!--配置jdbcTemplate模板对象-->
    <bean id="jdbcTemplate" class="org.springframework.jdbc.core.JdbcTemplate">
        <property name="dataSource" ref="dataSource"/>
    </bean>
</beans>
数据源jdbc代码
jdbc.driver=com.mysql.jdbc.Driver
jdbc.url=jdbc:mysql://localhost:3306/test
jdbc.username=root
jdbc.password=root
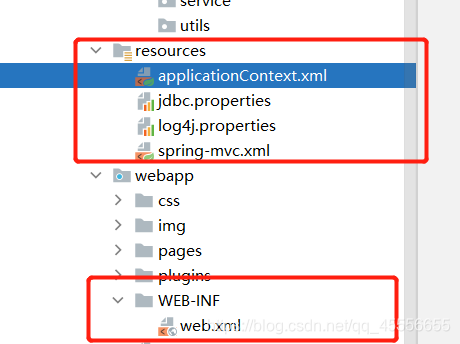
常用命名:


 651
651

 被折叠的 条评论
为什么被折叠?
被折叠的 条评论
为什么被折叠?
 到【灌水乐园】发言


