


 本文详细介绍了如何配置ActiveMQ以启用其控制台,并通过修改jetty.xml文件设置访问地址和端口。接着讲解了如何在Linux和Windows上关闭防火墙以允许连接。然后,展示了使用SpringBoot创建消息生产者和消费者的过程,包括pom.xml的配置、application.yml中ActiveMQ连接参数的设定、消息生产类和消费类的实现。最后,提供了源码供参考。
一.avtiveMQ的控制台【activemq连接解决方案】
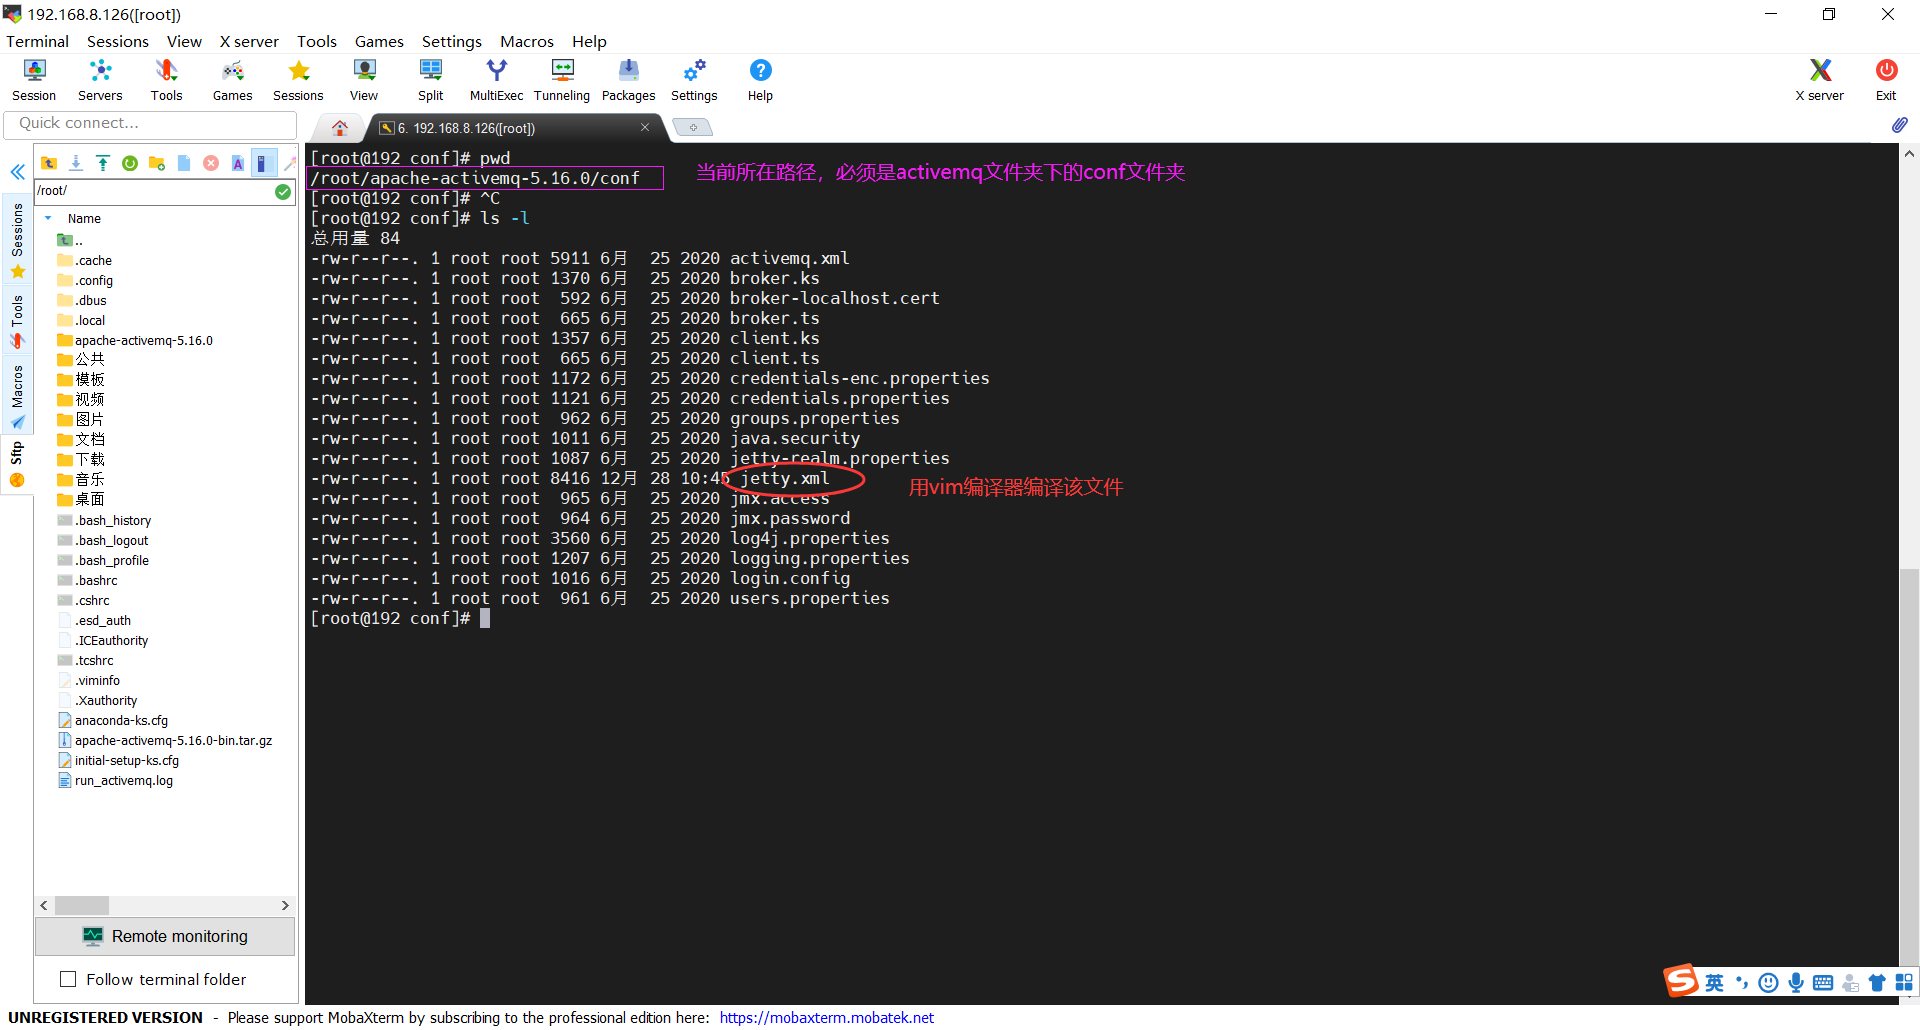
1.设置activemq的浏览器访问地址
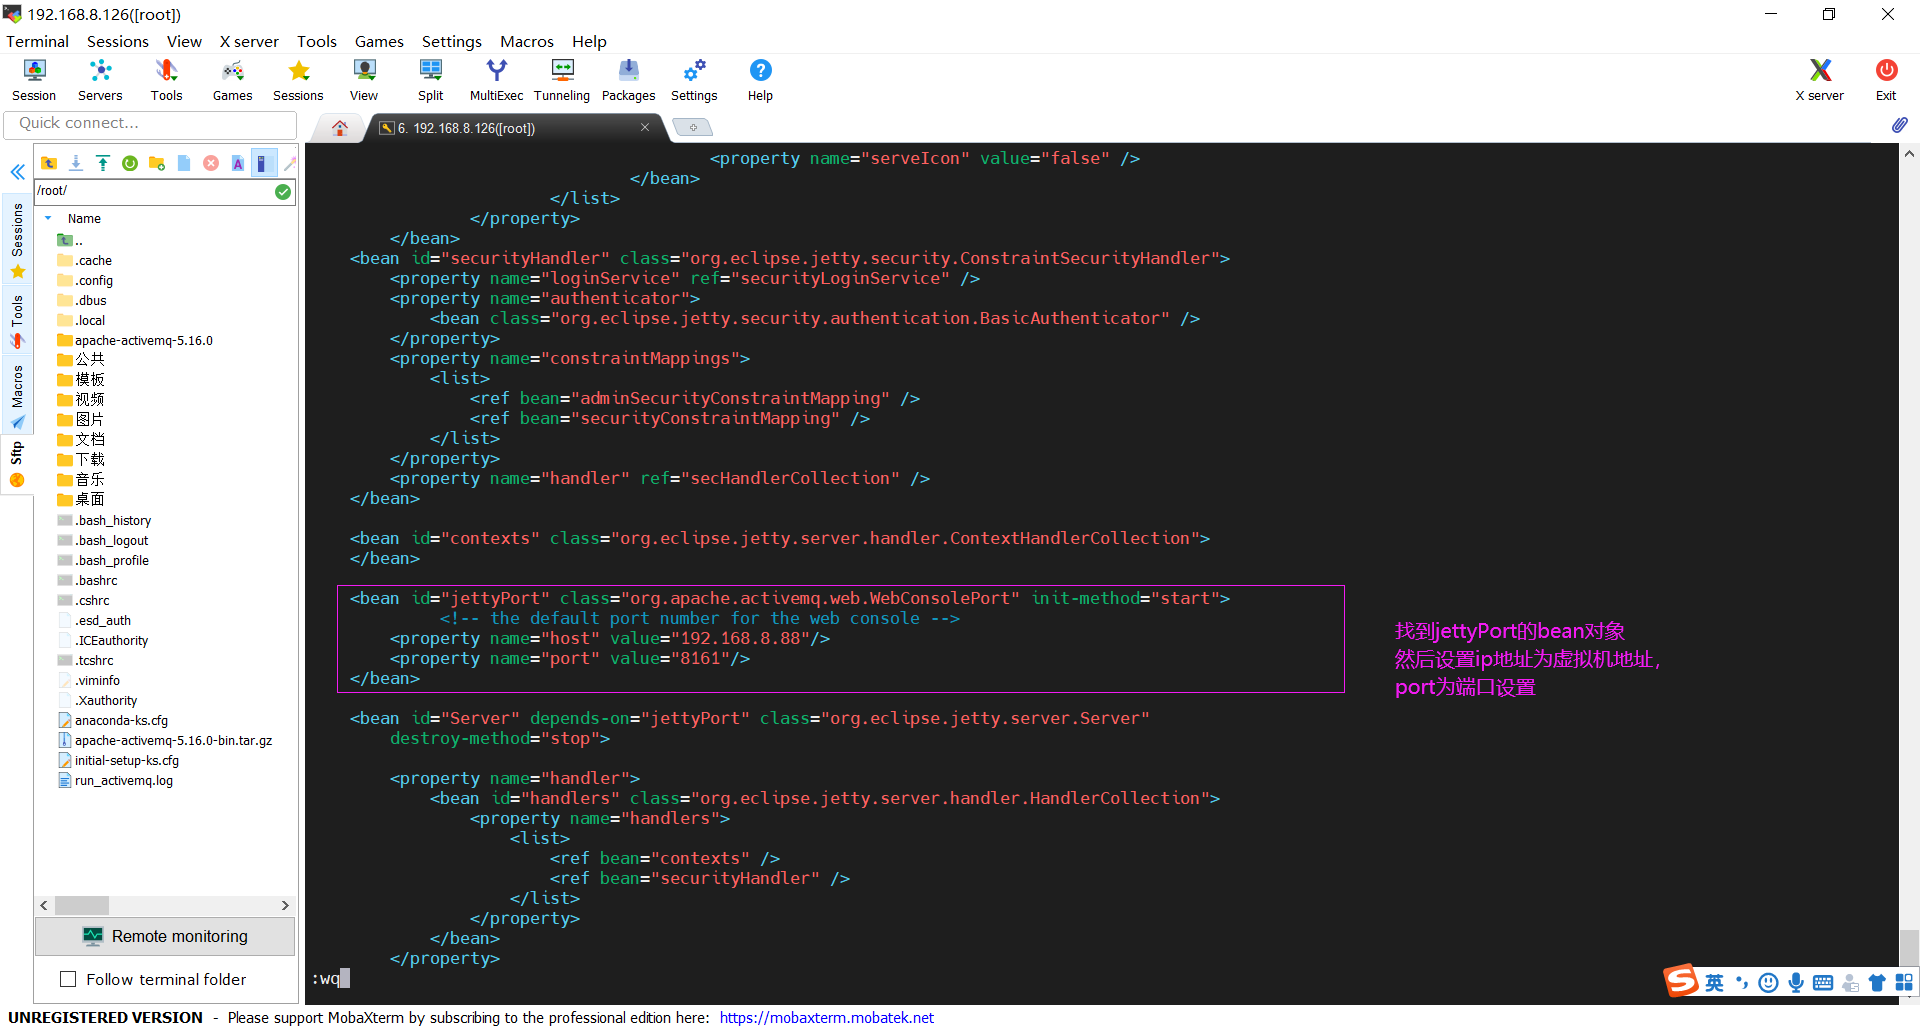
在apache-activemq-5.16.0/conf文件夹下的jetty.xml文件编译下面代码块。
(1)代码块
<!-- 在apache-activemq-5.16.0/conf文件夹下的jetty.xml文件编译下面代码块 -->
<bean id="jettyPort" class="org.apache.activemq.web.WebConsolePort" init-method="start">
             <!-- 设置ip地址 -->
        <property name="host" value="192.168.8.88"/>
        <!-- 设置访问端口 -->
        <property name="port" value="8161"/>
    </bean>
(2)范例
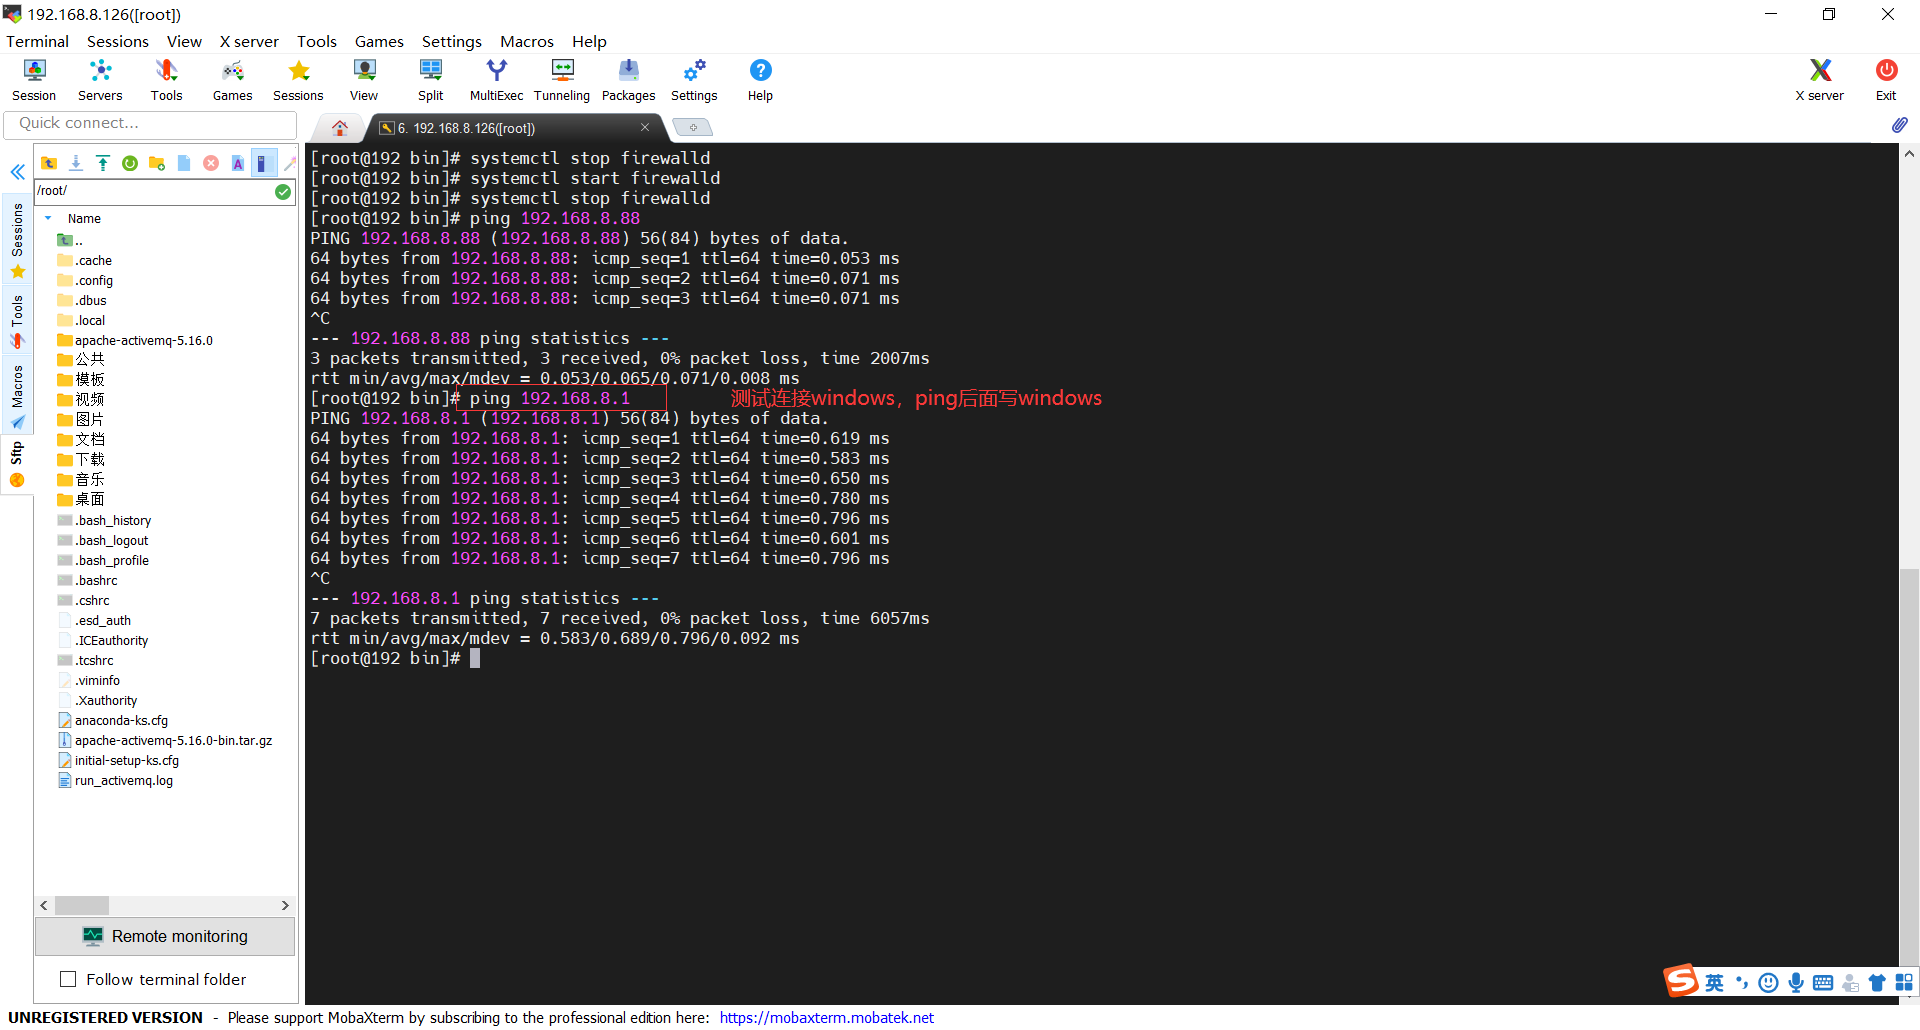
2.设置linux的防火墙关闭和window关闭防火墙的指令
(1)linux的防火墙
# 开启防火墙
systemctl start firewalld
# 关闭防火墙
systemctl stop firewalld
# 查看防火墙状态
systemctl status firewalld
(2)window的防火墙
# 开启防火墙
netsh advfirewall set allprofiles state on
# 关闭防火墙
netsh advfirewall set allprofiles state off
# 查看防火墙状态
Netsh Advfirewall show allprofiles
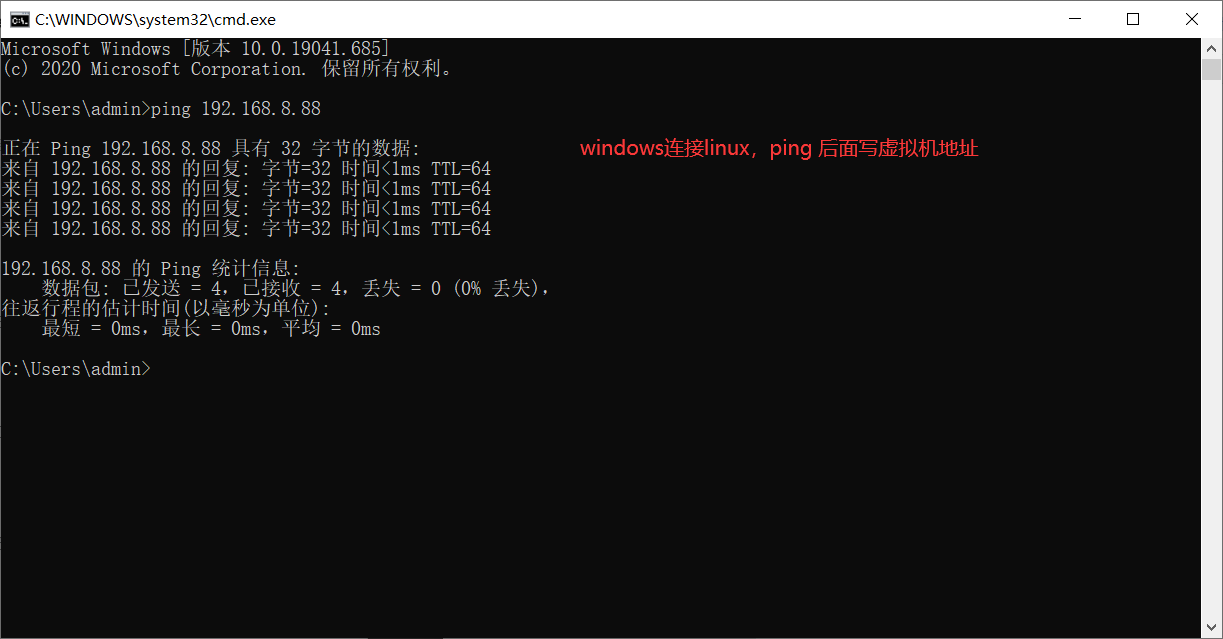
(3)测试ping的连接
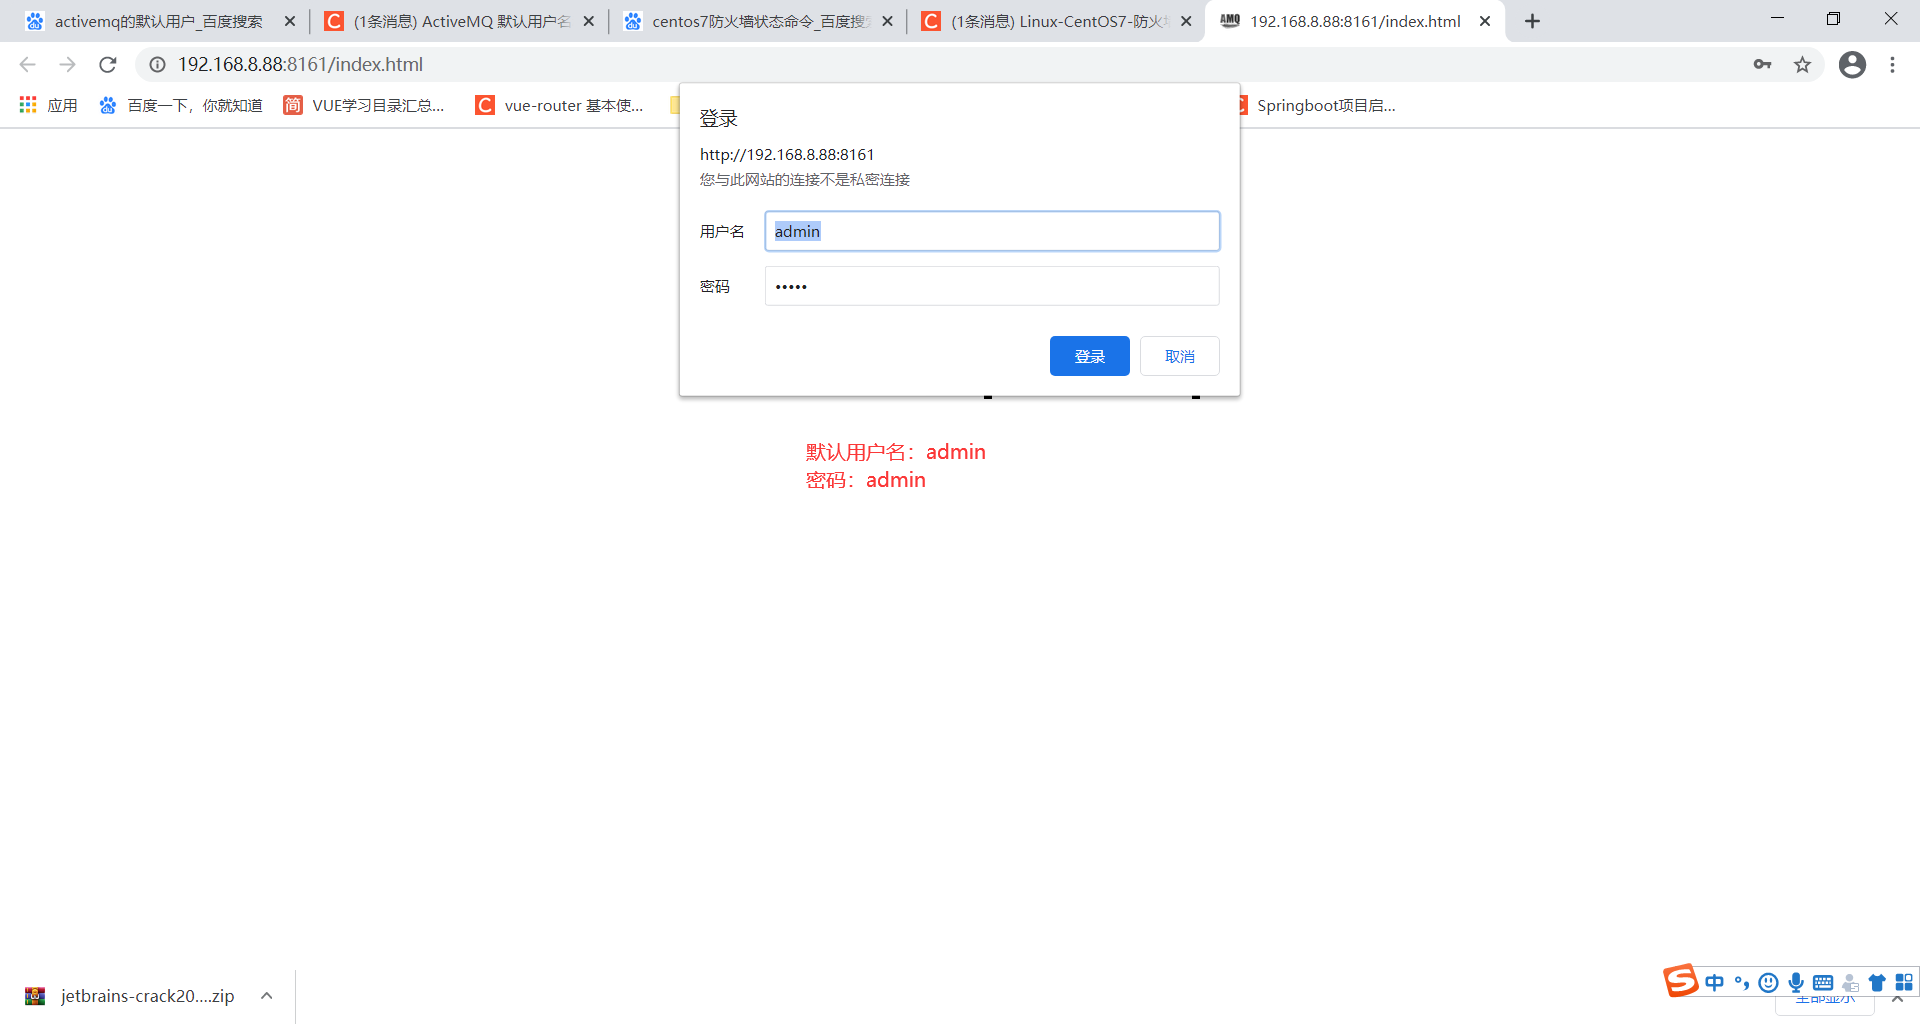
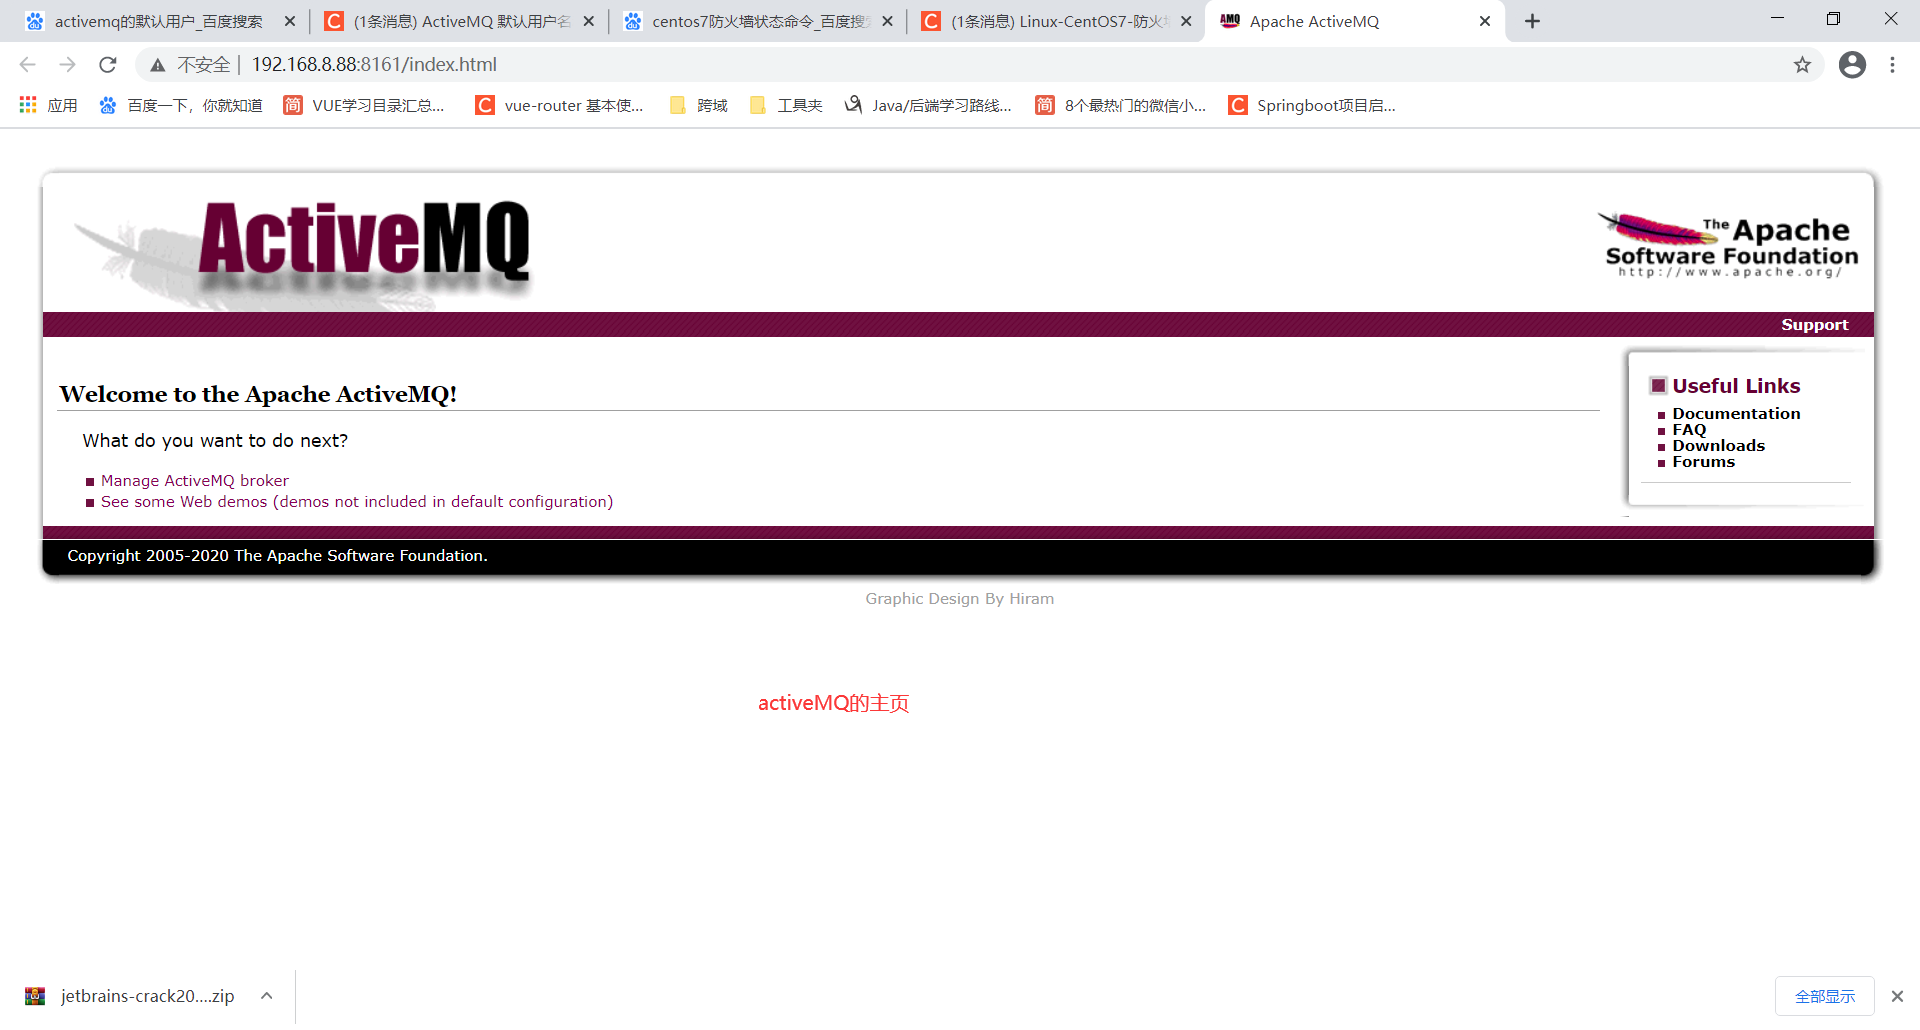
4.访问activeMQ的控制台
(1)访问地址
# 访问地址
http://192.168.8.88:8161/
# 默认登录的用户名和密码
账号:admin
密码:admin
(2)范例
二.连接端口的总结
采用61616端口提供JMS服务。
采用8161端口提供管理控制台服务。
三.主题的发布者【消息生产类】
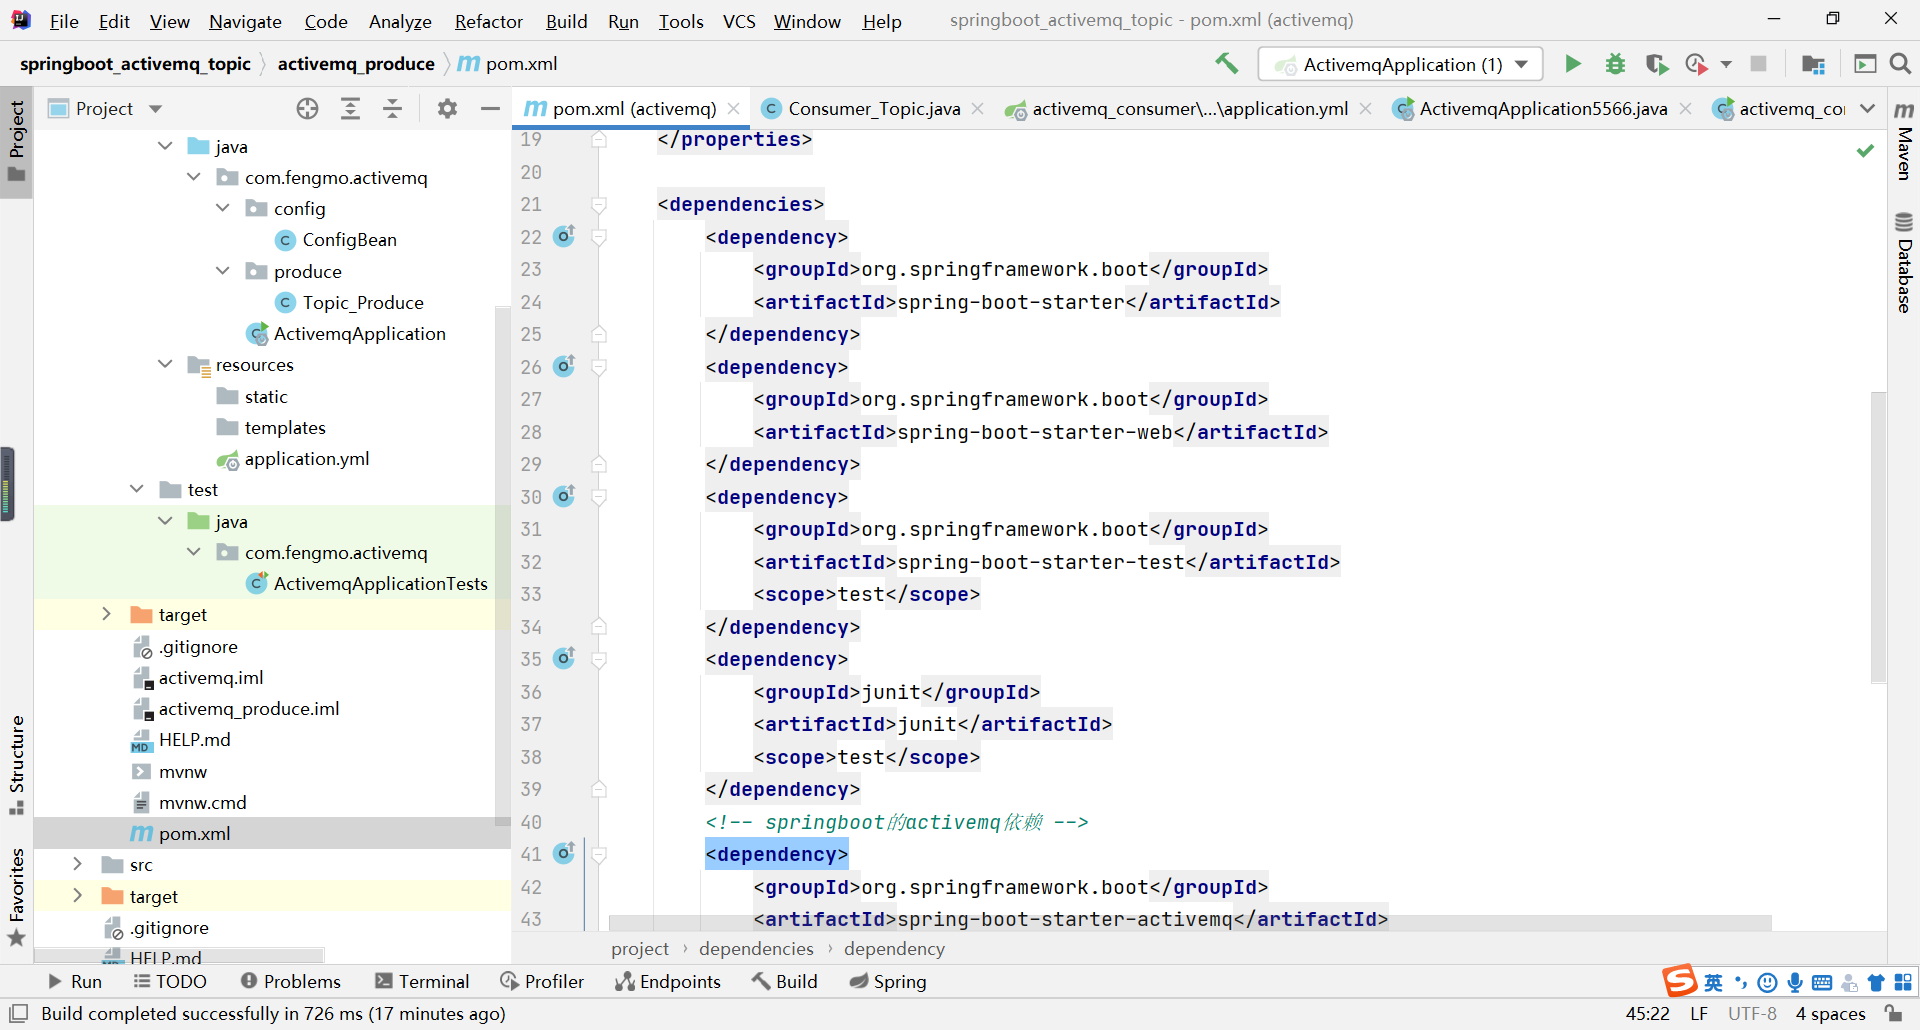
1.pom.xml
(1)代码块
<?xml version="1.0" encoding="UTF-8"?>
<project xmlns="http://maven.apache.org/POM/4.0.0" xmlns:xsi="http://www.w3.org/2001/XMLSchema-instance"
xsi:schemaLocation="http://maven.apache.org/POM/4.0.0 https://maven.apache.org/xsd/maven-4.0.0.xsd">
<modelVersion>4.0.0</modelVersion>
<parent>
<groupId>org.springframework.boot</groupId>
<artifactId>spring-boot-starter-parent</artifactId>
<version>2.4.1</version>
<relativePath/> <!-- lookup parent from repository -->
</parent>
<groupId>com.fengmo</groupId>
<artifactId>activemq</artifactId>
<version>0.0.1-SNAPSHOT</version>
<name>activemq</name>
<description>Demo project for Spring Boot</description>
<properties>
<java.version>1.8</java.version>
</properties>
<dependencies>
<dependency>
<groupId>org.springframework.boot</groupId>
<artifactId>spring-boot-starter</artifactId>
</dependency>
<dependency>
<groupId>org.springframework.boot</groupId>
<artifactId>spring-boot-starter-web</artifactId>
</dependency>
<dependency>
<groupId>org.springframework.boot</groupId>
<artifactId>spring-boot-starter-test</artifactId>
<scope>test</scope>
</dependency>
<dependency>
<groupId>junit</groupId>
<artifactId>junit</artifactId>
<scope>test</scope>
</dependency>
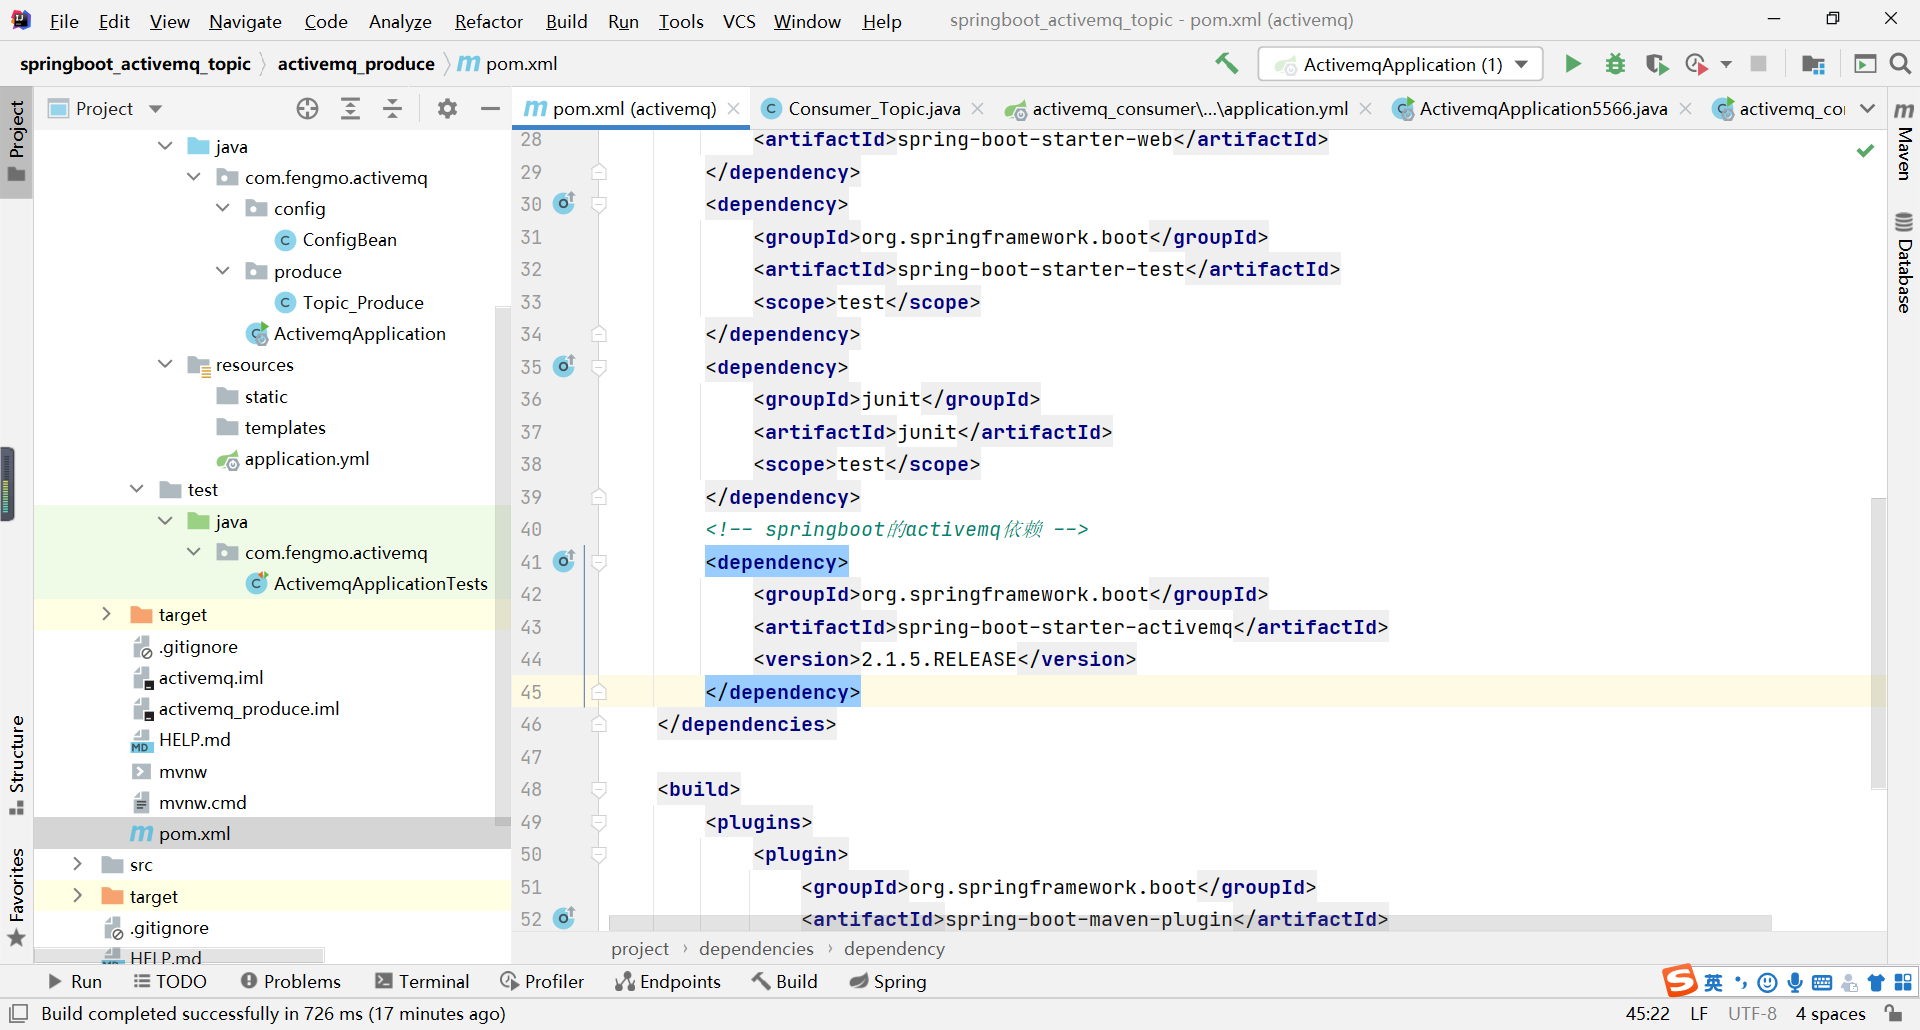
<!-- springboot的activemq依赖 -->
<dependency>
<groupId>org.springframework.boot</groupId>
<artifactId>spring-boot-starter-activemq</artifactId>
<version>2.1.5.RELEASE</version>
</dependency>
</dependencies>
<build>
<plugins>
<plugin>
<groupId>org.springframework.boot</groupId>
<artifactId>spring-boot-maven-plugin</artifactId>
</plugin>
</plugins>
</build>
</project>
(2)范例
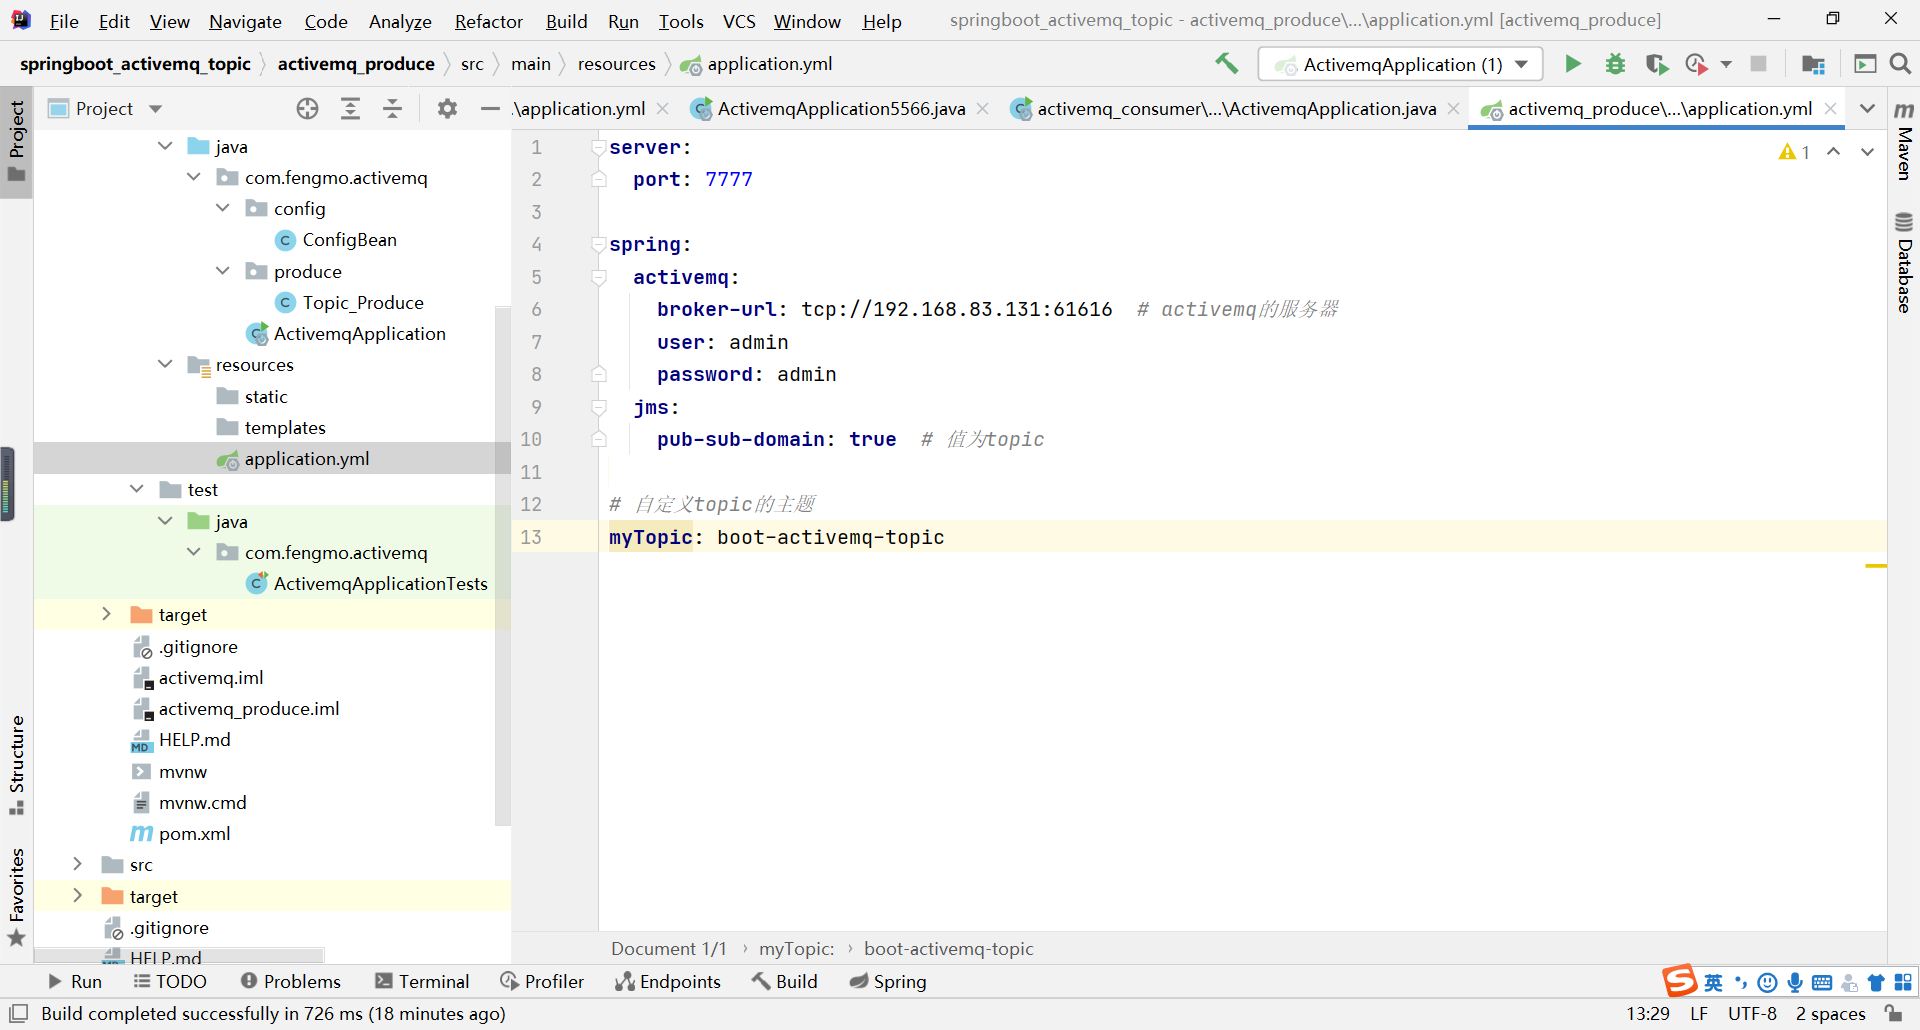
2.application.yml
(1)代码块
server:
  port: 7777
spring:
  activemq:
    broker-url: tcp://192.168.83.131:61616  # activemq的服务器
    user: admin
    password: admin
  jms:
    pub-sub-domain: true  # 值为topic
# 自定义topic的主题
myTopic: boot-activemq-topic
(2)范例
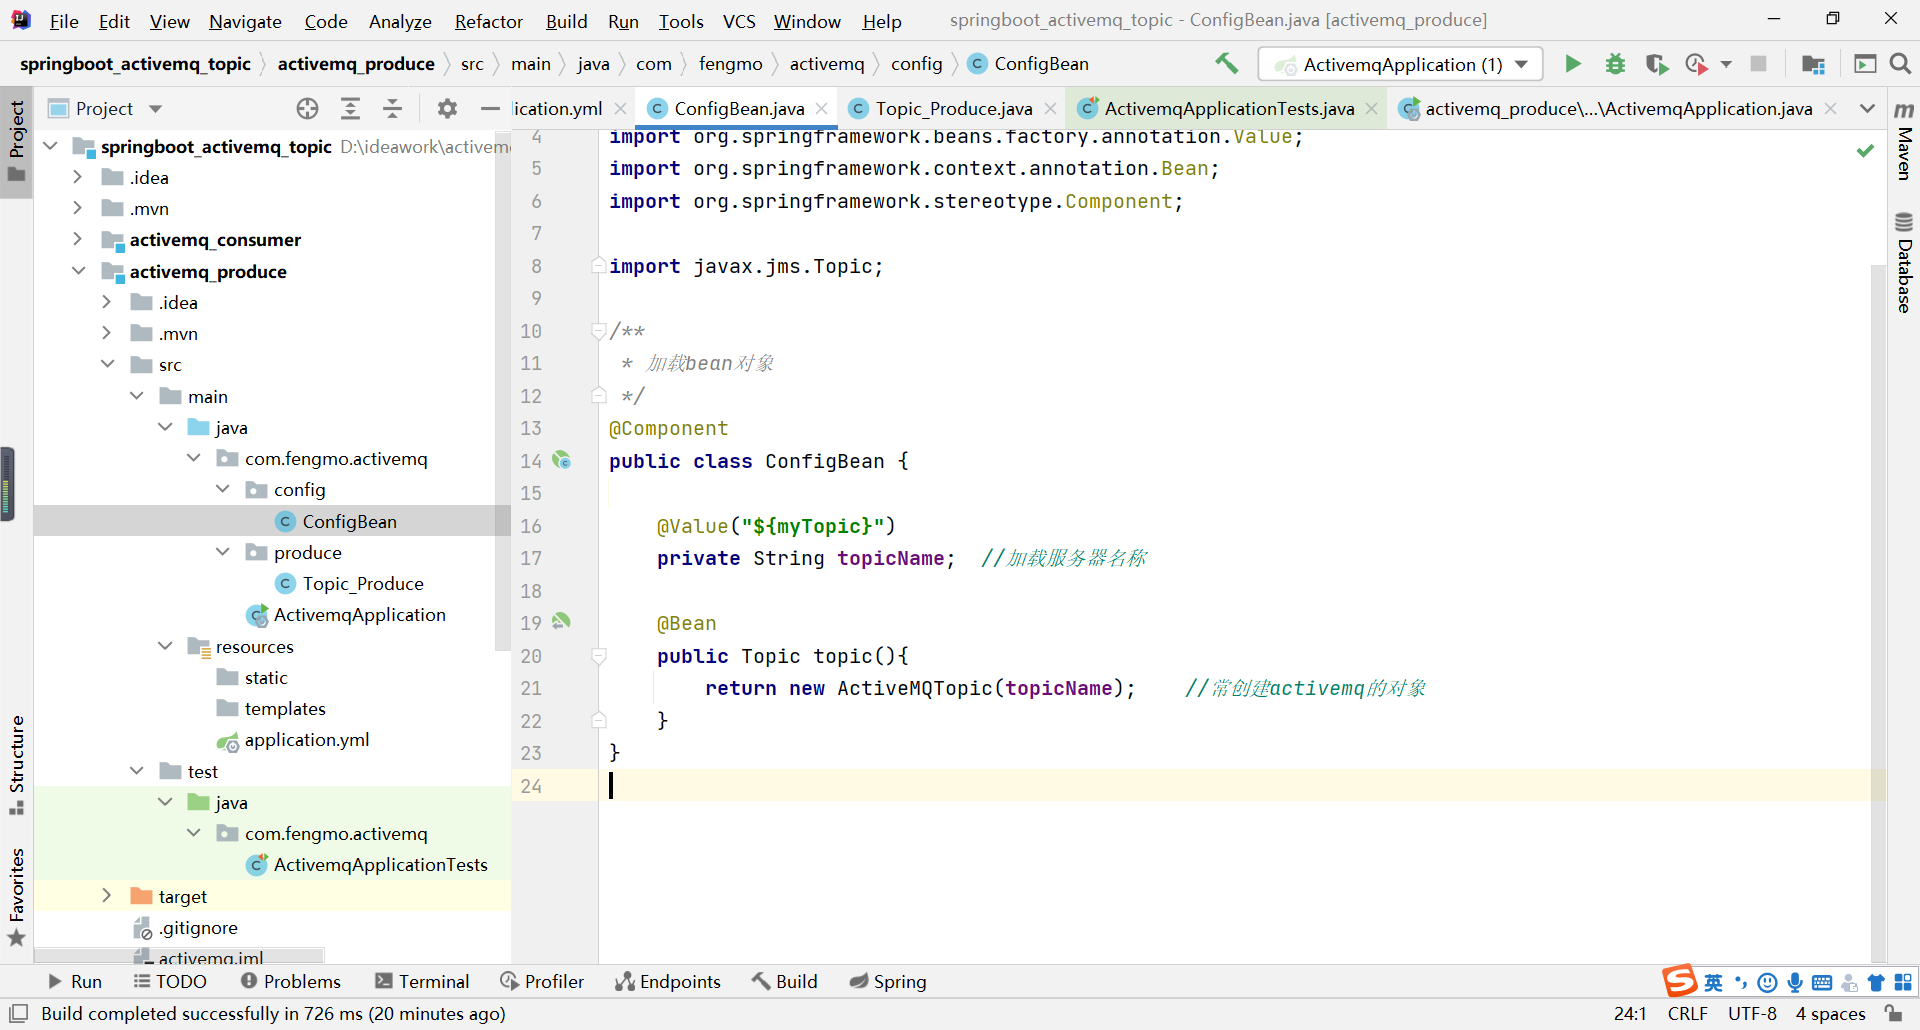
3.bean对象类
(1)代码块
package com.fengmo.activemq.config;
import org.apache.activemq.command.ActiveMQTopic;
import org.springframework.beans.factory.annotation.Value;
import org.springframework.context.annotation.Bean;
import org.springframework.stereotype.Component;
import javax.jms.Topic;
/**
 * 加载bean对象
 */
@Component
public class ConfigBean {
    @Value("${myTopic}")
    private String topicName;  //加载服务器名称
    @Bean
    public Topic topic(){
        return new ActiveMQTopic(topicName);    //常创建activemq的对象
    }
}
(2)范例
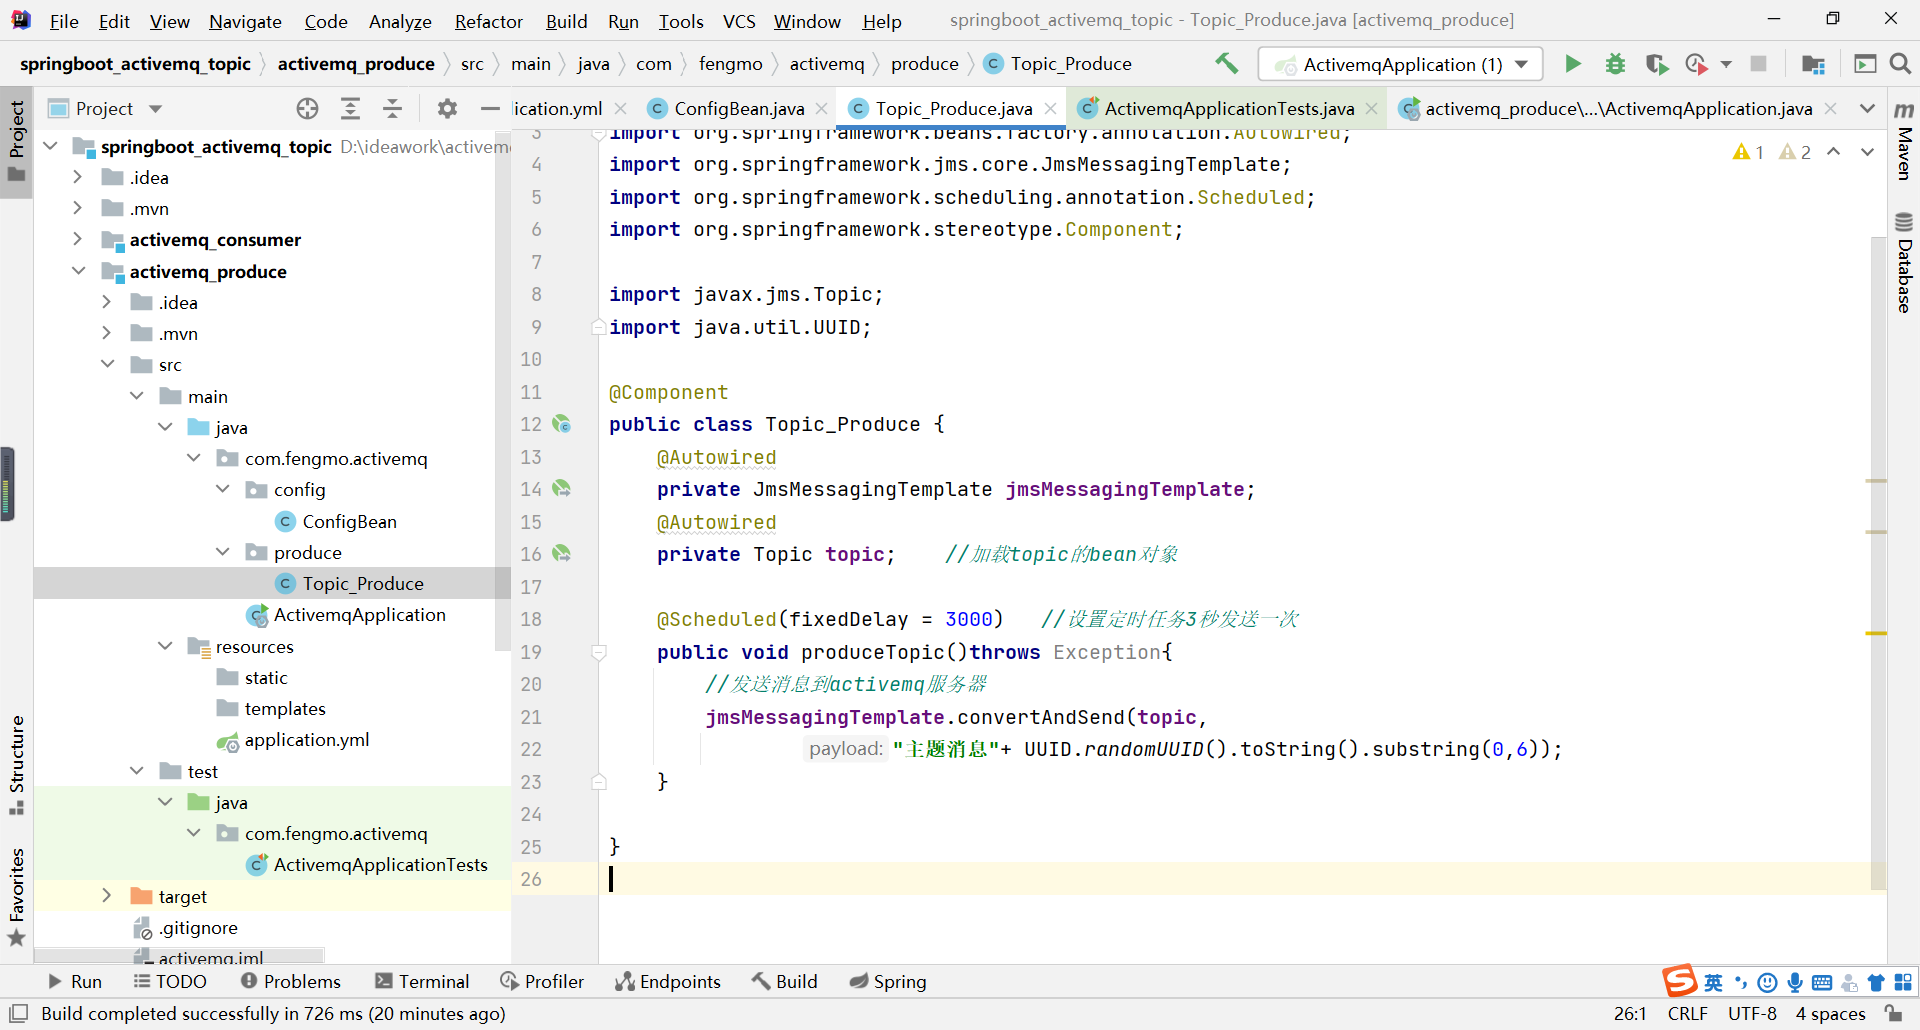
4.消息生产类
(1)代码块
package com.fengmo.activemq.produce;
import org.springframework.beans.factory.annotation.Autowired;
import org.springframework.jms.core.JmsMessagingTemplate;
import org.springframework.scheduling.annotation.Scheduled;
import org.springframework.stereotype.Component;
import javax.jms.Topic;
import java.util.UUID;
@Component
public class Topic_Produce {
    @Autowired
    private JmsMessagingTemplate jmsMessagingTemplate;
    @Autowired
    private Topic topic;    //加载topic的bean对象
    @Scheduled(fixedDelay = 3000)   //设置定时任务3秒发送一次
    public void produceTopic()throws Exception{
        //发送消息到activemq服务器
        jmsMessagingTemplate.convertAndSend(topic,
                "主题消息"+ UUID.randomUUID().toString().substring(0,6));
    }
}
(2)范例
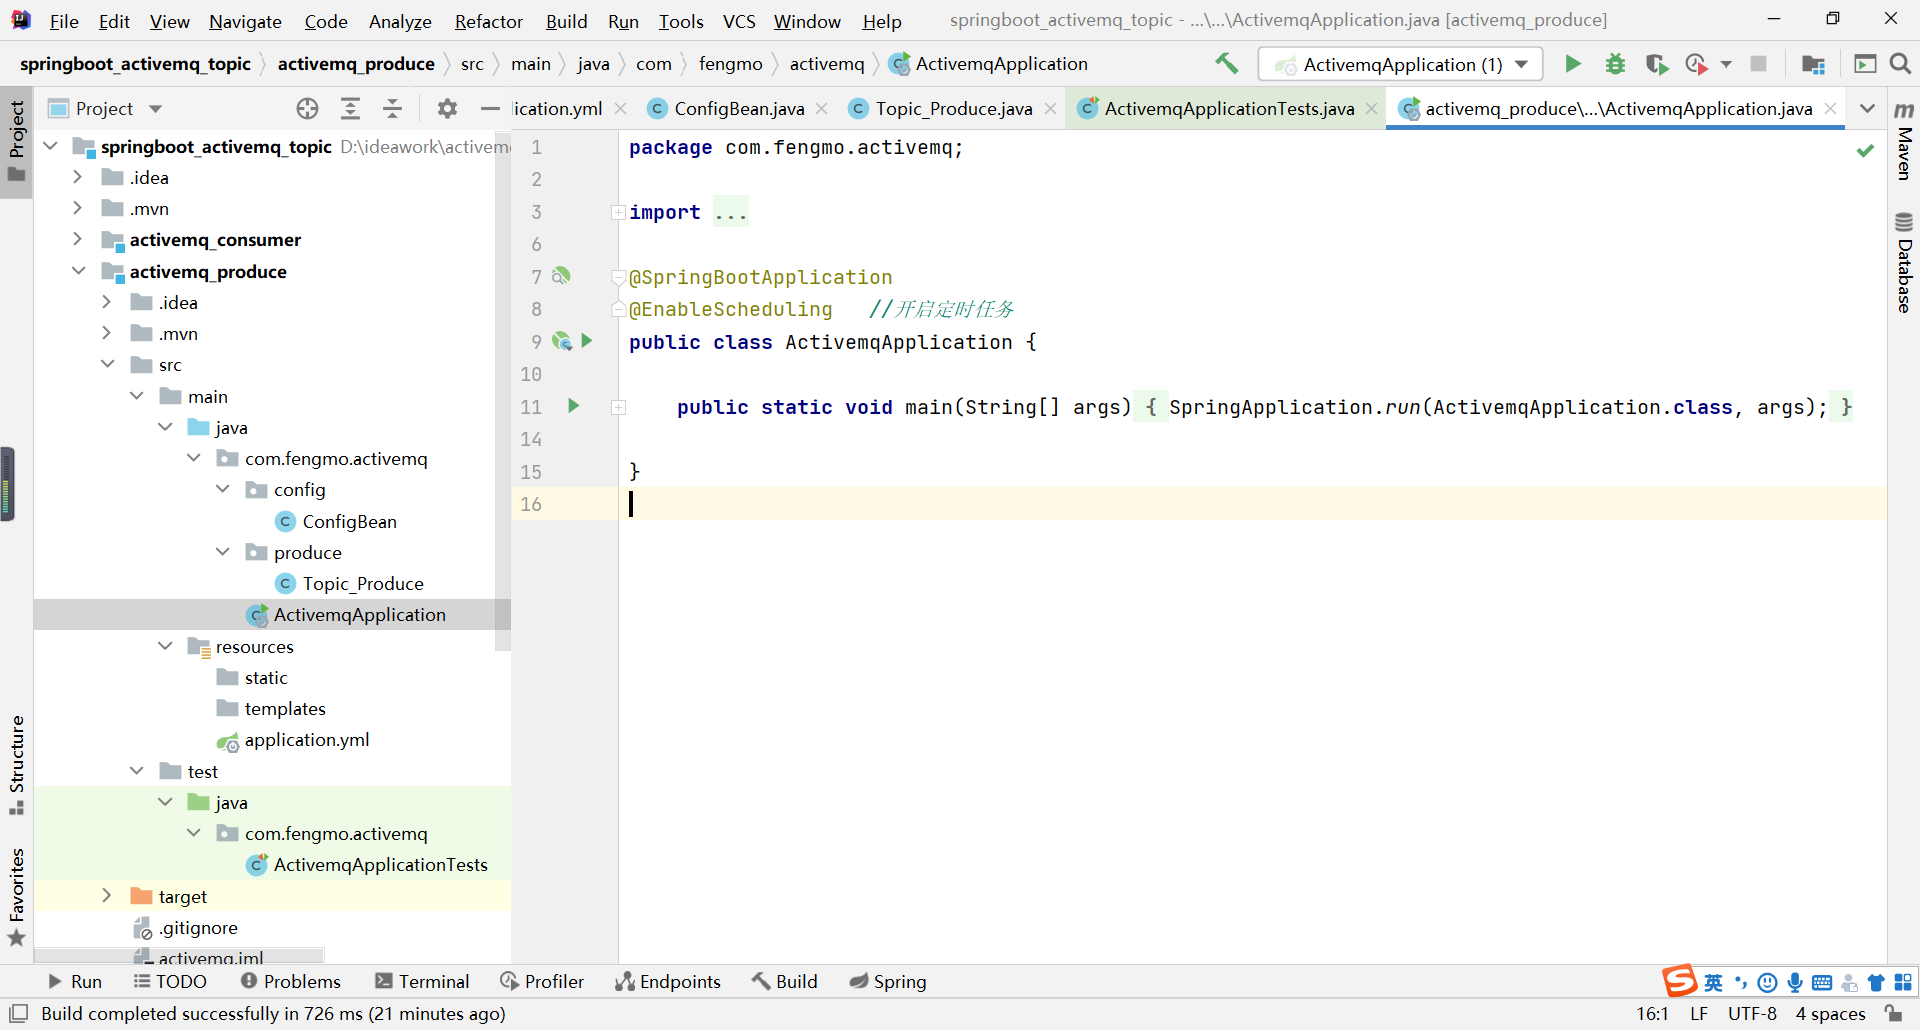
5.启动类
(1)代码块
package com.fengmo.activemq;
import org.springframework.boot.SpringApplication;
import org.springframework.boot.autoconfigure.SpringBootApplication;
import org.springframework.scheduling.annotation.EnableScheduling;
@SpringBootApplication
@EnableScheduling   //开启定时任务
public class ActivemqApplication {
    public static void main(String[] args) {
        SpringApplication.run(ActivemqApplication.class, args);
    }
}
(2)范例
四.主题的订阅者【消息消费类】
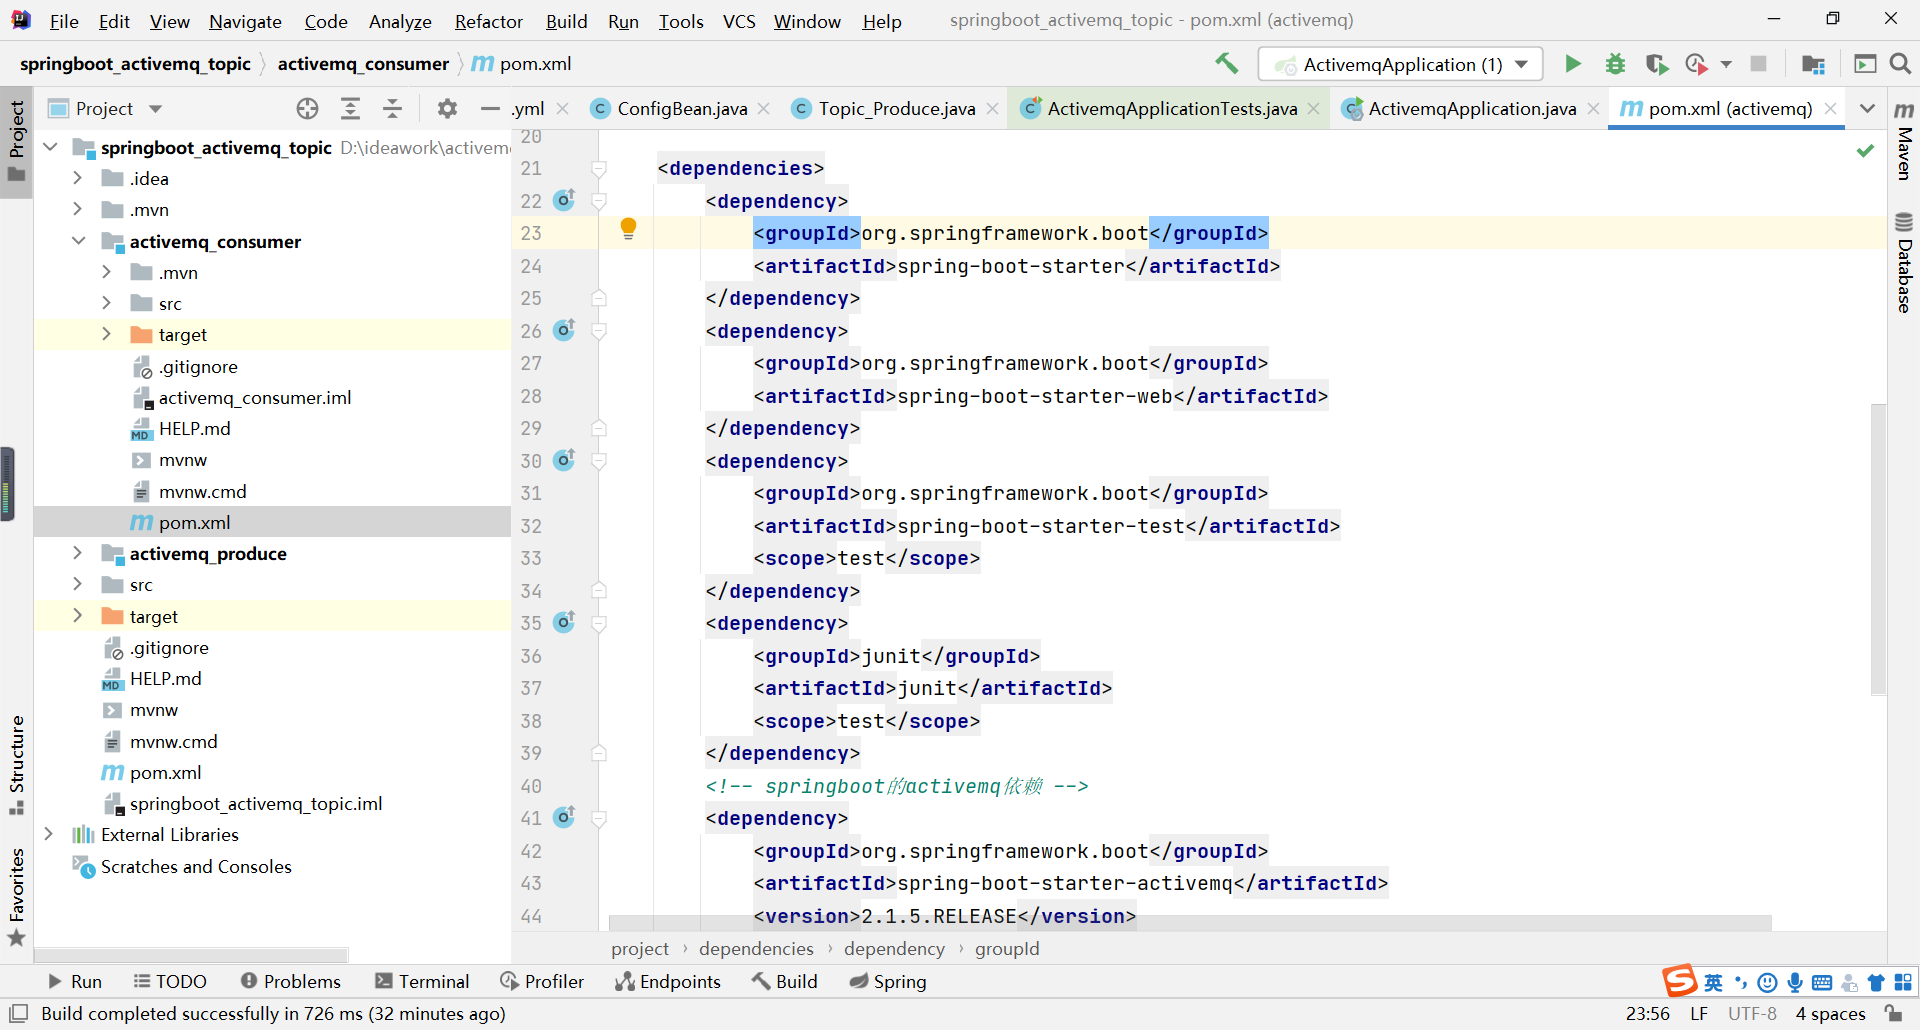
1.pom.xml
(1)代码块
<?xml version="1.0" encoding="UTF-8"?>
<project xmlns="http://maven.apache.org/POM/4.0.0" xmlns:xsi="http://www.w3.org/2001/XMLSchema-instance"
         xsi:schemaLocation="http://maven.apache.org/POM/4.0.0 https://maven.apache.org/xsd/maven-4.0.0.xsd">
    <modelVersion>4.0.0</modelVersion>
    <parent>
        <groupId>org.springframework.boot</groupId>
        <artifactId>spring-boot-starter-parent</artifactId>
        <version>2.4.1</version>
        <relativePath/> <!-- lookup parent from repository -->
    </parent>
    <groupId>com.fengmo</groupId>
    <artifactId>activemq</artifactId>
    <version>0.0.1-SNAPSHOT</version>
    <name>activemq</name>
    <description>Demo project for Spring Boot</description>
    <properties>
        <java.version>1.8</java.version>
    </properties>
    <dependencies>
        <dependency>
            <groupId>org.springframework.boot</groupId>
            <artifactId>spring-boot-starter</artifactId>
        </dependency>
        <dependency>
            <groupId>org.springframework.boot</groupId>
            <artifactId>spring-boot-starter-web</artifactId>
        </dependency>
        <dependency>
            <groupId>org.springframework.boot</groupId>
            <artifactId>spring-boot-starter-test</artifactId>
            <scope>test</scope>
        </dependency>
        <dependency>
            <groupId>junit</groupId>
            <artifactId>junit</artifactId>
            <scope>test</scope>
        </dependency>
        <!-- springboot的activemq依赖 -->
        <dependency>
            <groupId>org.springframework.boot</groupId>
            <artifactId>spring-boot-starter-activemq</artifactId>
            <version>2.1.5.RELEASE</version>
        </dependency>
    </dependencies>
    <build>
        <plugins>
            <plugin>
                <groupId>org.springframework.boot</groupId>
                <artifactId>spring-boot-maven-plugin</artifactId>
            </plugin>
        </plugins>
    </build>
</project>
(2)范例

2.application.yml
(1)代码块
server:
  port: 5555  # 第二次启动消费者,需要设置5566
spring:
  activemq:
    broker-url: tcp://192.168.83.131:61616  # activemq的服务器
    user: admin
    password: admin
  jms:
    pub-sub-domain: true  # 值为topic
# 自定义topic的主题
myTopic: boot-activemq-topic
(2)范例

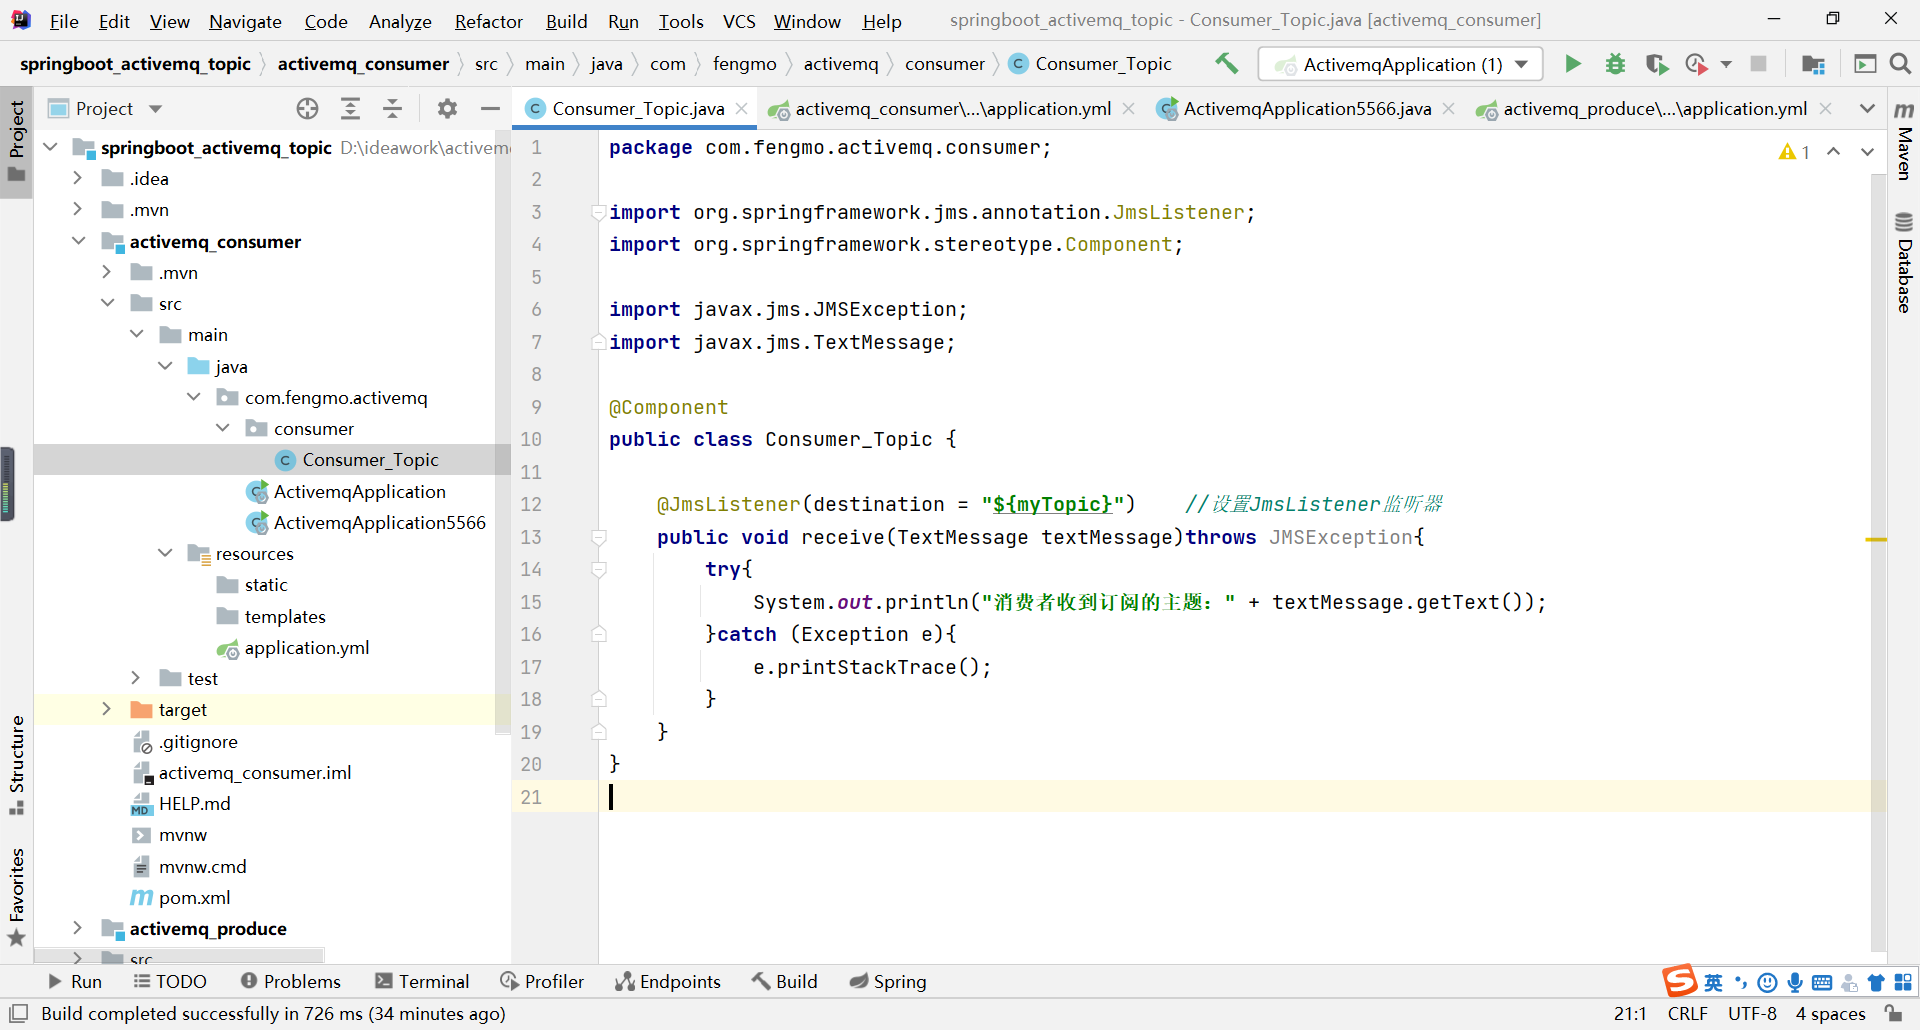
3.消息消费类
(1)代码块
package com.fengmo.activemq.consumer;
import org.springframework.jms.annotation.JmsListener;
import org.springframework.stereotype.Component;
import javax.jms.JMSException;
import javax.jms.TextMessage;
@Component
public class Consumer_Topic {
    @JmsListener(destination = "${myTopic}")    //设置JmsListener监听器
    public void receive(TextMessage textMessage)throws JMSException{
        try{
            System.out.println("消费者收到订阅的主题:" + textMessage.getText());
        }catch (Exception e){
            e.printStackTrace();
        }
    }
}
(2)范例
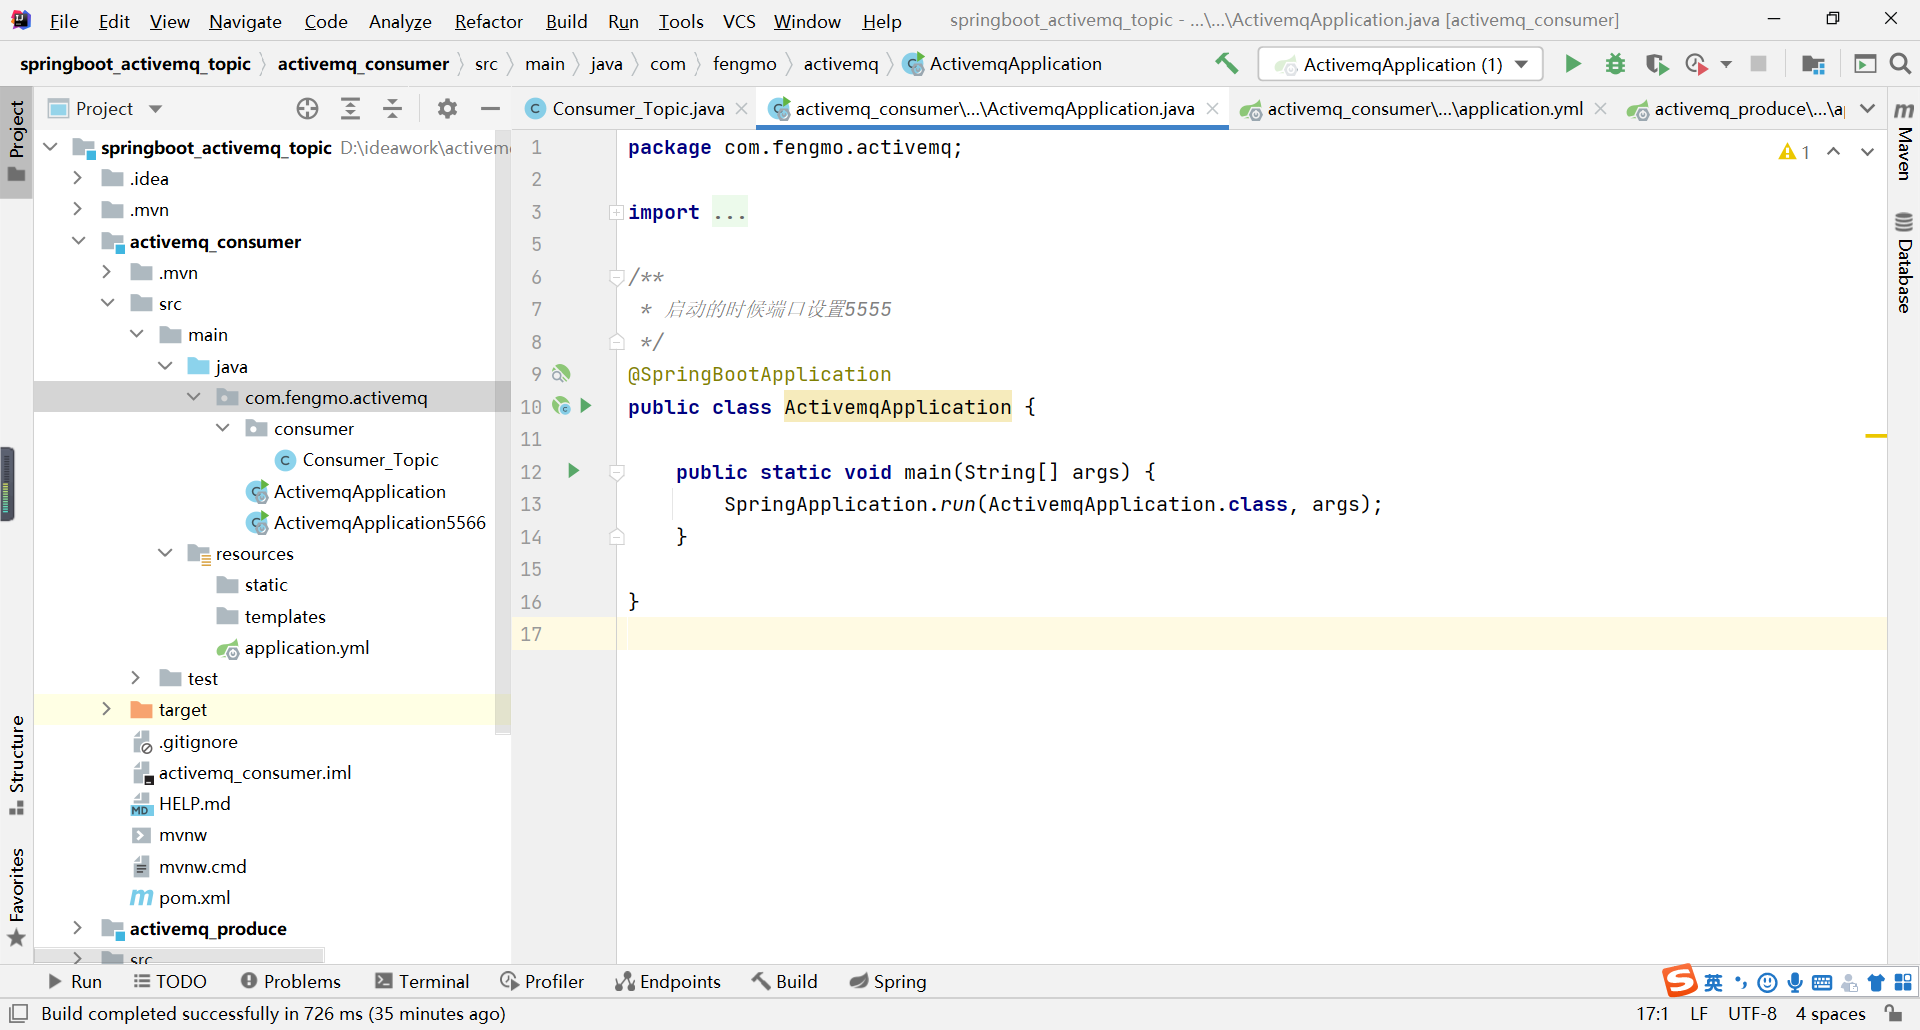
4.启动类一
(1)代码块
package com.fengmo.activemq;
import org.springframework.boot.SpringApplication;
import org.springframework.boot.autoconfigure.SpringBootApplication;
/**
 * 启动的时候端口设置5555
 */
@SpringBootApplication
public class ActivemqApplication {
    public static void main(String[] args) {
        SpringApplication.run(ActivemqApplication.class, args);
    }
}
(2)范例
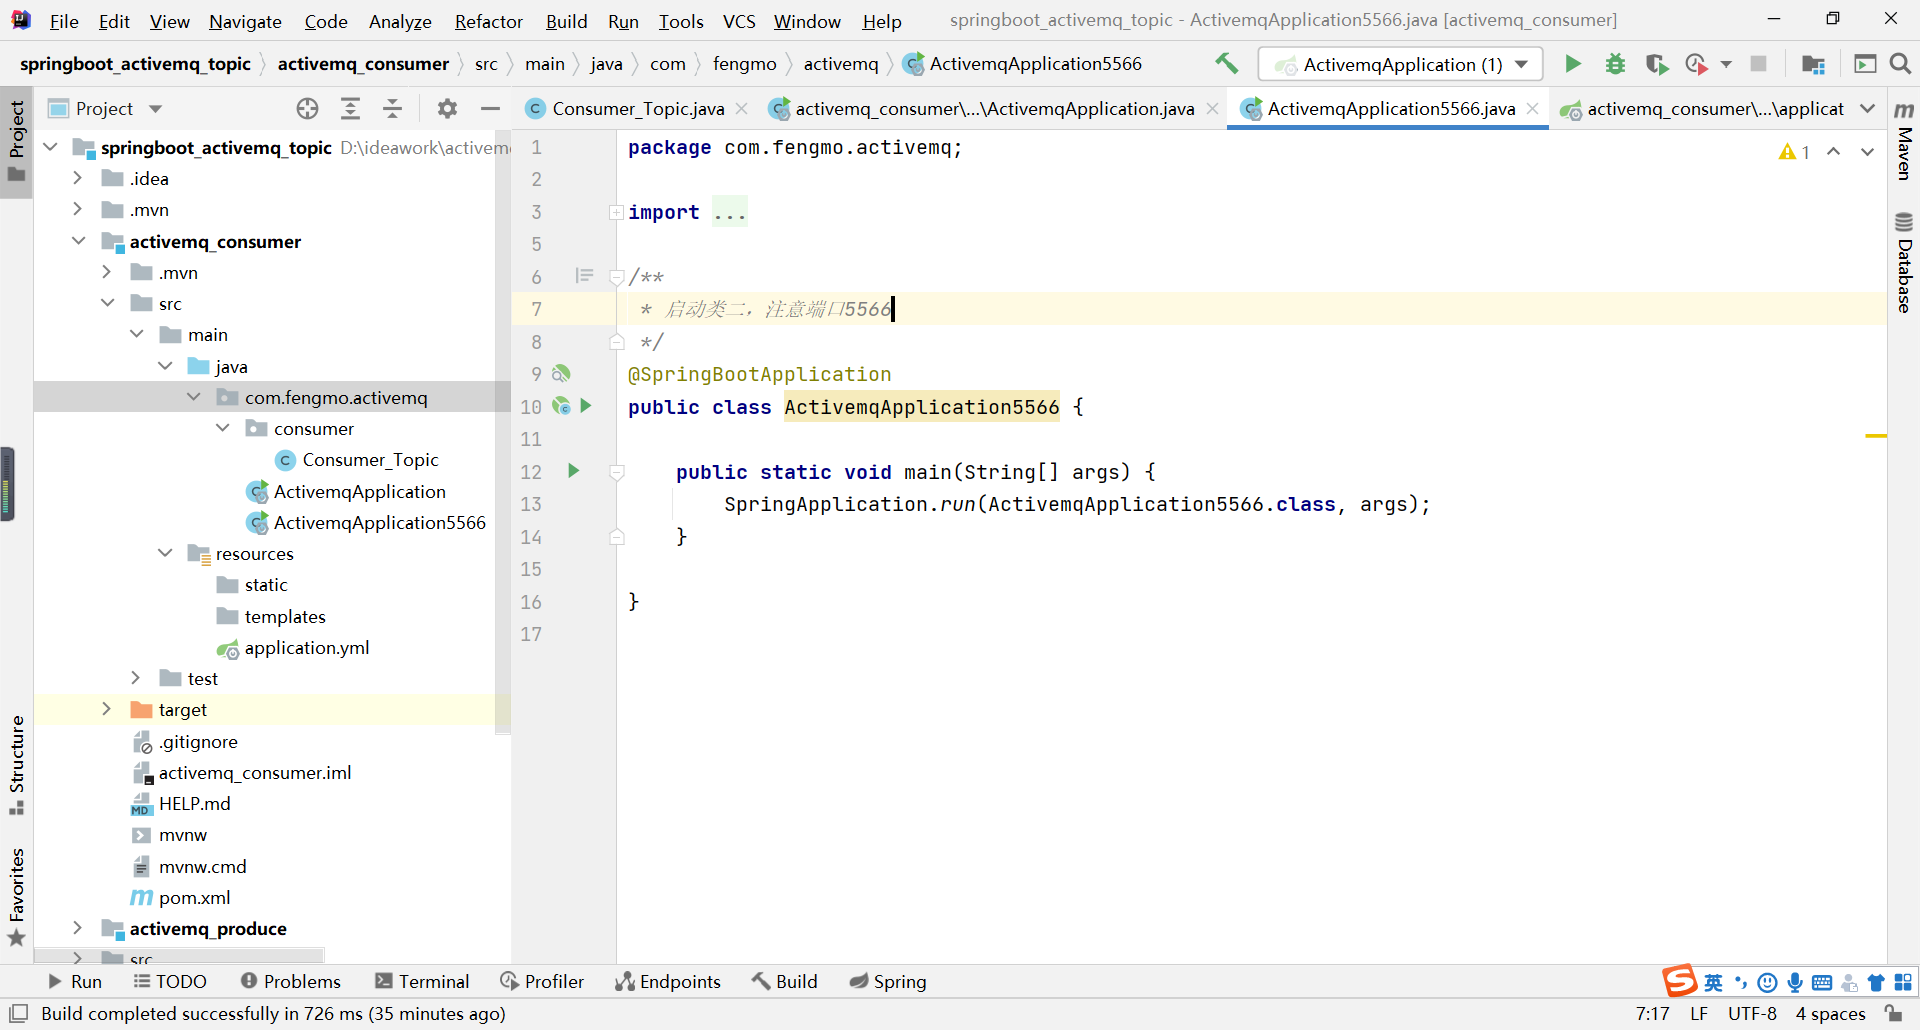
5.启动类二
(1)代码块
package com.fengmo.activemq;
import org.springframework.boot.SpringApplication;
import org.springframework.boot.autoconfigure.SpringBootApplication;
/**
 * 启动类二,注意端口5566
 */
@SpringBootApplication
public class ActivemqApplication5566 {
    public static void main(String[] args) {
        SpringApplication.run(ActivemqApplication5566.class, args);
    }
}
(2)范例


 761
761

 被折叠的 条评论
为什么被折叠?
被折叠的 条评论
为什么被折叠?
 到【灌水乐园】发言


