


一、安装docker
1.建议安装20.x版本的docker
2.如果安装docker 18.x则升级到harborv2.9.0会有几个容器无法启动。
[root@harbor ~]# docker version
Client:
 Version:           24.0.9
 API version:       1.43
 Go version:        go1.20.13
 Git commit:        2936816
 Built:             Thu Feb  1 00:47:46 2024
 OS/Arch:           linux/amd64
 Context:           default

Server: Docker Engine - Community
 Engine:
  Version:          24.0.9
  API version:      1.43 (minimum version 1.12)
  Go version:       go1.20.13
  Git commit:       fca702d
  Built:            Thu Feb  1 00:49:16 2024
  OS/Arch:          linux/amd64
  Experimental:     false
 containerd:
  Version:          v1.7.13
  GitCommit:        7c3aca7a610df76212171d200ca3811ff6096eb8
 runc:
  Version:          1.1.12
  GitCommit:        v1.1.12-0-g51d5e94
 docker-init:
  Version:          0.19.0
  GitCommit:        de40ad0
[root@harbor ~]#
二、安装docker-compose
docker-compose下载地址:https://github.com/docker/compose/releases?page=10
1.下载1.28.5版本的docker-compose-Linux-x86_64包
2.将下载好的docker-compose-Linux-x86_64二进制包重命名为docker-compose
3.将docker-compose上传到/usr/local/bin/目录
4.给docker-compose赋予可执行权限
5.docker-compose version查看到版本号则说明安装完成
[root@harbor ~]# docker-compose version
docker-compose version 1.28.5, build c4eb3a1f
docker-py version: 4.4.4
CPython version: 3.7.10
OpenSSL version: OpenSSL 1.1.0l  10 Sep 2019
[root@harbor ~]#
三、安装harbor
3.1 证书生成
#说明:其中的 cxb 表示服务器域名地址,需要自行修改。
1.创建证书存放目录并切换到该目录
[root@shc ~]# mkdir /opt/ssl
[root@shc ~]# cd /opt/ssl2.创建CA私钥
[root@shc ssl]# openssl genrsa -out ca.key 40963.自签名机构生成CA证书
[root@shc ssl]# openssl req -x509 -new -nodes -sha512 -days 3650 \
-subj "/C=CN/ST=Henan/L=Zhengzhou/O=example/OU=Personal/CN=cxb.net" \
-key ca.key \
-out ca.crt#参数说明:
# C,Country,代表国家
# ST,STate,代表省份
# L,Location,代表城市
# O,Organization,代表组织,公司
# OU,Organization Unit,代表部门
# CN,Common Name,代表服务器域名
# emailAddress,代表联系人邮箱地址。
4.客户端私钥证书生成
[root@shc ssl]# openssl genrsa -out cxb.net.key 4096
[root@shc ssl]# openssl req -sha512 -new \
-subj "/C=CN/ST=Henan/L=Zhengzhou/O=example/OU=Personal/CN=cxb.net" \
-key cxb.net.key \
-out cxb.net.csr5.生成多个域名请求
[root@shc ssl]# cat > v3.ext <<-EOF
authorityKeyIdentifier=keyid,issuer
basicConstraints=CA:FALSE
keyUsage = digitalSignature, nonRepudiation, keyEncipherment, dataEncipherment
extendedKeyUsage = serverAuth
subjectAltName = @alt_names
[alt_names]
DNS.1=cxb.com
DNS.2=harbor.cxb.net
DNS.3=harbor.cxb.local
EOF
6.使用自签名CA签发证书
[root@shc ssl]# openssl x509 -req -sha512 -days 3650 \
-extfile v3.ext \
-CA ca.crt -CAkey ca.key -CAcreateserial \
-in cxb.net.csr \
-out cxb.net.crt
3.2 harbor安装
1.将harbor-offline-installer-v2.7.0.tgz上传到/opt目录并解压
2.切换到解压出的harbor目录
3.通过模板文件harbor.yml.tmpl复制出harbor.yml文件
4.修改harbor.yml文件
hostname: 修改为harbor的本地域名地址
certificate: 修改为证书存放目录,如/opt/ssl/cxb.net.crt
private_key: 修改为密钥存放目录,如/opt/ssl/cxb.net.key
harbor_admin_password: Harbor12345 # 此处是harbor的admin用户的密码
5.修改完毕则保存退出i即可
6.适用./install.sh 进行安装
7.若出现如下报错,则重启docker后再次执行./install.sh 进行安装即可。[Step 5]: starting Harbor ...
Creating network "harbor_harbor" with the default driver
ERROR: Failed to Setup IP tables: Unable to enable SKIP DNAT rule: (iptables failed: iptables --wait -t nat -I DOCKER -i br-fd2bcedacf0b -j RETURN: iptables: No chain/target/match by that name.
(exit status 1))
[root@shc harbor]#
[root@shc harbor]# systemctl restart docker
[root@shc harbor]# ./install.sh8.安装完之后,执行docker-compose ps查看容器状态
[root@shc harbor]# docker-compose ps
9.在windows服务器的 C:\Windows\System32\drivers\etc\hosts 文件中配置本地解析
如:192.168.41.30 harbor.cxb.net
10.此时在浏览器中就可以使用 https://harbor.cxb.net/ 访问harbor。11.配置开机自启动
vi /usr/lib/systemd/system/harbor.service# 追加以下内容(我的docker-compose 在/usr/local/bin/目录下,docker-compose.yml在/opt/harbor/,注意对应)
[Unit]
Description=Harbor service
Requires=docker.service
After=docker.service[Service]
Restart=always
RemainAfterExit=yes
StandardError=null
StandardOutput=null
WorkingDirectory=/data/
ExecStartPre=/usr/local/bin/docker-compose -f /opt/harbor/docker-compose.yml down
ExecStart=/usr/local/bin/docker-compose -f /opt/harbor/docker-compose.yml up -d
ExecStop=/usr/local/bin/docker-compose -f /opt/harbor/docker-compose.yml down
[Install]
WantedBy=multi-user.target
赋予可执行权限
[root@shc harbor]# chmod +x /usr/lib/systemd/system/harbor.service#加载服务并配置开机自启动
systemctl daemon-reload
systemctl enable harbor --now
四、客户端配置证书验证
配置对象:需要拉取/推送/访问harbor的服务,如master、worker
1.在/etc/hosts文件中添加解析
示例: 192.168.41.30 harbor.cxb.net
2.创建证书存放目录(注意最后一级目录的名字是harboe的域名)
[root@shc ~]# mkdir -p /etc/docker/certs.d/harbor.cxb.net/
3.上传证书cxb.net.crt到客户端的上述目录(该证书就是harbor中配置的那个,无需上传key!)4.使用 docker login harbor.cxb.net 登录harbor进行测试,可以登录则表示配置成功。
五、测试-将本地镜像推送进harbor
5.1 推送步骤
1.登录harbor镜像仓库
2.将本地镜像标记为指定的仓库和标签
格式:docker tag <本地镜像名称>:<标签> <仓库地址>/<镜像名称>:<标签>
3.将标记好的镜像推送到指定的仓库
docker push <仓库地址>/<镜像名称>:<标签>
5.2 范例
将本地镜像nginx:1.27.0推送到harbor.cxb.net
1.登录harbor镜像仓库
[root@node04 ~]# docker login harbor.cxb.net
Authenticating with existing credentials...
WARNING! Your password will be stored unencrypted in /root/.docker/config.json.
Configure a credential helper to remove this warning. See
https://docs.docker.com/engine/reference/commandline/login/#credentials-store
Login Succeeded
[root@node04 ~]#2.将本地镜像标记为指定的仓库和标签
[root@node04 ~]# docker tag nginx:1.27.0 harbor.cxb.net/cxbtest/nginx:1.27.0
[root@node04 ~]# docker images
REPOSITORY TAG IMAGE ID CREATED SIZE
nginx 1.27.0 900dca2a61f5 5 months ago 188MB
harbor.cxb.net/cxbtest/nginx 1.27.0 900dca2a61f5 5 months ago 188MB3.将标记好的镜像推送到指定的仓库
[root@node04 ~]# docker push harbor.cxb.net/cxbtest/nginx:1.27.0
The push refers to repository [harbor.cxb.net/cxbtest/nginx]
b90d53c29dae: Pushed
79bfdc61ef6f: Pushed
0c95345509b7: Pushed
14dc34bc60ae: Pushed
45878e4d8341: Pushed
9aa78b86f4b8: Pushed
9853575bc4f9: Pushed
1.27.0: digest: sha256:37c022aa2e42b98eb787cfe6be34e5457081c5b7693a4d8ea8fa43b2f07e1bbc size: 1778
[root@node04 ~]#
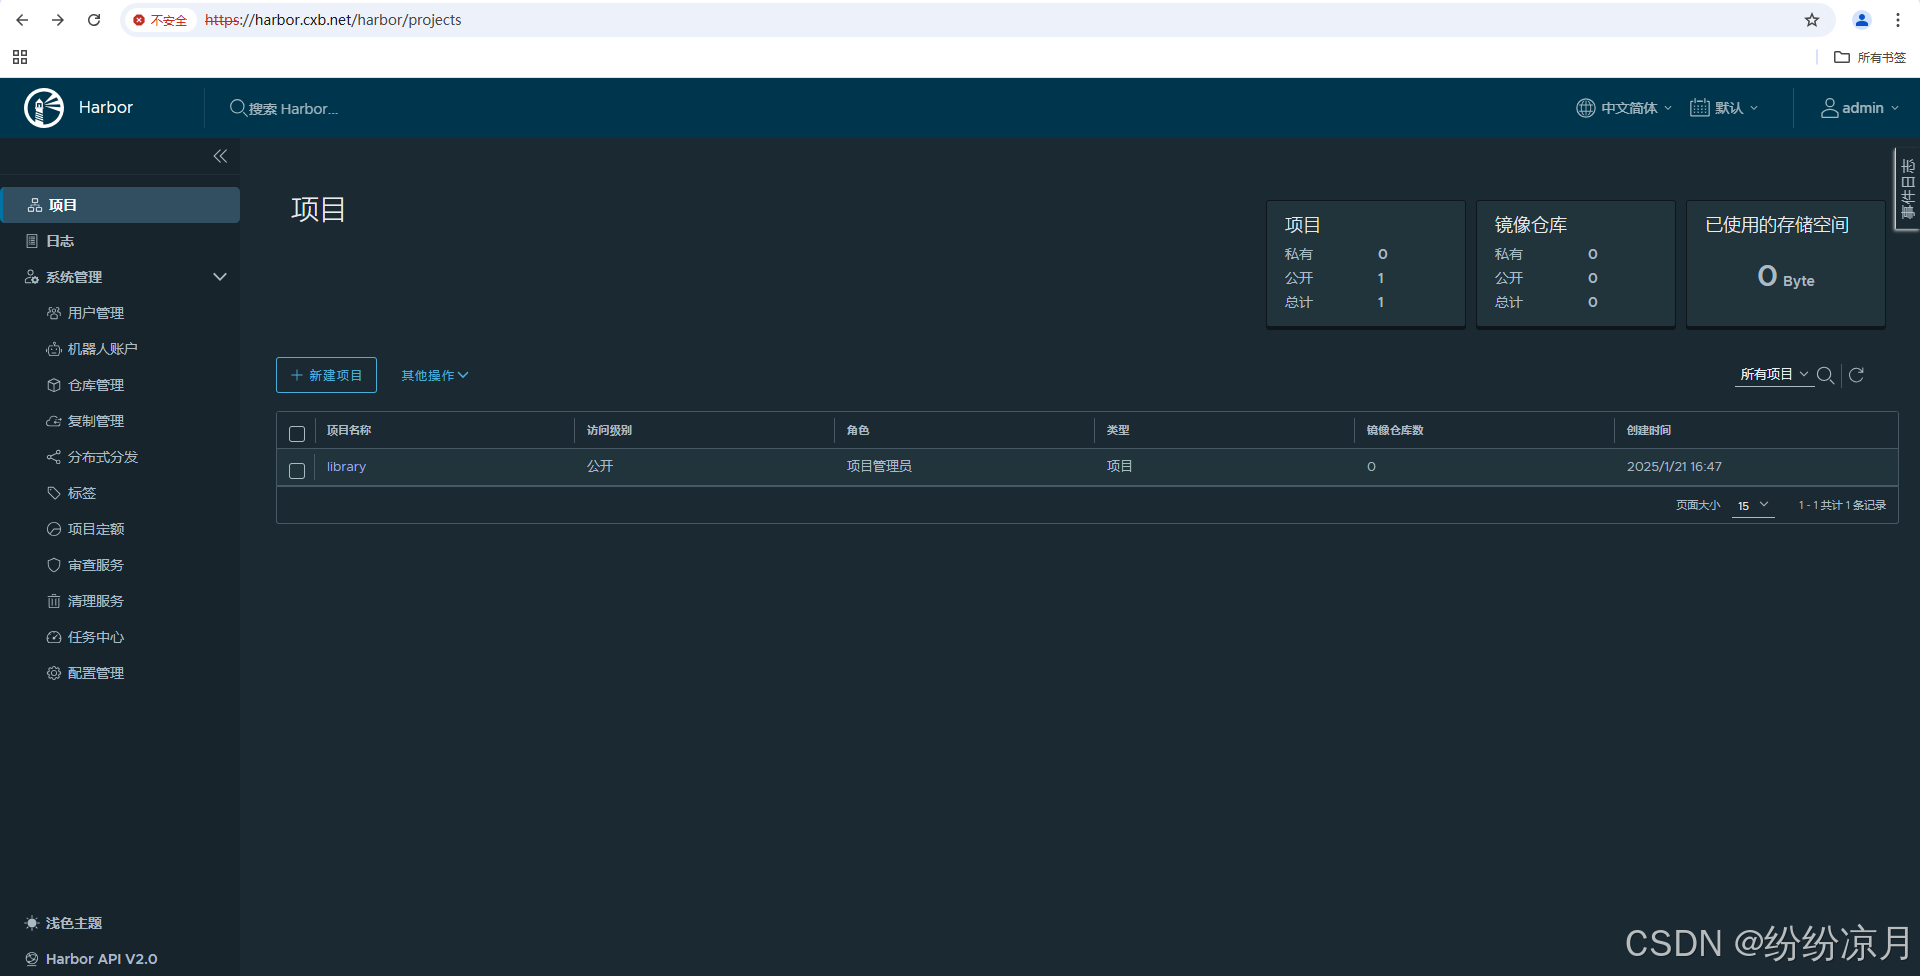
5.3 登录harbor管理界面
用户admin的登录密码在:
[root@shc ~]# cat /opt/harbor/harbor.yml | grep harbor_admin_password
harbor_admin_password: Harbor12345
[root@shc ~]#


 1059
1059

 被折叠的 条评论
为什么被折叠?
被折叠的 条评论
为什么被折叠?
 到【灌水乐园】发言


