


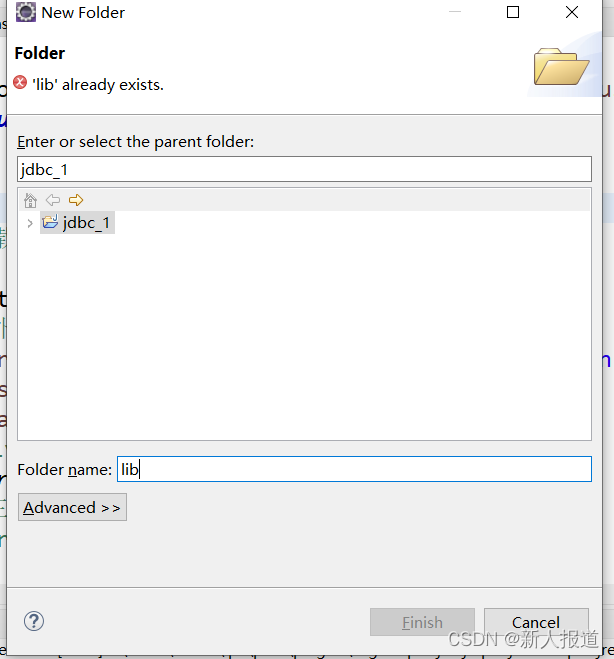
在当前项目下新建一个Floder文件
然后将下载的驱动导入此文件,前四种方法仅供了解,重点第五种方法,需要创建一个配置文件

@Test
	public void testConnection1() throws SQLException {
//		方式一:
		Driver dirver = new com.mysql.jdbc.Driver();
//		url:http://localhost:8080/gmall/keyboard.jpg
//		jdbc:mysql:协议
//		localhost:IP地址
//		3306:默认mysql的端口号
//		test:test的数据库
		String url = "jdbc:mysql://localhost:3306/test?useUnicode=true&characterEncoding=utf8";
//		将用户名和密码封装在Proertirs中
		Properties info = new Properties();
		info.setProperty("user", "root");
		info.setProperty("password", "root");
		Connection conn = dirver.connect(url, info);
		System.out.println(conn);

	}

//	方式二:对方法一的迭代,在如下的程序中不出现第三方的api,是得程序具有更好的可移植性。
	@Test
	public void testConnection2() throws Exception {
//		1.获取Driver实现类对象,使用反射
		Class clazz = Class.forName("com.mysql.jdbc.Driver");
		Driver driver = (Driver) clazz.newInstance();
//		2.提供要连接的数据库
		String url = "jdbc:mysql://localhost:3306/test?useUnicode=true&characterEncoding=utf8";
//		3.提供连接需要的用户名和密码
		Properties info = new Properties();
		info.setProperty("user", "root");
		info.setProperty("password", "root");

//		4.获取连接
		Connection conn = driver.connect(url, info);
		System.out.println(conn);

	}

//	方式三:使用DriverManagr替换Driver。
	@Test
	public void testConnection3() throws Exception {
//		获取Driver实现类对象
		Class clazz = Class.forName("com.mysql.jdbc.Driver");
		Driver driver = (Driver) clazz.newInstance();
//		提供另外的三个连接的基本信息
		String url = "jdbc:mysql://localhost:3306/test?useUnicode=true&characterEncoding=utf8";
		String user = "root";
		String password = "root";
//		注册驱动:
		DriverManager.registerDriver(driver);
//		获取连接
		Connection conn = DriverManager.getConnection(url, user, password);
		System.out.println(conn);

	}

//	方式四:只是加载驱动,不用显示的注册驱动过了
	@Test
	public void testConnection4() throws Exception {
//		1.提供另外的三个连接的基本信息
		String url = "jdbc:mysql://localhost:3306/test?useUnicode=true&characterEncoding=utf8";
		String user = "root";
		String password = "root";
//		2.加载Driver
		Class.forName("com.mysql.jdbc.Driver");
//		相较方式三:可以省略如下的操作:
//		Driver driver = (Driver) clazz.newInstance();
//		注册驱动:
//		DriverManager.registerDriver(driver);
//		为什么可以省略上述操作呢?
		/*
		 * 在mysql的Driver实现类中,声明了如下的操作 static { try {
		 * java.sql.DriverManager.registerDriver(new Driver()); } catch (SQLException E)
		 * { throw new RuntimeException("Can't register driver!"); } }
		 */

//		获取连接
		Connection conn = DriverManager.getConnection(url, user, password);
		System.out.println(conn);
	}

//	方式五:(final版)将数据库连接需要的基本信息声明在配置文件中,通过配置文件的方式,获取连接
	/*
	 * 此方法的好处?
	 * 1.实现了数据与代码的分离,实现了解耦
	 * 2.如果需要修改配置文件信息,可以避免程序重新带包.
	 */
	@Test
	public void testConnection5() throws Exception {
//		1.读取配置文件中的4个基本信息
		InputStream is = ConnectionTest.class.getClassLoader().getResourceAsStream("jdbc.properties");
		Properties pros = new Properties();
		pros.load(is);
		String user = pros.getProperty("user");
		String password = pros.getProperty("password");
		String url = pros.getProperty("url");
		String dirverClass = pros.getProperty("driverClass");
//		加载驱动
		Class.forName(dirverClass);
//		获取连接
		Connection conn = DriverManager.getConnection(url, user, password);
		System.out.println(conn);
	}


 258
258

 被折叠的 条评论
为什么被折叠?
被折叠的 条评论
为什么被折叠?
 到【灌水乐园】发言


