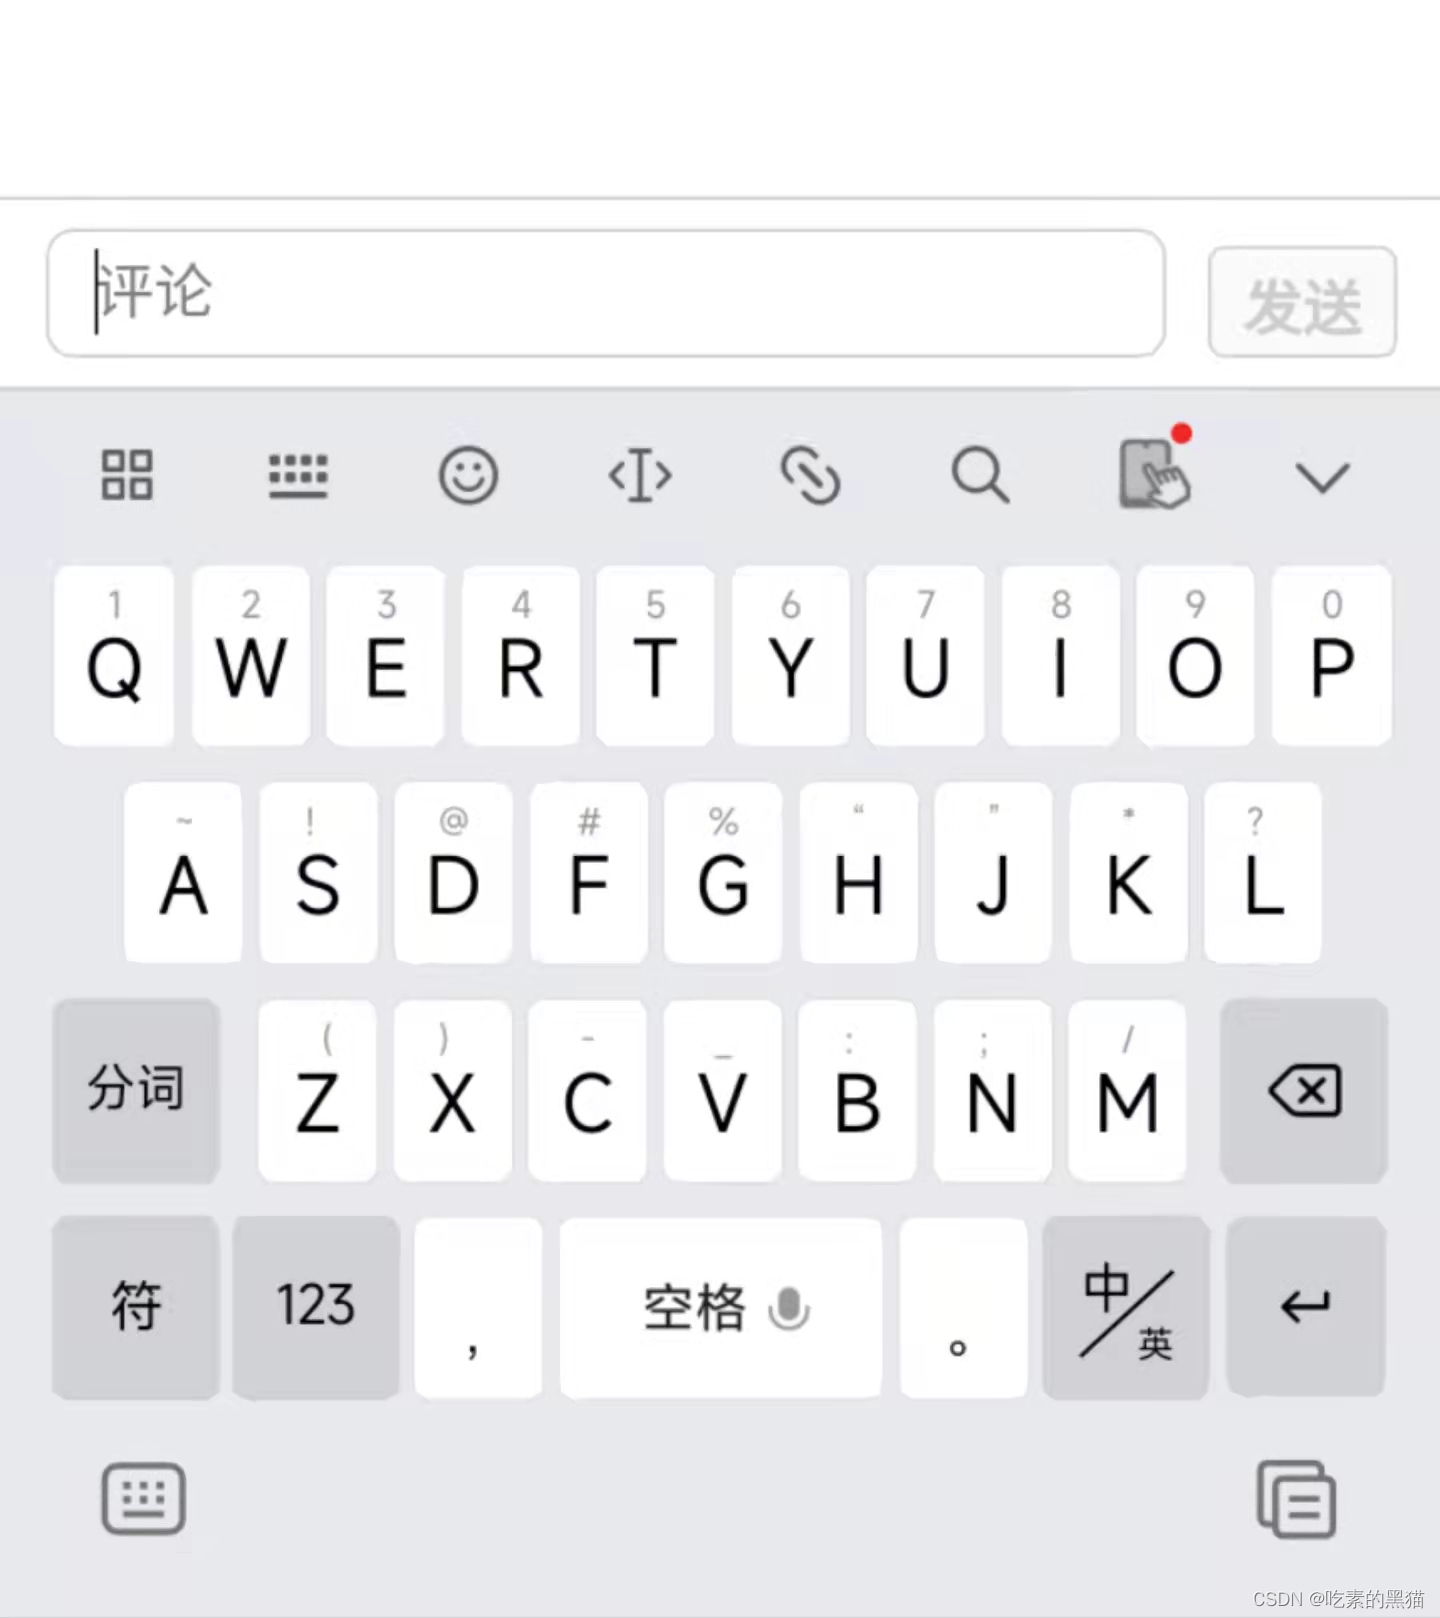
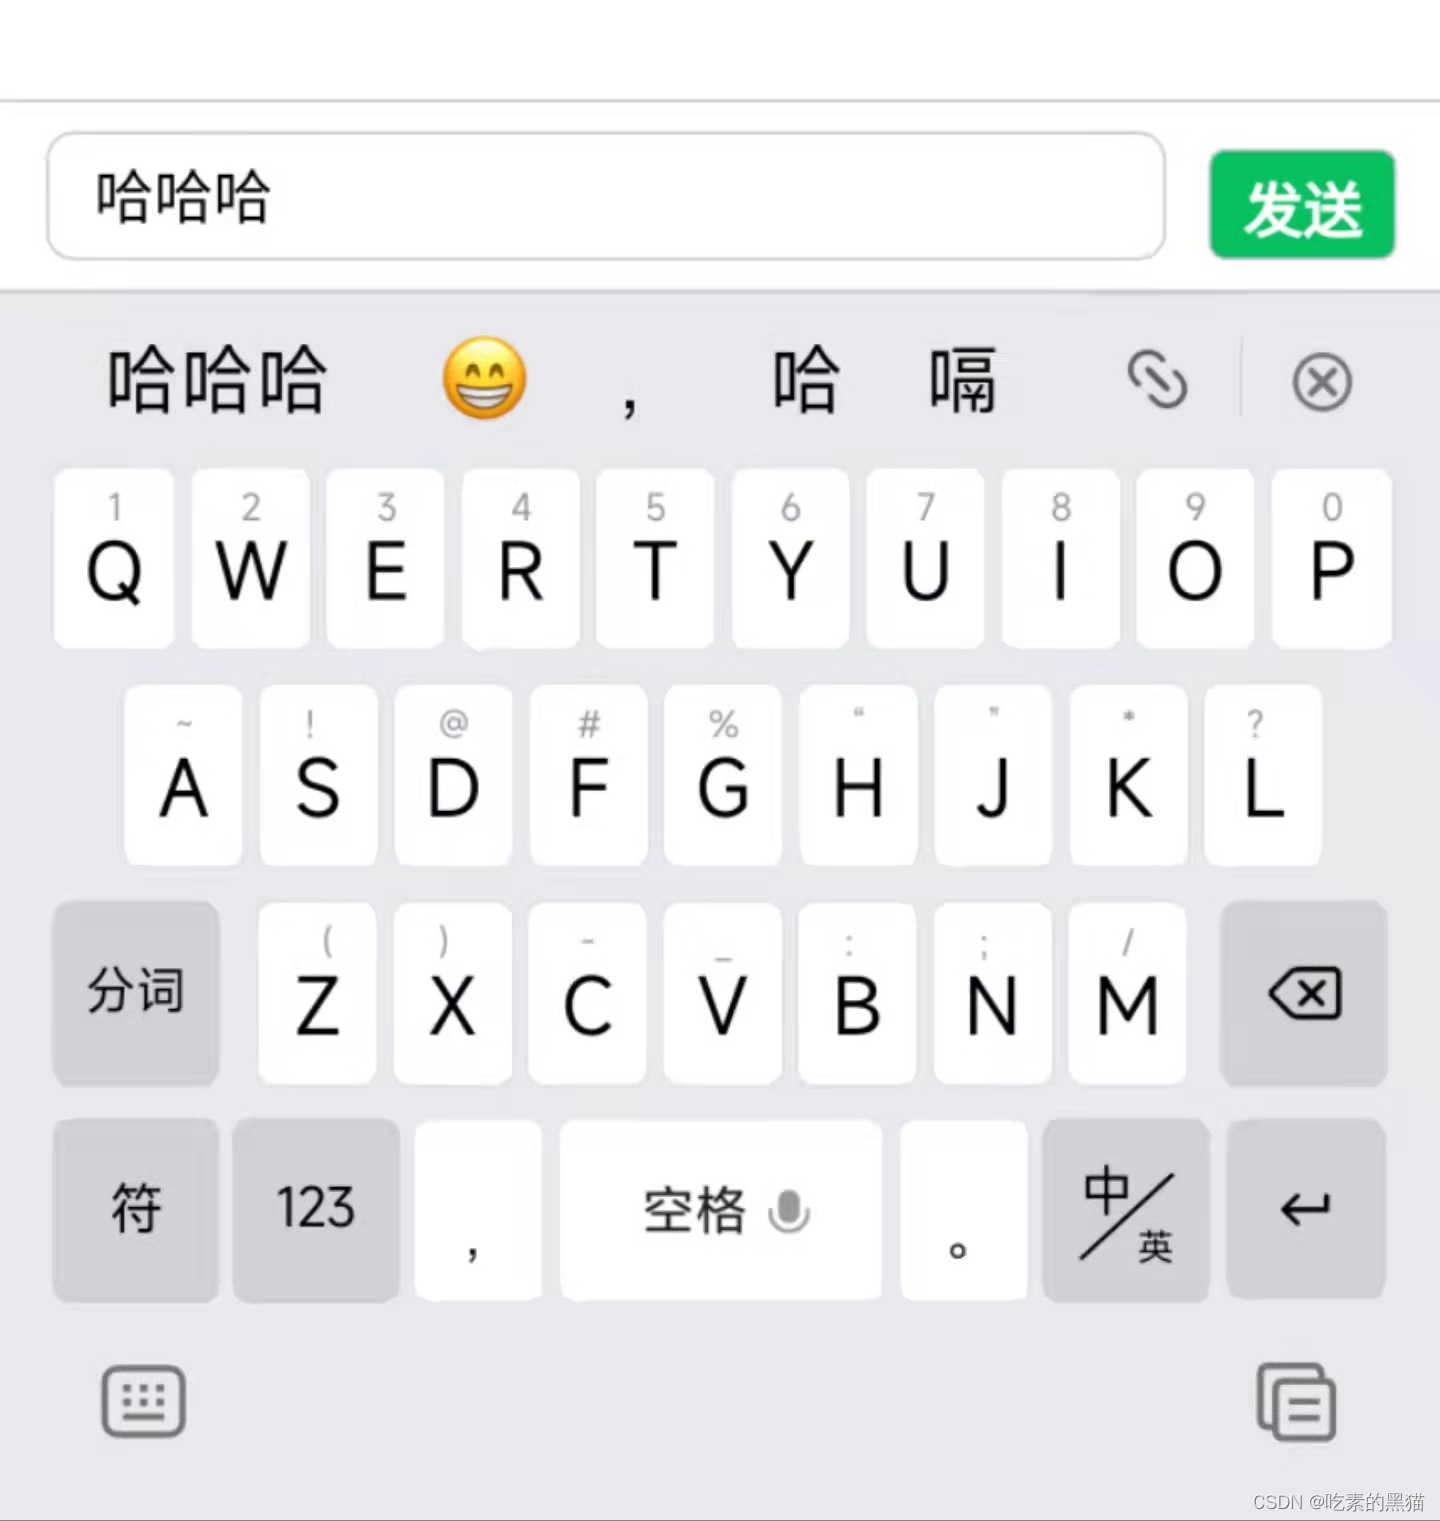
将comment容器设置为固定定位,高度设置为自适应,会根据textarea容器高度的变化来变化。textarea容器中最小高度,文本的行高都设置一致,这样就不会出现滚动条。当输入框聚焦时触发,可以通过定义的bindfocuse方法获取到键盘高度(event.detail.height )。将其值设置为comment容器的bottom值。
1. auto-height="true":将textarea设置为自动增高,但是style.height将不生效。
2. auto-foucs="true":自动聚焦,拉起键盘。
3. cursor-spacing='0':指定光标与键盘的距离。取`textarea`距离底部的距离和`cursor-spacing`指定的距离的最小值作为光标与键盘的距离。
4. adjust-position="{{false}}" 键盘弹起时,取消自动上推页面
5. show-comfirm-bar="{{fasle}}": 取消键盘上方带有”完成“按钮那一栏,若不取消 唤起键盘后,在安卓中键盘会遮挡住 comment容器 ,而iOS则不会。
6. bindfocus:输入框聚焦时触发,event.detail.height 为键盘高度。
7.bindblur:输入框失去焦点时触发
8.bindlinechange:输入框行数变化时调用,event.detail.lineHeight: 可以获取一行文字的高度为 20.4px。


wxml部分
<view class="comment" style="bottom:{{bottomHeight}}px;">
  <textarea class="textarea" show-confirm-bar="{{false}}" auto-height="true" auto-focus="true" cursor-spacing='0' adjust-position="{{false}}"  	 placeholder="评论" maxlength="1000" value="{{content}}" bindfocus="bindfocus" bindinput="bindinput" bindblur="bindblur"></textarea>
  <button type="primary" class="send_out" style="width: 100rpx;" disabled="{{content?false:true}}" bindtap="sendOut" >发送</button>
</view>
wxss部分
.comment {
  margin: 0;
  padding: 16rpx 24rpx;
  width: 100%;
  /* height: 92rpx; */
  display: flex;
  justify-content: space-between;
  align-items: center;
  border-top: 1rpx solid #cccccc;
  border-bottom: 1rpx solid #cccccc;
  /* padding和border被包含在定义的width和height之内。盒子的实际宽度=设置的width(padding和border不会影响实际宽度) */
  box-sizing: border-box;
  font-family: PingFangSC-Regular, PingFang SC;
  font-size: 32rpx;
  transition: all 2s inherit;
  overflow: hidden;
  /* 设置为固定定位 */
  position: fixed;
  left: 0;
}

/* textarea输入框的样式 */
.textarea {
  margin: 0;
  padding: 11rpx 24rpx;
  /* 宽度为 父容器的宽度 减去 发送按钮的宽度 减去 (左右内边距和左右边框宽度) 减去 右边外边距*/
  width: calc(100% - 100rpx - 50rpx - 24rpx);
  /* textarea 的高度随着文本的内容来改变的 设置一个最小高度60rpx*/
  min-height: 40.8rpx;
  /* 设置行高 */
  line-height: 40.8rpx;
  /* 取消默样式 */
  outline: none;
  border: 1rpx solid #cccccc;
  border-radius: 15rpx;
  background-color: #FFFFFF;
  /* padding和border不被包含在定义的width和height之内。盒子的实际宽度=设置的width+padding+border */
  box-sizing: content-box;
  overflow: hidden;
}

/* 发送按钮样式 */
.send_out {
  margin: 0;
  padding: 0;
  width: 100rpx;
  height: 60rpx;
  text-align: center;
  line-height: 60rpx;
  border: 1rpx solid #cccccc;
  border-radius: 10rpx;
  /* 将发送按钮固定在底部 */
  position: absolute;
  right: 24rpx;
  bottom: 16rpx;
}
js部分
const app = getApp()

Page({
  data: {
    content:'',//文本类容
    bottomHeight:0 //定义comment容器与page容器下边界之间的距离
  },
  // 获取焦点 唤起软键盘
  bindfocus(e){
  console.log(e, '键盘弹起')
  console.log(e)
  this.setData({
    bottomHeight:e.detail.height //将键盘的高度设置为comment容器与page容器下边界之间的距离。
  })

  },
  // 输入内容
  bindinput(e){
    this.setData({
      content:e.detail.value
    })
  },
  // 失去焦点
  bindblur(e){
    console.log(e, '收起键盘')
    this.setData({
      bottomHeight:0
    })
  },
  //
  sendOut(){
    let {content}=this.data //使用解构
    //调用发送接口

  }
})


 1万+
1万+

 被折叠的 条评论
为什么被折叠?


