


ubuntu22.04 zabbix安装
一、安装zabbix
1、自动安装
#!/bin/bash
### Modify the project name in line 32
#sed -i "s@Hostname=@Hostname=`hostname | cut -d- -f1`-proxy-active@" /etc/zabbix/zabbix_proxy.conf
#sed -i "s@DBHost=@DBHost=`hostname -I | cut -d' ' -f1`@" /etc/zabbix/zabbix_proxy.conf
centos(){
## yum -y install https://mirrors.tuna.tsinghua.edu.cn/zabbix/zabbix/6.0/rhel/7/x86_64/zabbix-get-6.0.4-1.el7.x86_64.rpm
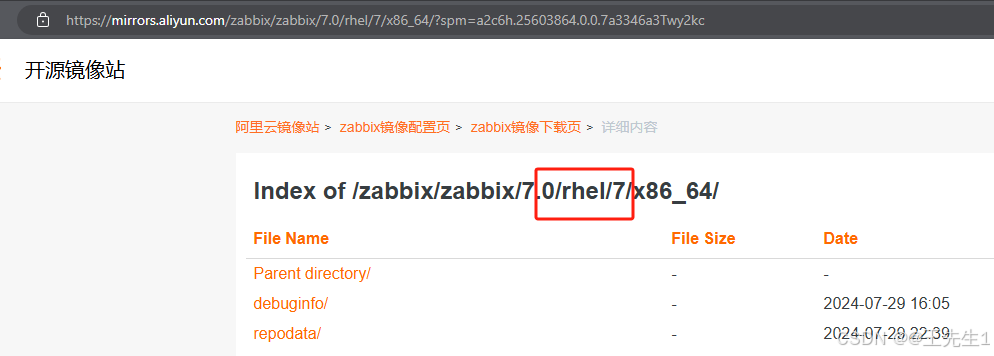
##https://mirrors.aliyun.com/zabbix/zabbix/7.0/rhel/7/x86_64/zabbix-release-7.0-1.el7.noarch.rpm
rpm -Uvh https://repo.zabbix.com/zabbix/7.0/rhel/7/x86_64/zabbix-release-7.0-1.el7.noarch.rpm
yum install zabbix-server-mysql -y
cat > /etc/yum.repos.d/MariaDB.repo << EOF
[mariadb]
name = MariaDB
baseurl = https://mirrors.tuna.tsinghua.edu.cn/mariadb/yum/10.6/centos7-amd64
gpgcheck=0
EOF
yum clean all && yum makecache
yum -y install mariadb-server && systemctl enable --now mariadb.service
}
ubuntu(){
apt-get install apt-transport-https curl
mkdir -p /etc/apt/keyrings
curl -o /etc/apt/keyrings/mariadb-keyring.pgp 'https://mariadb.org/mariadb_release_signing_key.pgp'
echo 'deb [signed-by=/etc/apt/keyrings/mariadb-keyring.pgp] https://mirrors.aliyun.com/mariadb/repo/10.6/ubuntu focal main' > /etc/apt/sources.list.d/mariadb.list
apt update && apt -y install zabbix-get mariadb-server
}
command -v apt && ubuntu || centos
##cat /etc/os-release | grep -q Ubuntu && echo "1" || echo "2"
#mysql -e 'create database zabbix_proxy_active character set utf8mb4 collate utf8mb4_bin'
mysql -e 'create database zabbix character set utf8mb4 collate utf8mb4_bin'
#mysql -e "grant all privileges on zabbix_proxy_active.* to proxy@'%' identified by 'c899T92VEJ27xs'"
mysql -e "grant all privileges on zabbix.* to zabbix@localhost identified by 'zabbix'"
#systemctl enable --now zabbix-proxy.service
3、ubuntu自动化安装脚本
执行方式:脚本 数据库ip 数据库密码
#!/bin/bash

# 检查参数个数是否为两个
if [ $# -ne 2 ]; then
  echo "Usage: $0 <mysql_ip> <mysql_password> 默认端口为3306"
  exit 1
fi


mysql_host=$1
mysql_passwd=$2

# 检查第一个参数是否为有效的IP地址
#if [[ ! ${mysql_host} =~ ^[0-9]+\.[0-9]+\.[0-9]+\.[0-9]+$ ]]; then
if [[ ! ${mysql_host} =~ ^([0-9]{1,3}\.){3}[0-9]{1,3}$ ]]; then
  echo "Error: First parameter is not a valid IP address."
  exit 1
fi

# 检查第二个参数是否为空
if [ -z "${mysql_passwd}" ]; then
  echo "Error: Second parameter is empty."
  exit 1
fi


# 安装zabbix-release
zabbix_deb="zabbix-release_7.0-2+ubuntu22.04_all.deb"
PACKAGE="zabbix-release"

if [ -f "$zabbix_deb" ]; then
  echo "File $zabbix_deb exists. No need to download."
else
  echo "File $zabbix_deb does not exist. Downloading..."
  wget https://repo.zabbix.com/zabbix/7.0/ubuntu/pool/main/z/zabbix-release/zabbix-release_7.0-2+ubuntu22.04_all.deb
fi


if dpkg -l | grep -q "$PACKAGE"; then
  echo "Package $PACKAGE is already installed."
else
  echo "Package $PACKAGE is not installed. Installing..."
  dpkg -i $zabbix_deb
  apt update
  apt install zabbix-server-mysql zabbix-frontend-php zabbix-nginx-conf zabbix-sql-scripts zabbix-agent
fi


##mysql -h${HOSTNAME}  -P${PORT}  -u${USERNAME} -p${PASSWORD}  -e ''
mysql -h${mysql_host} -uroot -p${mysql_passwd} -e 'create database zabbix character set utf8mb4 collate utf8mb4_bin'
mysql -h${mysql_host} -uroot -p${mysql_passwd} -e "create user zabbix@'%' identified by 'zabbix';"
mysql -h${mysql_host} -uroot -p${mysql_passwd} -e "grant all privileges on zabbix.* to zabbix@'%';"
mysql -h${mysql_host} -uroot -p${mysql_passwd} -e 'set global log_bin_trust_function_creators = 1'

zcat /usr/share/zabbix-sql-scripts/mysql/server.sql.gz | mysql -h${mysql_host} --default-character-set=utf8mb4 -uzabbix -pzabbix zabbix


# mysql -h${mysql_host} -uroot -p${mysql_passwd} -e 'set global log_bin_trust_function_creators = 0'

sed -i "s+^# DBHost=localhost+DBHost=192.168.10.169+g" /etc/zabbix/zabbix_server.conf
sed -i "s+^# DBPassword=+DBPassword=zabbix+g" /etc/zabbix/zabbix_server.conf


systemctl restart zabbix-server zabbix-agent nginx php8.1-fpm

systemctl enable zabbix-server zabbix-agent nginx php8.1-fpm

echo "记得手动修改zabbix.conf   listen && server_name"
cd /etc/nginx/conf.d
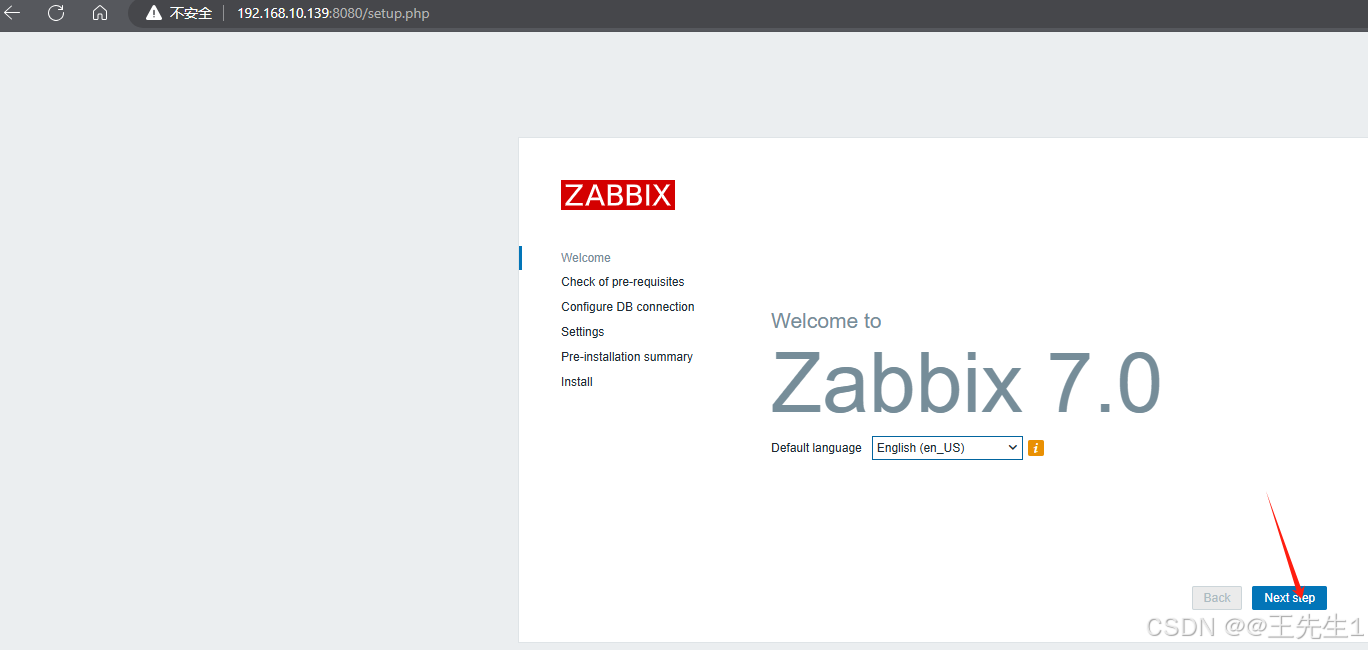
4、修改nginx配置zabbix.conf,访问 http://ip:8080/
http://192.168.10.139:8080/
server {
        listen          8080;
        server_name     zabbix.test.com;
5、web界面配置
1、选择语言
2、检查配置需求

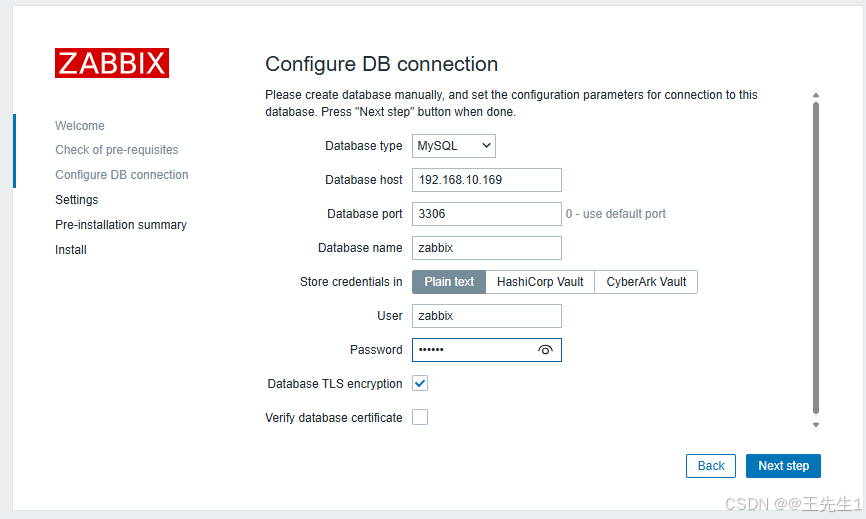
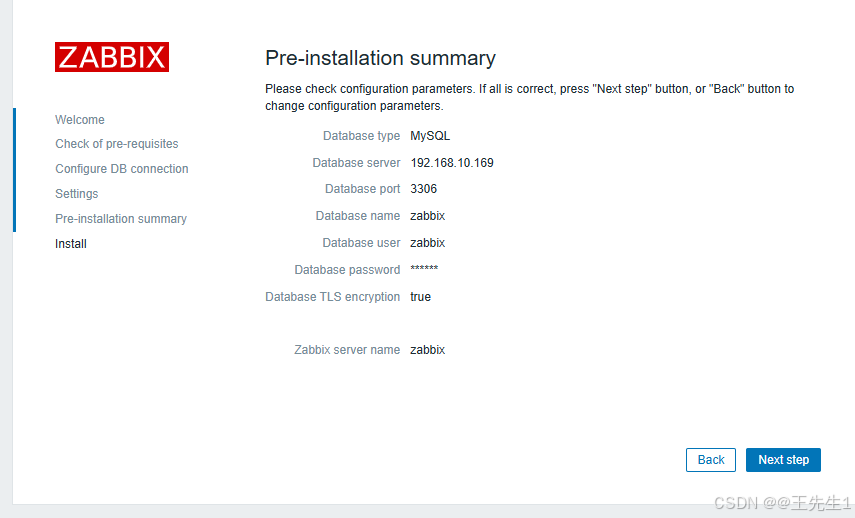
3、配置数据库
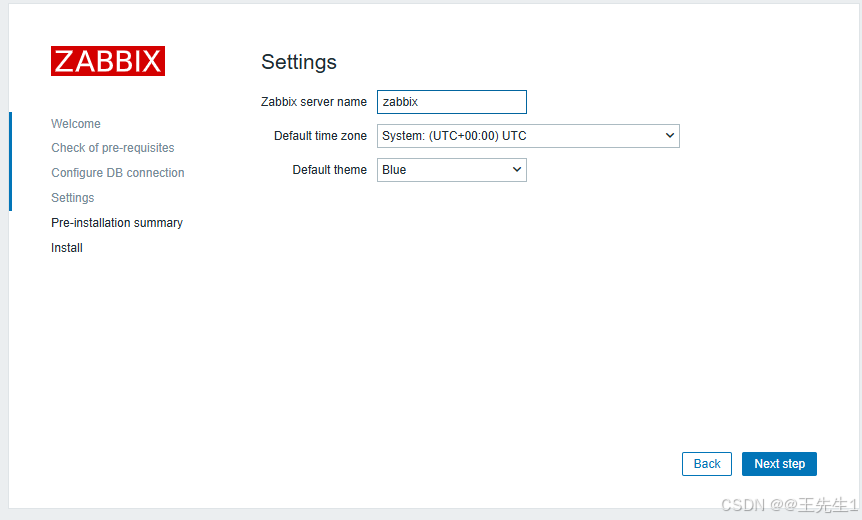
4、zabbix服务名
5、确认配置
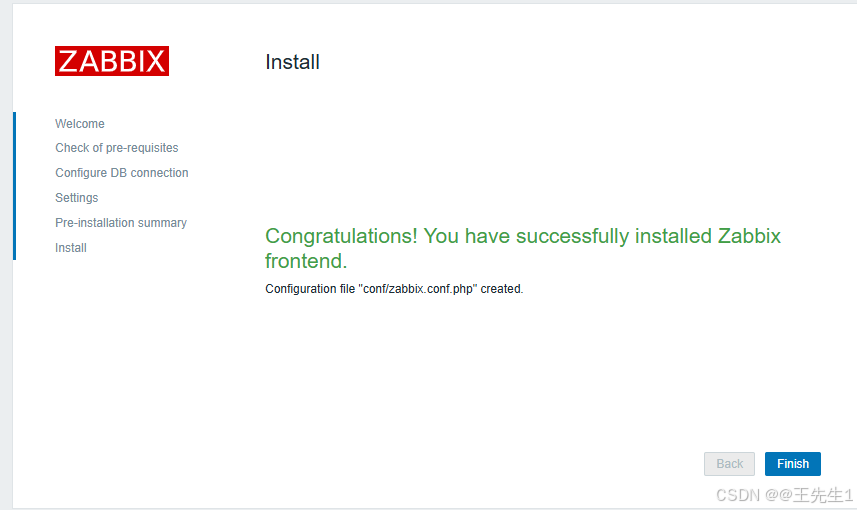
6、安装完成
生成配置默认在此文件:/usr/share/zabbix/conf/zabbix.conf.php
7、zabbix默认用户密码 Admin : zabbix
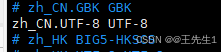
8、安装中文语言包
apt install language-pack-zh-hans  language-pack-zh-hant
locale-gen  --lang
localectl list-locales | grep zh
localedef -v -c -i zh_CN -f UTF-8 zh_CN.UTF-8


systemctl restart zabbix-server zabbix-agent nginx php7.4-fpm
二、安装、配置grafana
1、安装
默认用户密码:admin : admin 端口:3000
sudo apt-get install -y adduser libfontconfig1 musl
##deb可手动下载
wget https://dl.grafana.com/enterprise/release/grafana-enterprise_11.1.3_amd64.deb
sudo dpkg -i grafana-enterprise_11.1.3_amd64.deb

root@wjc-ubuntu:/u01/grafana# systemctl start grafana-server.service
root@wjc-ubuntu:/u01/grafana# systemctl enable grafana-server.service
2、grafana安装zabbix插件,enable


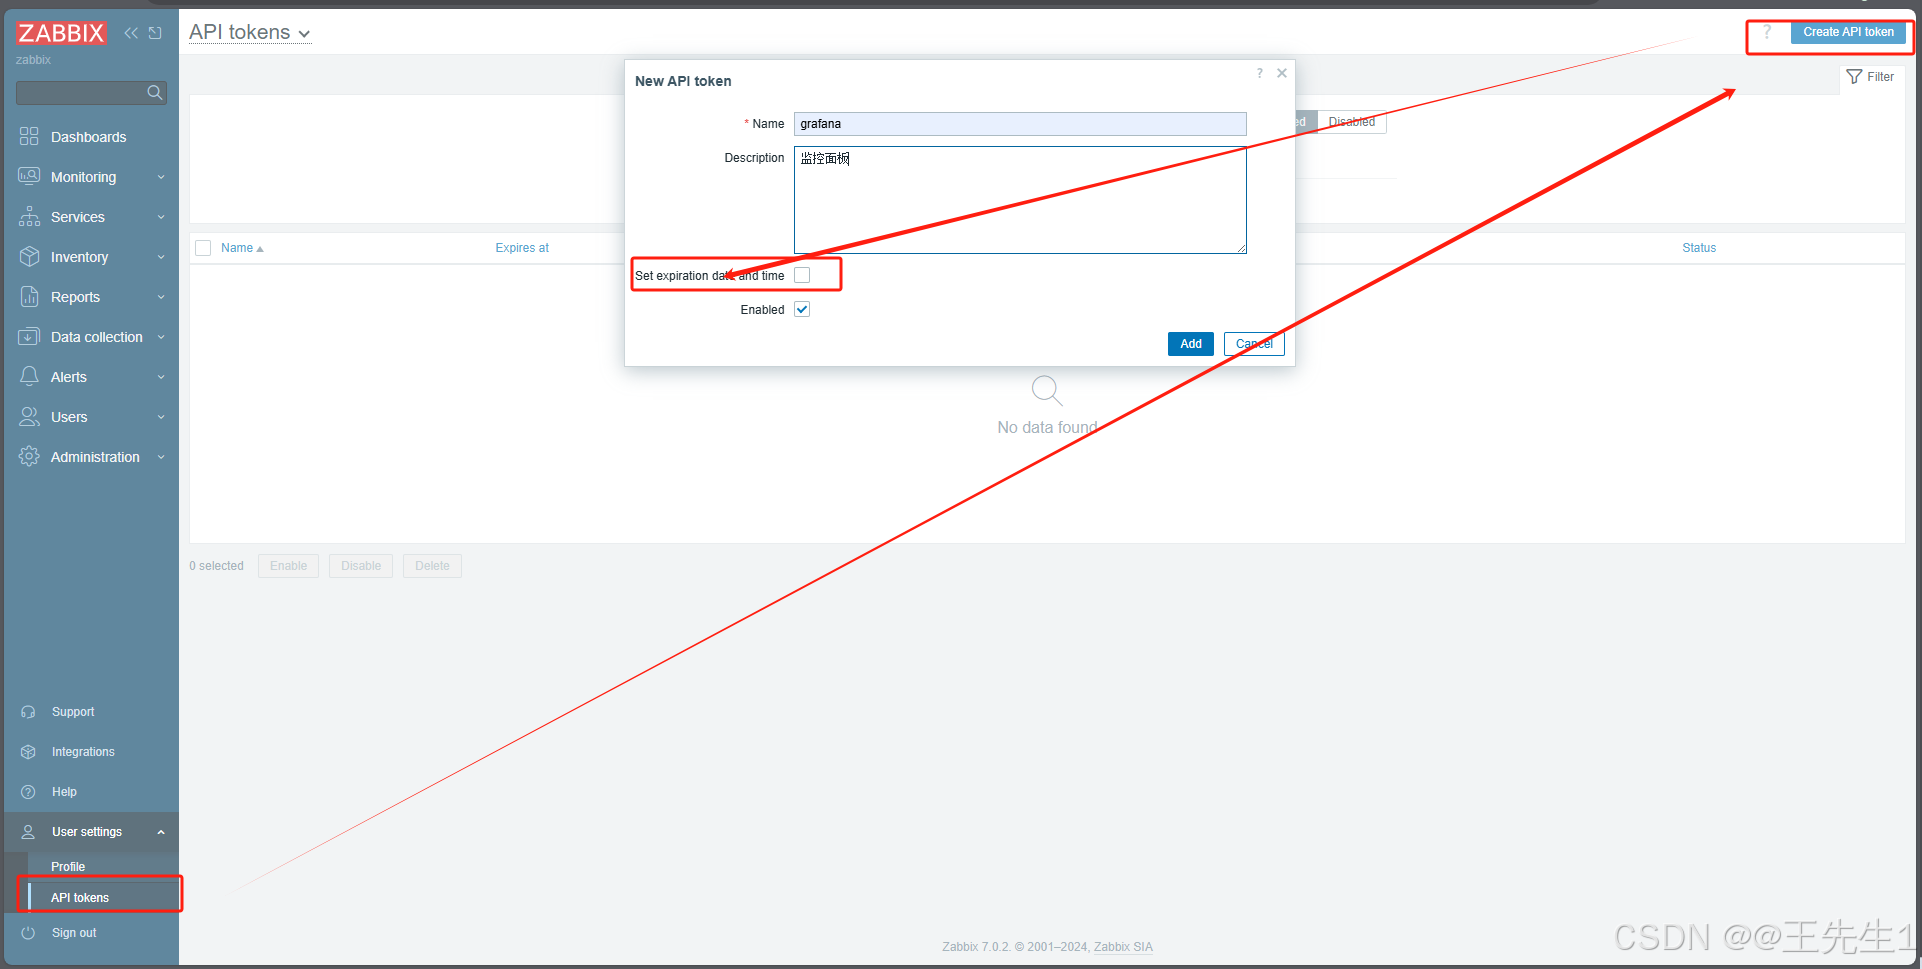
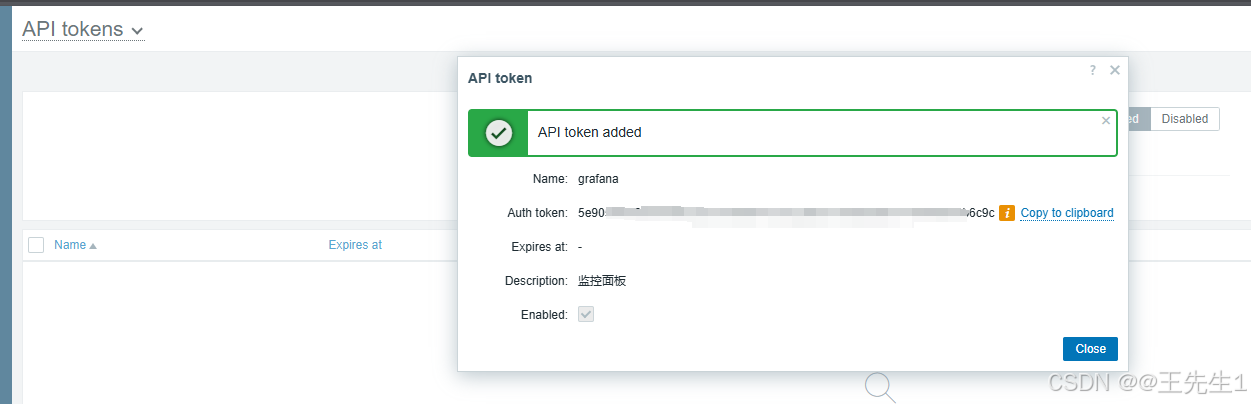
3、zabbix获取api token
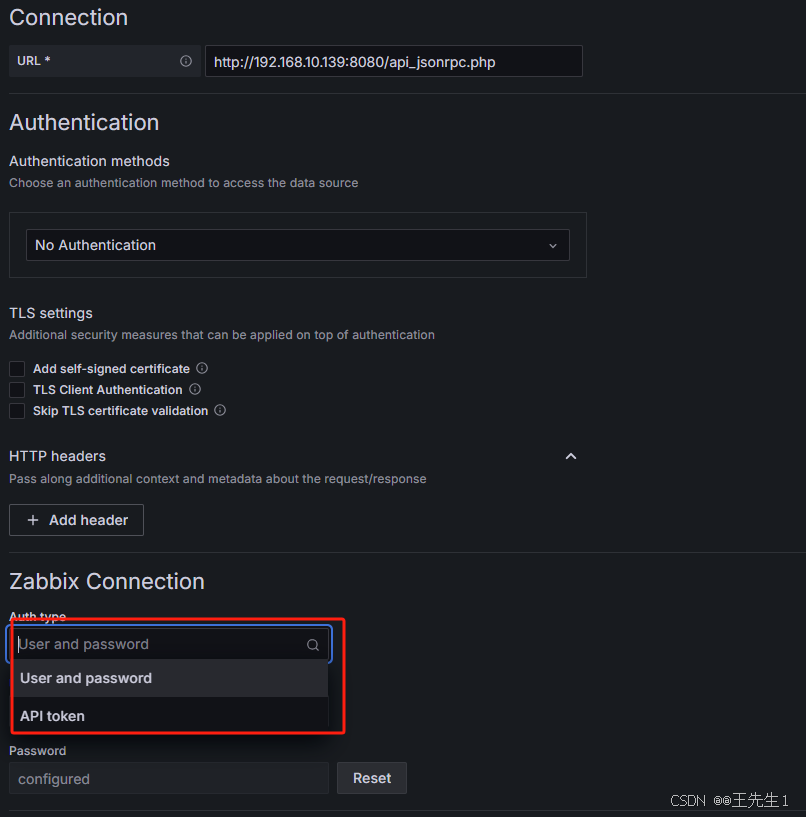
4、grafana设置Datasource
Connection url: http://192.168.10.139:8080/api_jsonrpc.php
用户密码/token二选一


 2179
2179

 被折叠的 条评论
为什么被折叠?
被折叠的 条评论
为什么被折叠?
 到【灌水乐园】发言


