


 本文记录了一名实习生从嵌入式单片机转向软件测试的学习过程,介绍了CUnit单元测试框架的使用,涉及安装、配置、单元测试示例,以及配合gcov进行代码覆盖率分析。作者通过Python和批处理工具简化测试数据管理和生成过程。
目录
好久没写文章了,我是大四出来实习了,是嵌入式单片机一块的实习工作,因为回校考试以及住院,上了一个月班放了一个月假,刚回来领导让我转测试,所以这篇文章记录我学习软件测试的过程。
前两天师傅跟我说让我研究下c的单元测试,后面找到了两个工具,cunit和Visual Unit,但Visual Unit是收费的好像,但有演示版可以提供学习,还有测试覆盖率的一个工具gcov以及使用,后续我把测试出来的数据合并到了一个文件,用了python(合并两个txt文件数据),以及批处理bat(一键生成所需要的文件)。
c单元测试
瞎摸的,大佬勿喷
cunit
单元测试:对某一模块、函数来进行正确性检验的测试工作

c单元测试有一个cunit工具,与junit相似
官方文档:http://cunit.sourceforge.net/doc/index.html

Cunit也是有组织的,主要分几个角色,Registry,Suite及Test方法。可以通过下面例子,体会到这种组织关系。
按官方文档说明,使用Cunit的主要步骤有:(*必须)
1) Write functions for tests (and suite init/cleanup if necessary).
2) Initialize the test registry - CU_initialize_registry()
3) Add suites to the test registry - CU_add_suite()
4) Add tests to the suites - CU_add_test()
5) Run tests using an appropriate interface, e.g. CU_console_run_tests
6) Cleanup the test registry - CU_cleanup_registry

参考文章:https://www.cnblogs.com/linux-sir/archive/2012/08/25/2654557.html
                http://www.uml.org.cn/Test/201404151.asp

cunit在windows下安装:https://blog.csdn.net/godmaycry/article/details/77480549 (已验证可用)
        安装以及官方历程:https://www.jianshu.com/p/250e31aa7280

https://cloud.tencent.com/developer/article/1648952 文章中提到以下问题 (但我没遇到错误,以及提到了使用VS Code IDE)
安装完毕把C:\mingw-w64\x86_64-8.1.0-posix-seh-rt_v6-rev0\mingw64\msys\mingw\lib\libcunit.a拷贝到
C:\mingw-w64\x86_64-8.1.0-posix-seh-rt_v6-rev0\mingw64\lib。
(不拷贝在下面gcc或者clang运行中,加入-lcunit参数会提示..lib: can’t find -lcunit的错误)

接下来把C:\mingw-w64\x86_64-8.1.0-posix-seh-rt_v6-rev0\mingw64\msys\mingw\include\CUnit\目录中的所有.h文件
拷贝到C:\mingw-w64\x86_64-8.1.0-posix-seh-rt_v6-rev0\mingw64\include中去。

注意:编译的时候需要连接cunit
示例:gcc -o test test.c -lcunit

白盒测试主要用于对程序模块的测试,包括:
1.程序模块中的所有独立路径至少执行一次
2.对所有逻辑判定的取值("真"与"假")都至少测试一次
3.在上下边界及可操作范围内运行所有循环
4.测试内部数据结构的有效性等

白盒测试的主要方法:(常用1345)
1.逻辑覆盖测试(语句覆盖、判定覆盖、条件覆盖、判定/条件覆盖、条件组合覆盖、路径覆盖)
2.逻辑表达式错误敏感的测试
3.基本路径测试
4.数据流测试
5.循环测试(分为简单循环,嵌套循环,串接循环,非结构循环)

黑盒测试可用于各种测试:
1.不正确或遗漏的功能
2.接口错误,如输入输出参数的个数、类型错误
3.数据结构错误或外部信息(如外部数据库)访问错误
4.性能错误
5.初始化和终止错误

黑盒测试的主要方法:
1.等价类划分
2.边界值分析
3.比较测试
4.错误猜测
5.因果图

测试策略
V模型(关键)
编码 ------  单元测试    |  低
设计 ------  集成测试    |
需求分析 -- 确认测试    |
系统工程 -- 系统测试   V  高
gcov
gcc -fprofile-arcs -ftest-coverage -o test test.c    编译生成可执行文件(test)和.gcno文件
执行可执行文件./test 生成文件gcda
gcov test.c 生成gcov文件,该文件有代码覆盖率和每行代码执行次数
python代码
main.py
print("Hello World %d " % 2)
flist = ['data1.txt','data2.txt']
ofile = open('list.txt','w')
for fr in flist:
    for txt in open(fr, 'r'):
        print(txt)
        ofile.write(txt)
ofile.close()
bat代码
gcc -fprofile-arcs -ftest-coverage -o test _4_book.c -lcunit
test.exe => data1.txt
gcov _4_book.c => data2.txt
ren _4_book.c.gcov data3.txt
main.py
del data1.txt
del data2.txt
cunit测试代码(拿官方历程改了下)
/*
 *  Simple example of a CUnit unit test.
 *
 *  This program (crudely) demonstrates a very simple "black box"
 *  test of the standard library functions fprintf() and fread().
 *  It uses suite initialization and cleanup functions to open
 *  and close a common temporary file used by the test functions.
 *  The test functions then write to and read from the temporary
 *  file in the course of testing the library functions.
 *
 *  The 2 test functions are added to a single CUnit suite, and
 *  then run using the CUnit Basic interface.  The output of the
 *  program (on CUnit version 2.0-2) is:
 *
 *           CUnit : A Unit testing framework for C.
 *           http://cunit.sourceforge.net/
 *
 *       Suite: Suite_1
 *         Test: test of fprintf() ... passed
 *         Test: test of fread() ... passed
 *
 *       --Run Summary: Type      Total     Ran  Passed  Failed
 *                      suites        1       1     n/a       0
 *                      tests         2       2       2       0
 *                      asserts       5       5       5       0
 */

/* 根据书上程序流图编写 */

#include <stdio.h>
#include <string.h>
#include "CUnit/Basic.h"

/* Pointer to the file used by the tests. */
static FILE *temp_file = NULL;

/* The suite initialization function.
 * Opens the temporary file used by the tests.
 * Returns zero on success, non-zero otherwise.
 */
/* 第一步 套件初始化 编写init套件*/
int init_suite1(void)
{
   if (NULL == (temp_file = fopen("temp.txt", "w+")))
   {
      return -1;
   }
   else
   {
      return 0;
   }
}

/* The suite cleanup function.
 * Closes the temporary file used by the tests.
 * Returns zero on success, non-zero otherwise.
 */
/* 第一步 套件初始化 编写clean套件*/
int clean_suite1(void)
{
   if (0 != fclose(temp_file))
   {
      return -1;
   }
   else
   {
      temp_file = NULL;
      return 0;
   }
}

/* Simple test of fprintf().
 * Writes test data to the temporary file and checks
 * whether the expected number of bytes were written.
 */
void testFPRINTF(void)
{
   int i1 = 10;

   if (NULL != temp_file)
   {
      CU_ASSERT(0 == fprintf(temp_file, ""));
      CU_ASSERT(2 == fprintf(temp_file, "Q\n"));
      CU_ASSERT(7 == fprintf(temp_file, "i1 = %d", i1));
   }
}

/* Simple test of fread().
 * Reads the data previously written by testFPRINTF()
 * and checks whether the expected characters are present.
 * Must be run after testFPRINTF().
 */
void testFREAD(void)
{
   unsigned char buffer[20];

   if (NULL != temp_file)
   {
      rewind(temp_file);
      CU_ASSERT(9 == fread(buffer, sizeof(unsigned char), 20, temp_file));
      CU_ASSERT(0 == strncmp(buffer, "Q\ni1 = 10", 9));
   }
}

float bookExample(float x,float y,float z)
{
   if ((y>1) && (z==0))
   {
      x = x/y;
   }

   if ((y==2) || (x>1))
   {
      x = x+1;
   }

   return x;
}

void testBookExample(void)
{
   //满足判定覆盖标准的测试用例
   CU_ASSERT(2 == bookExample(1,2,1))
   CU_ASSERT(1 == bookExample(3,3,0))

   //满足条件覆盖标准的测试用例
   CU_ASSERT(1.5 == bookExample(1,2,0))
   CU_ASSERT(3 == bookExample(2,1,1))

   //满足判定/条件覆盖标准的测试用例
   CU_ASSERT(3 == bookExample(4,2,0))
   CU_ASSERT(1 == bookExample(1,1,1))

   //满足条件组合覆盖标准的测试用例
   CU_ASSERT(3 == bookExample(4,2,0))
   CU_ASSERT(2 == bookExample(1,2,1))
   CU_ASSERT(3 == bookExample(2,1,0))
   CU_ASSERT(1 == bookExample(1,1,1))

   //满足路径覆盖标准的测试用例
   CU_ASSERT(3 == bookExample(4,2,0))
   CU_ASSERT(1 == bookExample(3,3,0))
   CU_ASSERT(3 == bookExample(2,1,0))
   CU_ASSERT(1 == bookExample(1,1,1))
}

/* The main() function for setting up and running the tests.
 * Returns a CUE_SUCCESS on successful running, another
 * CUnit error code on failure.
 */
int main()
{
   CU_pSuite pSuite = NULL; //初始化结构体

   /* initialize the CUnit test registry */
   /* 第二步 初始化注册表 */
   if (CUE_SUCCESS != CU_initialize_registry())
      return CU_get_error();

   /* add a suite to the registry */
   /* 第三步 添加套件到测试注册表 */
   pSuite = CU_add_suite("Suite_1", init_suite1, clean_suite1);
   if (NULL == pSuite)
   {                         // 如果添加套件失败
      CU_cleanup_registry(); // 清理注册表并报错
      return CU_get_error();
   }

   /* add the tests to the suite */
   /* 第四步 添加测试套件 */
   /* NOTE - ORDER IS IMPORTANT - MUST TEST fread() AFTER fprintf() */
   if ((NULL == CU_add_test(pSuite, "test of fprintf()", testFPRINTF)) ||
       (NULL == CU_add_test(pSuite, "test of fread()", testFREAD)) ||
       (NULL == CU_add_test(pSuite, "test of BookExample()", testBookExample)))
   { // 如果添加测试套件失败清理注册表并报错
      CU_cleanup_registry();
      return CU_get_error();
   }

   /* Run all tests using the CUnit Basic interface */
   /* 第五步 使用适当的接口运行测试 */
   /*
   CU_BRM_NORMAL    Normal模式-失败和运行摘要打印[default]
   CU_BRM_SILENT    静默模式-除了框架错误消息外,不输出任何输出。
   CU_BRM_VERBOSE   详细模式——运行详细信息的最大输出。
   */
   CU_basic_set_mode(CU_BRM_VERBOSE); // 设置基本接口的运行模式
   CU_basic_run_tests(); // 使用基本接口运行所有注册的CUnit测试

   /* 第六步 清理测试注册表 */
   CU_cleanup_registry();
   return CU_get_error();
}
正式开始学习测试
就上面那些我花了两天时间,因为我实在不懂测试,那时候听测试用例这个名词我都不知道咋写。。。
但我还是会专注于嵌入式软件开发的,后续我会把之前工作写的一个小型任务状态调度机发出来。
今天去b站看到了黑马有软件测试的一套学习路线,我根据黑马给的路线开始学习
黑马程序员2022年软件测试学习路线图
我会把跟视频学的代码,以及笔记写到文章里
软件测试的原则
1、所有的测试都应追溯到用户需求(视频网站,点击后最大化)
2、应当把“尽早和不断地测试”作为座右铭
3、测试工作应该由独立的专业的软件测试机构来完成
4、Pareto原则,测试发现的错误中80%很可能起源于20%的模块中
5、设计测试用例时,应该考虑各种情况。
6、对测试出的错误结果一定要有一个确认的过程(描述缺陷报告)
7、制定严格的测试计划
8、完全测试是不可能的,测试需要终止
9、注意回归测试的关联性
10、妥善保存一切测试过程文档
软件产品质量模型(ISO/IEC 9126)
有6大特性27大子特性,可以参考谈一谈软件质量模型这篇文章
软件产品质量模型对产品设计时需要考虑的地方进行了高度概括
六大特性:
1、功能性:是指软件产品在指定条件下使用时,提供满足明确和隐含要求的功能的能力。
2、可靠性:是指在特定条件下使用时,软件产品维持规定的性能级别能力。第一层:设别最好不要出故障;第二层:设备出故障了不要影响主要的功能和业务;第三层:如果影响了主要功能和业务,系统可以尽快定位并恢复。
3、易用性:是指用户在指定条件下使用软件产品时,产品被用户理解、学习、使用和吸引用户的能力。简单10个字:易懂、易学、易用、漂亮好看(用户体验好)。
4、效率:是指在规定条件下,相对于所用资源的数量,软件产品可提供适当的性能的能力。通常,效率就是我们常说的产品性能(单选、多选例子)
5、维护性:是指产品可被修改的能力,这里的修改是指纠正、改进软件产品和软件产品对环境、功能规格变化的适应性(QQ隐身在线显示)
6、可移植性:是指软件产品从一种环境迁移到另一种环境的能力。这里的环境,可以理解为硬件、软件或组织等不同的环境。(win10、ios …)
软件质量模型保证(SQA)
软件质量保证(SQA-Software Quality Assurance)是建立一套有计划,有系统的方法,来向管理层保证拟定出的标准、步骤、实践和方法能够正确地被所有项目所采用。软件质量保证的目的是使软件过程对于管理人员来说是可见的。它通过对软件产品和活动进行评审和审计来验证软件是合乎标准的。软件质量保证组在项目开始时就一起参与建立计划、标准和过程。这些将使软件项目满足机构方针的要求。
软件测试基本流程
1、需求分析
2、编写测试用例
3、评审测试用例
4、搭建测试环境
5、等待开发提交测试包
6、部署测试包
7、冒烟测试(对软件主体基本功能进行基本测试)
8、执行测试用例
9、BUG跟踪处理(提交及回归BUG)
10、N轮之后符合需求
11、测试结束
HTML
我不太清楚为啥测试需要学习HTML,我虽然以前学过,以及忘记差不多了,跟着课程学回炉重造吧。
我没用黑马视频中的那个软件写的,我用的vscod,代码中img标签中图片自己找哈,我就不附上来了,注意路径哈。
_01_html.html
<!DOCTYPE html>
<html>
<head>
<meta charset="utf-8">
<title>网页</title>
</head>
<body>
<p id="top">这是顶部锚点</p>
<h1>测试h1</h1>
<h2>测试h2</h2>
<p>测试p</p>
<b>加粗</b>
<strong>也是加粗</strong>
<u>下划线</u>
<i>斜体</i>
<em>也是斜体</em>
<s>删除</s>
<del>也是删除</del>
<br />
<p>换行标签br</p>
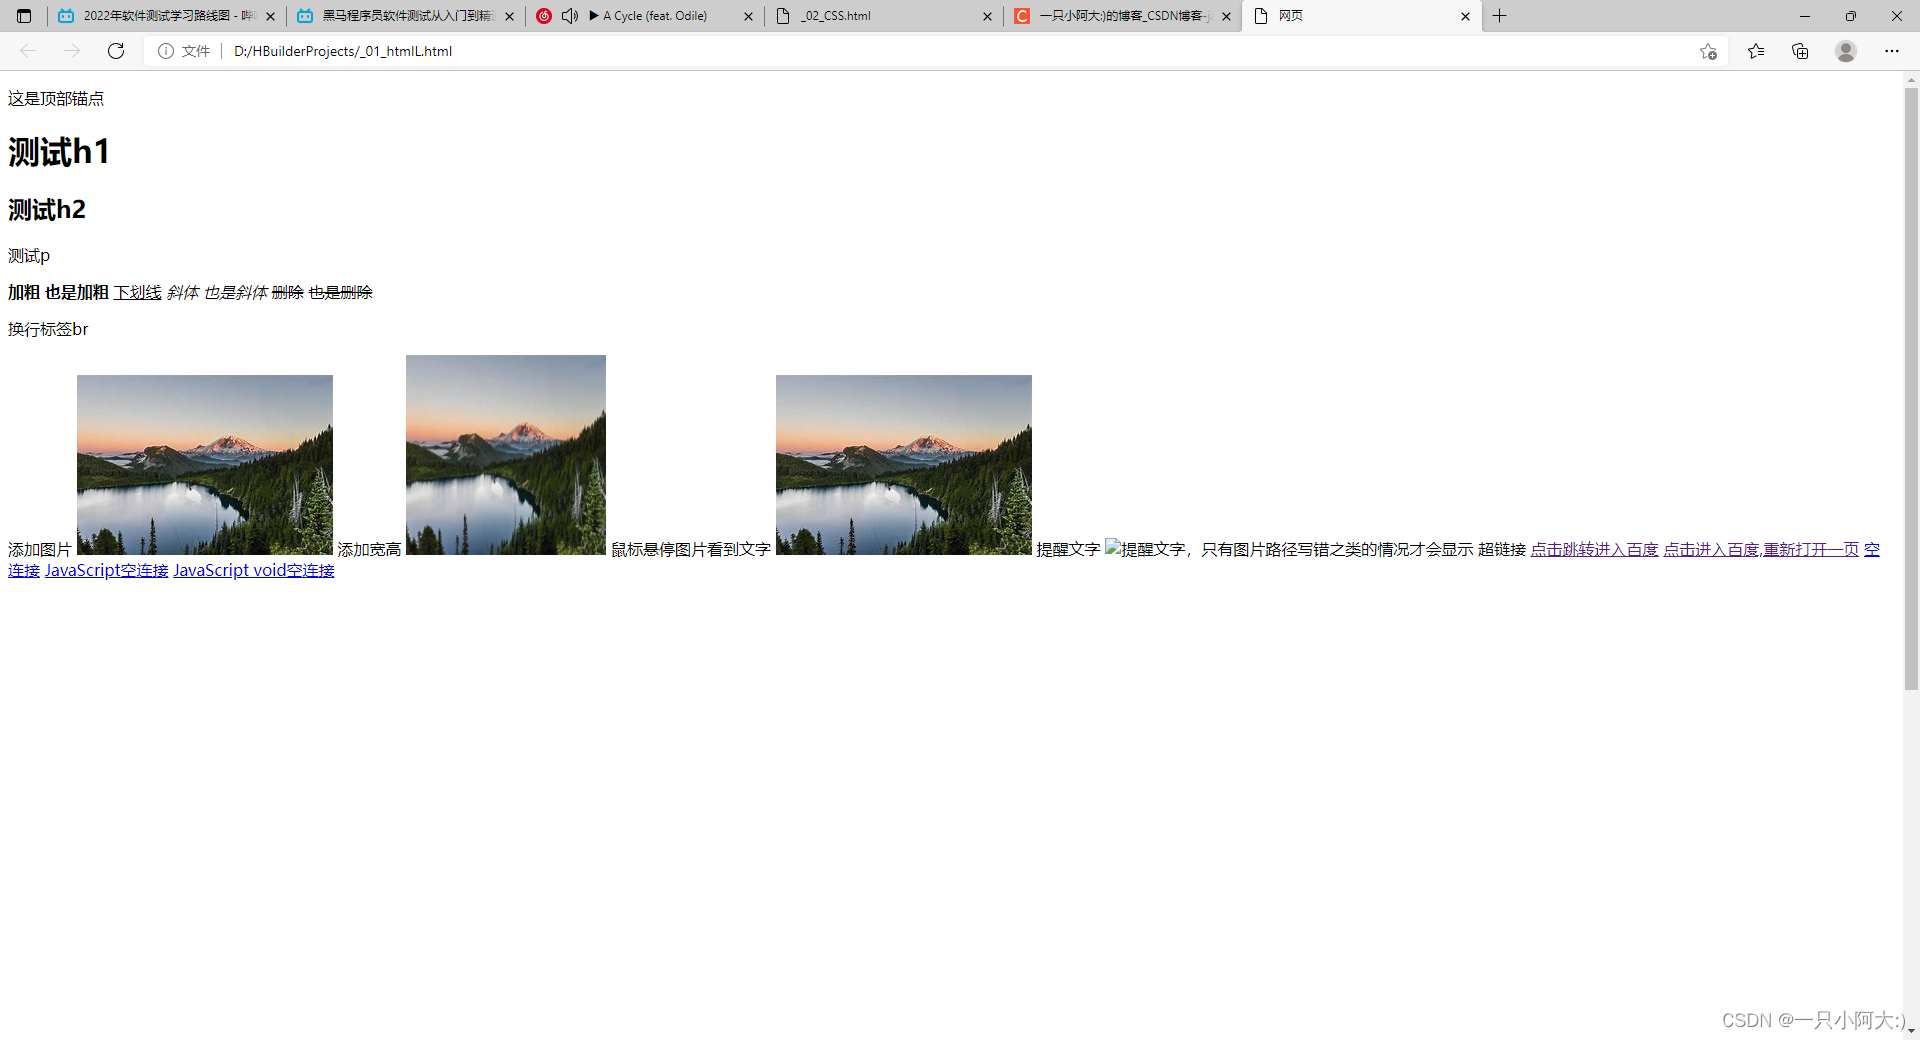
添加图片
<img src="OIP-C.jfif" />
添加宽高
<img src="OIP-C.jfif" height="200" width="200" />
鼠标悬停图片看到文字
<img src="OIP-C.jfif" title="你好" />
提醒文字
<img src="3-C.jfif" alt="提醒文字,只有图片路径写错之类的情况才会显示" />
超链接
<a href="https://www.baidu.com/">点击跳转进入百度</a>
<a href="https://www.baidu.com/" target="_blank">点击进入百度,重新打开一页</a>
<a href="###">空连接</a>
<a href="javascript:;">JavaScript空连接</a>
<a href="javascript:(void);">JavaScript void空连接</a>
<br />
<br />
<br />
<br />
<br />
<br />
<br />
<br />
<br />
<br />
<br />
<br />
<br />
<br />
<br />
<br />
<br />
<br />
<br />
<br />
<br />
<br />
<br />
<br />
<br />
<br />
<br />
<br />
<br />
<br />
<br />
<br />
<br />
<br />
<br />
<br />
<br />
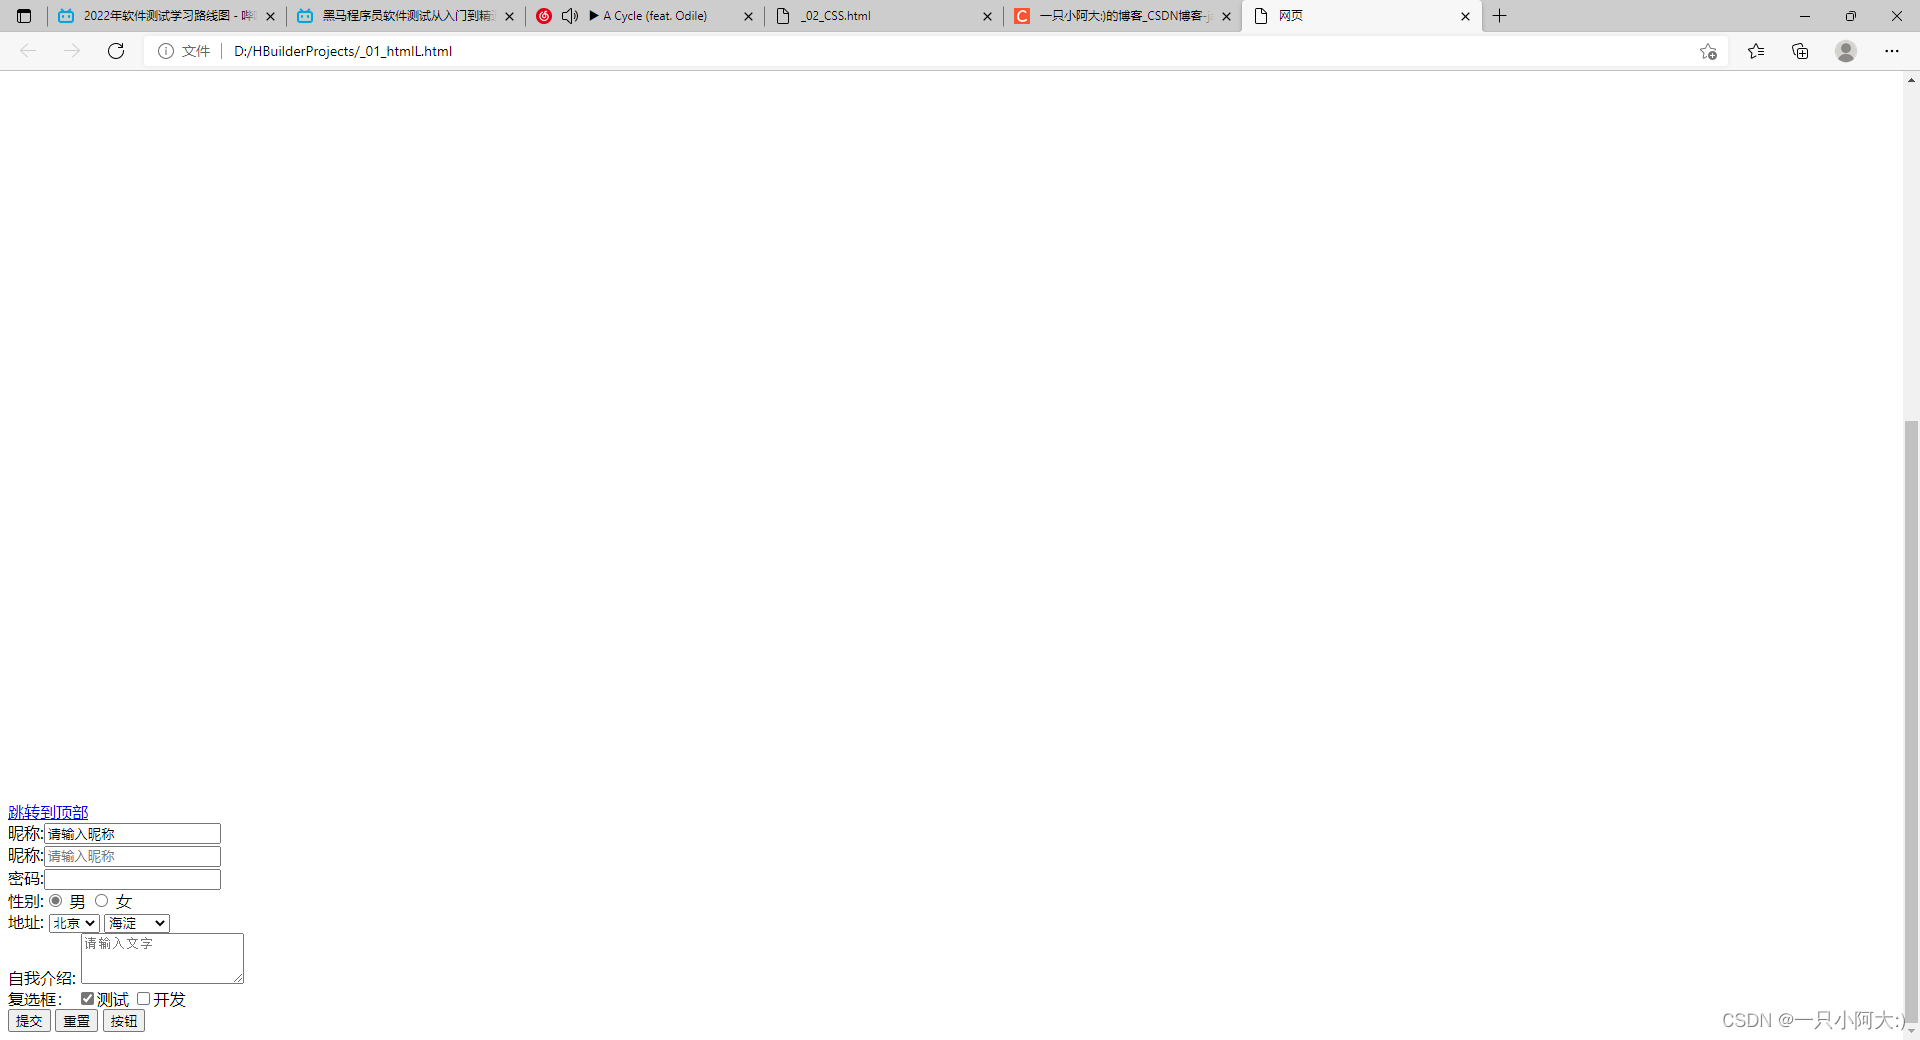
<a href="#top">跳转到顶部</a>
<!--
form表单
action 代表提交给哪一个后台程序
method 代表传输过程中用哪种传输方式 post加密 get不加密
-->
<form>
<!--
type 类型
name 代表输入框的名字
id 输入框的id编号
value 默认存在输入框的文字
placeholder 提示文字,输入就删除了 注意:低版本ie如6789就看不见
autofocus 输入框默认选中状态
-->
昵称:<input type="text" name="nicheng" id="1" value="请输入昵称" /><br />
昵称:<input type="text" name="nicheng" id="2" placeholder="请输入昵称" autofocus="autofocus" /><br />
密码:<input type="password" name="mima" id="3" /><br />
<!--
单选按钮:
name 为了说明两个单选按钮是一起的,选了一个就不能选另一个
label 让点文字也一样选按钮
checked 默认选择
-->
性别:<input type="radio" name="xb" id="nan" checked="checked" /> <label for="nan">男</label>
<input type="radio" name="xb" id="nv" /> <label for="nv">女</label><br />
<!--
下拉菜单:
select 下拉菜单标签
option 选项
optgroup 选项分组提示
-->
地址:
<select name="dizhi">
<option value="">北京</option>
<option value="">江西</option>
</select>
<select>
<optgroup label="北京">
<option value="">海淀</option>
<option value="">昌平</option>
</optgroup>
<optgroup label="江西">
<option value="">南昌</option>
<option value="">九江</option>
</optgroup>
</select>
<br />
<!--
文本域:
textarea 文本域标签
rows 行
cols 列
使用rows和cols设置的话,不同浏览器不一样
要想不同浏览器的效果都一样就使用width和height
placeholder 文本框内提示输入
-->
自我介绍:
<textarea rows="3" cols="20" placeholder="请输入文字"></textarea><br />
<!--
复选框:
-->
复选框:
<input type="checkbox" name="" id="ceshi" checked="checked" /><label for="ceshi">测试</label>
<input type="checkbox" name="" id="kaifa" /><label for="kaifa">开发</label><br />
<!--
表单提交按钮
如果不写value,就会导致兼容性问题,比如再ie浏览器先死的是提交,在火狐浏览器显示的是提交查询
-->
<input type="submit" value="提交" />
<!--
表单重置按钮
点击此按钮,回复到默认状态
-->
<input type="reset" value="重置" />
<!--
按钮
-->
<input type="button" value="按钮" />
</form>
</body>
</html>
效果
CSS样式
_02_CSS.html
<!DOCTYPE html>

<!--
	1、CSS基本语法
	书写位置:head标签内部
	环境:<style type = "text/css"></style>
	书写css属性:控制的对象{css键值对}
		CSS键值对语法 k:v;

	2、CSS常用文字控制属性
	字体:font-family
	字号:font-size  后面就得加px代表像素
	颜色:color
	内容水平对齐方式:text-align:left|center|right
	首行缩进:text-indent
	背景颜色:background
	宽:width
	高:height

	CSS文字控制常用属性 新建了个_03_CSSTextControl.html 进行测试
	文字粗细 font-weight
	文字倾斜 font-style
	文字修饰属性 text-decoration
	强制字母换行 word-break: break-all
	首行缩进 text-indent: 2em
-->

<html>

<head>
	<meta charset="utf-8">
	<title>CSS样式学习</title>
	<!--
			这样的CSS样式是属于内嵌式的,还有一种外联式,会有一个.css文件,就需要link标签进行链接
			标签选择器前缀就是标签,如p{}
			id选择器前缀 # 号,如#p1{} 绝不允许两个id名,如<p id = "p1 p2"></p>  因为id是唯一的
			类选择器前缀 . 号,如.xzclass{}

			选择器权重:id选择器 > 类选择器 > 标签选择器
		-->
	<style type="text/css">
		p {
			color: aqua;
			font-size: 20px;
			font-family: "宋体";
			text-align: left;
			text-indent: 2em;
			background: bisque;
			width: 200px;
			height: 70px;
		}

		div {
			color: crimson;
		}

		span {
			font-size: 100px;
		}

		#p1 {
			color: red;
		}

		#p2 {
			color: green;
		}

		.xzclass {
			color: pink;
			background-color: white;
			width: auto;
			height: auto;
		}

		.class1 {
			color: #008000;
		}

		.logo_red {
			color: red;
		}

		.logo_blue {
			color: blue;
		}

		.logo_yello {
			color: yellow;
		}

		.logo_green {
			color: green;
		}

		/* 后代选择器  不管儿子孙子都属于后代*/
		div span {
			color: deepskyblue;
			font-size: 20px;
		}

		/* 并列选择器 上面有了标签选择器,我这就没用p什么的了,不代表不能用啊*/
		h1,
		h2 {
			color: dimgray;
		}

		/* 标签指定式 */
		div.div1 {
			color: firebrick;
		}

		p.p1{
			color: gold!important;
		}
	</style>

	<!--
			外链式CSS样式
		-->
	<link rel="stylesheet" type="text/css" href="myCssTest.css" />

</head>

<body>
	<p>css样式更改p标签颜色</p>
	<div>代表大盒子</div>
	<span>代表小盒子</span>

	<p id="p1">这是id选择器p1</p>
	<p id="p2">这是id选择器p2</p>

	<p class="xzclass">这是类选择器xzclass</p>
	<p class="class1 xzclass">这是两个class选择器xzclass和class1结合</p>

	<h1>google案例,实现文字不同颜色</h1>
	<span class="logo_blue">g</span>
	<span class="logo_red">o</span>
	<span class="logo_yello">o</span>
	<span class="logo_blue">g</span>
	<span class="logo_green">l</span>
	<span class="logo_yello">e</span>

	<p class="test">这是外链式css测试</p>

	<p style="color: #0000FF;">这是行内css测试,由于前面设置了css标签选择器所以边框还在</p>

	<div>
		<span>这是后代选择器中的儿子</span>
	</div>

	<div>
		<p>
			<span>这是后代选择器中的孙子</span>
		</p>
	</div>

	<h1>并列选择器</h1>
	<h2>并列选择器</h2>

	<div class="div1">这是标签指定式</div>
	<div>默认的div</div>

	<!-- 复合选择器权重也是  id选择器 > 类选择器 > 标签选择器 相当于加法,1+1=2这样 权重如果一样,后写的会把先写的覆盖 -->
	<!-- 这里我就没写代码试了 -->

	<!-- 引入方式权重看谁后写谁显示 -->
	<!-- 外链和内嵌两个权重相同,行内式权重最大,想要让权重最大,后面加!important -->
	<p class="p1" style="color: greenyellow;">测试引入方式权重,外链式的是最后写的把内嵌式的覆盖了</p>

</body>

</html>
_03_CSSTextControl.html
<!DOCTYPE html>
<html>

<head>
    <meta charset="utf-8">
    <title>测试文字控制属性</title>
    <!--
        CSS文字控制常用属性 新建了个_03_CSSTextControl.html 进行测试
        文字粗细 font-weight
        文字倾斜 font-style
        文字修饰属性 text-decoration
        强制字母换行 word-break: break-all
        首行缩进 text-indent: 2em
    -->
    <style type="text/css">
        h1 {
            font-weight: normal;
        }

        p {
            font-weight: bold;
        }

        em {
            font-style: normal;
        }

        h3 {
            font-style: italic;
            /* 设置上中下划线,只能设置一个,谁最后就显示哪个 */
            text-decoration: overline;
            text-decoration: line-through;
            text-decoration: underline;
        }

        a {
            text-decoration: none;
        }

        h4 {
            width: 100px;
            height: 100px;
            background: red;
        }

        h5 {
            width: 100px;
            height: 100px;
            background: red;
            word-break: break-all;
        }

        /* 伪类写法,代表鼠标悬停 */
        a:hover {
            color: springgreen;
        }

        p.class {
            width: 200px;
            height: 200px;
            background: pink;
            line-height: 50px;
            /* 从第二行文字结束到第一行文字结束 */
        }
    </style>
    <style>
        /*
        盒子模型的border
        顶部边框线:border-top
        右侧边框线:border-right
        底部边框线:border-bottom
        左侧边框线:border-left

        padding 内边框
        顶部内边框线:padding-top
        右侧内边框线:padding-right
        底部内边框线:padding-bottom
        左侧内边框线:padding-left

        margin 盒子边距
        */
        div {
            width: 200px;
            height: 200px;
            background: red;
            /* border: 5px solid black;设置边框是否显示以及边框颜色 */
            /*
            solid 实线  dashed 虚线 double 双实线 dotted点状线
            只有实线和虚线不存在兼容性问题,其他的线存在兼容性问题
            */
            border-top: 10px double blue;
            border-bottom: 15px dotted teal;
            border-left: 20px solid yellow;
            border-right: 10px dashed springgreen;

            /* padding: 30px; */
            padding-left: 30px;

            margin: 20px;
        }
    </style>
</head>

<body>
    <h1>我是h1标签</h1>
    <p>我是p标签,我也想加粗</p>
    <em>我是倾斜</em>
    <h3>我是h3 我也想倾斜</h3>
    <a href="###">空链接</a>

    <h4>asdasdasdadasdsadasdsadssssssssss</h4>
    <h4>扫i我们开发的见到额我i驱蚊器偶然反对</h4>
    <p>会发现中文换行,英文不换行这就需要强制字母换行 word-break: break-all</p>

    <h5>asdasdasdadasdsadasdsadssssssssss</h5>
    <h5>扫i我们开发的见到额我i驱蚊器偶然反对</h5>
    <p>会发现英文也换行了</p>

    <a href="###">鼠标碰我会发现变色了</a>

    <p class="class">行高属性行高属性行高属性行高属性行高属性行高属性行高属性行高属性行高属性行高属性行高属性</p>

    <div>你好啊你好啊你好啊你好啊你好啊你好啊你好啊你好啊你好啊你好啊你好啊你好啊你好啊</div>
    <div>你好啊你好啊你好啊你好啊你好啊你好啊你好啊你好啊你好啊你好啊你好啊你好啊你好啊</div>
    <!-- HTML5新标签,ie低版本不识别,所以只能用在手机网站的书写 -->
    <header>头</header>
    <nav>导航条</nav>
    <aside>侧导航</aside>
    <article>文章块</article>
    <footer>底部</footer>
</body>

</html>
myCssTest.css
.test{color: blueviolet;}
p.p1{
    color: rgb(59, 235, 205);
}


 被折叠的 条评论
为什么被折叠?
被折叠的 条评论
为什么被折叠?
 到【灌水乐园】发言


