


一丶创建SpringBoot有两个方式
1.没有网络的情况下使用Maven创建
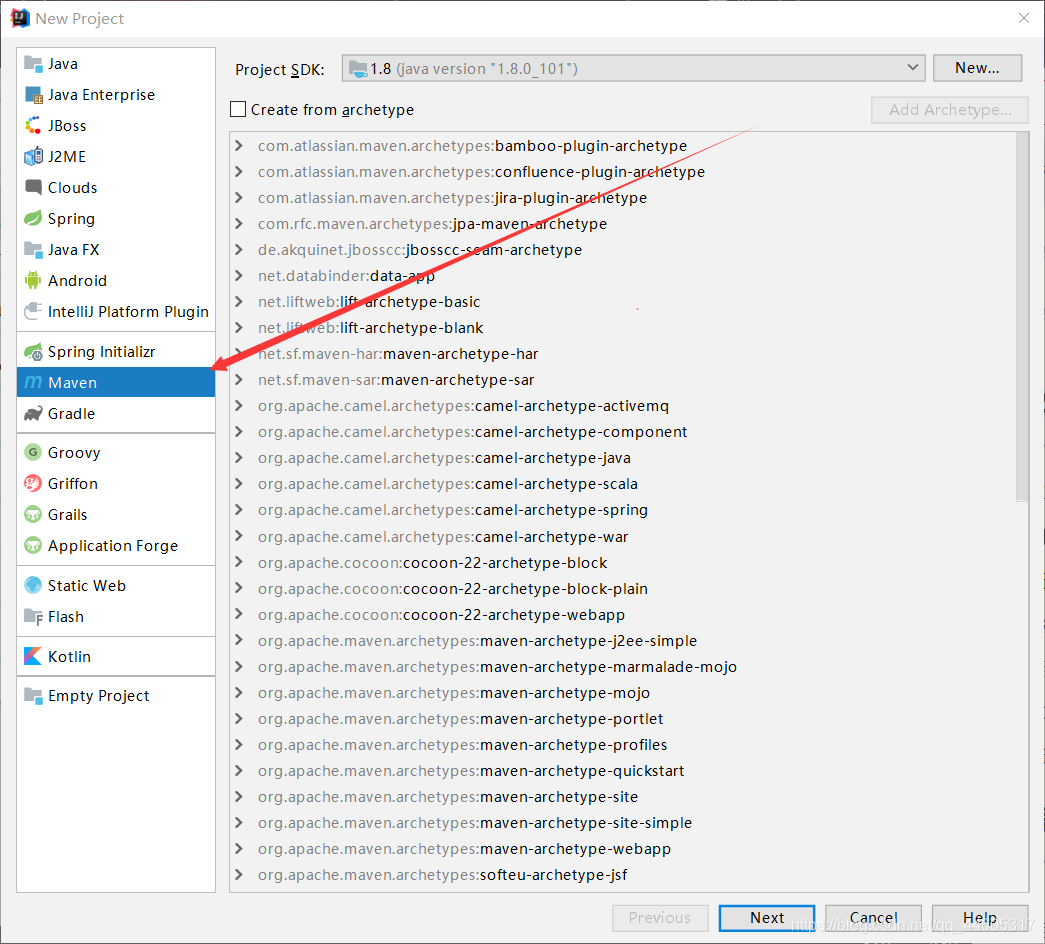
1.1:用Idea创建maven项目 不要勾选 next
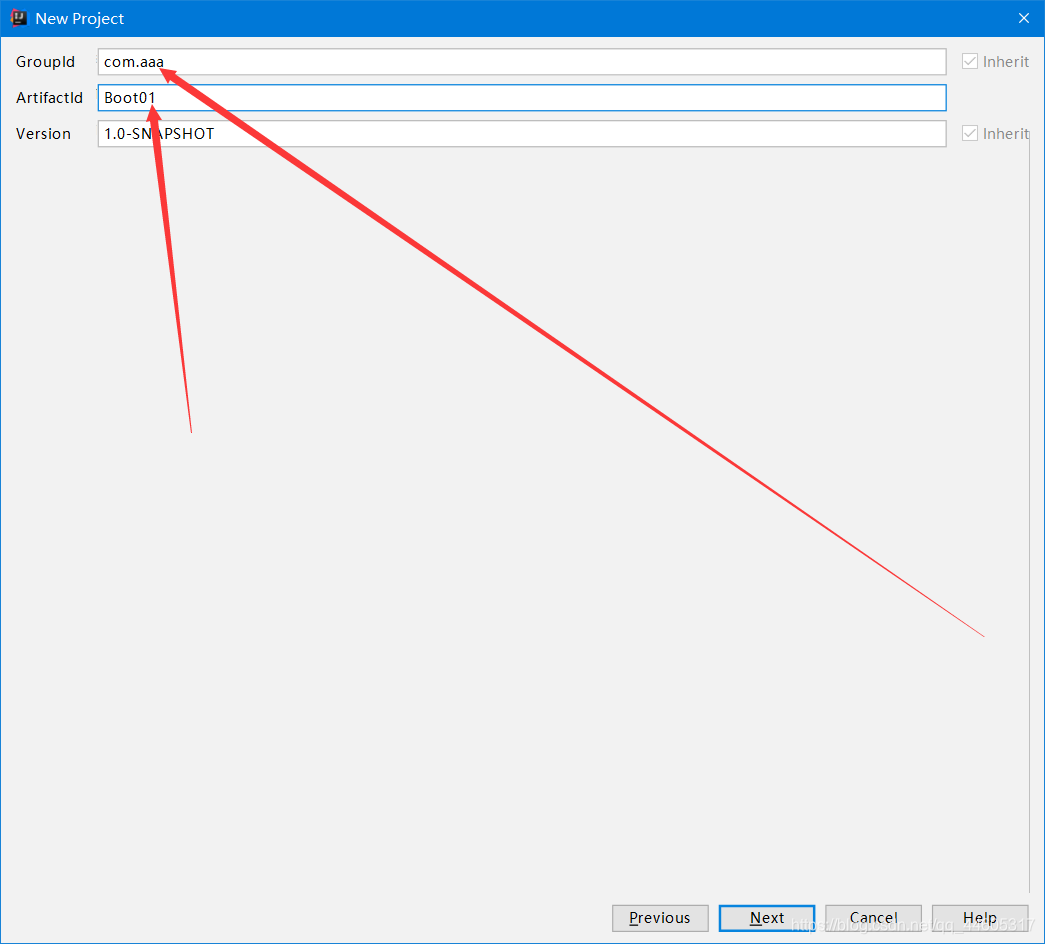
1.2:这里填写自己的groupId和artifactid 然后next到创建结束
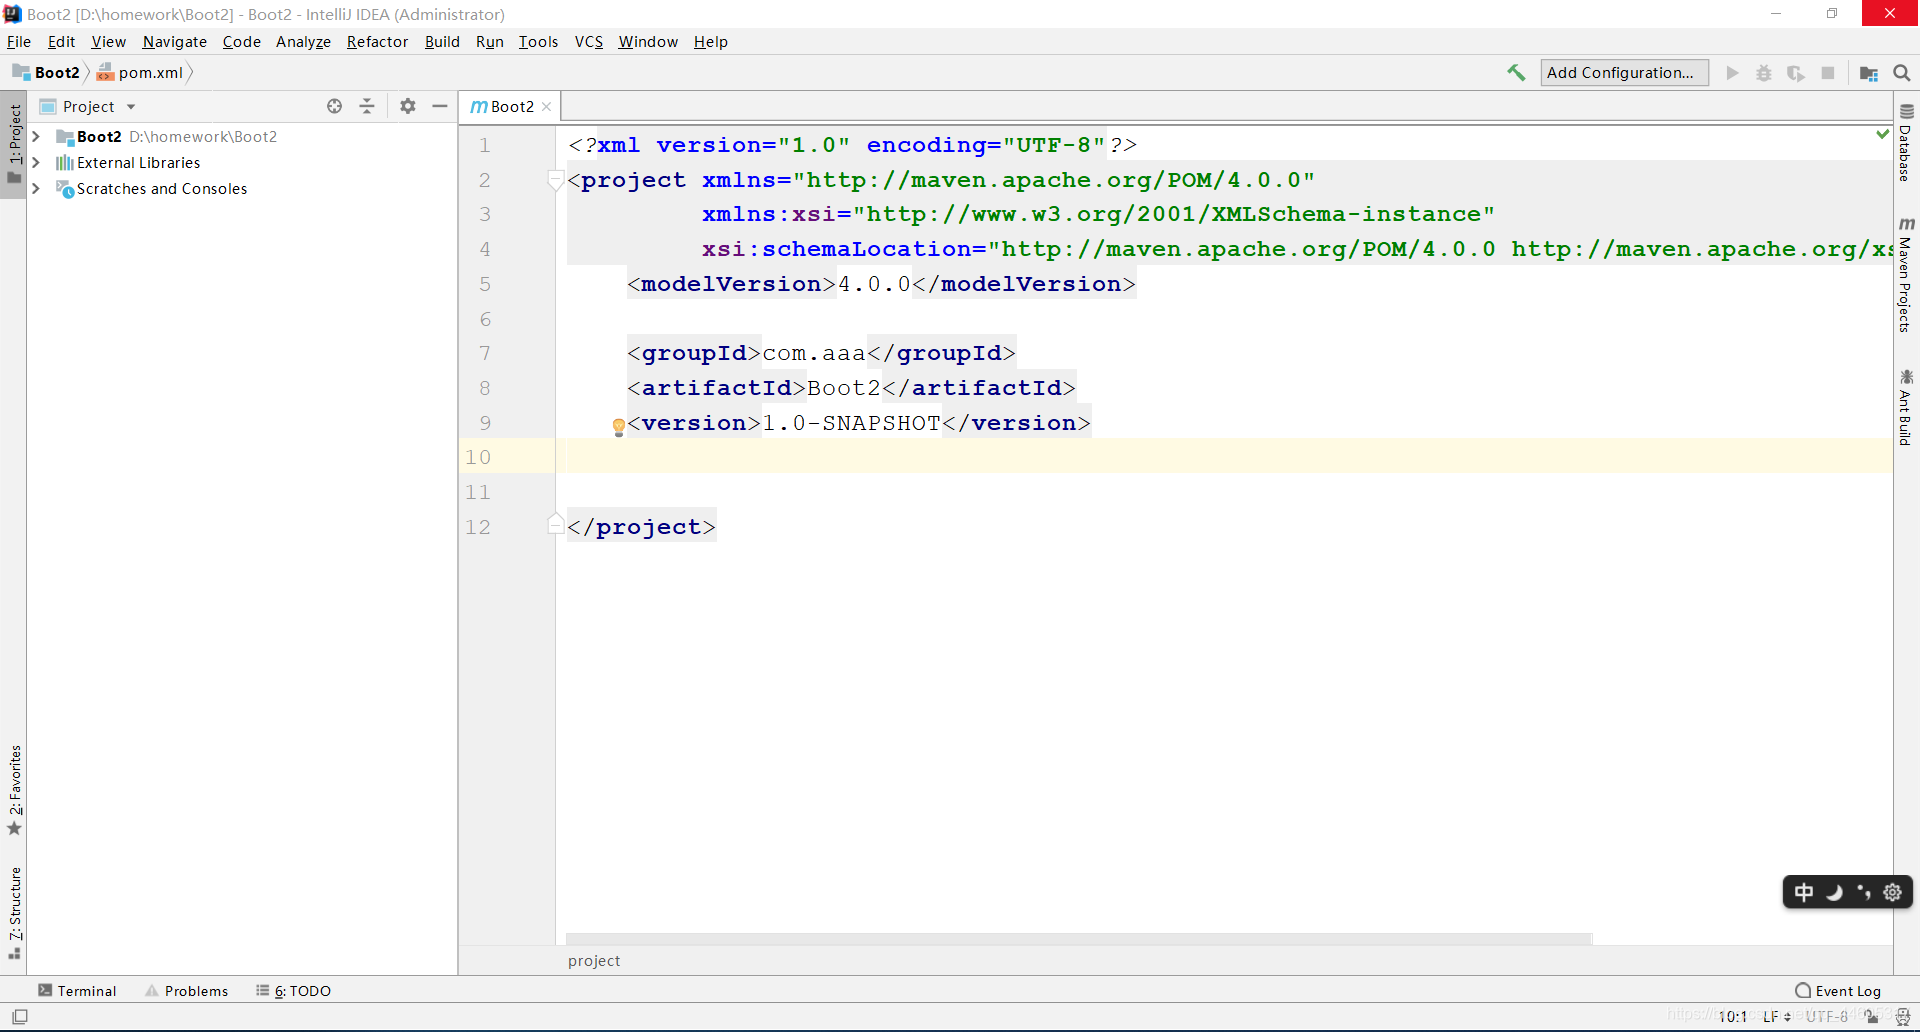
1.3:现在这里就是我们已经创建了一个maven工程 现在我们在maven工程基础上 添加springboot基础依赖
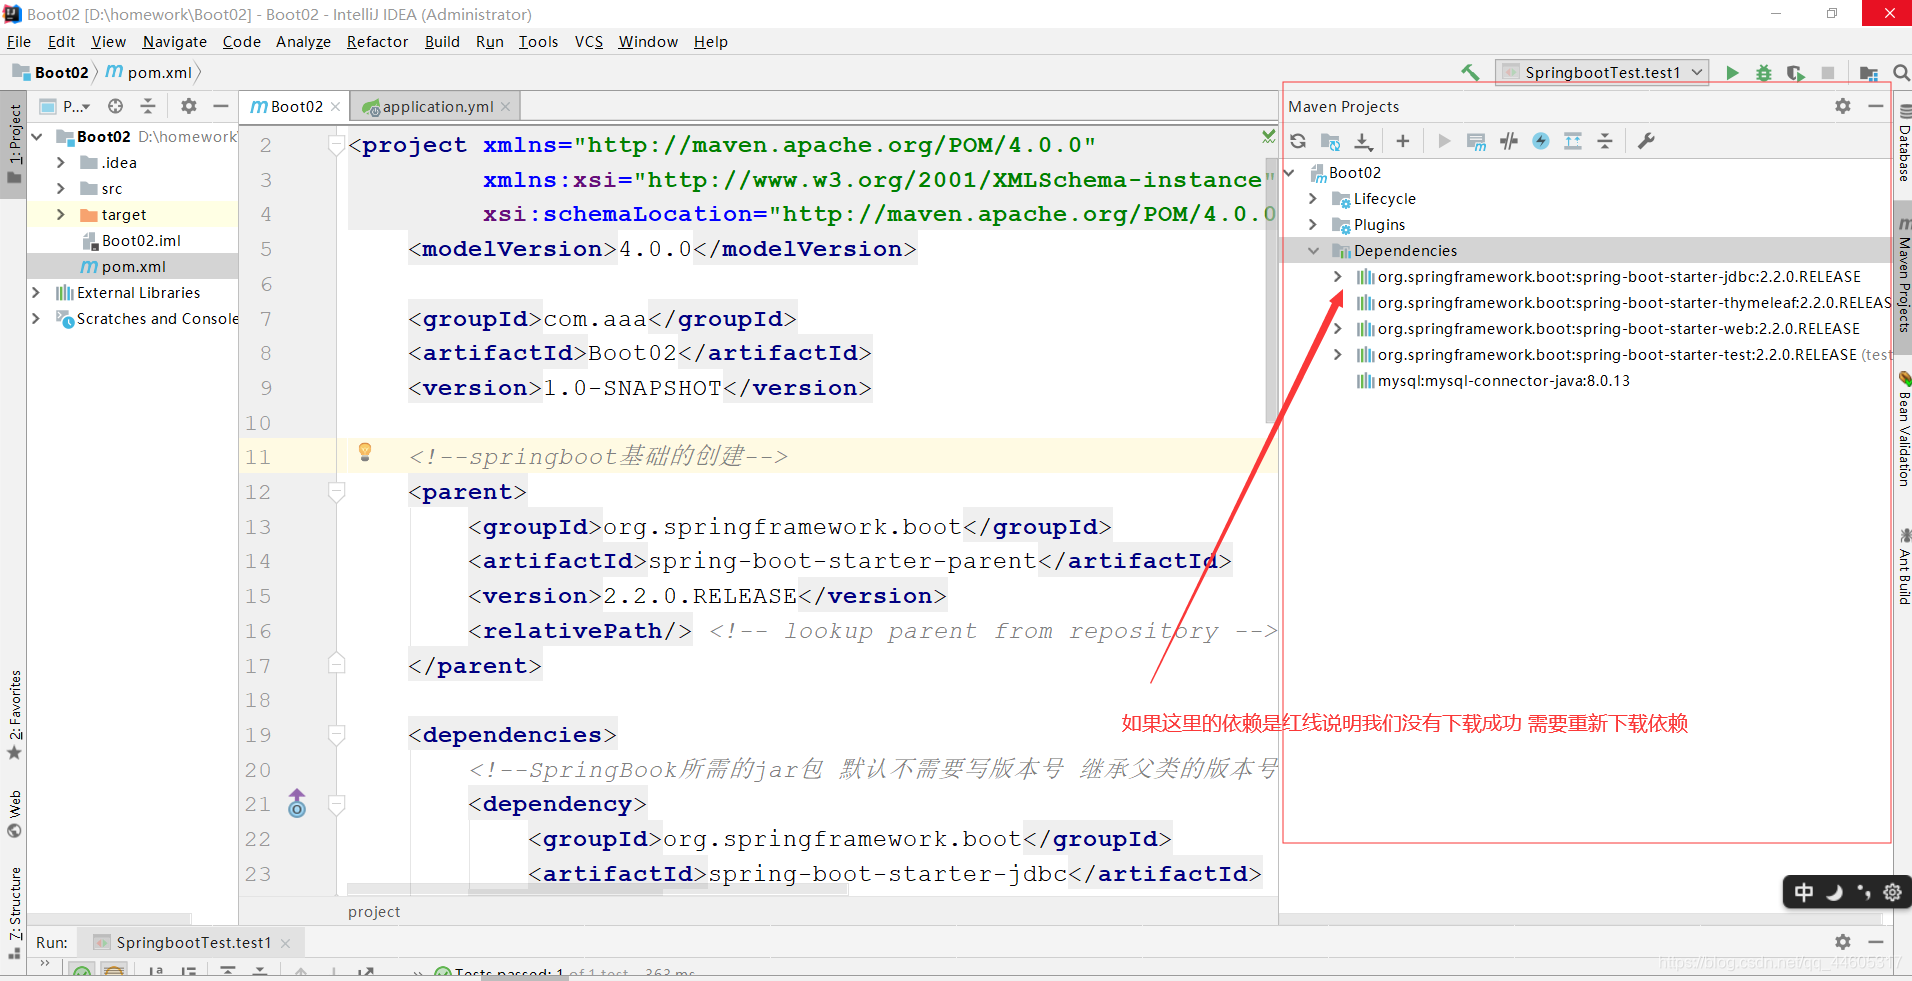
1.4:添加以下依赖
<!--springboot基础的创建 告诉maven我们要创建的是一个springboot项目-->
    <parent>
        <groupId>org.springframework.boot</groupId>
        <artifactId>spring-boot-starter-parent</artifactId>
        <version>2.2.0.RELEASE</version>
        <relativePath/> <!-- lookup parent from repository -->
    </parent>

    <dependencies>
        <!--SpringBook所需的jar包 默认不需要写版本号 继承父类的版本号-->
        <dependency>
            <groupId>org.springframework.boot</groupId>
            <artifactId>spring-boot-starter-jdbc</artifactId>
        </dependency>
        <dependency>
            <groupId>org.springframework.boot</groupId>
            <artifactId>spring-boot-starter-thymeleaf</artifactId>
        </dependency>
        <dependency>
            <groupId>org.springframework.boot</groupId>
            <artifactId>spring-boot-starter-web</artifactId>
        </dependency>
        <dependency>
            <groupId>org.springframework.boot</groupId>
            <artifactId>spring-boot-starter-test</artifactId>
            <scope>test</scope>
        </dependency>
        <!--Mysql依赖 springboot 2.2.0 好像默认需要一个数据库连接 不写会报错-->
        <dependency>
            <groupId>mysql</groupId>
            <artifactId>mysql-connector-java</artifactId>
            <version>8.0.13</version>
        </dependency>
    </dependencies>
    <!--spirng 打包成war包-->
    <build>
        <plugins>
            <plugin>
                <groupId>org.springframework.boot</groupId>
                <artifactId>spring-boot-maven-plugin</artifactId>
            </plugin>
        </plugins>
    </build>
1.5:添加完成后的样子
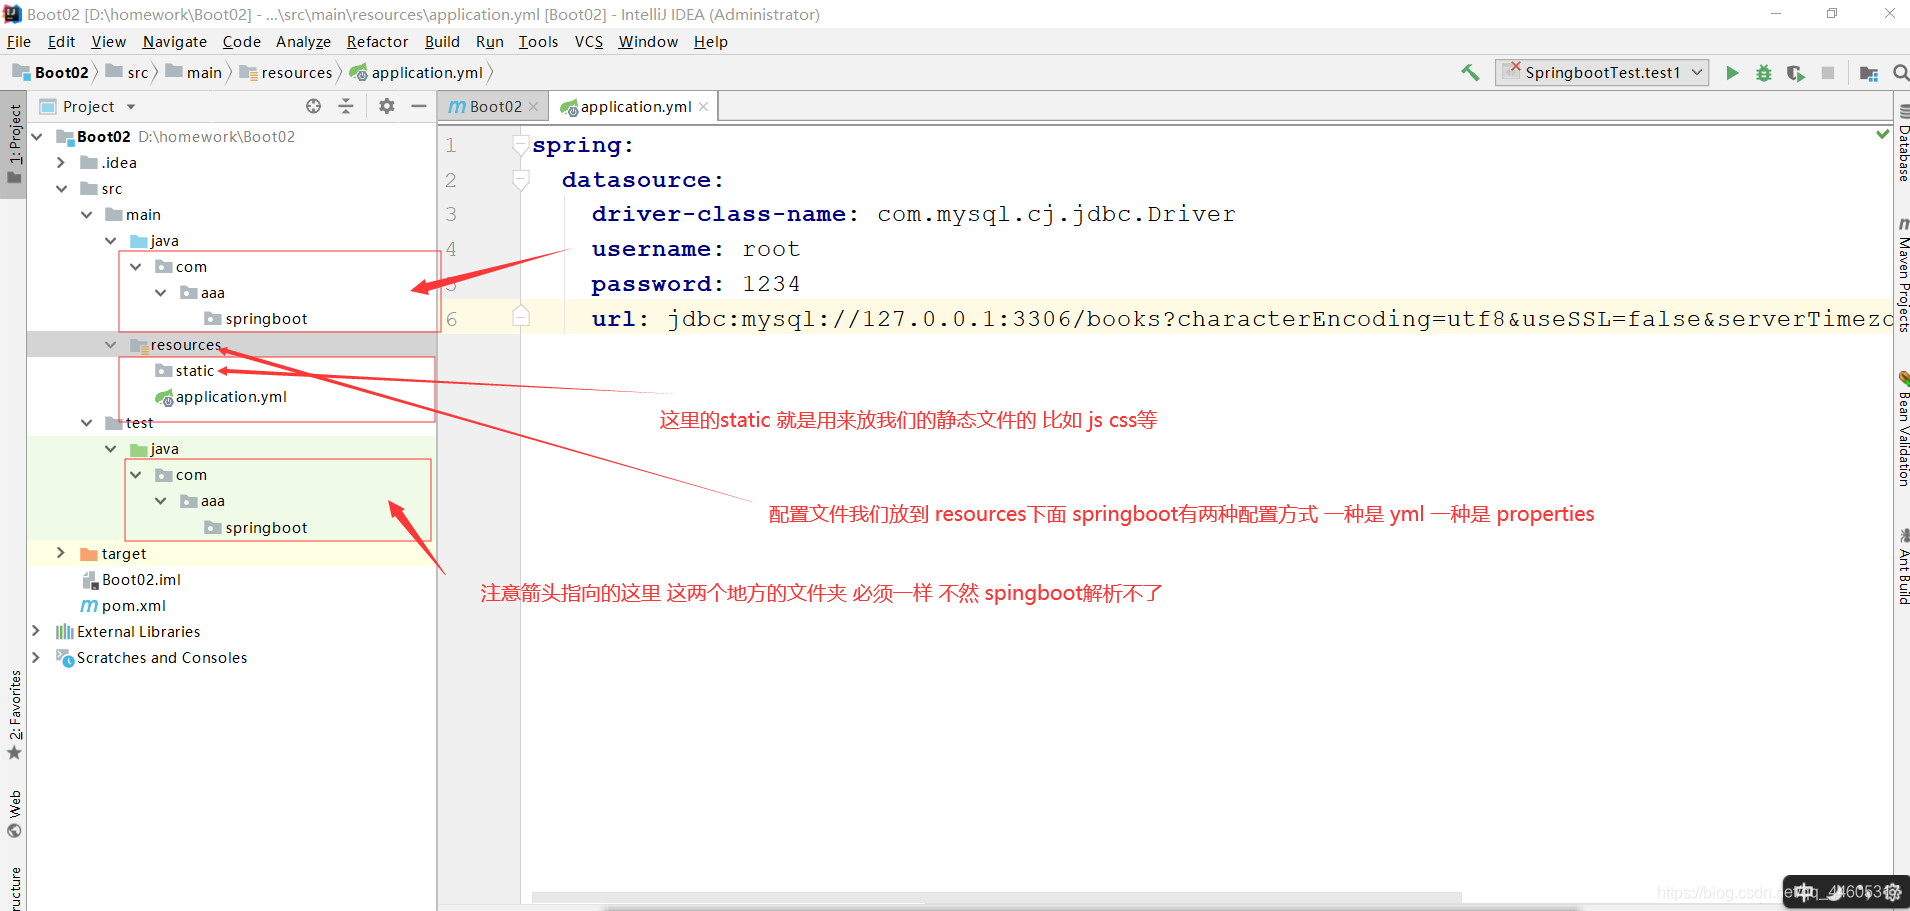
1.6:然后我们在项目中创建以下目录和文件
1.7:然后我们在相应的目录下创建启动类和单元测试类
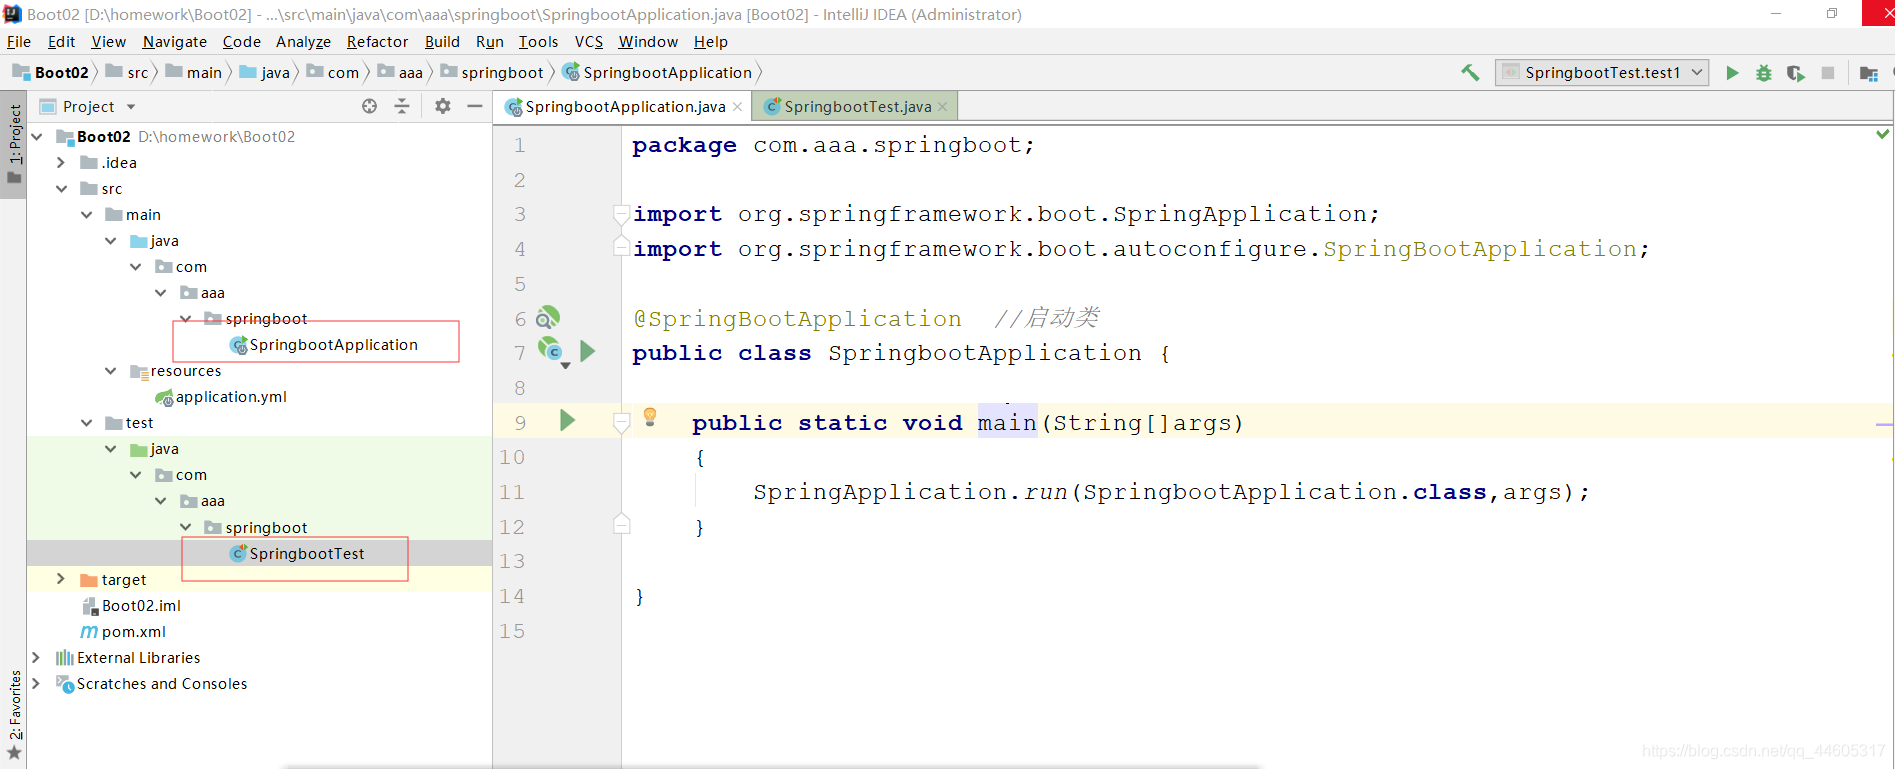
1.7.1:启动类代码
package com.aaa.springboot;

import org.springframework.boot.SpringApplication;
import org.springframework.boot.autoconfigure.SpringBootApplication;

@SpringBootApplication  //启动类
public class SpringbootApplication {

    public static void main(String[]args)
    {
        SpringApplication.run(SpringbootApplication.class,args);
    }

}
1.7.2:单元测试类代码
package com.aaa.springboot;

import org.junit.jupiter.api.Test;
import org.springframework.boot.test.context.SpringBootTest;

@SpringBootTest   //单元测试类
public class SpringbootTest {

    @Test
    public void test1()
    {
        System.out.println(111);
    }

}
1.7.3:application.yml中对应的数据连接
spring:
  datasource:
    driver-class-name: com.mysql.cj.jdbc.Driver
    username: root
    password: 1234
    url: jdbc:mysql://127.0.0.1:3306/books?characterEncoding=utf8&useSSL=false&serverTimezone=UTC&allowPublicKeyRetrieval=true
1.8:创建对应的controller和templates模板 以及我们访问controller方法要跳到的页面
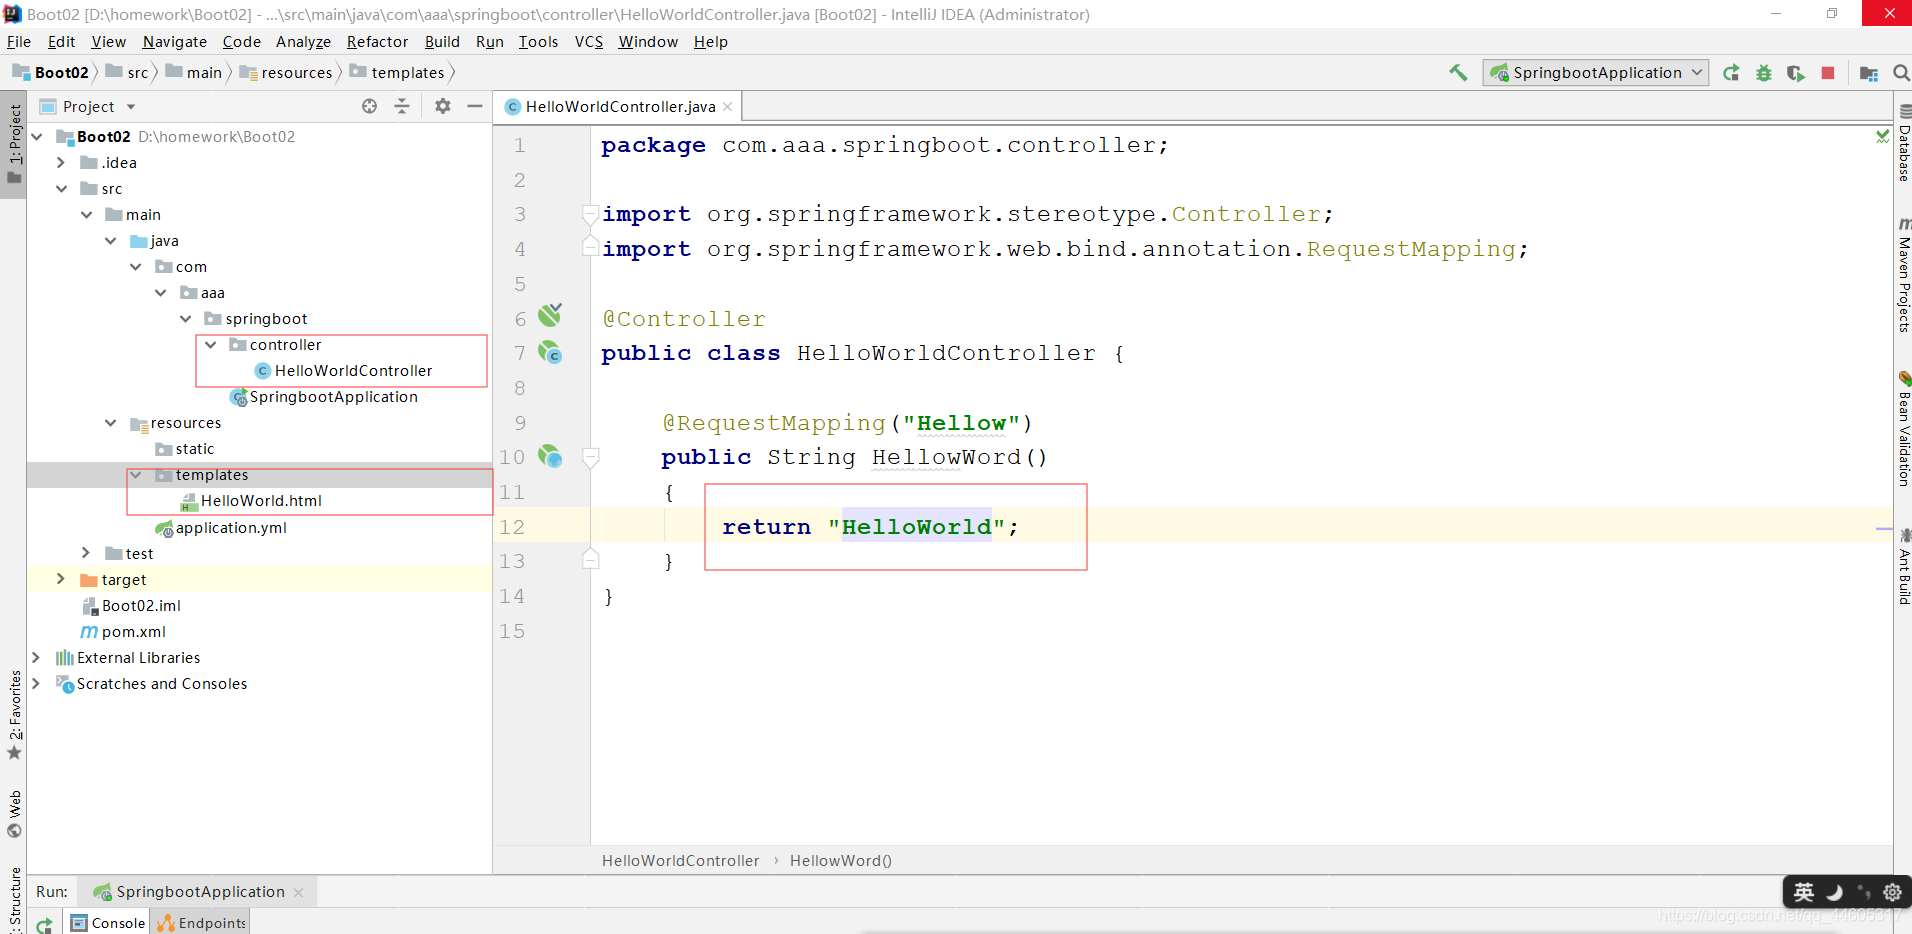
1.8.1:controller代码
package com.aaa.springboot.controller;

import org.springframework.stereotype.Controller;
import org.springframework.web.bind.annotation.RequestMapping;

@Controller
public class HelloWorldController {

    @RequestMapping("Hellow")
    public String HellowWord()
    {
        return "HelloWorld";
    }
}
1.8.2:html代码
<!DOCTYPE html>
<html lang="en">
<head>
    <meta charset="UTF-8">
    <title>Title</title>
</head>
<body>

欢迎你使用SpringBoot

</body>
</html>
1.9:现在我们来运行

2.直接在idea中springboot快速创建
小编目前没有网,快速创建的话自行百度! 小编小白一个 , 欢迎大佬指点


 被折叠的 条评论
为什么被折叠?
被折叠的 条评论
为什么被折叠?
 到【灌水乐园】发言


