


一 简介
MQ全称为Message Queue,即消息队列,是一种应用程序对应用程序的通信方法。其特点就是一端往消息队列中不断写入消息,而另一端则可以读取或者订阅队列中的消息。
AMQP(高级消息队列协议)是一个网络协议。它支持符合要求的客户端应用(application)和消息中间件代理(broker)之间进行通信。
消息代理(message brokers)从发布者(publishers)亦称生产者(producers)那儿接受消息,并根据既定的路由规则把接受到的消息发送给消费者(consumers,用来处理消息)。
由于AMQP是一个网络协议,所以这个过程中的生产者,消费者,消息代理 可以存在于不同的设备上。
RabbitMQ
RabbitMQ是AMQP的一种实现。
二 安装 RabbitMQ (otp win64 19.3 rabbitmq-server-3.7.7我的环境)
RabbitMQ https://blog.youkuaiyun.com/zhuzhezhuzhe1/article/details/80464291
注意事项:
1.安装时电脑用户名不能为中文,如果你使用的是中文用户,那么请百度如何跳过中文用户安装
2.安装目录不能有中文
3.rabbitmq-plugins enable rabbitmq_management是安装RabbitMQ视图需要连接网络
RabbitMQ协议 amqp 默认 :5672
三 简单队列
流程:生产者将消息发送到队列,消费者从队列拿消息 。
配置依赖
  <!-- rabbitmq依赖-->
        <dependency>
            <groupId>com.rabbitmq</groupId>
            <artifactId>amqp-client</artifactId>
            <version>4.5.0</version>
        </dependency>
        <!-- rabbitmq整合Spring依赖 -->
        <dependency>
            <groupId>org.springframework.boot</groupId>
            <artifactId>spring-boot-starter-amqp</artifactId>
        </dependency>
    <!--配置日志依赖-->
    <dependency>
        <groupId>org.projectlombok</groupId>
        <artifactId>lombok</artifactId>
    </dependency>
    <!--配置谷歌解析依赖-->
    <dependency>
        <groupId>com.google.code.gson</groupId>
        <artifactId>gson</artifactId>
    </dependency>
配置连接工具类
package com.example.rabbitmqdemos1.util;
import com.rabbitmq.client.Connection;
import com.rabbitmq.client.ConnectionFactory;
/**
 * 用于创建连接的工具类
 */
public class ConnectionUtiles {
    public static Connection getConnection() throws Exception {
        ConnectionFactory factory = new ConnectionFactory();
        //设置server地址(我配置的是本机)
        factory.setHost("localhost");
        //rabbitmq服务端口
        factory.setPort(5672);
        //RabbitMQ 用户
        factory.setUsername("lw");
        //密码
        factory.setPassword("lw");
        //设置虚拟主机(相当于数据库)
        factory.setVirtualHost("/lwdb");
        return factory.newConnection();
    }
}
创建生产者
package com.example.rabbitmqdemos1.hello;

import com.example.rabbitmqdemos1.util.ConnectionUtiles;
import com.rabbitmq.client.Channel;
import com.rabbitmq.client.Connection;

public class Sender {
    private  final  static  String QUEUE="队列名称";
    public  static  void  mian(String [] ar)throws  Exception{
        //获取连接
        Connection connection = ConnectionUtiles.getConnection();
        //创建通道
        Channel channel = connection.createChannel();
        //如果队列存在不创建
        /**
         * 参数1 队列名称
         * 参数2 是否持久化队列,默认是在内存 ,重新启动rabbitmq队列丢失 ,设置为true会保存到erlang自带数据库中 下次重启服务队列不会丢失
         * 参数3 是否排外, 当连接关闭后是否会自动删除队列  ,是否私有当前队列 如果私有其他通道不能访问当前队列 ;为true时适合一个消费者
         * 参数4 是否自动删除
         * 参数5 其他参数
         */
        //发生内容
        channel.basicPublish("",QUEUE,null,"发送的消息".getBytes());
        //关闭连接
        channel.close();
        connection.close();
    }
}
创建消费者
package com.example.rabbitmqdemos1.hello;
import com.example.rabbitmqdemos1.util.ConnectionUtiles;
import com.rabbitmq.client.Channel;
import com.rabbitmq.client.Connection;
import com.rabbitmq.client.DefaultConsumer;
import com.rabbitmq.client.Delivery;
/*
*消费者
*/
public class Recver {
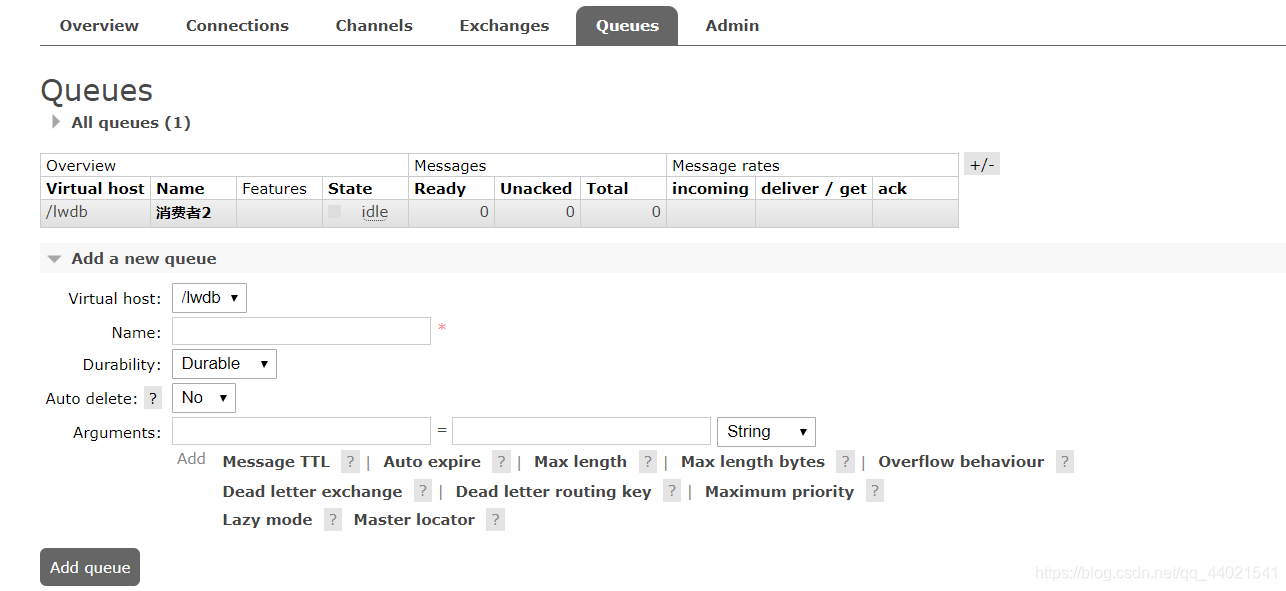
private static final String ReName = "消费者2";
public static void main(String[] a) throws Exception {
//创建一个连接
Connection connection = ConnectionUtiles.getConnection();
//创建一个通道
Channel channel = connection.createChannel();
//队列
channel.queueDeclare(ReName, false, false, false, null);
//定义一个消费者
DefaultConsumer r = new DefaultConsumer(channel);
/**
* 定义接受的消息
* 参数一 消费消息的名称
* 参数二 是否自动确认
* 参数三 消费者详情
*/
channel.basicConsume(ReName, true, r);
//获取消息
String defaultConsumer = r.getConsumerTag();
System.out.println("消费成功");
// System.out.println(r.getConsumerTag());
System.out.println(r.getChannel().toString());
}
}
四 工作模式


 被折叠的 条评论
为什么被折叠?
被折叠的 条评论
为什么被折叠?
 到【灌水乐园】发言


