


Session共享
1.Nginx通过负载均衡IP地址固定绑定,解决Session共享
Session解决方案:
1.Nginx负载均衡IP地址绑定
2.Spring-Session+Redis最好
3.cokie保存信息,但是不安全
4.tomcat配置session共享
1.导入依赖
  <dependency>
      <groupId>javax</groupId>
      <artifactId>javaee-api</artifactId>
      <version>7.0</version>
      <scope>provided</scope>
    </dependency>
2.创建NginxSessionServlet
@WebServlet("/NginxSessionServlet")
public class NginxSessionServlet extends HttpServlet {
    @Override
    protected void doGet(HttpServletRequest req, HttpServletResponse resp) throws ServletException, IOException {
        doPost(req, resp);
    }

    @Override
    protected void doPost(HttpServletRequest req, HttpServletResponse resp) throws ServletException, IOException {
        System.out.println("当前访问的端口:"+req.getLocalPort());
        //向Session存放数据
        String action = req.getParameter("action");
        if(action.equals("setSession")){
            req.getSession().setAttribute("username","zhansan");
        }else if (action.equals("getSession"))
            resp.getWriter().write((String)req.getSession().getAttribute("username"));
    }
}
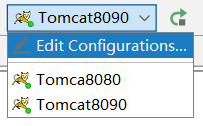
3.1记得导入两个Tomcat
4.nginx
upstream backserver {
#ip地址固定绑定
#ip_hash是点睛之笔注意
ip_hash;
server localhost:8080;
server localhost:8090;
}
server {
listen 80;
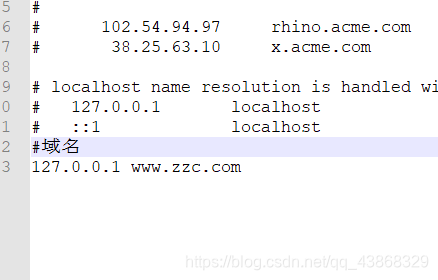
#填写你的域名,域名在你的C:\Windows\System32\drivers\et\hosts server_name www.zzc.com;
#charset koi8-r;
#access_log logs/host.access.log main;
location / {
root html;
#backserver这个是在你的固定绑定上面
proxy_pass http://backserver;
index index.html index.htm;
}
域名
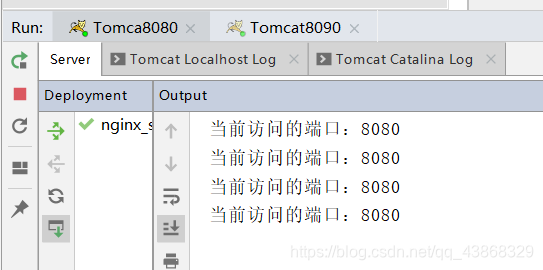
在你第一次setSession在getSession都会只访问8080端口

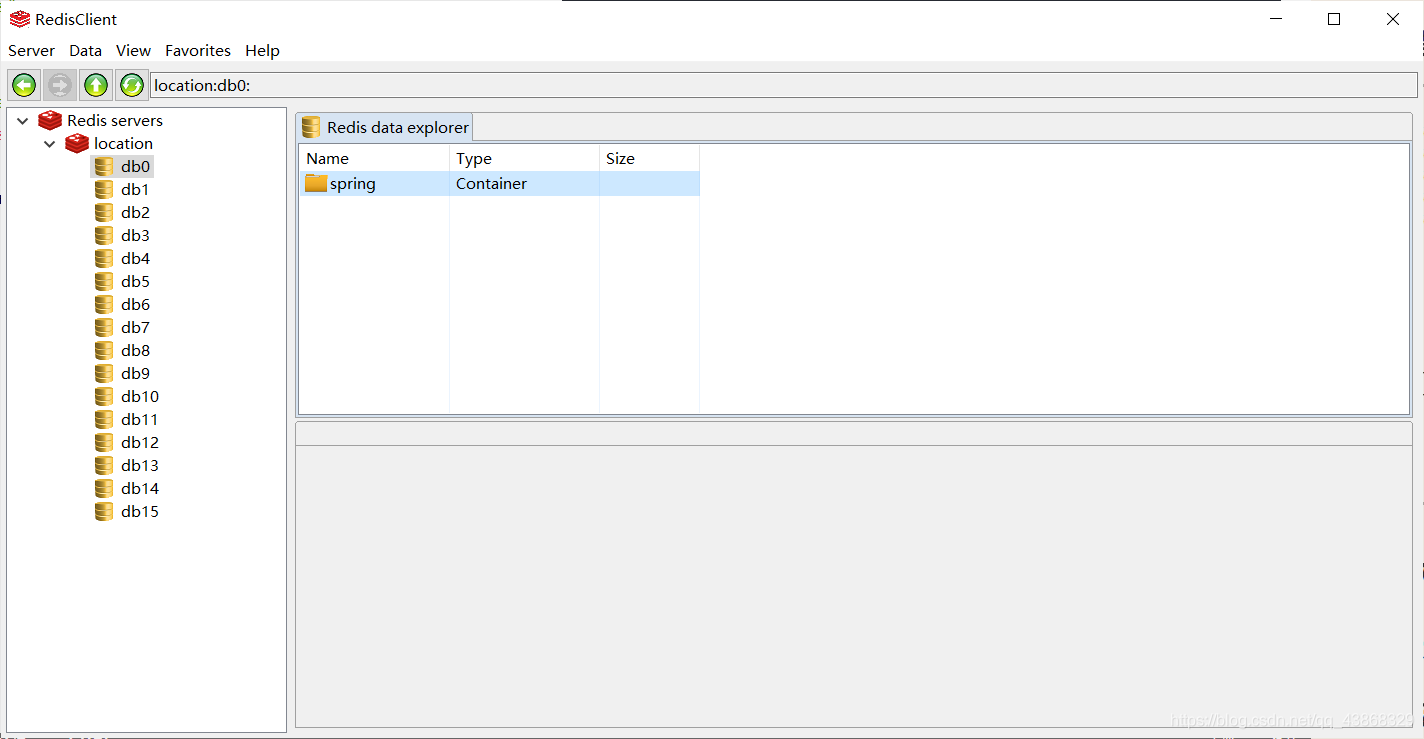
Spring-session+Redis解决Session共享
1.导入依赖
<parent>
  <groupId>org.springframework.boot</groupId>
  <artifactId>spring-boot-starter-parent</artifactId>
  <version>1.4.1.RELEASE</version>
</parent>


 <dependency>
      <groupId>org.springframework.session</groupId>
      <artifactId>spring-session-data-redis</artifactId>
    </dependency>
    <dependency>
      <groupId>org.springframework.boot</groupId>
      <artifactId>spring-boot-starter-web</artifactId>
    </dependency>
2.启动类设置
@SpringBootApplication
public class App {
    public static void main(String[] args) {
        SpringApplication.run(App.class,args);
    }
}
SessionController
@RestController
public class SessionController {
    //存放
    @RequestMapping("/setSession")
    public String setSession(HttpServletRequest request){
        request.getSession().setAttribute("username","zhangsan");
        return "succuess";
    }
    //获取
    @RequestMapping("/getSession")
    public String getSession(HttpServletRequest request){

        return (String)request.getSession().getAttribute("username");
    }
}
application.yml
配置大配置文件
server:
  port: 8080
spring:
  redis:
    password: redis


 1017
1017

 被折叠的 条评论
为什么被折叠?
被折叠的 条评论
为什么被折叠?
 到【灌水乐园】发言


