


CentOS7安装fastdfs
安装CentOS基本依赖:
yum -y install tcl lrzsz deltarpm zlib zlib-devel pcre pcre-devel gcc gcc-c++ openssl openssl-devel libevent libevent-devel perl unzip net-tools wget
所需安装包:
在/usr/local/目录下创建一个文件fastdfs
- fastdfs-5.11.tar.gz
- fastdfs-nginx-module-1.20.tar.gz
- libfastcommon-1.0.39.tar.gz
- nginx-1.15.8.tar.gz
1.安装common
tar -zxvf libfastcommon-1.0.39.tar.gz -C /usr/local/fastdfs
./make.sh
./make.sh install
//注:创建软链接
ln -s /usr/lib64/libfastcommon.so /usr/local/libfastcommon.so
ln -s /usr/local/lib64/libfdfsclient.so /usr/local/libfdfsclient.so
ln -s /usr/local/lib64/libfdfsclient.so /usr/lib/libfdfsclient.so
2.安装tracker服务
tar -zxvf fastdfs-5.11.tar.gz -C /usr/local/fastdfs
cd /usr/local/fastdfs/fastdfs-5.11
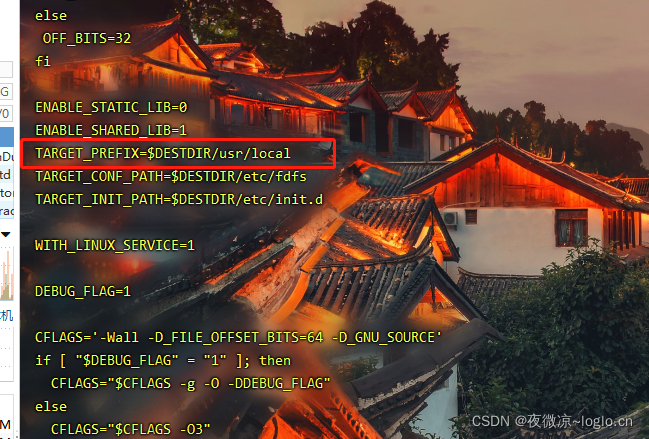
vim make.sh
//修改配置参数如下
//编译安装
./make.sh
./make.sh install
tracker服务配置
# the base path to store data and log files
base_path=/fastdfs/tracker
# 创建fastdfs/tracker目录
mkdir -p /fastdfs/tracker
启动tracker
/etc/init.d/fdfs_trackerd start

3.安装storage服务
# the base path to store data and log files
base_path=/fastdfs/storage/base

# store_path#, based 0, if store_path0 not exists, it's value is base_path
# the paths must be exist
store_path0=/fastdfs/storage/store

# tracker_server can ocur more than once, and tracker_server format is
#  "host:port", host can be hostname or ip address
tracker_server=你的服务器地址:22122

# the port of the web server on this storage server
http.server_port=nginx代理的端口号
启动storage
/etc/init.d/fdfs_storaged start

将nginx和fastdfs结合起来
tar -xzvf fastdfs-nginx-module-1.20.tar.gz -C /usr/local/fastdfs/
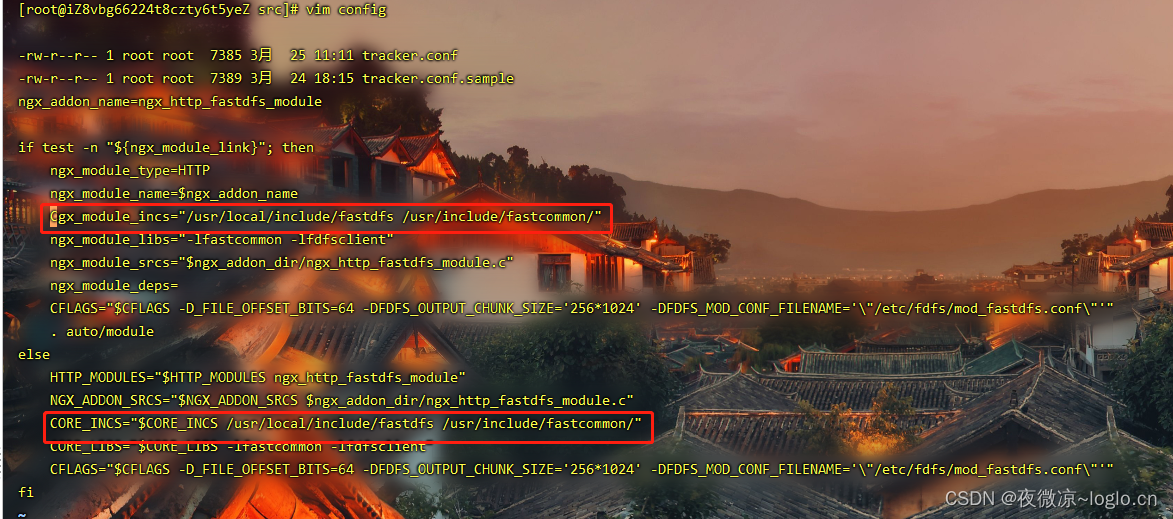
cd /usr/local/fastdfs/fastdfs-nginx-module-1.20/src
vim config //配置如参数下图
tar -zxvf /opt/nginx-1.15.8.tar.gz -C /usr/local/fastdfs/
cd /usr/local/fastdfs/nginx-1.15.8/
mkdir -p /var/temp/nginx
./configure \
--prefix=/usr/local/nginx \
--pid-path=/var/run/nginx/nginx.pid \
--lock-path=/var/lock/nginx.lock \
--error-log-path=/usr/local/nginx/errors/error.log \
--http-log-path=/usr/local/nginx/logs/access.log \
--with-http_gzip_static_module \
--http-client-body-temp-path=/var/temp/nginx/client \
--http-proxy-temp-path=/var/temp/nginx/proxy \
--http-fastcgi-temp-path=/var/temp/nginx/fastcgi \
--http-uwsgi-temp-path=/var/temp/nginx/uwsgi \
--http-scgi-temp-path=/var/temp/nginx/scgi \
--add-module=/usr/local/fastdfs-nginx-module-1.20/src
make
make install
nginx模块配置
把fastdfs-nginx-module-1.20/src下的mod_fastdfs.conf复制到/etc/fdfs下进行编辑
tracker_server=追踪器tracker的服务器地址:22122
url_have_group_name = true
store_path0=/fastdfs/storage/store
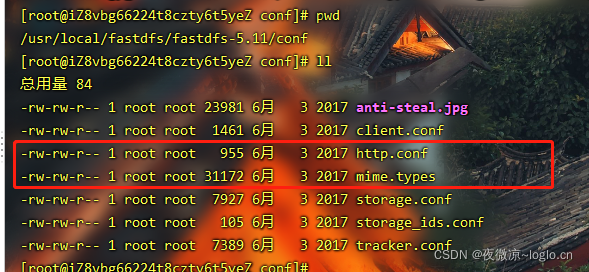
//把下图中的两个配置文件复制到 /etc/fdfs/文件下
//配置nginx软链接
ln -s /usr/local/lib64/libfdfsclient.so /usr/lib64/libfdfsclient.so
ln -s /fastdfs/storage/store/data/ /fastdfs/storage/store/data/M00
配置访问nginx跳转fastdfs的storage文件
 server {
        listen   9870;//此端口必须与nginx代理的端口号一致
        server_name localhost;
        location ~/group[0-9]/M00 {
            ngx_fastdfs_module;
       }
    }
spring boot使用fastdfs
//导入maven依赖客户端
        <!-- fastdfs -->
        <dependency>
            <groupId>com.github.tobato</groupId>
            <artifactId>fastdfs-client</artifactId>
            <version>1.27.2</version>
        </dependency>
//xml配置
#fastDFS配置参数
fdfs:
  so-timeout: 1501 #读取时间
  connect-timeout: 601 #连接超时时间
  thumb-image:
    width: 150
    height: 150
  tracker-list: #Tracker服务配置地址列表
  - fastdfs服务器地址:22122
  pool:
    max-total: -1 #从池中借出的对象最大数目 -1为不限制
    max-wait-millis: 5000 #获取连接时的最大等待毫秒数 默认为5秒
    max-total-per-key: 50 #每个key最大连接数
    max-idle-per-key: 10 #每个key对应的连接池最大空闲连接数
    min-idle-per-key: 5 #每个key对应的连接池最小空闲连接数
@RestController
@RequestMapping("/file")
@Api(tags = "主要用来做一些文件的基本操作,如创建目录,删除,移动,复制等")
public class FileController {
@Autowired
private FastFileStorageClient fastFileStorageClient;
@ApiOperation("目录(文件夹)的创建")
@PostMapping(value = "/upload")
public String createFile(MultipartFile file) {
try {
String originalFilename = file.getOriginalFilename();
String extension = StringUtils.substring(originalFilename, originalFilename.indexOf('.')+1);
StorePath storePath = fastFileStorageClient.uploadFile(file.getInputStream(), file.getSize(), extension, null);
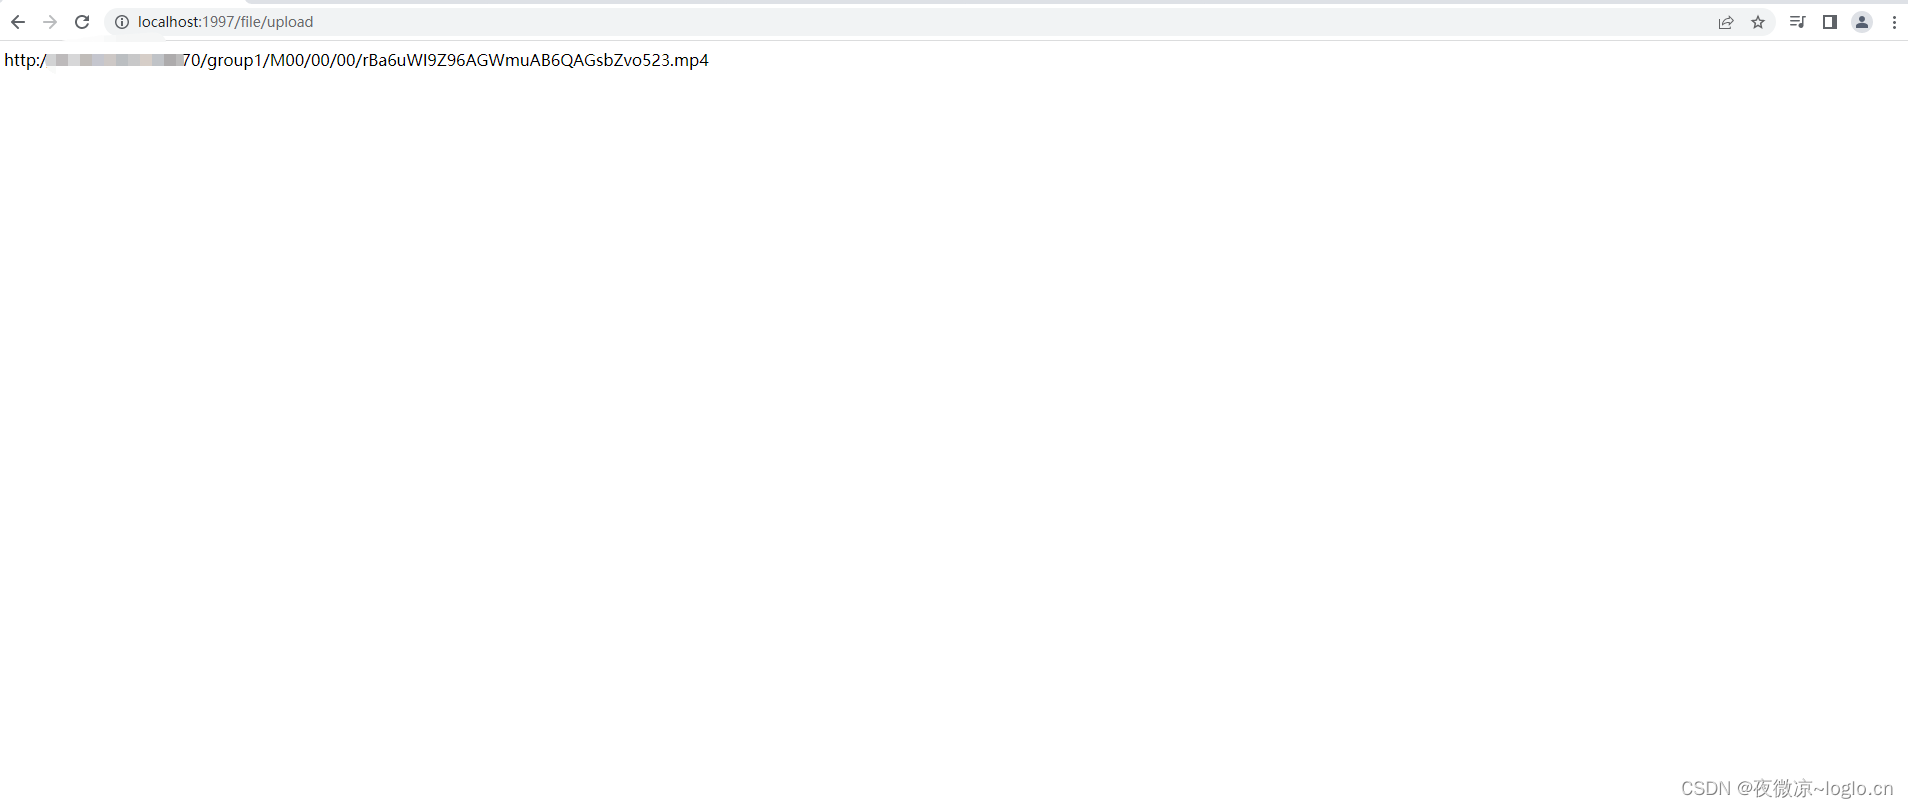
return "http://fastdfs服务器地址:9870/"+storePath.getFullPath();
}catch (IOException e)
{
throw new RuntimeException("文件上传失败:"+e.getMessage());
}
}
}
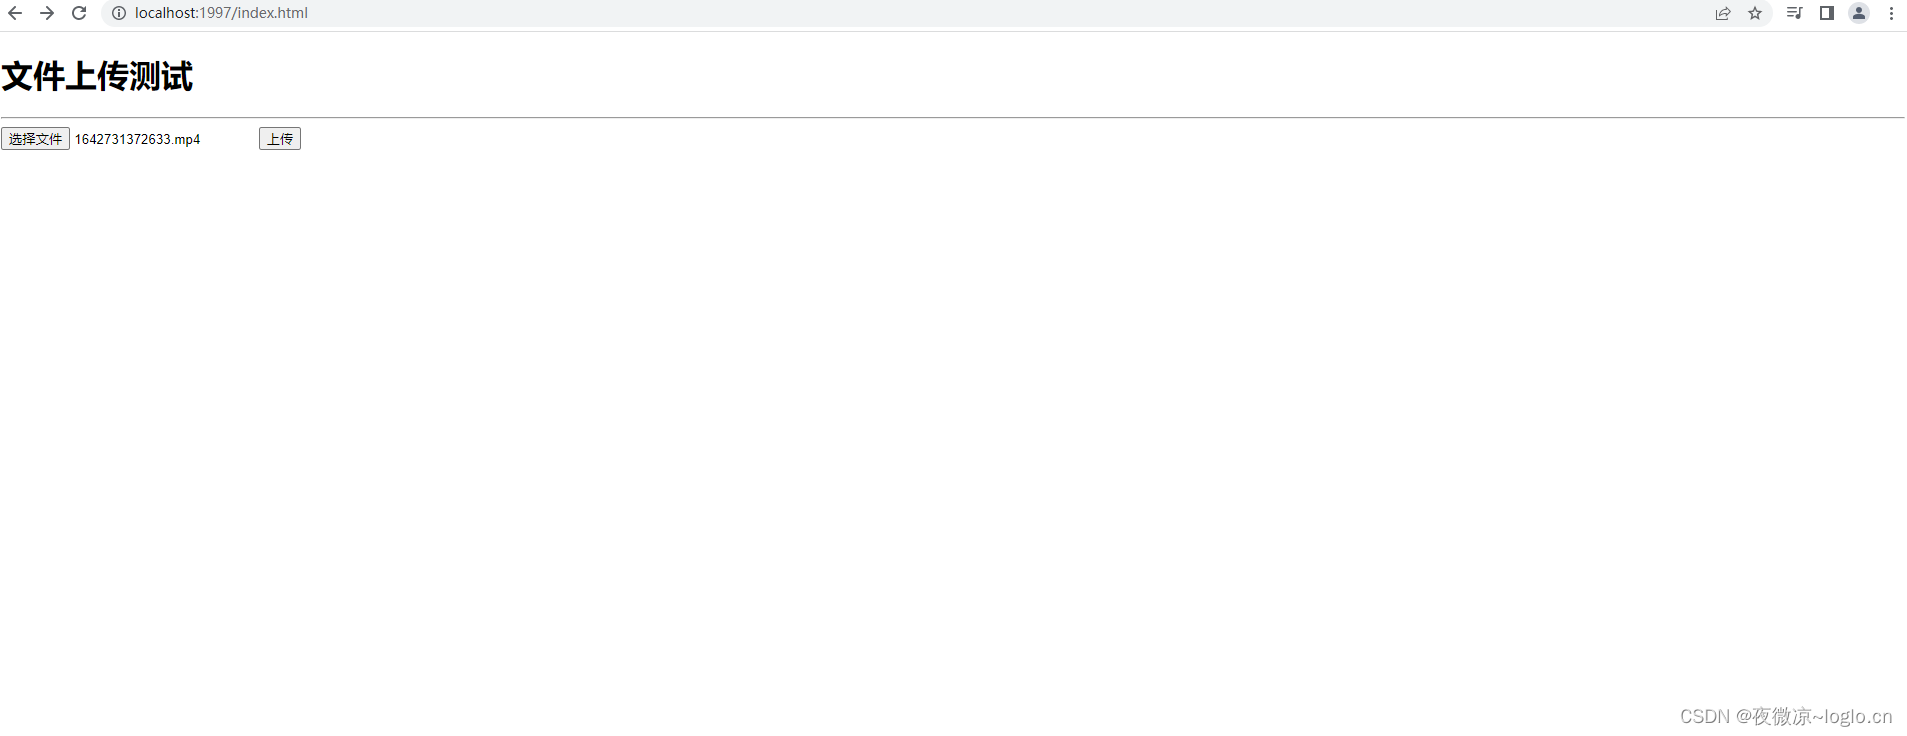
实列图


 2669
2669

 被折叠的 条评论
为什么被折叠?
被折叠的 条评论
为什么被折叠?
 到【灌水乐园】发言


