


 这篇博客是自学Android的第一部分,目标是制作一个TCP通信的手机应用。内容包括环境搭建、创建首个HelloWorld工程,解析XML布局文件,并通过Intent、onClickListener、Bundle实现活动间的通信,展示了两个活动的XML和Java代码。
自学Android笔记(一)
一、学习目的
- 制作TCP通信手机APP
- 掌握基础UI控件的设计使用
- 掌握后台service进行TCP通信
二、UI控件基础以及Android studio初识
1、环境搭建
			1、官网下载安装JDK
			2、下载安装Android studio
			[参照网址](https://www.runoob.com/android/android-environment-setup.html)!
2、新建第一个Helloworld工程
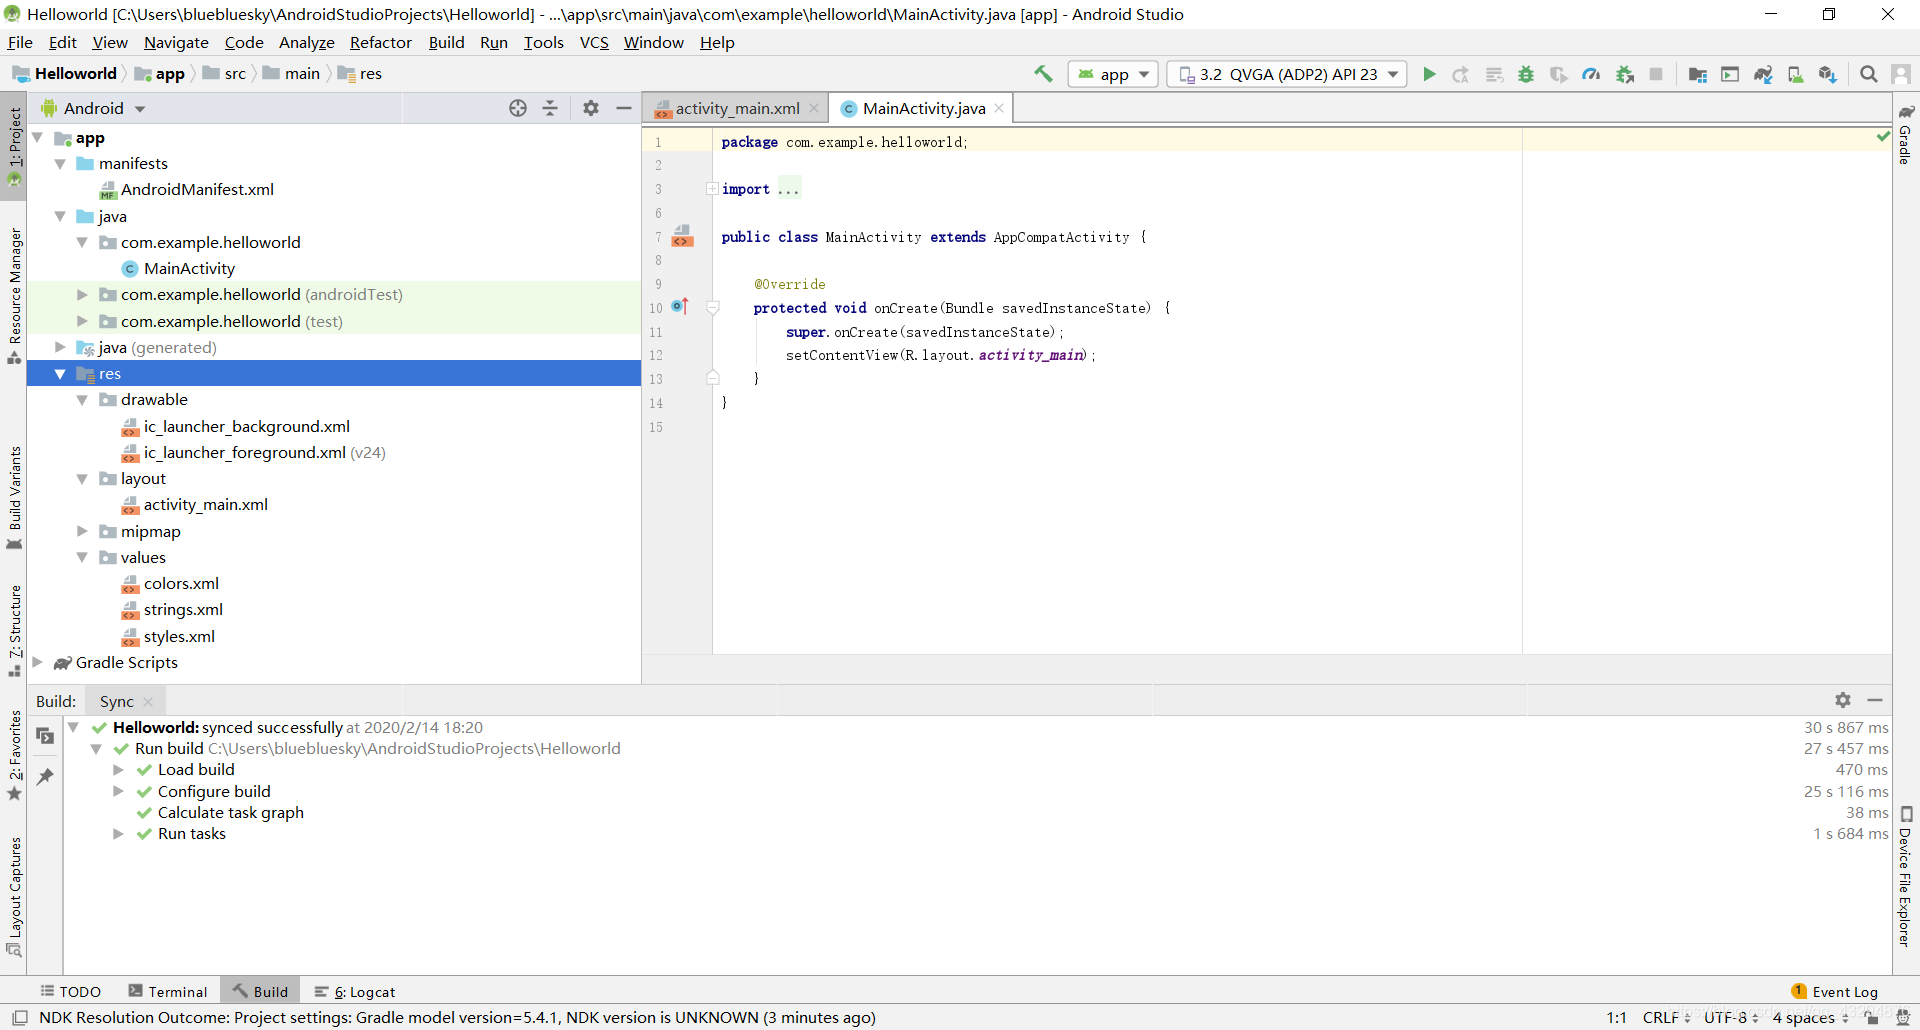
| 文件及文件夹 | 解释说明 |
|---|---|
| AndroidManifest | 控制activity及我们看到的页面 |
| activity | 每一个页面就是一个activity |
| res->layout->.xml | 页面活动布局文件 |
| java->.class | Android 活动程序文件 |
| res | 存储Android应用需要的源文件 |
| drawable | 存储所需要的一般图片文件 |
| mipmap | 存储应用程序启动文件 |
关于.xml活动页面布局文件的解释说明
<?xml version="1.0" encoding="utf-8"?>
<androidx.constraintlayout.widget.ConstraintLayout      //确定页面的布局主题:constraintLayout、GridLayout、linerlayout等。
    xmlns:android="http://schemas.android.com/apk/res/android"
    xmlns:app="http://schemas.android.com/apk/res-auto"
    xmlns:tools="http://schemas.android.com/tools"
    android:layout_width="match_parent"
    android:layout_height="match_parent"
    tools:context=".MainActivity">    //设置了tools:context 在manifest中设置相应主题的话就会在xml页面预览上发生变化,但是不会打包进apk中。

    <TextView
        android:layout_width="wrap_content"    //覆盖内容
        android:layout_height="wrap_content"
        android:text="Hello World!"
        app:layout_constraintBottom_toBottomOf="parent"
        app:layout_constraintLeft_toLeftOf="parent"
        app:layout_constraintRight_toRightOf="parent"
        app:layout_constraintTop_toTopOf="parent" />

</androidx.constraintlayout.widget.ConstraintLayout>
对helloworld代码进行拓展***
- 创建如下所示两个activity,并创建相应的java文件,需要注意的是:在manifest 注册activity活动
- 第一个activity主要实现功能就是:填写IP地址的编辑文本框,点击连接网络按钮,跳转第二个activity,并利用bundle为存储介质传输IP的内容给第二个activity。
- 主要学习内容:Intent、onClickListener、Bundle
上图第一个activity页面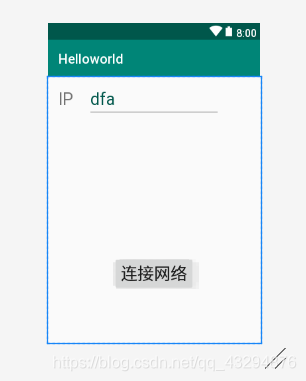
下面分别是xml代码和class代码
<?xml version="1.0" encoding="utf-8"?>
<androidx.constraintlayout.widget.ConstraintLayout xmlns:android="http://schemas.android.com/apk/res/android"
    xmlns:app="http://schemas.android.com/apk/res-auto"
    xmlns:tools="http://schemas.android.com/tools"
    android:layout_width="match_parent"
    android:layout_height="match_parent"

    tools:context=".MainActivity">

    <TextView
        android:id="@+id/textview1"
        android:layout_width
最低0.47元/天 解锁文章


 被折叠的 条评论
为什么被折叠?
被折叠的 条评论
为什么被折叠?
 到【灌水乐园】发言


