


 这篇博客记录了作者在学习Keras过程中的一些练习代码,涉及分类任务、卷积神经网络(CNN)、循环神经网络(RNN)及其回归应用。还提到了使用Keras训练AutoEncoder模型以及网络的保存方法。
来意莫烦的网易云课程,加上自己的备注。
分类:
import numpy as np
np.random.seed(1337) # for reproducibility #随机种子
from keras.datasets import mnist
from keras.utils import np_utils
from keras.models import Sequential
from keras.layers import Dense, Activation
from keras.optimizers import RMSprop
# download the mnist to the path '~/.keras/datasets/' if it is the first time to be called
# X shape (60,000 28x28), y shape (10,000, )
f = np.load('G:/pycharm_project/mnist.npz')
X_train, y_train = f['x_train'],f['y_train']
X_test, y_test = f['x_test'],f['y_test']
#(X_train, y_train), (X_test, y_test) = mnist.load_data() #加载keras再带的mnist数据集
# data pre-processing
X_train = X_train.reshape(X_train.shape[0], -1) / 255. # normalize 只保留第一维,其余的维度,重新排列为一维,-1等同于28*28,reshape后的数据是共60000行,每一行784个数据点。
X_test = X_test.reshape(X_test.shape[0], -1) / 255. # normalize
y_train = np_utils.to_categorical(y_train, num_classes=10) #转化为独热编码10类的
y_test = np_utils.to_categorical(y_test, num_classes=10)
# Another way to build your neural net
model = Sequential([ #建立神经网络参数,两个全连接层,第一层输入维度784,输出维度32,第二层输入维度32,输出维度10,
Dense(32, input_dim=784),
Activation('relu'), #每层后配有激活函数 relu
Dense(10),
Activation('softmax'),
])
# Another way to define your optimizer #设置优化器参数,RMSProp通过引入一个衰减系数,让r没回都衰减一定比例,
rmsprop = RMSprop(lr=0.001, rho=0.9, epsilon=1e-08, decay=0.0) #Ir学习率,rho大于0的浮点数,epsilon大于0的小浮点数,防止除0错误,衰减0
# We add metrics to get more results you want to see
model.compile(optimizer=rmsprop, #模型配置
loss='categorical_crossentropy', #多类的对数损失,使用该目标函数时,需要将标签转化为形如(nb_samples,nb_classes)的二值序列,使用该函数时,标签应为多类模式,即0ne-hot编码的向量,而不是单个数值
metrics=['accuracy']) #包含评估模型在训练和测试时的网络性能的指标
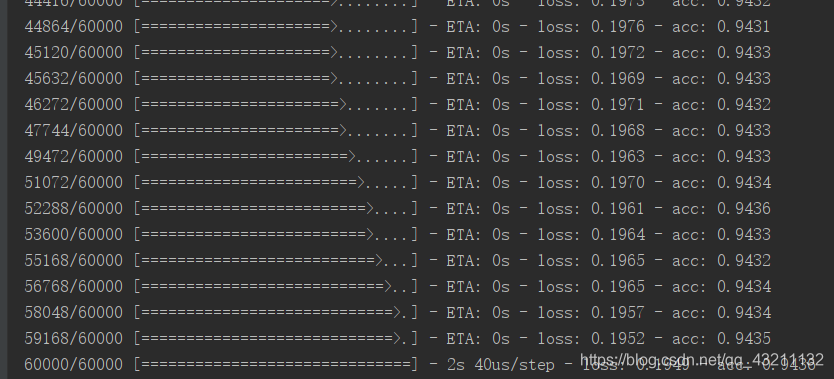
print('Training ------------')
# Another way to train the model
model.fit(X_train, y_train, epochs=2, batch_size=32) #训练
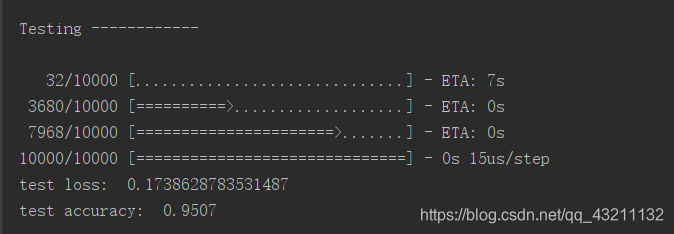
print('\nTesting ------------')
# Evaluate the model with the metrics we defined earlier
loss, accuracy = model.evaluate(X_test, y_test)
print('test loss: ', loss)
print('test accuracy: ', accuracy)
回归
# please note, all tutorial code are running under python3.5.
# If you use the version like python2.7, please modify the code accordingly

# 4 - Regressor example

import numpy as np
np.random.seed(1337)  # for reproducibility  生成相同的随机
from keras.models import Sequential
from keras.layers import Dense
import matplotlib.pyplot as plt

# create some data
X = np.linspace(-1, 1, 200)   #在-1到1之间产生等距的200个数据样本
np.random.shuffle(X)    # randomize the data   #随机打乱数据
Y = 0.5 * X + 2 + np.random.normal(0, 0.05, (200, )) #随机生成均值为0,标注差为0.05的200个数,符合正态分布
# plot data
plt.scatter(X, Y)  #画出散点图
plt.show()

X_train, Y_train = X[:160], Y[:160]     # first 160 data points  #取前160个数
X_test, Y_test = X[160:], Y[160:]       # last 40 data points 从160到最后

# build a neural network from the 1st la
最低0.47元/天 解锁文章


 752
752

 被折叠的 条评论
为什么被折叠?
被折叠的 条评论
为什么被折叠?
 到【灌水乐园】发言


