


1、搭建DHCP服务,为局域网内用户提供10.117.20.0/24网段的IP,且租约期默认为1小时
准备工作:
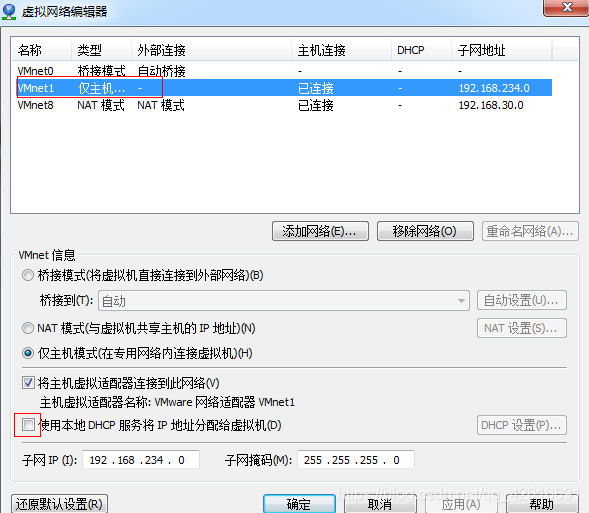
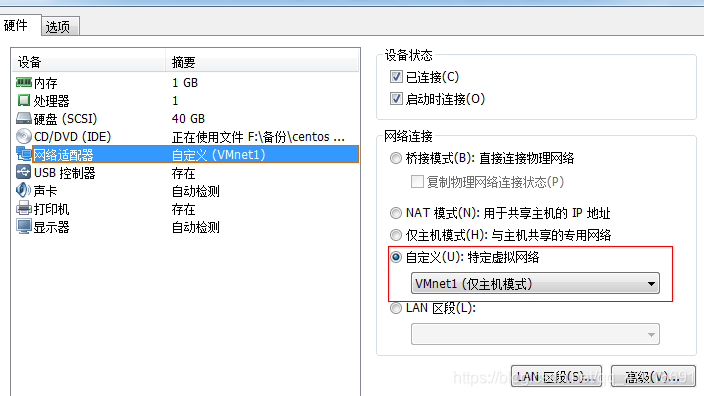
1.这里的实验用的两台虚拟机,系统是centos7,先把VMware虚拟机的dhcp关掉,在把两台虚拟主机的网卡模式选择自定义VMnet1(仅主机模式),保证两台主机在同一局域网
2.关闭防火墙和selinux
安装: yum -y install dhcp
复制配置文件:cp /usr/share/doc/dhcp-4.2.5/dhcpd.conf.example /etc/dhcp/dhcpd.conf
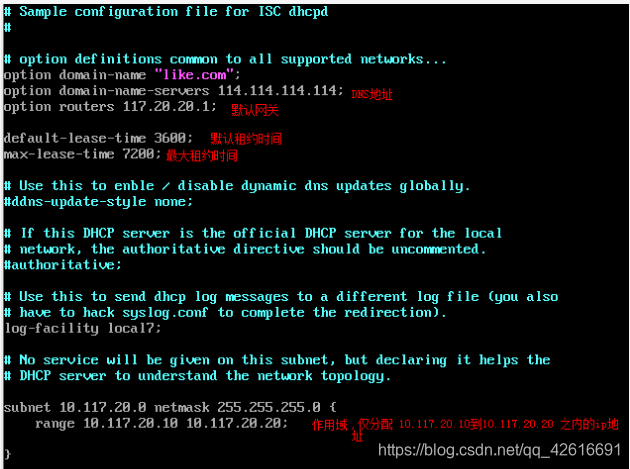
编辑配置文件:vim /etc/dhcp/dhcpd.conf
启动dhcp:systemctl start dhcpd
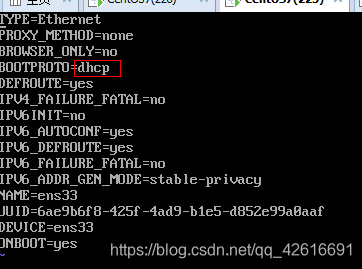
客户端配置网卡改为dhcp自动获取
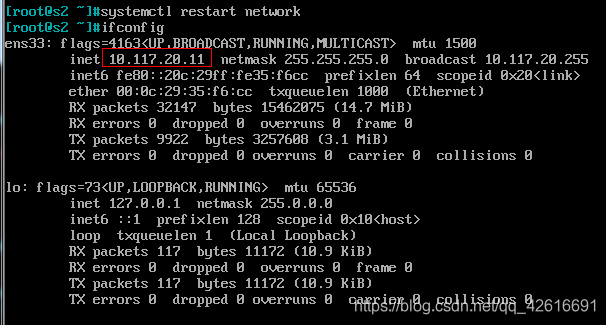
客户端重启网卡:systemctl restart network
查看IP地址:ifconfig
设置固定ip地址:
修改dhcp配置文件:/etc/dhcp/dhcpd.conf

重启dhcp服务:systemctl restart dhcpd
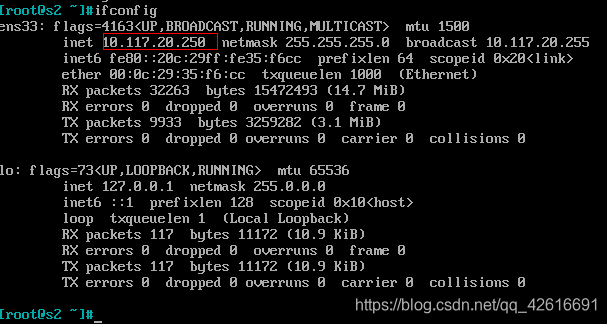
客户端启动网卡:systemctl restart network
查看IP地址:ifconfig
2.借助Ansible Playbook自动化搭建LNMP环境
准备工作:
#配置好ansible主机可以基于秘钥(ssh)方式远程
#ntpdate或者chrony同步时间
1.安装ansible:
yum -y install epel-release
yum -y install ansible
配置文件:/etc/ansible/ansible.cfg
主机清单:/etc/ansible/hosts
主程序:
ansible
ansible-playbook
ansible-doc
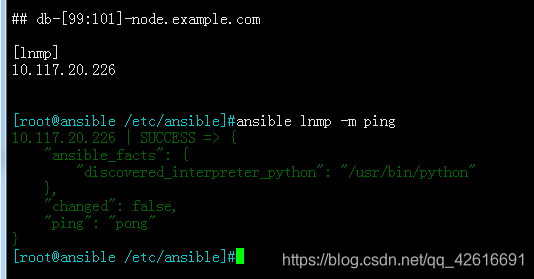
2.编辑hosts文件: 添加服务器组

测试: ansible lnmp -m ping
后端服务器安装epel源: ansible all -m yum -a "name=epel-release state=present"
3.创建playbook文件: vim lnmp.yml
- hosts: lnmp   #服务器组名
  remote_user: root  #远程用户
  tasks:
    - name: install lnmp package    #任务名字
      yum: name={{ item }} state=present  #{{ item }}是內建变量,用于循环,迭代
      with_items:
      - epel-release
      - nginx
      - mariadb-server
      - php
      - php-fpm
      - php-gd
      - php-mysql
      - php-mcrypt
      - php-mbstring
    - name: copy index.php
      copy: src=/etc/ansible/playbook/phpinfo.php dest=/var/www/html/phpinfo.php  #phpinfo.php,需要自己提供
    - name: copy template file
      template: src=/etc/ansible/playbook/lnmp.conf.j2 dest=/etc/nginx/conf.d/lnmp.conf #lnmp.conf模板文件,需要自己提供,模板文件必须以.j2结尾
      tags: ngxconfig   #打标签,在命令行使用 -t 指定标签可单独执行此任务
      notify: restart nginx #notify的作用,是通知下面定义的handlers
    - name: start (nginx mariadb php-fpm)
      service: name={{ item }}  state=started  enabled=yes
      with_items:
        - nginx
        - mariadb
        - php-fpm
  handlers:  #在被notify调用时执行
    - name: restart nginx
      service: name=nginx state=restarted
4.提供template模板文件:
vim /etc/ansible/playbook/lnmp.conf.j2
server {
	listen 80;
	server_name {{ ansible_ens33.ipv4.address }};  #{{ ansible_ens33.ipv4.address }}內建变量,IP地址

location  / {
	root /var/www/html;
	fastcgi_pass 127.0.0.1:9000;
	fastcgi_index index.php;
	include fastcgi_params;
	fastcgi_param  SCRIPT_FILENAME   $document_root$fastcgi_script_name;
	}
}
5.提供php测试页:
vim /etc/ansible/playbook/phpinfo.php
<?php
phpinfo();
?>
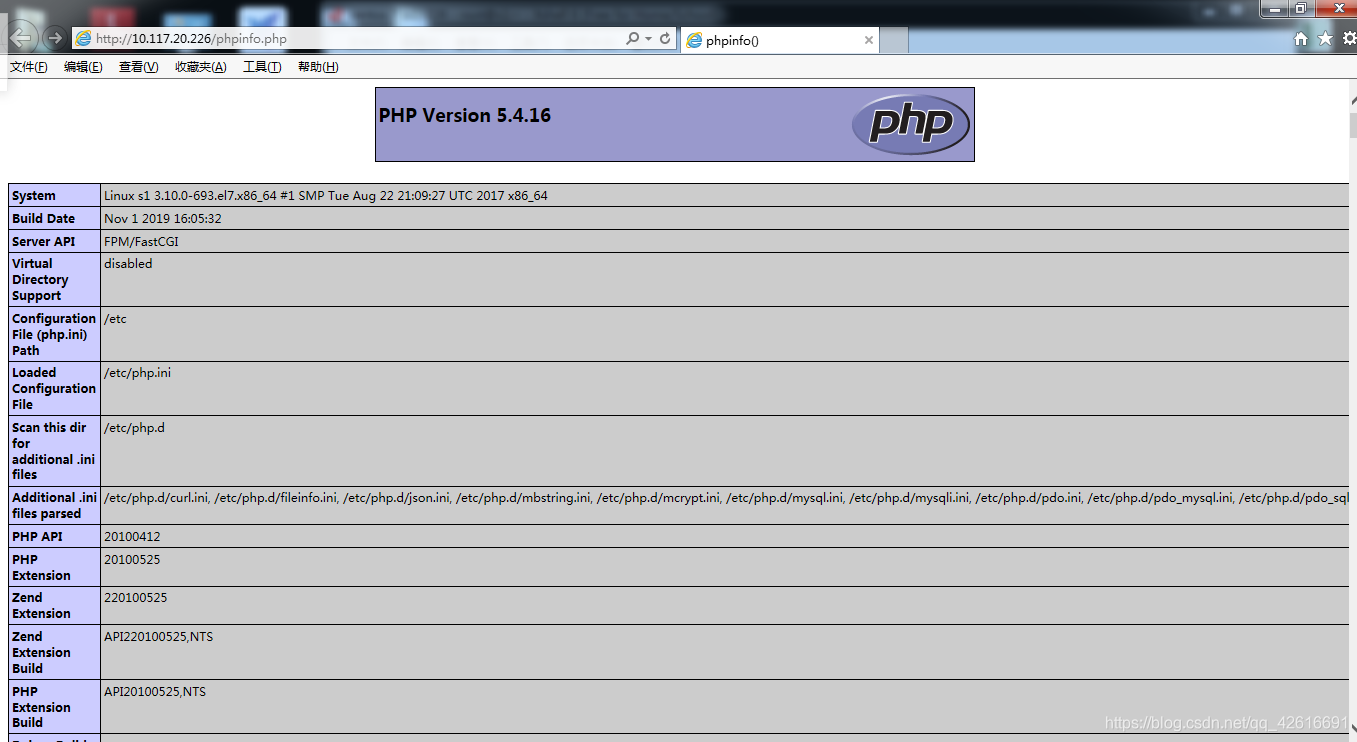
6. 运行服务:ansible-playbook lnmp.yml
7.测试:
3.采用Ansible Role方式自动化搭建LNMP
role简介:

		角色集合:
			roles/
				mysql/
				nginx/
				php-fpm/

	每个角色,以特定的层级目录结构进行组织;
	  nginx/
			files/:存放由copy或script模块等调用的文件;
			template/:template模块查找所需要模板文件的目录;
			tasks/:至少应该包含一个名为main.yml的文件,其它的文件需要在此文件中通过include进行包含;
			handlers/:至少应该包含一个名为main.yml的文件,其它的文件需要在此文件中通过include进行包含;
			vars/:至少应该包含一个名为main.yml的文件,其它的文件需要在此文件中通过include进行包含;
			meta/:至少应该包含一个名为main.yml的文件,定义当前角色的特殊设定及其依赖关系,其它的文件需要在此文件中通过include进行包含;
			default/:设定默认变量时使用此目录的main.yml文件;
1.创建角色目录:
cd /etc/ansible/roles/
mkdir {nginx,mysql,php-fpm}/{files,template,handlers,vars,tasks,meta,defalut} -pv
2. cd nginx/ :
vim tasks/main.yml
- name: install nginx
  yum: name=nginx state=present
- name: start nginx
  service: name=nginx state=started
- name: copy phpinfo file
  copy: src=phpinfo.php dest=/var/www/html
- name: copy template file
  template: src=/etc/ansible/roles/nginx/template/lnmp.conf.j2 dest=/etc/nginx/conf.d/lnmp.conf
  tags: nginxconf
  notify: restart nginx
vim template/lnmp.conf.j2
server {
	listen 80;
	server_name {{ ansible_ens33.ipv4.address }};

location  / {
	root /var/www/html;
	fastcgi_pass 127.0.0.1:9000;
	fastcgi_index index.php;
	include fastcgi_params;
	fastcgi_param  SCRIPT_FILENAME   $document_root$fastcgi_script_name;
	}
}
vim files/phpinfo.php
<?php
phpinfo();
?>
vim handlers/main.yml
  - name: restart nginx
    service: name=nginx state=restarted
3.cd msyql/
vim mysql/tasks/main.yml
- name: install mysql
  yum: name=mariadb-server state=present
- name: start mysql
  service: name=mariadb state=started
4.cd php-fpm/
vim php-fpm/tasks.yml
- name: install php package
  yum: name={{ item }} state=present
  with_items:
    - php
    - php-fpm
    - php-gd
    - php-mysql
    - php-mcrypt
    - php-mbstring
- name: start php-fpm
  service: name=php-fpm state=started
5.vim lnmp.yml
- hosts: lnmp
  remote_user: root
  roles:
    - nginx    #调用角色
    - mysql
    - php-fpm
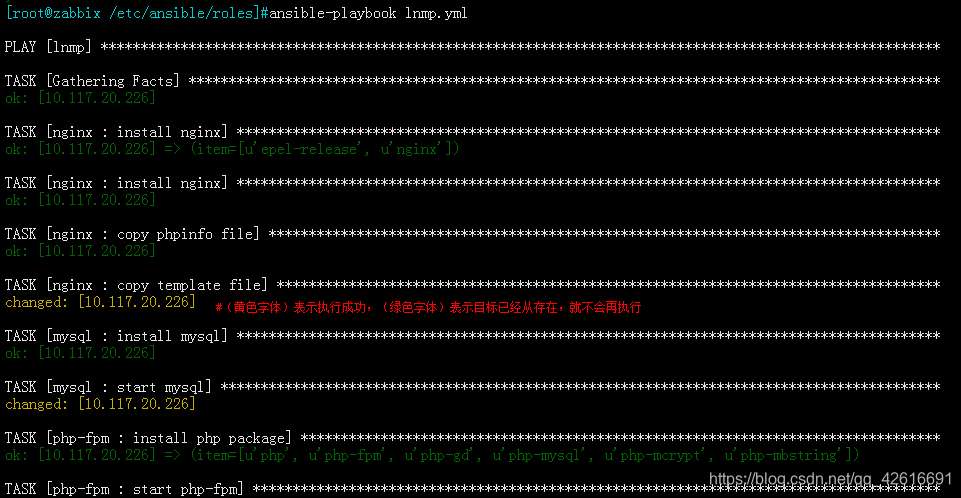
6.ansible-playbook lnmp.yml


 471
471

 被折叠的 条评论
为什么被折叠?
被折叠的 条评论
为什么被折叠?
 到【灌水乐园】发言


