


一、前置准备
1.安装node.js
注意:Vite 需要 Node.js 版本 18+ 或 20+。
2. 开发中用到的内容及文档

Vite:提供基本项目脚手架和开发服务器的构建工具。(区别于以前使用的vue-cli,vite更高效)
Vue:构建前端的页面框架
Vue Router:vue 官方的路由管理器
Pinia:Pinia 是 Vue 的存储库
Axios:用于发送网络请求
Elment Plus:组件库,更快速创建页面元素
二、创建Vue项目
2.1 使用vite创建项目
创建命令:
npm create vue@latest
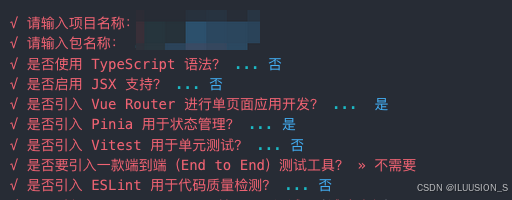
创建中的选择
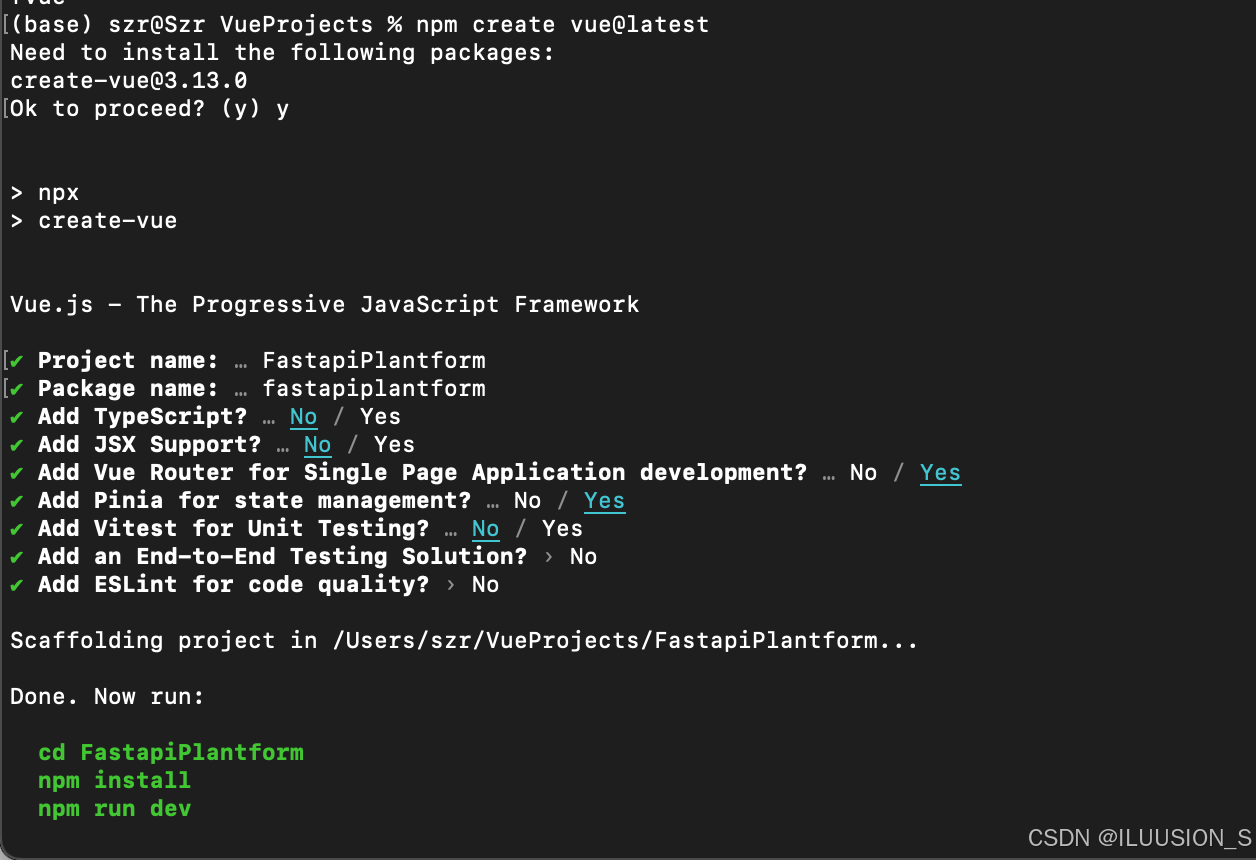
项目初始化完成后,执行提示的三个命令
# 切换到项目路径
cd FastapiPlantform

# 安装依赖
npm install

# 启动项目
npm run dev
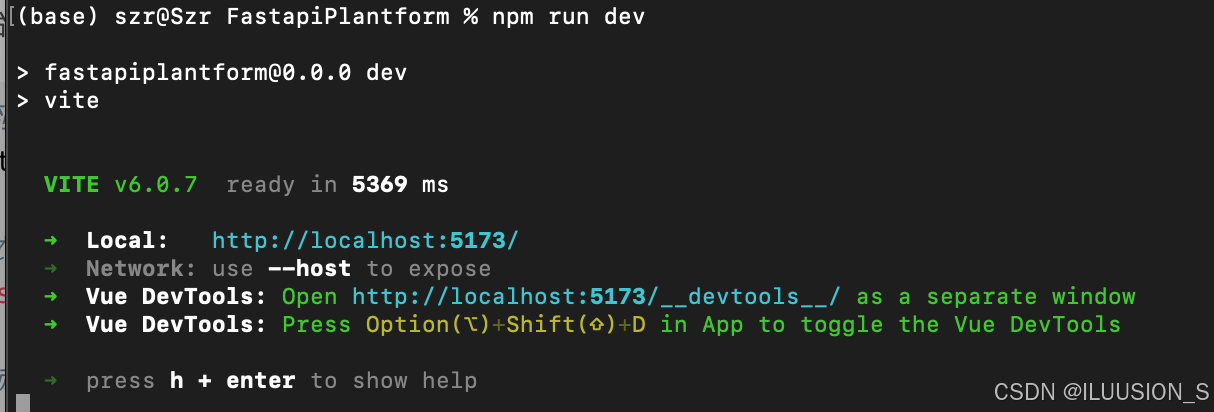
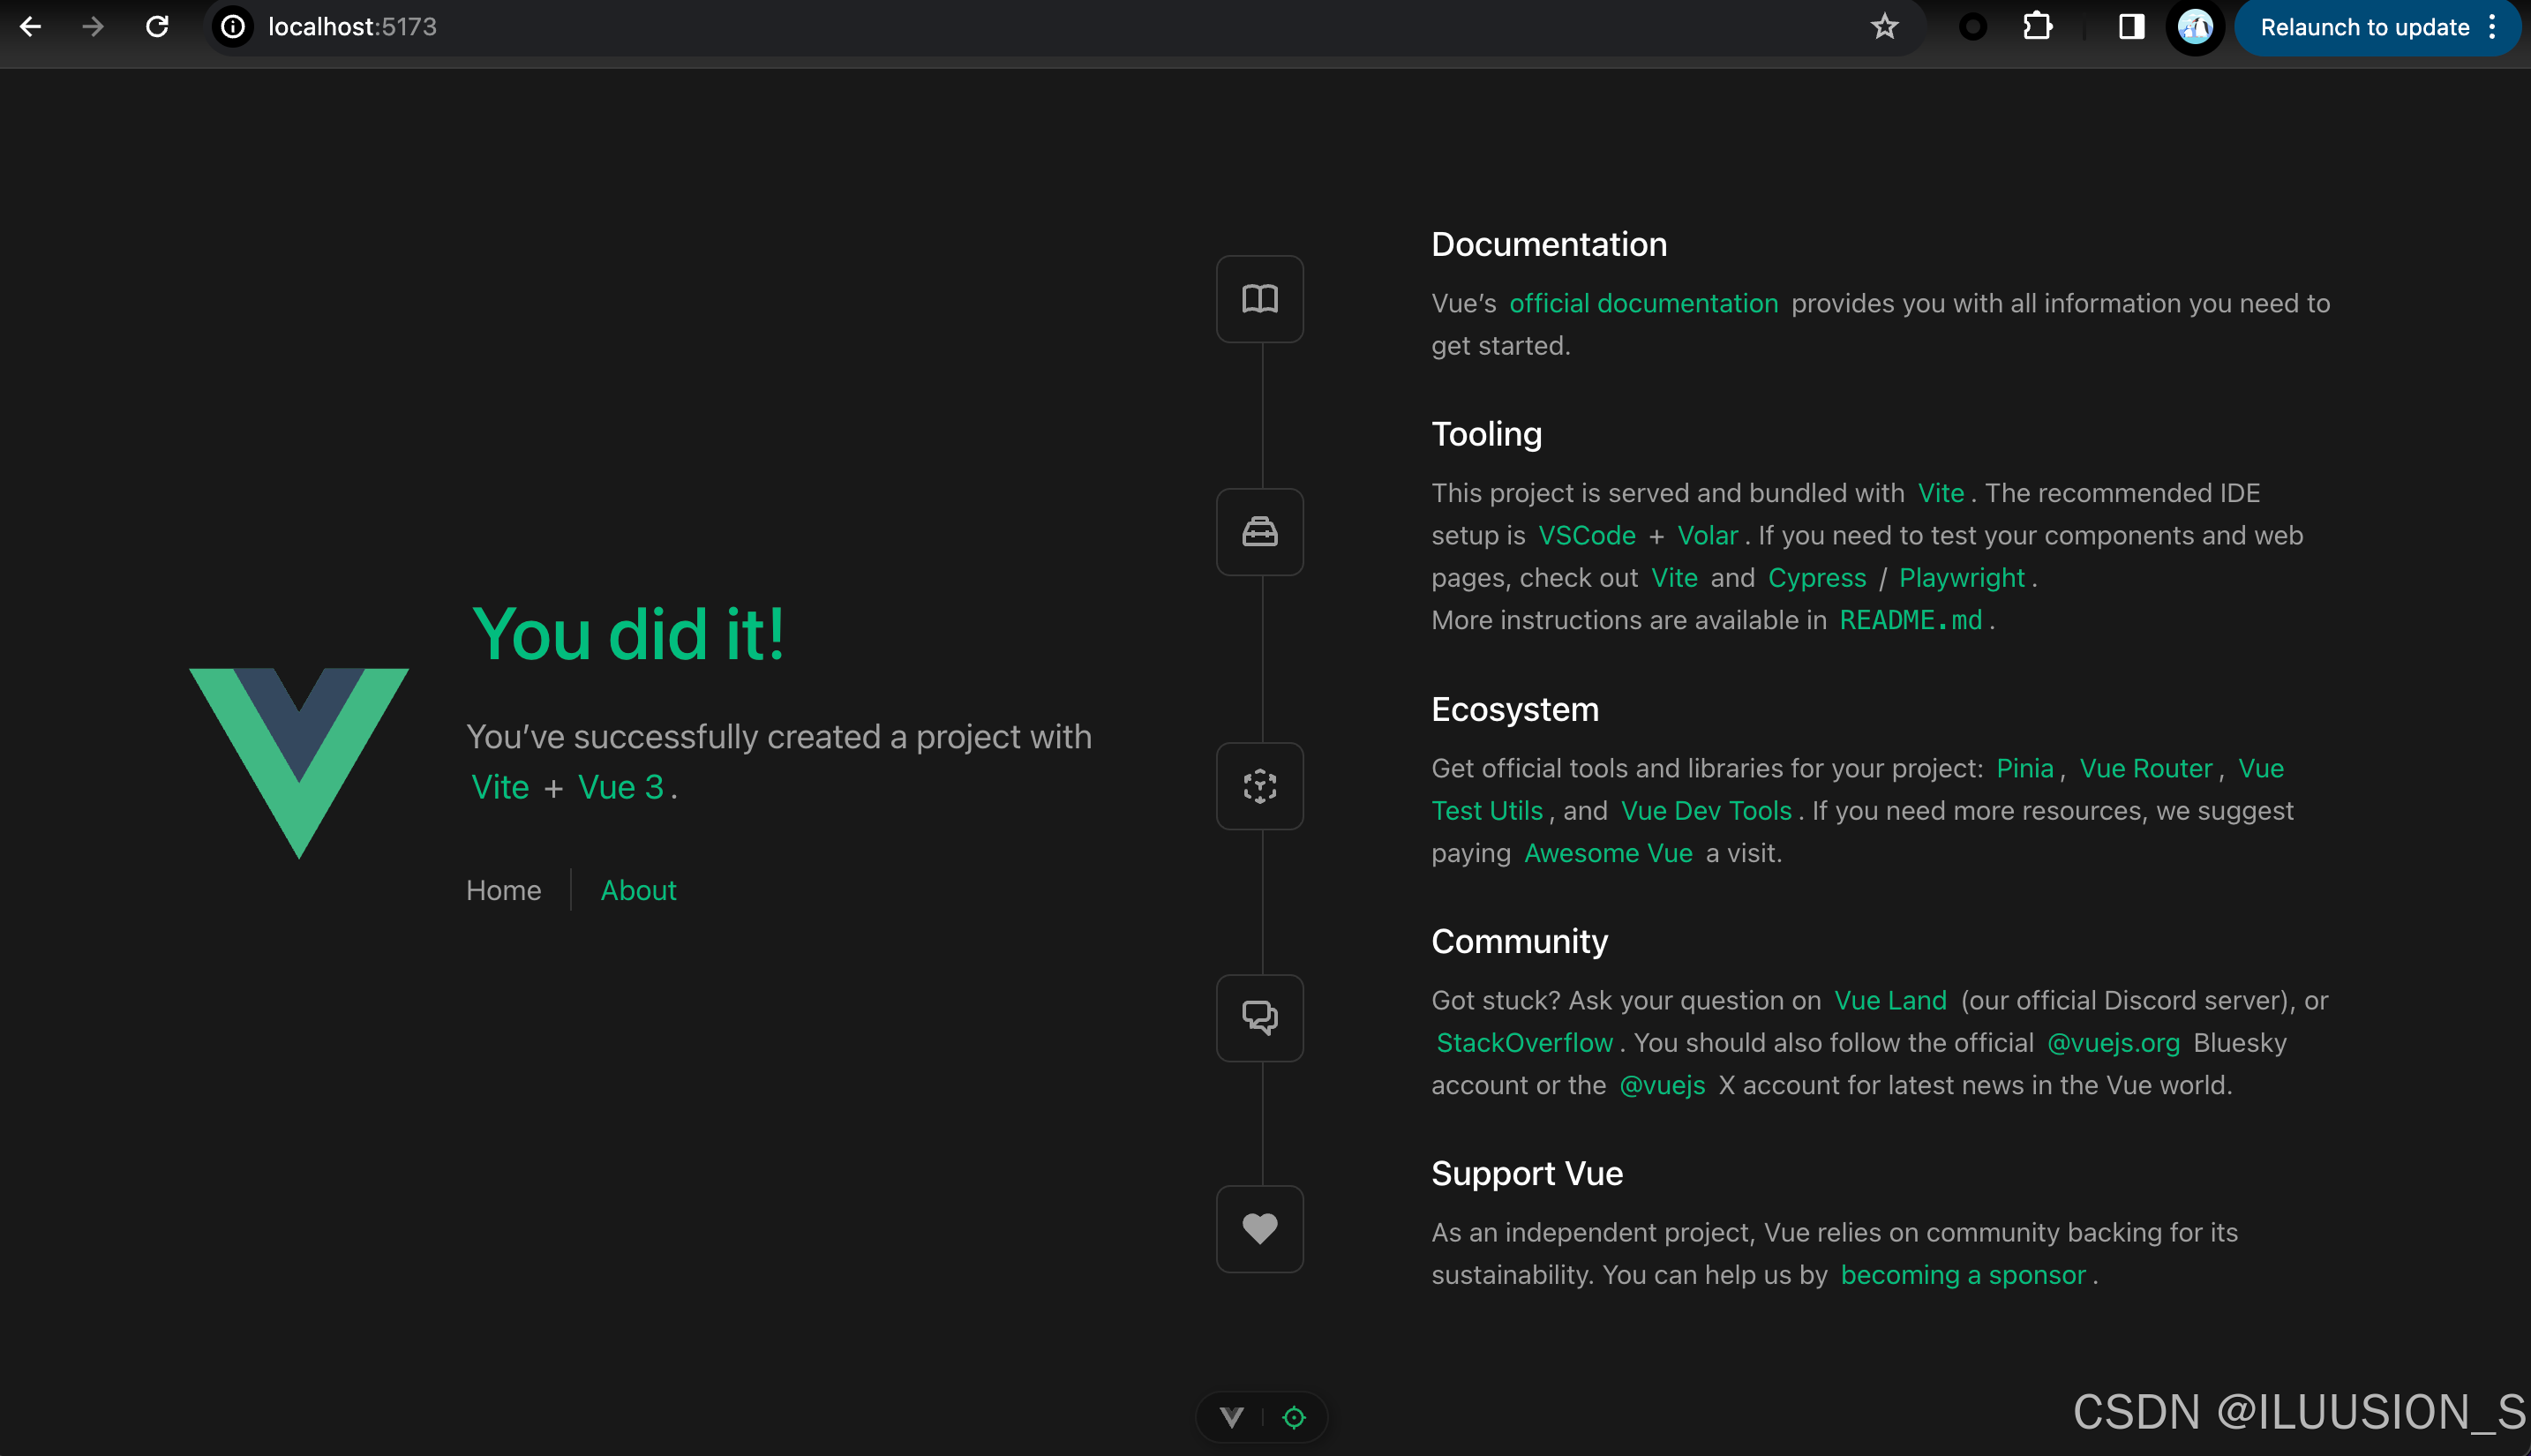
项目启动,可以访问了。
2.2 安装element-plus
# 先安装element-plus,
npm install element-plus

# 再安装@element-plus/icons-vue ,用于使用element的图标组件
npm install @element-plus/icons-vue
安装完成,这里应该多了两个依赖
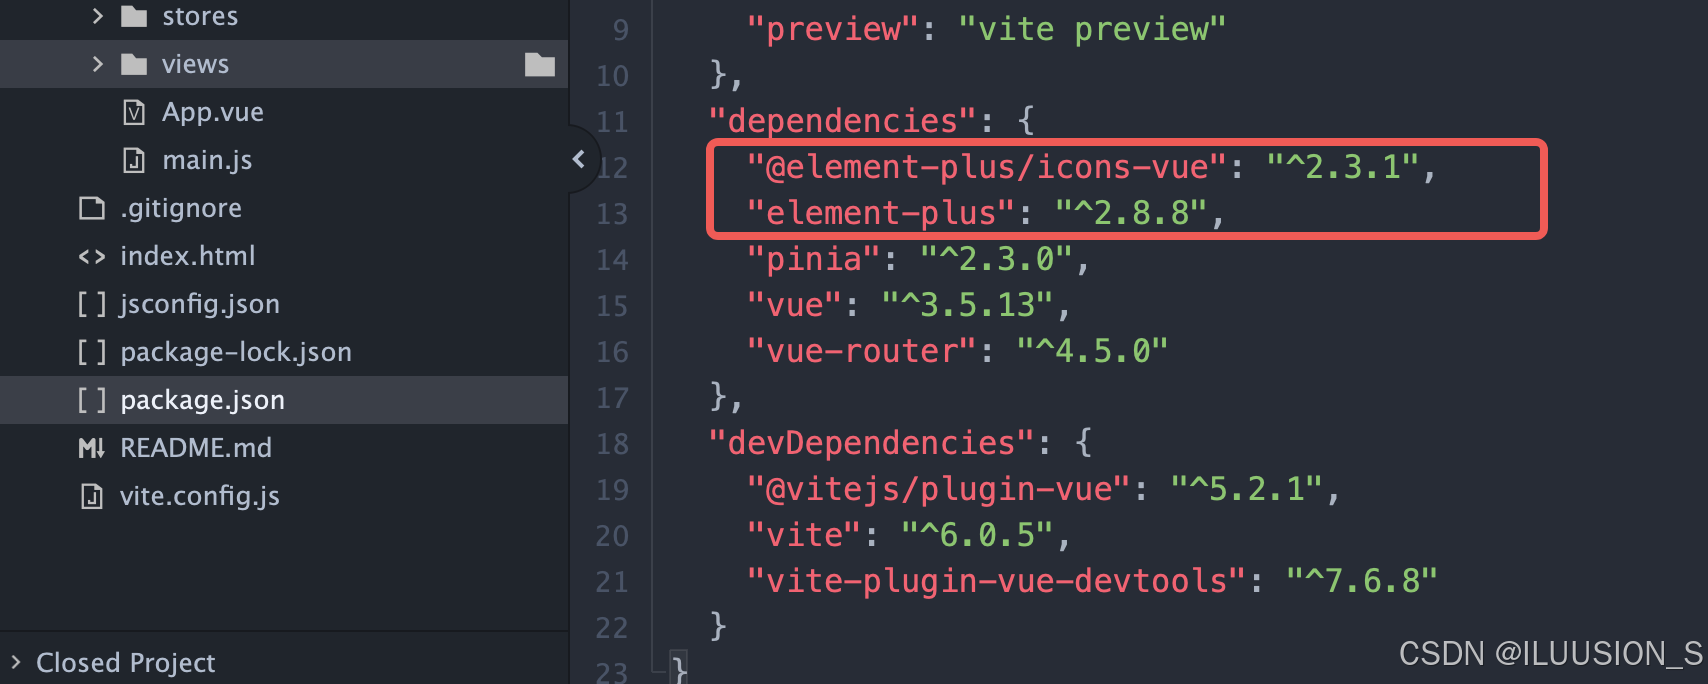
配置element-plus,在官网都能找到对应的使用方法
引用Element-plus
国际化配置
icon图标引用配置
import './assets/main.css'

import { createApp } from 'vue'
import { createPinia } from 'pinia'

import App from './App.vue'
import router from './router'

import ElementPlus from 'element-plus'
import 'element-plus/dist/index.css'

//使用暗黑模式
import 'element-plus/theme-chalk/dark/css-vars.css'

//汉化
import zhCn from 'element-plus/es/locale/lang/zh-cn'

//icon组件
import * as ElementPlusIconsVue from '@element-plus/icons-vue'

const app = createApp(App)
//注册element-plus语言国际化
app.use(ElementPlus, {
  locale: zhCn,
})

//注册elemnt-plus的icon组件
for (const [key, component] of Object.entries(ElementPlusIconsVue)) {
  app.component(key, component)
}

app.use(createPinia())
app.use(router)

app.mount('#app')
2.3 安装axios,封装接口请求
安装
npm install axios
封装
在 src 中创建一个 api 文件目录用于封装后端所有的接口调用,定义一个 requests.js基于 axios 封装请求对象
// src/api/request.js

import axios from "axios";

//创建axios请求对象
const request = axios.create({
	baseURL:"http://127.0.0.1:8000",
	timeout:10000,
	headers:{
		'Content-Type':"application/json"
	},
	validateStatus:function(status){
		//return status >= 200 && status < 300;
		return true
	},
	//允许发送跨域请求
	crossDomain:true,

	// `withCredentials` 表示跨域请求时是否需要使用凭证
	withCredentials: false, // default
})

// 添加请求拦截器
request.interceptors.request.use(function (config) {
    // 在发送请求之前做些什么
    return config;
  }, function (error) {
    // 对请求错误做些什么
    return Promise.reject(error);
  });


// 添加响应拦截器
request.interceptors.response.use(function (response) {
    // 对响应数据做点什么
    return response;
  }, function (error) {
    // 对响应错误做点什么
    return Promise.reject(error);
  });

export default request
由于后续模块可能比较多,放在一个js中不好管理,所以拆分多个模块,每个模块写对应的请求
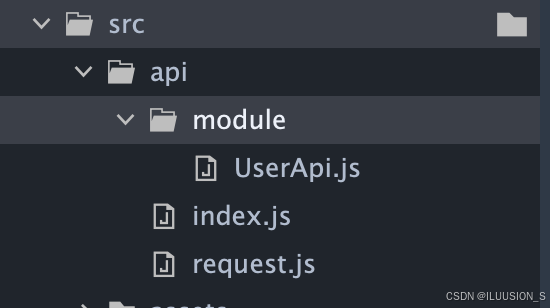
为了统一导出接口,可以创建一个 index.js文件老进行导出
// src/api/index.js
import UserApi from './module/userApi'
import ProjectApi from './module/projectApi'
export default {
  // 用户相关的接口
  user: userApi,
  // 项目相关的接口
  project: projectApi
}
2.4 路由配置初始化
- 删除components目录中创建项目时自带的组件
- 删除Views目录中自动生成的组件
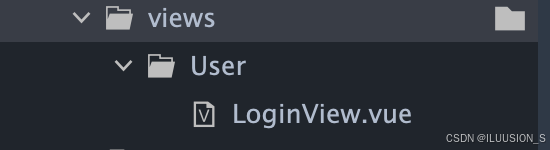
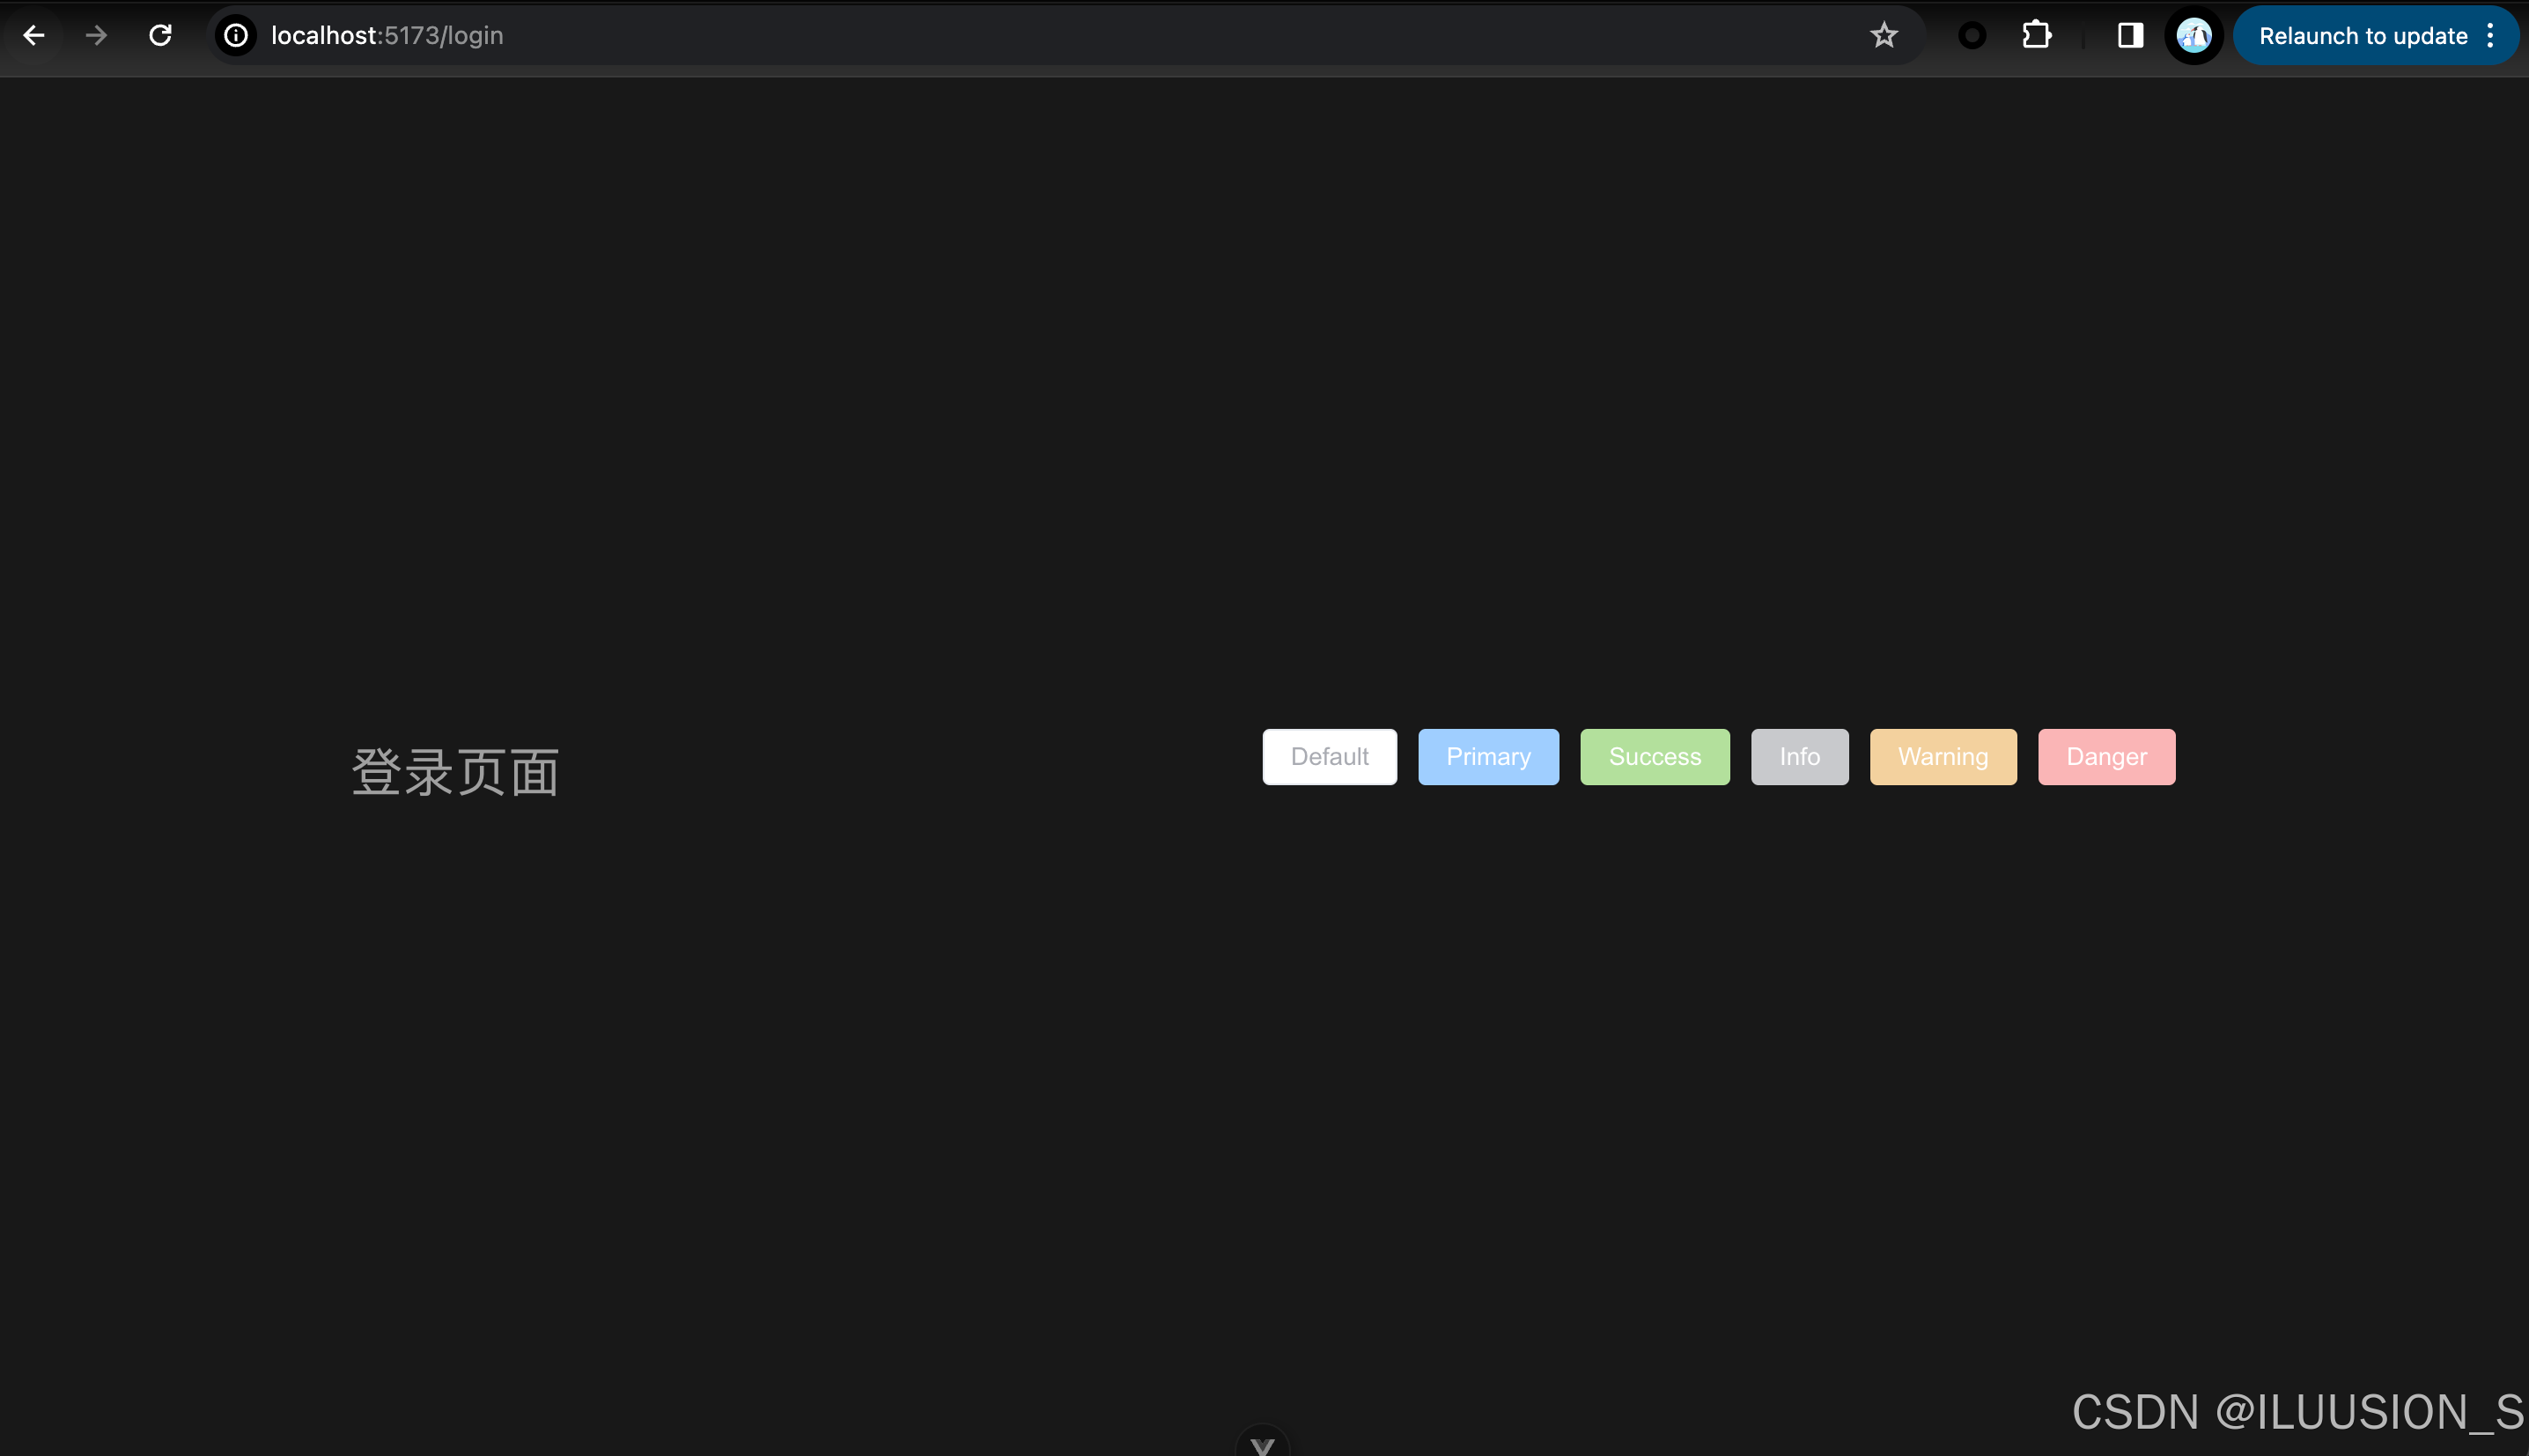
删除完后,创建一个User目录,用于定义用户相关的界面,在里面随便写点东西,或者配置一些elemrnt-plus的内容,以验证配置生效
<template>
	<h1>登录页面</h1>
	<div class="mb-4">
	    <el-button disabled>Default</el-button>
	    <el-button type="primary" disabled>Primary</el-button>
	    <el-button type="success" disabled>Success</el-button>
	    <el-button type="info" disabled>Info</el-button>
	    <el-button type="warning" disabled>Warning</el-button>
	    <el-button type="danger" disabled>Danger</el-button>
	</div>
</template>

<script>
</script>

<style>
</style>
- 重置路由配置
//src/router/index.js

import { createRouter, createWebHistory } from 'vue-router'
import HomeView from '../views/HomeView.vue'

const router = createRouter({
  history: createWebHistory(import.meta.env.BASE_URL),
  routes: [
    //{
      //path: '/',
      //name: 'home',
      //component: HomeView,
    //},
    {
      path: '/login',
      name: 'login',
      component: () => import('../views/LoginView.vue'),
    },
  ],
})

export default router
- 更改App.vue
<script setup>

</script>

<template>
	<router-view></router-view>
</template>

<script scoped>

</script>
2.5 安装Sass
npm install sass
项目配置就基本完成了,默认样式应该是main.css中定义的,所以居中了。这个可以根据自己需要进行修改。


 1万+
1万+

 被折叠的 条评论
为什么被折叠?
被折叠的 条评论
为什么被折叠?
 到【灌水乐园】发言


