


 本文介绍了Spring Boot中使用构造注入的方式创建Bean,并探讨了字段是否使用final修饰的可能性。同时,详细说明了如何设置远程Debug,包括创建项目、打包成jar以及通过IDEA配置远程调试的步骤。
查看spring boot官网文档:
以下是一个 @Service Bean,其使用构造注入方式获取一个必需的 RiskAssessor bean。
package com.example.service;

import org.springframework.beans.factory.annotation.Autowired;
import org.springframework.stereotype.Service;

@Service
public class DatabaseAccountService implements AccountService {

    private final RiskAssessor riskAssessor;

    @Autowired
    public DatabaseAccountService(RiskAssessor riskAssessor) {
        this.riskAssessor = riskAssessor;
    }

    // ...

}
如果 bean 中只有一个构造方法,您可以忽略掉 @Autowired 注解。
@Service
public class DatabaseAccountService implements AccountService {

    private final RiskAssessor riskAssessor;

    public DatabaseAccountService(RiskAssessor riskAssessor) {
        this.riskAssessor = riskAssessor;
    }

    // ...

}
提示
请注意,构造注入允许
riskAssessor字段被修饰为final,这表示以后它不能被更改。也可以不使用final修饰
如下例子:
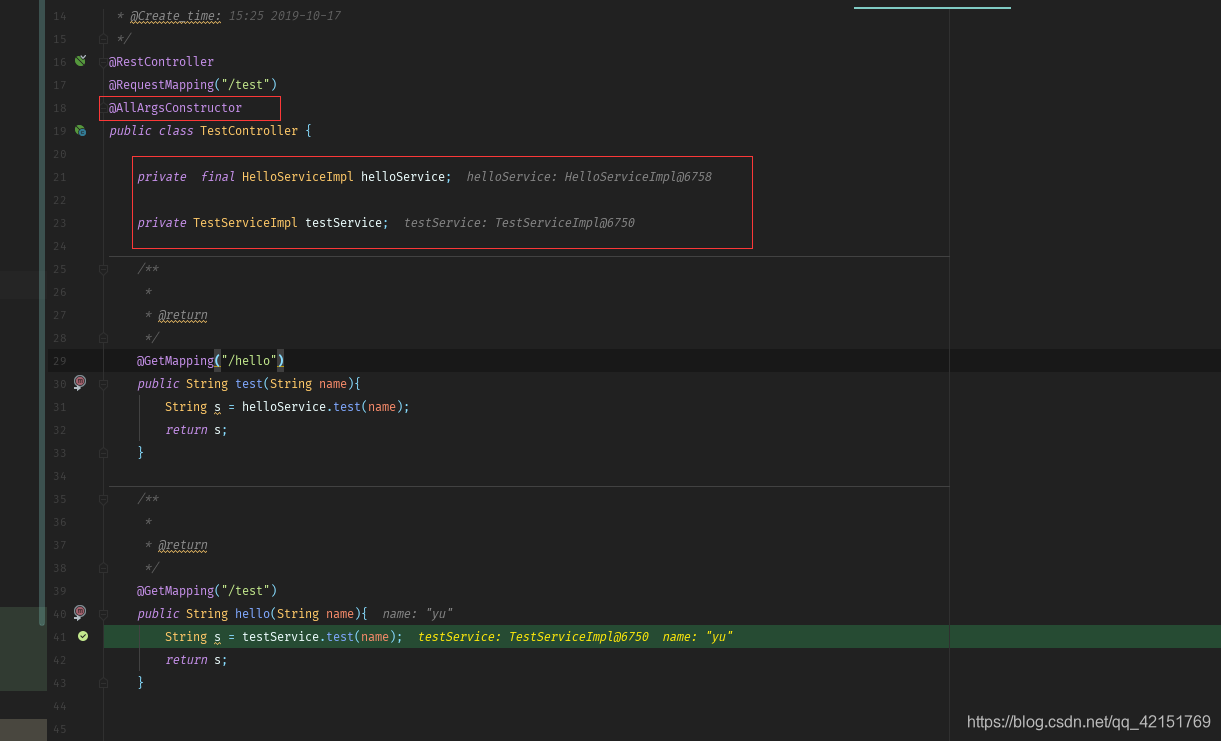
controller
package com.wm.test.controller;

import com.wm.test.service.HelloServiceImpl;
import com.wm.test.service.TestServiceImpl;
import lombok.AllArgsConstructor;
import org.springframework.web.bind.annotation.GetMapping;
import org.springframework.web.bind.annotation.RequestMapping;
import org.springframework.web.bind.annotation.RestController;

/***
 * @ClassName: TestController
 * @Description: 测试Controller
 * @Author: wm_yu
 * @Create_time: 15:25 2019-10-17
 */
@RestController
@RequestMapping("/test")
@AllArgsConstructor
public class TestController {

    private  final HelloServiceImpl helloService;

    private TestServiceImpl testService;

    /**
     *
     * @return
     */
    @GetMapping("/hello")
    public String test(String name){
        String s = helloService.test(name);
        return s;
    }

    /**
     *
     * @return
     */
    @GetMapping("/test")
    public String hello(String name){
        String s = testService.test(name);
        return s;
    }


}
service:
package com.wm.test.service;

import org.springframework.stereotype.Service;

/***
 * @ClassName: HelloServiceImpl
 * @Description:
 * @Author: wm_yu
 * @Create_time: 10:03 2019-11-12
 */
@Service
public class HelloServiceImpl {

        public String test(String name){
            return String.format("hell,%s",name);
        }

}
package com.wm.test.service;

import org.springframework.stereotype.Service;

/***
 * @ClassName: TestServiceImpl
 * @Description:
 * @Author: wm_yu
 * @Create_time: 10:09 2019-11-12
 */
@Service
public class TestServiceImpl {

    public String test(String name){
        return String.format("hell,%s",name);
    }
}
上面的例子可以使用final修饰,也可以不修饰
下面是设置远程debug启动:
编写一个简单的项目:
controller:
package com.wm.mi.controller;

import org.springframework.web.bind.annotation.GetMapping;
import org.springframework.web.bind.annotation.RequestBody;
import org.springframework.web.bind.annotation.RequestMapping;
import org.springframework.web.bind.annotation.RestController;

/***
 * @ClassName: HelloController
 * @Description:
 * @Author: wm_yu
 * @Create_time: 16:35 2019-11-11
 */
@RestController
@RequestMapping("/yu")
public class HelloController {

    @GetMapping("/hello")
    public String hello(@RequestBody String name){
        return String.format("hell0,%s",name);
    }
}
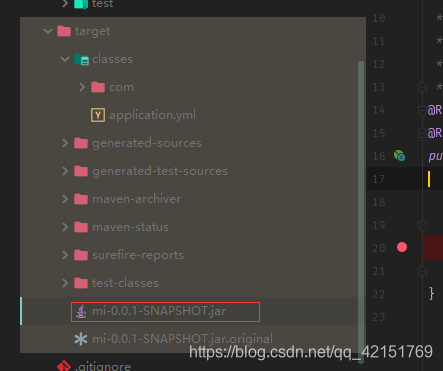
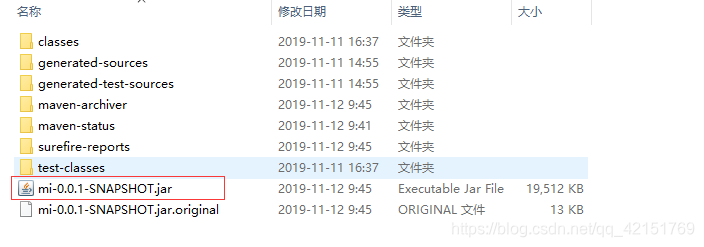
将项目打包成jar:
mvn package
如下:
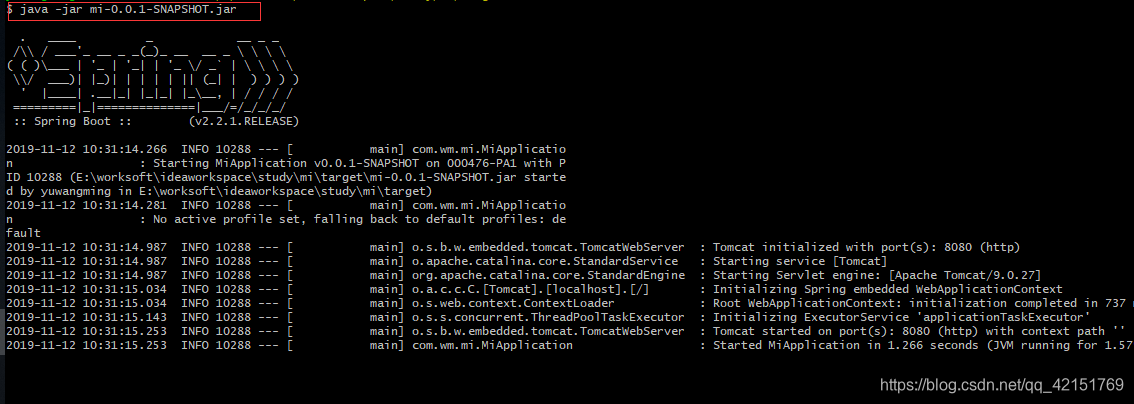
普通启动为:
java -jar mi-0.0.1-SNAPSHOT.jar
设置debug端口启动:
java -Xdebug -Xrunjdwp:server=y,transport=dt_socket,address=8000,suspend=n \
        -jar mi-0.0.1-SNAPSHOT.jar

在idea中设置debug远程配置调试:
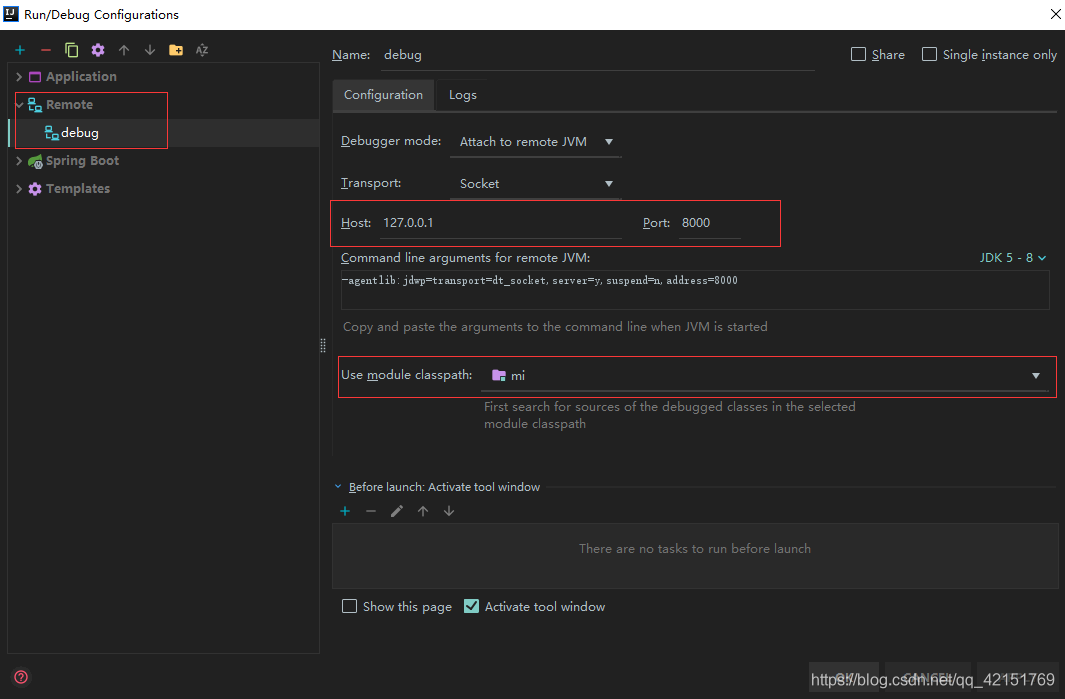
启动测试就可以了,官方文档如下:


 1万+
1万+

 被折叠的 条评论
为什么被折叠?
被折叠的 条评论
为什么被折叠?
 到【灌水乐园】发言


