


 本文详细介绍了在Linux Ubuntu系统中安装Anaconda、TensorFlow和Keras的过程,包括下载、安装Anaconda,配置环境变量,以及通过pip安装TensorFlow和Keras,最后演示了如何启动Jupyter Notebook。
三、在Linux Ubuntu下安装Anaconda及TensorFlow与Keras(超级详细哦)
1、安装Anaconda
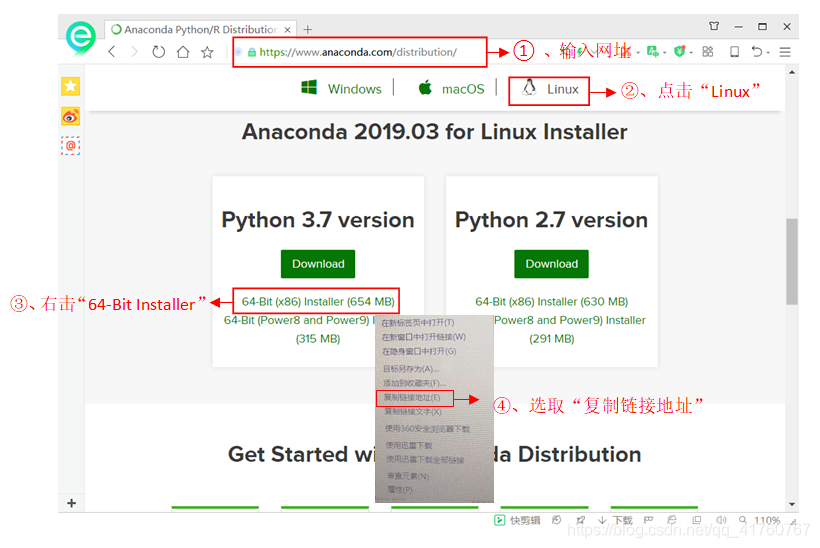
1.1、复制Anaconda的下载网址。
https://www.continuum.io/downloads
打开如下图所示的页面:
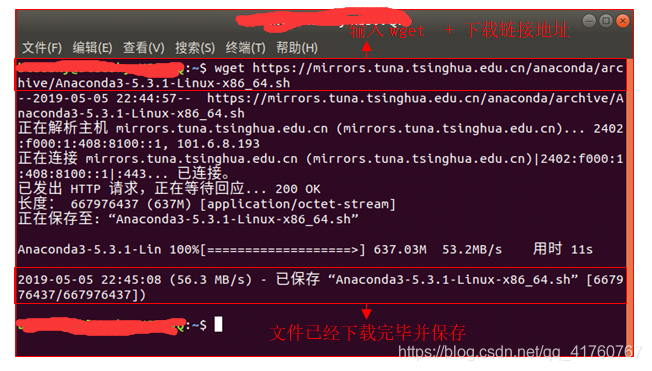
2.2、下载Anaconda3-4.2.0-Linux-x86_64.sh
在 “终端” 程序中输入wget后按空格键,然后按Ctrl + Shift + V组合键粘贴之前所复制的网址。终端输入的命令如下所示:
wget https://mirrors.tuna.tsinghua.edu.cn/anaconda/archive/Anaconda3-5.3.1-Linux-x86_64.sh
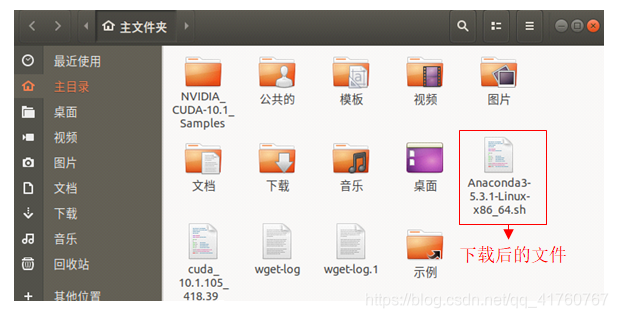
已经下载后的文件如下:在这里插入图片描述
1.3、安装Anaconda
在 “终端” 程序中输入命令:bash Anaconda3-5.3.1-Linux-x86_64.sh –b
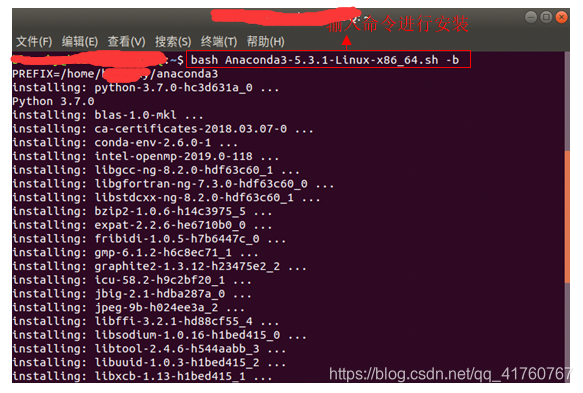
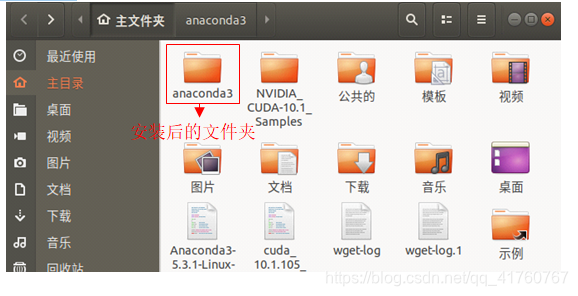
上述命令加上 “-b” 是指bash,即批次安装,会自动省略Licese条款,自动安装到/home/hduser/anaconda3路径下。安装完成之后的文件夹,如下图所示:
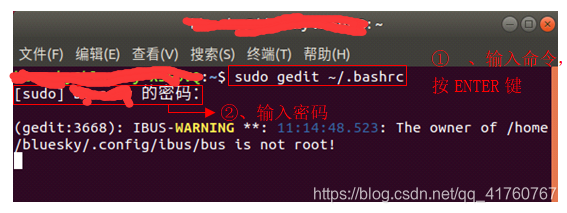
1.4、编辑 ~/.bashrc加入模块路径
在 “终端” 程序中输入命令:sudo gedit ~/.bashrc
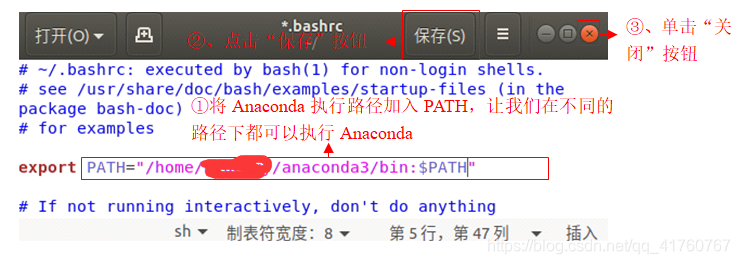
在新打开的文件窗口的末尾处,添加如下所示的代码:
Export PATH=/home/(自己的名称) /anaconda3/bin:$PATH
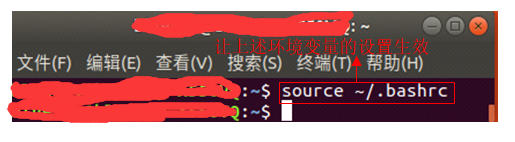
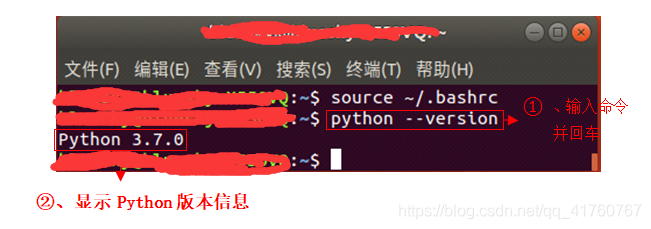
1.5、使 ~/.bashrc修改生效
在 “终端” 程序中输入source ~/.bashrc
运行后的结果如下图所示:
1.6、查看Python版本。
在 “终端” 程序中输入python --version
运行后的结果如下图所示:
2、安装TensorFlow与Keras
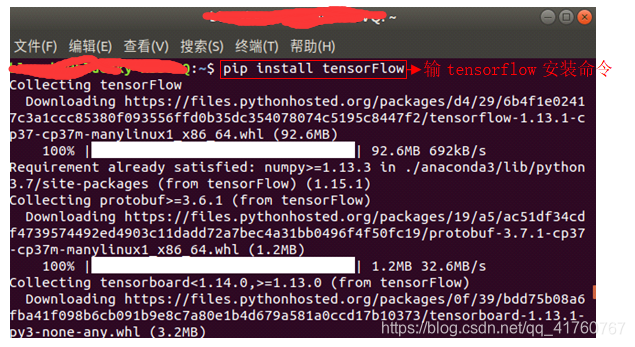
2.1、安装TensorFlow
在 “终端” 程序中输入命令:pip install tensorFlow
2.2、安装Keras
在 “终端” 程序中输入命令:pip install keras

3、启动Jupyter Notebook
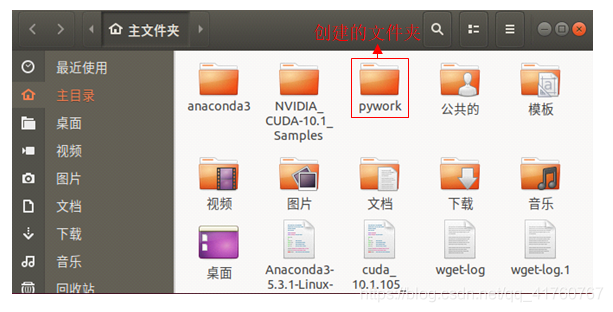
3.1、在 “终端” 程序中输入命令:mkdir –p ~/pywork
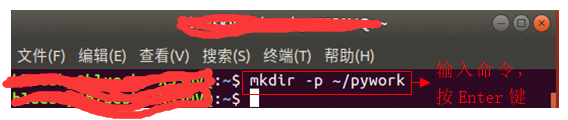
执行后创建的文件夹如下:
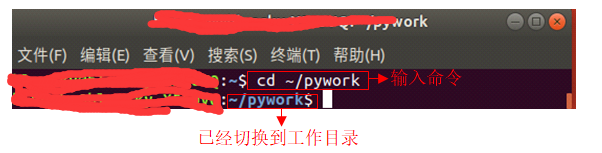
在 “终端” 程序中输入命令:cd ~/pywork
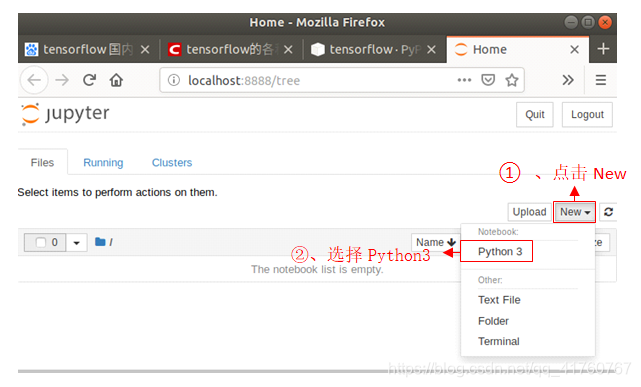
3.2、进入jupyter notebook

3.3、启动jupyter notebook
**亲!你还欠我一评价,请给予个好评,一点点码出的文字,很不容易。


 340
340

 被折叠的 条评论
为什么被折叠?
被折叠的 条评论
为什么被折叠?
 到【灌水乐园】发言


