


引导页的简易制作方法
1、相关准备
- 需要准备若干图片
- 熟悉viewPager2的使用
- 熟悉RadioGroup的使用
- 导入依赖库
	implementation 'androidx.viewpager2:viewpager2:1.0.0'
    implementation 'com.github.bumptech.glide:glide:4.11.0'
    annotationProcessor 'com.github.bumptech.glide:compiler:4.11.0'
本例使用kotlin编写,若有使用Java编写的童鞋,见谅了啊
2、上代码
新建一个Activity,名字就叫GuideActivity,布局就叫activity_guide。
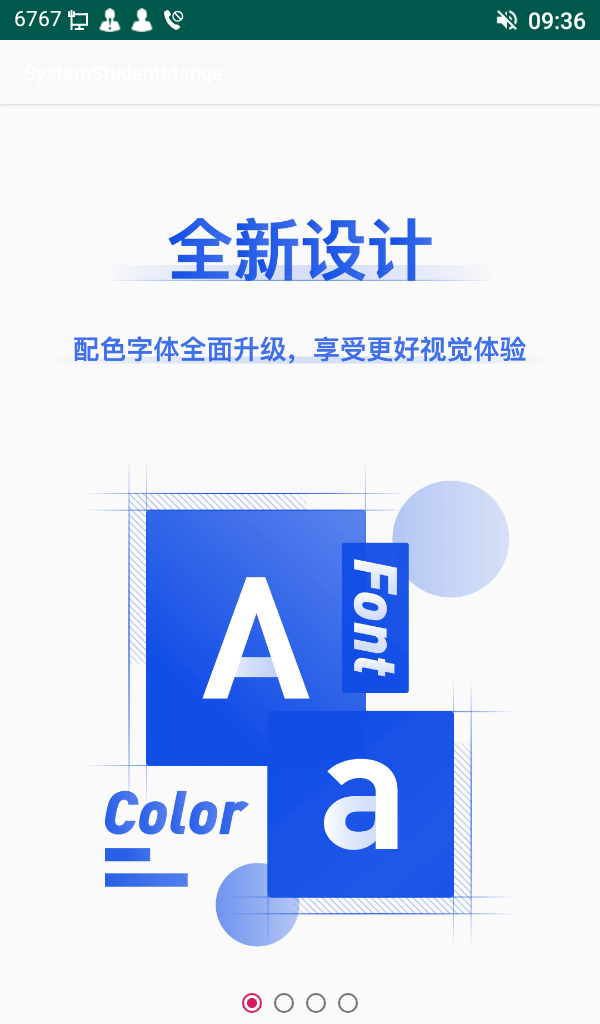
图片我这里用的是百词斩的引导页图片,顺便说一句,图片真的会影响引导页的展示效果。
GuideActivity
class GuideActivity : AppCompatActivity() {
private lateinit var mViewPagerAdapter: ViewPagerAdapter
private lateinit var mViewPager: ViewPager2
// 获取引导页资源id
private val mImages = arrayListOf(R.drawable.img_01, R.drawable.img_02, R.drawable.img_03, R.drawable.img_04)
override fun onCreate(savedInstanceState: Bundle?) {
super.onCreate(savedInstanceState)
setContentView(R.layout.activity_guide)
val radioGroup = findViewById<RadioGroup>(R.id.guideGroup)
val radioGuideFirst = findViewById<RadioButton>(R.id.guideFirst)
val radioGuideSecond = findViewById<RadioButton>(R.id.guideSecond)
val radioGuideThird = findViewById<RadioButton>(R.id.guideThird)
val radioGuideFourth = findViewById<RadioButton>(R.id.guideFourth)
val start = findViewById<Button>(R.id.btnStart)
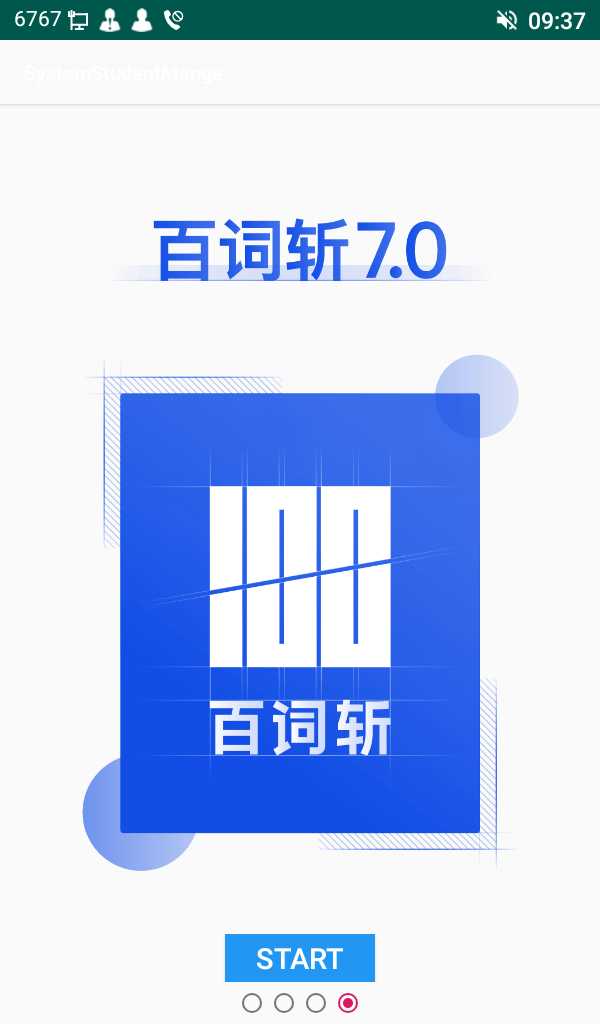
start.visibility = View.GONE //设置最后进入主界面的按钮为隐藏状态
mViewPagerAdapter = ViewPagerAdapter(this, mImages) //传入图片list
mViewPager = findViewById(R.id.viewPager)
mViewPager.adapter = mViewPagerAdapter //设置ViewPager2适配器
//注册监听方法
mViewPager.registerOnPageChangeCallback(object : ViewPager2.OnPageChangeCallback() {
override fun onPageSelected(position: Int) {
when (position) {
0 -> {
radioGuideFirst.isChecked = true
start.visibility = View.GONE
}
1 -> {
radioGuideSecond.isChecked = true
start.visibility = View.GONE
}
2 -> {
radioGuideThird.isChecked = true
start.visibility = View.GONE
}
else -> {
start.visibility = View.VISIBLE //最后一页显示进入主界面的按钮
radioGuideFourth.isChecked = true
}
}
}
})
start.setOnClickListener { //跳转操作
val intent = Intent(this, LoginActivity::class.java)
startActivity(intent)
finish()
}
//点击下面的页面指示按钮,可以跳转界面
radioGroup.setOnCheckedChangeListener { group, checkedId ->
run {
when (checkedId) {
R.id.guideFirst -> mViewPager.currentItem = 0
R.id.guideSecond -> mViewPager.currentItem = 1
R.id.guideThird -> mViewPager.currentItem = 2
R.id.guideFourth -> mViewPager.currentItem = 3
}
}
}
}
代码关键的地方都有注释了,剩下都是一些初始化的操作和一些基本的操作
activity_guide
<?xml version="1.0" encoding="utf-8"?>
<androidx.constraintlayout.widget.ConstraintLayout xmlns:android="http://schemas.android.com/apk/res/android"
    xmlns:app="http://schemas.android.com/apk/res-auto"
    xmlns:tools="http://schemas.android.com/tools"
    android:layout_width="match_parent"
    android:layout_height="match_parent"
    tools:context=".GuideActivity">

    <androidx.viewpager2.widget.ViewPager2
        android:id="@+id/viewPager"
        android:layout_width="match_parent"
        android:layout_height="match_parent"
        app:layout_constraintBottom_toBottomOf="parent"
        app:layout_constraintEnd_toEndOf="parent"
        app:layout_constraintStart_toStartOf="parent"
        app:layout_constraintTop_toTopOf="parent" >

    </androidx.viewpager2.widget.ViewPager2>

    <LinearLayout
        android:layout_width="match_parent"
        android:layout_height="wrap_content"
        android:layout_alignParentBottom="true"
        android:layout_marginBottom="@dimen/margin_bottom"
        android:gravity="center"
        app:layout_constraintBottom_toTopOf="@+id/linearLayout3"
        app:layout_constraintEnd_toEndOf="parent"
        app:layout_constraintStart_toStartOf="parent">

        <Button
            android:id="@+id/btnStart"
            android:layout_width="150dp"
            android:layout_height="wrap_content"
            android:background="#2196F3"
            android:text="@string/btn_start_text"
            android:textColor="#FFFFFF"
            android:textSize="25sp" />
    </LinearLayout>

    <LinearLayout
        android:id="@+id/linearLayout3"
        android:layout_width="0dp"
        android:layout_height="wrap_content"
        android:layout_marginBottom="@dimen/margin_bottom"
        android:gravity="center"
        android:orientation="horizontal"
        app:layout_constraintBottom_toBottomOf="parent"
        app:layout_constraintEnd_toEndOf="parent"
        app:layout_constraintStart_toStartOf="parent">

        <RadioGroup
            android:id="@+id/guideGroup"
            android:layout_width="wrap_content"
            android:layout_height="wrap_content"
            android:gravity="center"
            android:orientation="horizontal"
            tools:ignore="UselessParent">

            <RadioButton
                android:id="@+id/guideFirst"
                android:layout_width="wrap_content"
                android:layout_height="wrap_content" />

            <RadioButton
                android:id="@+id/guideSecond"
                android:layout_width="wrap_content"
                android:layout_height="wrap_content" />

            <RadioButton
                android:id="@+id/guideThird"
                android:layout_width="wrap_content"
                android:layout_height="wrap_content" />

            <RadioButton
                android:id="@+id/guideFourth"
                android:layout_width="wrap_content"
                android:layout_height="wrap_content" />
        </RadioGroup>
    </LinearLayout>
</androidx.constraintlayout.widget.ConstraintLayout>
界面布局就没有可以多说的了,view Pager2加上Radio Group和Button
ViewPagerAdapter
class ViewPagerAdapter(context: Context, list:ArrayList<Int>):RecyclerView.Adapter<ViewPagerAdapter.ViewHolder>() {
    private val mList = list //图片list
    private val mContext = context
    override fun onCreateViewHolder(parent: ViewGroup, viewType: Int): ViewHolder {
        val view = LayoutInflater.from(mContext).inflate(R.layout.activity_guide_item,parent,false) //获取item布局
        return ViewHolder(view)
    }

    override fun getItemCount() = mList.size

    override fun onBindViewHolder(holder: ViewHolder, position: Int) {
        Glide.with(mContext).load(mList[position]).into(holder.imgGuide)//使用Glide加载图片
    }

    class ViewHolder(itemView: View):RecyclerView.ViewHolder(itemView){
        val imgGuide: ImageView = itemView.findViewById(R.id.imgGuide)
    }
适配器的代码很简单,如果大家用过Recyerview,那么就对这段代码很熟悉了。使用了图片加载框架来加载图片。
activity_guide_item
<?xml version="1.0" encoding="utf-8"?>
<androidx.constraintlayout.widget.ConstraintLayout
    xmlns:android="http://schemas.android.com/apk/res/android"
    xmlns:app="http://schemas.android.com/apk/res-auto"
    xmlns:tools="http://schemas.android.com/tools"
    android:layout_width="match_parent"
    android:layout_height="match_parent">

    <ImageView
        android:id="@+id/imgGuide"
        android:layout_width="match_parent"
        android:layout_height="match_parent"
        app:layout_constraintBottom_toBottomOf="parent"
        app:layout_constraintEnd_toEndOf="parent"
        app:layout_constraintStart_toStartOf="parent"
        app:layout_constraintTop_toTopOf="parent"
        tools:srcCompat="@tools:sample/avatars" />
</androidx.constraintlayout.widget.ConstraintLayout>
这就是上面代码中的item布局了,很简单就放了一个ImageView。
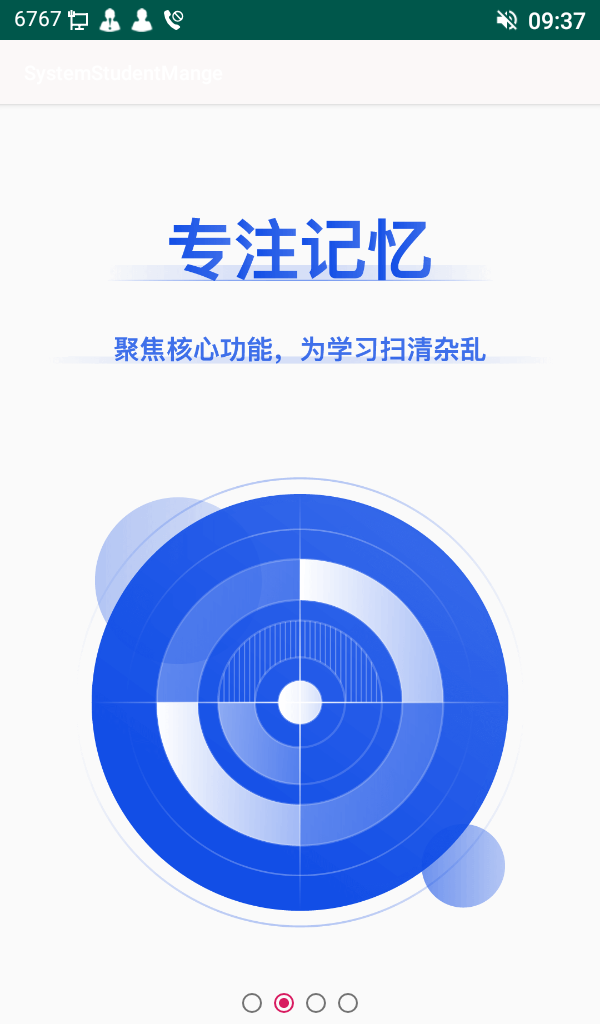
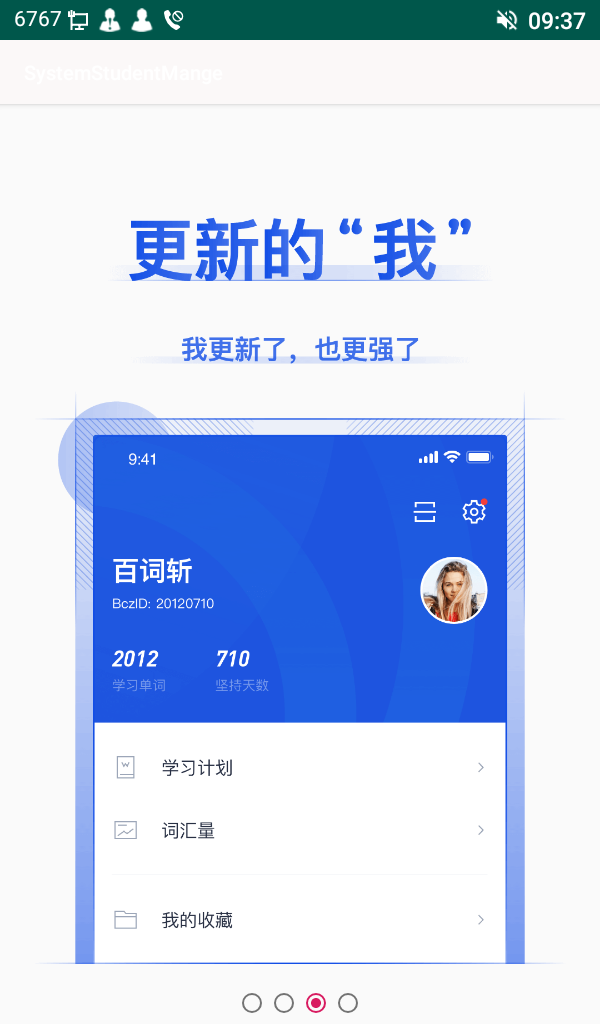
3、成品展示
最后欢迎大家在留言区交流想法。


 2818
2818

 被折叠的 条评论
为什么被折叠?
被折叠的 条评论
为什么被折叠?
 到【灌水乐园】发言


