


文章目录
1. 阻塞队列

- 生产者线程
- 线程需要实现 Runnable 接口
- 重写接口的run方法
- 声明变量
private BlockingQueue<Integer> queue接受传入的阻塞队列 - 创建有参构造器
- 实现示例逻辑,生产100个数据,put进阻塞队列,每生产一个数据停顿20毫秒,输出信息
class Producer implements Runnable {

    private BlockingQueue<Integer> queue;

    public Producer(BlockingQueue<Integer> queue) {
        this.queue = queue;
    }

    @Override
    public void run() {
        try {
            for (int i = 0; i < 100; i++) {
                Thread.sleep(20);
                queue.put(i);
                System.out.println(Thread.currentThread().getName() + "生产:" + queue.size());
            }
        } catch (Exception e) {
            e.printStackTrace();
        }
    }

}
- 消费者线程
- 线程需要实现 Runnable 接口
- 重写接口的run方法
- 声明变量
private BlockingQueue<Integer> queue接受传入的阻塞队列 - 创建有参构造器
- 实现示例逻辑,不停的从队列中take,每生产一个数据停顿0-1000随机毫秒,输出信息
class Consumer implements Runnable {

    private BlockingQueue<Integer> queue;

    public Consumer(BlockingQueue<Integer> queue) {
        this.queue = queue;
    }

    @Override
    public void run() {
        try {
            while (true) {
                Thread.sleep(new Random().nextInt(1000));
                queue.take();
                System.out.println(Thread.currentThread().getName() + "消费:" + queue.size());
            }
        } catch (Exception e) {
            e.printStackTrace();
        }
    }
}
- main函数
- 实例化阻塞队列
BlockingQueue queue = new ArrayBlockingQueue(10); - 实例化一个生产者线程
- 实例化三个消费者线程
- 实例化阻塞队列
public static void main(String[] args) {
        BlockingQueue queue = new ArrayBlockingQueue(10);
        new Thread(new Producer(queue)).start();
        new Thread(new Consumer(queue)).start();
        new Thread(new Consumer(queue)).start();
        new Thread(new Consumer(queue)).start();
    }
2. Kafka入门
2.1 基本概念
- Kafka简介
- 早先只是消息队列,慢慢扩展功能不止消息队列
- 消息系统:消息队列的功能,核心功能
- 通过日志可以分析很多内容,用户追踪等
- Kfaka特点
- 高吞吐量:可以处理TB级别数据
- 消息持久化:把数据永久保存到类似硬盘的某一介质。硬盘空间大,价格低。误解,读取硬盘速率高与低取决于对硬盘使用,对硬盘的顺序读取效率甚至高于对内存的随机读取,Kafka利用这一点保证能处理海量数据
- 高可靠性:分布式的服务,可以做集群部署,有容错能力
- 高扩展性:集群服务器不够用了简单的加一个服务器就可以
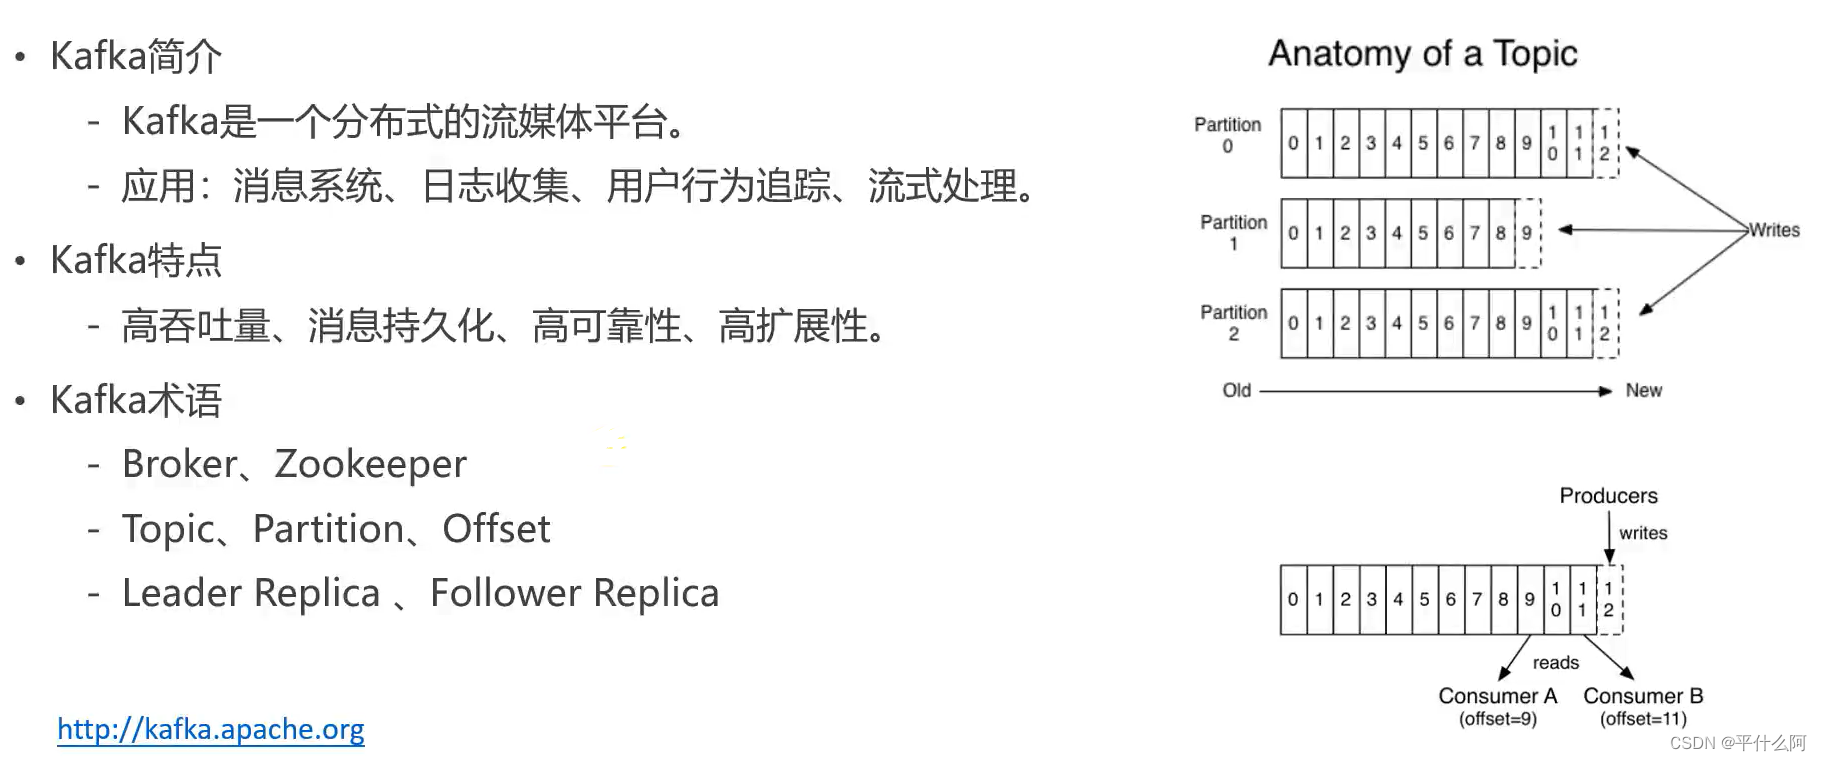
- Kafka术语
- Broker:Kafka的服务器,集群中每一台服务器成为一个Broker
- Zookeeper:管理集群软件,Kafka内置了Zookeeper
- Topic:消息队列实现的方式两种,一种点对点,如上面的BlockingQueue,生产者把消息放到一个队列里,消费者就从这里面取值,消费者可能有多个,如果A消费者取到了这个数据这数据就出队了,每个数据只被一个消费者消费;还有一种方式发布订阅方式,生产者把消息队列放到某一个位置,消息可以被多个消费者读到。生产者把消息发布到的位置(空间)就叫Topic
- Partition:分区,对主题位置的分区,增强了并发能力
- Offsrt:消息在分区内存放的索引
- Leader Replica:主副本,从分区读数据时,主副本做响应
- Follower Replica:从副本只是备份,不负责响应
2.2 基本操作
以官网下载的2.12为例。首先更改配置文件中的data地址和log地址。
-
启动zookeeper
bin\windows\zookeeper-server-start.bat config\zookeeper.properties -
启动kafka
bin\windows\kafka-server-start.bat config\server.properties -
创建主题
kafka-topics.bat --create --bootstrap-server localhost:9092 --replication-factor 1 --partitions 1 --topic test -
查看某一服务器端口下所有topic
kafka-topics.bat --list --bootstrap-server localhost:9092 -
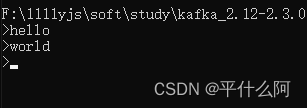
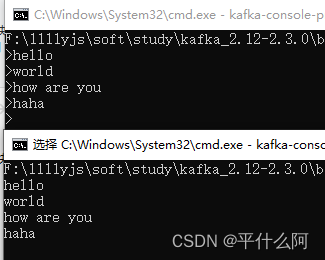
以生产者身份发送消息
kafka-console-producer.bat --broker-list localhost:9092 --topic test
-
以消费者身份读取消息
kafka-console-consumer.bat --bootstrap-server localhost:9092 --topic test --from-beginning
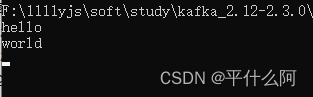
消息通讯成功
3. Spring整合kafka
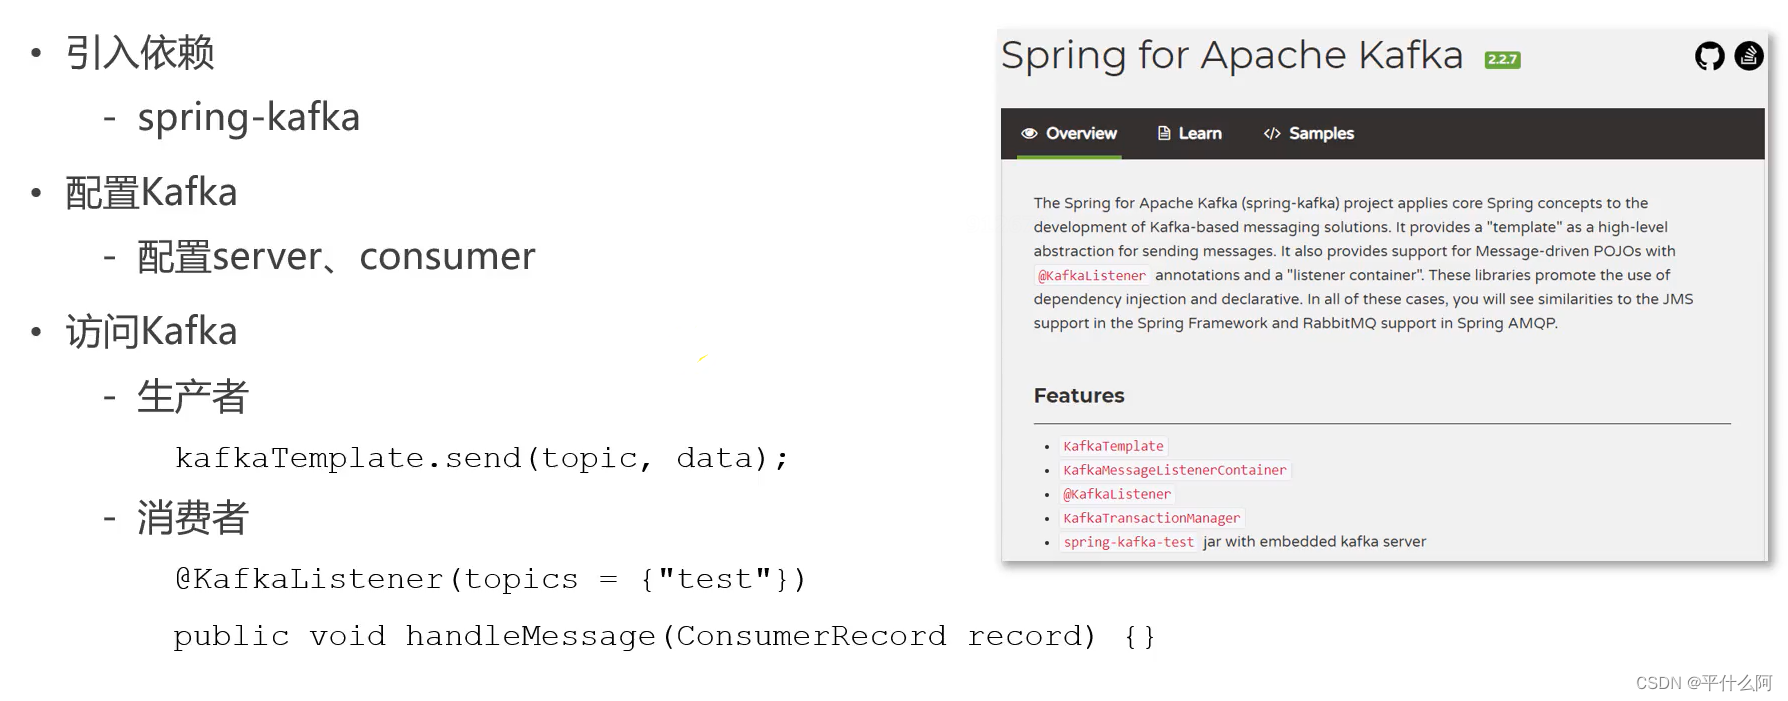
3.1 引入依赖
<dependency>
	<groupId>org.springframework.kafka</groupId>
	<artifactId>spring-kafka</artifactId>
</dependency>
3.2 application.properties配置
- 服务器端口
- 消费者分组id
- 是否自动提交消费者的偏移量
- 自动提交频率
# KafkaProperties
spring.kafka.bootstrap-servers=localhost:9092
spring.kafka.consumer.group-id=community-consumer-group
spring.kafka.consumer.enable-auto-commit=true
spring.kafka.consumer.auto-commit-interval=3000
3.3 Kafka测试
- 生产者代码
- 注入容器KafkaTemplate
- 调用方法发消息
@Component
class KafkaProducer {

    @Autowired
    private KafkaTemplate kafkaTemplate;

    public void sendMessage(String topic, String content) {
        kafkaTemplate.send(topic, content);
    }
}
- 消费者代码
- 注解,标明监听的主题
@KafkaListener(topics = {"test"}) - 封装消息
- 注解,标明监听的主题
@Component
class KafkaConsumer {

    @KafkaListener(topics = {"test"})
    public void handleMessage(ConsumerRecord record) {
        System.out.println(record.value());
    }
}
- Test方法
@Test
public void testKafka() {
    kafkaProducer.sendMessage("test", "你好");
    kafkaProducer.sendMessage("test", "在吗");

    try {
        Thread.sleep(1000 * 10);
    } catch (InterruptedException e) {
        e.printStackTrace();
    }
}
package com.nowcoder.community;

import org.apache.kafka.clients.consumer.ConsumerRecord;
import org.junit.Test;
import org.junit.runner.RunWith;
import org.springframework.beans.factory.annotation.Autowired;
import org.springframework.boot.test.context.SpringBootTest;
import org.springframework.kafka.annotation.KafkaListener;
import org.springframework.kafka.core.KafkaTemplate;
import org.springframework.stereotype.Component;
import org.springframework.test.context.ContextConfiguration;
import org.springframework.test.context.junit4.SpringRunner;

@RunWith(SpringRunner.class)
@SpringBootTest
@ContextConfiguration(classes = CommunityApplication.class)
public class KafkaTests {

    @Autowired
    private KafkaProducer kafkaProducer;

    @Test
    public void testKafka() {
        kafkaProducer.sendMessage("test", "你好");
        kafkaProducer.sendMessage("test", "在吗");

        try {
            Thread.sleep(1000 * 10);
        } catch (InterruptedException e) {
            e.printStackTrace();
        }
    }

}

@Component
class KafkaProducer {

    @Autowired
    private KafkaTemplate kafkaTemplate;

    public void sendMessage(String topic, String content) {
        kafkaTemplate.send(topic, content);
    }

}

@Component
class KafkaConsumer {

    @KafkaListener(topics = {"test"})
    public void handleMessage(ConsumerRecord record) {
        System.out.println(record.value());
    }


}


 被折叠的 条评论
为什么被折叠?
被折叠的 条评论
为什么被折叠?
 到【灌水乐园】发言


